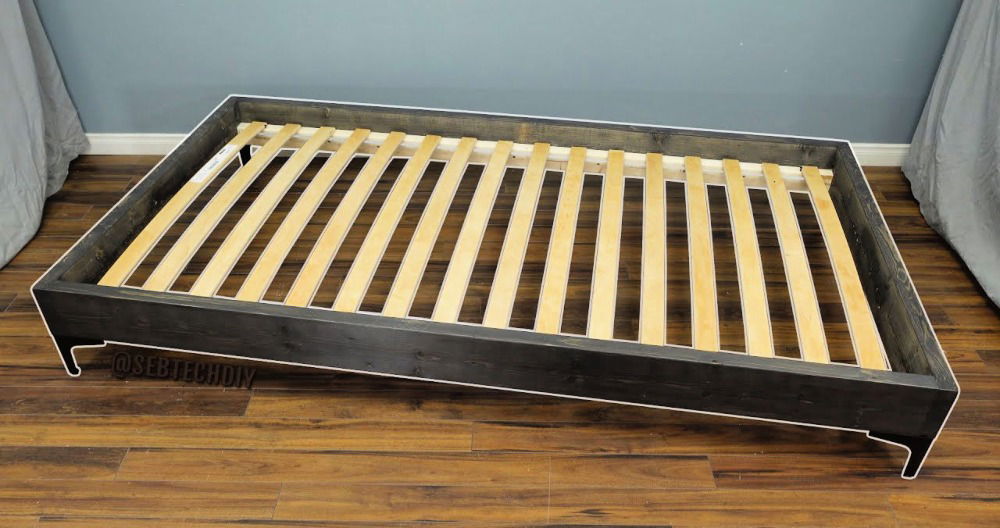
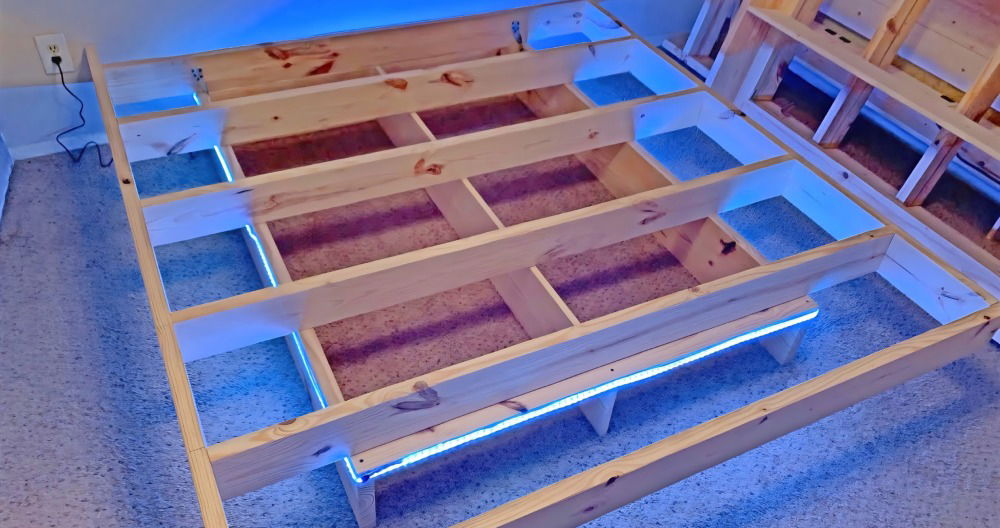
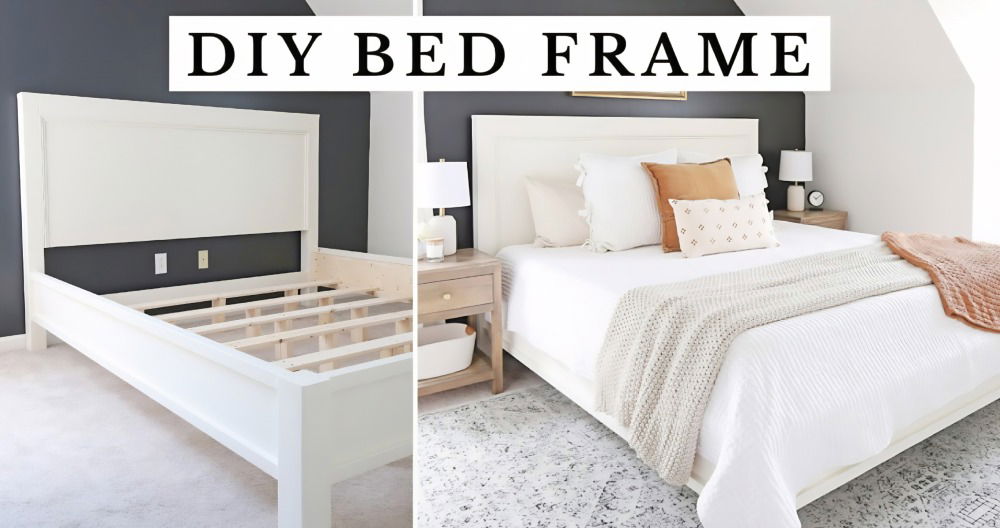
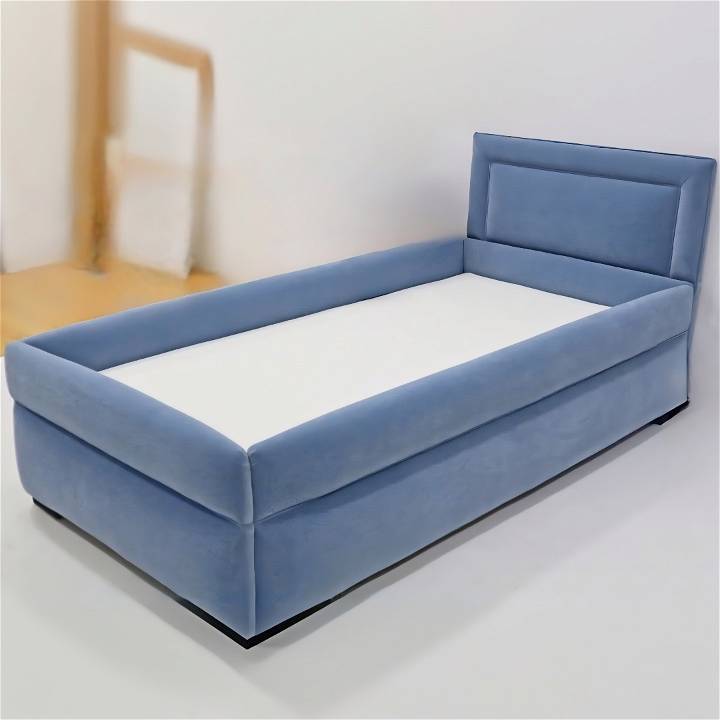
Building a bespoke upholstered bed frame for my son's room was a rewarding yet challenging DIY project. I was inspired by the fantastic tutorial from FaceLift Interiors, which provided valuable insights throughout the process. My goal was to construct a bed with a safety barrier, ensuring my little boy couldn't accidentally roll out of bed at night. With attention to detail and the ambition to build something durable and beautiful, I dove into the project. Here's a step-by-step guide based on my experience, featuring practical advice and important considerations.
Gathering Materials
- Sterling board: Serves as the sturdy foundation for the headboard.
- 2x1 Batons: These frame the headboard, providing structure.
- Thin Wooden Strips: Crucial for making a clean upholstery edge.
- MDF Plywood: The main material for the bed sides for its durability.
- Corner Brackets: For ensuring corners are strongly connected.
- 2x2 Batons: These support the slats and entire bed frame.
- Foam Padding & Dacron: Essential for a soft, upholstered look and feel.
- Fabric: I chose a durable, kid-friendly fabric from Linwood, selected for its aesthetics and ease of cleaning.
Step by Step Instructions
Learn how to build your own headboard and bed frame with these step-by-step instructions. From construction to upholstery, we've got you covered!
Step 1: Building the Headboard Frame
I started by cutting the sterling board to size, incorporating a notch for the room's skirting board. The 2x1 batons were then measured and cut to build a frame around the board. This step required precise measurements to ensure a snug fit against the wall.
Step 2: Constructing the Bed Frame
Using MDF plywood, I cut four sides for the bed frame, each designed to house the mattress securely with additional space for padding. To construct the frame solidly, I used corner brackets to join the pieces, reinforcing the structure to withstand an energetic child.
Step 3: Upholstering the Frame
First, I attached 2-inch thick foam, followed by Dacron to all sides of the frame for a plush barrier. This barrier was designed to be both a safety feature and a cozy edge for my son. The fabric was next, pulled tightly over the padding and stapled securely into place. Precision was key in making a tight, clean look without any wrinkles or sagging.
Step 4: Finishing Touches
After upholstering, I focused on the bed's interior. A 2x2 baton served as the central support with additional wooden slats spaced evenly across for mattress support. These elements were crucial for bed stability and comfort. The headboard was then brought in, designed to attach to the wall above the bed frame, making a cohesive and secure structure.
Considerations for a Safe and Stylish Bed
- Safety First: Ensuring the bed frame and headboard were securely attached was my top priority, especially the barrier around the bed to prevent any nighttime tumbles.
- Durability: Selecting the right materials was crucial. The bed needed to be sturdy enough to handle the wear and tear of a child's bedroom.
- Aesthetics: The bed had to be visually appealing and fit the theme of my son's room. The chosen fabric was not only durable but also matched the room's color scheme.
Choosing the Right Fabric for Your Upholstered Bed Frame
When embarking on your DIY upholstered bed frame project, selecting the perfect fabric is crucial. Not only does it impact the aesthetics of your bed, but it also affects comfort, durability, and maintenance. Let's dive into the essential considerations:
1. Fabric Types
a. Cotton:
- Soft and Breathable: Cotton is a popular choice due to its softness and breathability. It feels comfortable against the skin and allows air circulation.
- Easy to Clean: Cotton fabrics are machine washable and can withstand regular laundering.
- Ideal for Casual Bedrooms: If you're aiming for a relaxed, cozy look, cotton is your go-to fabric.
b. Linen:
- Elegance and Texture: Linen exudes sophistication with its natural texture. It's slightly rougher than cotton but adds a touch of luxury.
- Cool and Moisture-Absorbent: Linen keeps you cool during hot nights and wicks away moisture.
- Consider for Classic or Rustic Styles: Linen complements classic or rustic bedroom themes.
c. Velvet:
- Luxurious and Plush: Velvet screams opulence. Its soft, plush surface invites you to sink into your bed.
- Rich Colors: Velvet comes in rich, deep colors that add drama to your space.
- Perfect for Glamorous Bedrooms: If you're making a glamorous or romantic bedroom, velvet is your fabric.
2. Durability and Wear Resistance
Rub Count:
- Higher Rub Count, Better Durability: Check the fabric's rub count (abrasion resistance). The higher the count, the more durable the fabric.
- Heavy Use vs. Occasional Use: Consider your bed's usage. For a master bedroom, choose a fabric with a high rub count.
3. Maintenance
Stain Resistance:
- Treated Fabrics: Some fabrics come with stain-resistant treatments. Look for these if you anticipate spills or accidents.
- Spot Cleaning: Learn how to spot clean your chosen fabric to maintain its pristine appearance.
4. Color and Pattern
Neutral vs. Bold:
- Versatility of Neutrals: Neutral colors (grays, beige, whites) blend seamlessly with any decor.
- Make a Statement with Bold Colors: If you want your bed frame to be the focal point, opt for bold hues or patterns.
5. Test Swatches
Always Get Swatches:
- Test in Your Space: Order fabric swatches and place them in your bedroom. Observe how they look under different lighting conditions.
- Feel the Texture: Touch the swatches to assess comfort and texture.
Remember, your upholstered bed frame fabric should align with your personal style, lifestyle, and overall bedroom design. Whether you're aiming for cozy, elegant, or dramatic, the right fabric choice will elevate your DIY project.
Embellishments and Accents for Your Upholstered Bed Frame
Adding thoughtful embellishments and accents to your upholstered bed frame elevates it from ordinary to extraordinary. Let's explore some delightful ways to enhance your creation:
1. Decorative Nailheads
- What Are They?: Decorative nailheads (also known as upholstery tacks) are small, decorative metal studs.
- Placement: Attach them along the edges of your headboard or footboard.
- Styles: Choose from antique brass, chrome, or even colored nailheads.
- Application: Use a rubber mallet to secure them into the fabric.
- Result: Instant sophistication and a touch of vintage charm.
2. Fabric-Covered Buttons
- Purpose: Fabric-covered buttons add visual interest and texture.
- How to Make Them:
- Cut circles of fabric.
- Cover button molds with the fabric.
- Secure the back.
- Placement: Use them for tufting or as decorative accents.
- Variety: Experiment with different fabrics for unique effects.
3. Contrasting Piping or Welting
- Definition: Piping (or welting) is a fabric-covered cord used to outline edges.
- Color Play: Choose a contrasting color for the piping to make it pop.
- Application: Sew it along the seams or edges of your upholstered frame.
- Result: Crisp lines and a tailored look.
4. Fabric Rosettes or Flowers
- Charming Details: Make fabric rosettes or flowers.
- How-To:
- Cut fabric strips.
- Twist or fold them into rosettes.
- Attach them strategically to your headboard.
- Romantic Vibe: Perfect for a romantic or bohemian bedroom.
5. Ribbon or Tape Trim
- Versatility: Ribbons or decorative tapes come in various widths and patterns.
- Application: Glue or sew them along the edges or seams.
- Playful or Elegant: Choose a style that complements your overall bedroom theme.
Remember, embellishments should enhance your bed frame without overwhelming it. Mix and match, experiment, and let your creativity shine. Sweet dreams await in your beautifully adorned bed!
FAQs About DIY Upholstered Bed Frame
Get answers to all your questions about DIY upholstered bed frames in this comprehensive FAQ guide. Learn how to build your own stylish and comfortable bed frame at home.
1. What is a DIY upholstered bed frame?
A DIY upholstered bed frame is a custom-made bed frame that you build yourself. It combines the elegance of an upholstered headboard with a sturdy wooden frame, resulting in a stylish and comfortable bed. Unlike store-bought options, a DIY upholstered bed frame allows you to choose the fabric, design, and dimensions to match your bedroom decor.
2. How do I determine the dimensions for my DIY upholstered bed frame?
- This tutorial focuses on a king-size bed frame, but you can adjust it for other bed sizes.
- The bed frame accommodates a 9" height box spring/foundation. If yours differs, modify the width of the plywood boards accordingly.
- The overall dimensions for a king-size bed frame are 81" x 78". The height varies based on the feet you choose (mine were 6" high, resulting in an overall height of 17-1/4").
3. Can I disassemble my DIY upholstered bed frame?
Absolutely! The unique feature of this bed frame is its disassemblability. If you need to move or store it, simply unscrew the brackets and separate the components. No need to worry about bulky furniture during relocation.
4. How much does it cost to build a DIY upholstered bed frame?
- The bed frame material cost alone is approximately $240.
- If you also make the matching headboard, the total cost (including both) is around $410.
- Keep in mind that prices may vary based on your location and the specific materials you choose.
Remember, making your own upholstered bed frame allows you to personalize your sleep space while enjoying the satisfaction of a handmade masterpiece!
Final Thoughts
This DIY project was not just about building a bed; it was about making a safe, comfortable, and beautiful space for my son. The upholstered bed frame added a touch of elegance to his room while serving practical needs. By following this guide, I hope you feel inspired and equipped to tackle your own DIY upholstered bed frame project. Remember, patience and precise measurements are your best friends in this endeavor.


