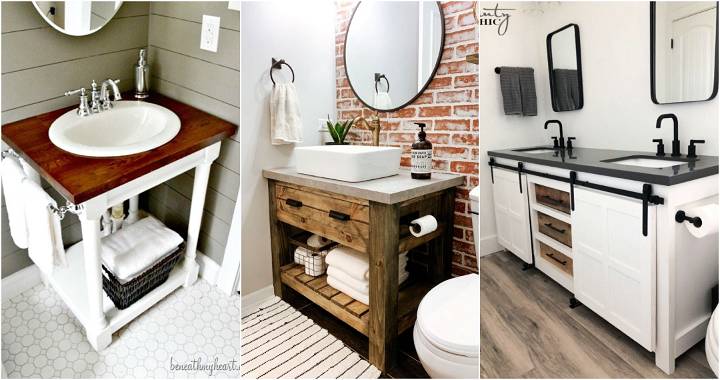
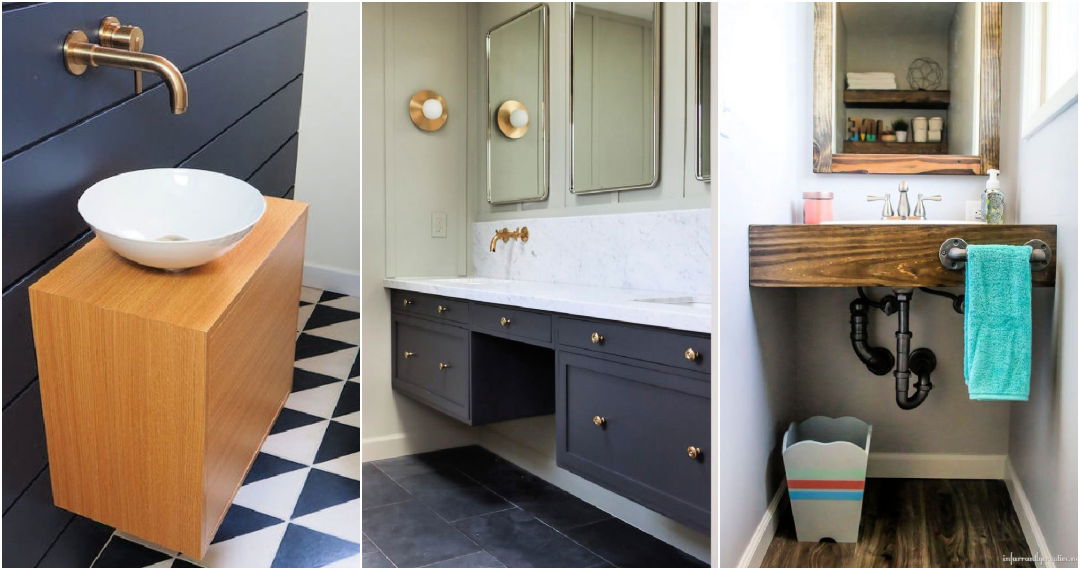
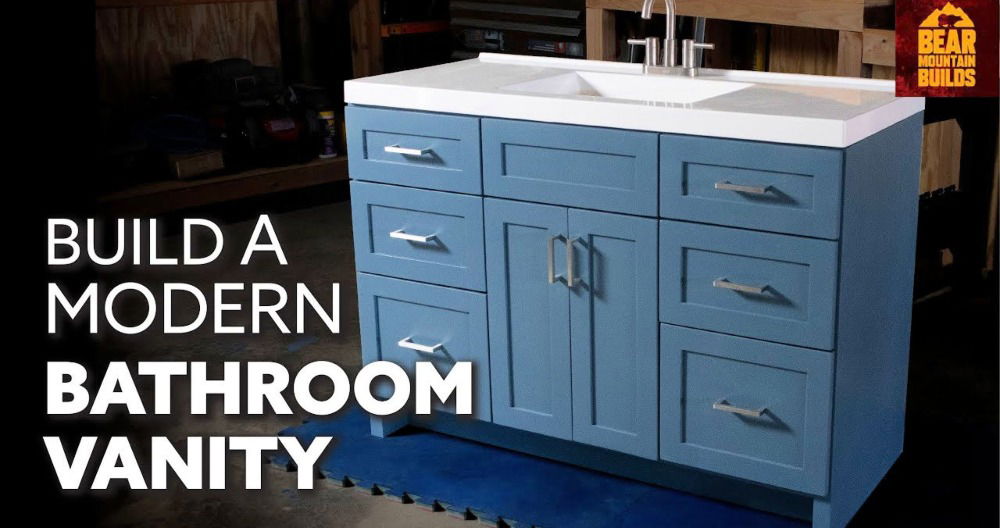
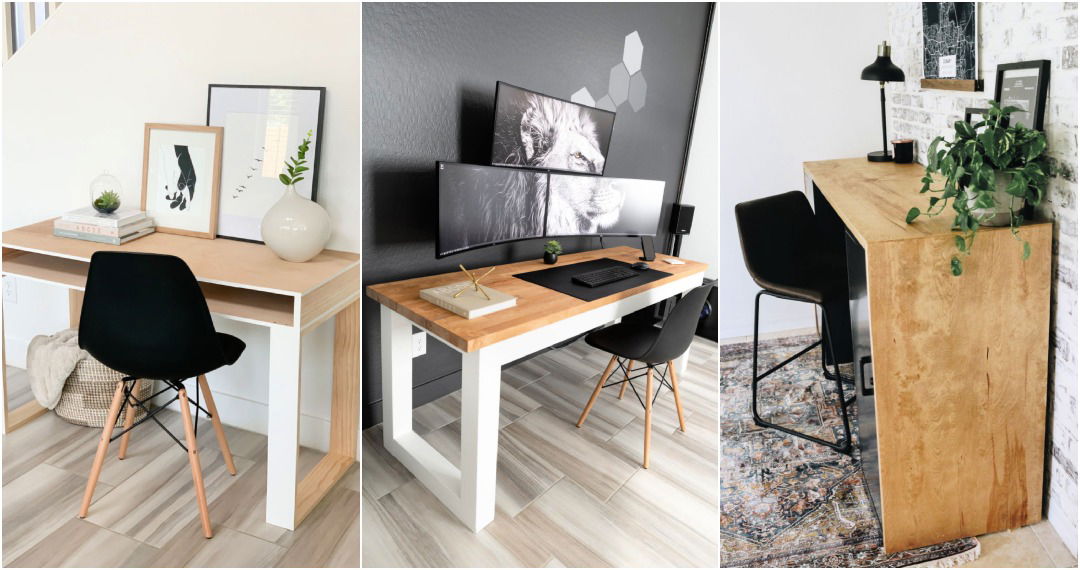
Building a DIY vanity desk for your home can be both an exciting and rewarding project. This guide will show how to build a vanity makeup desk with step-by-step instructions, making it easy to follow along. Building your vanity desk allows you to customize the design and size to suit your space and needs. Use simple materials to craft a functional and stylish piece of furniture that enhances your daily routine.
Follow this guide to learn how to make a vanity desk from scratch, saving money and adding a personal touch to your home decor. We will cover everything from selecting materials to assembling the final piece, ensuring you have all the information needed.
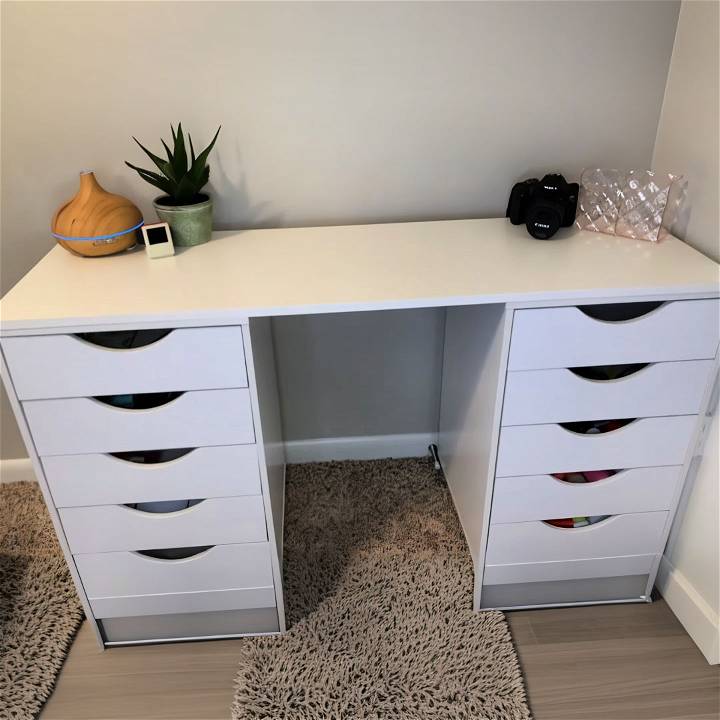
Build your own stylish DIY vanity desk with our easy-to-follow guide. Perfect for small spaces, customize it to fit your style and needs.
Why I Started This Project
I've always admired those glamorous vanity sets you see online or in stores, but the prices were always a major setback. When I stumbled upon a DIY vanity desk video on YouTube, inspiration struck. The idea of crafting something unique, exactly to my taste and at a fraction of the cost, was too tempting to pass up. So, I decided it was time to embark on this creative journey.
Materials Needed and Their Purpose
- Drawers: I chose to purchase two drawers from Michael's online store and used a coupon to get them at a steal - under $100 for both, which is a significant saving compared to similar items at IKEA. Drawers are essential for storage and serve as the base of the vanity.
- Screwdriver: The only tool required for this project, used to assemble the drawers.
- Shelf/Countertop: I found a perfect piece at Home Depot for about $12, which serves as the main surface of the vanity. It’s crucial to choose one that fits your space and looks appealing since it's the most visible part of the vanity.
- E6000 Glue: This strong adhesive is needed to secure the countertop to the drawers, ensuring stability and durability.
- Weights (optional): To help the glue set properly, having some heavy objects to place on top can be useful.
Step by Step Instructions
Follow step-by-step instructions to make your own DIY vanity desk, from assembling drawers to personalizing the finished product. Perfect for home improvement enthusiasts!
Assembling the Drawers
Firstly, I unpacked the drawers and laid out all the parts and instructions. Despite my initial apprehension, the assembly was surprisingly straightforward. The key is to follow the instructions carefully and use the screwdriver when needed. It was a bit of a workout, but after assembling the first set of drawers, the second set was a breeze.
Preparing the Countertop
Once the drawers were assembled, I turned my attention to the countertop. Choosing the right side of the countertop was crucial - one side had a better finish than the other. After deciding which side would face up, I positioned it on top of the drawers to ensure it fit perfectly.
Securing the Countertop
Using the E6000 glue, I applied a generous amount along the top edges of the drawers, then carefully placed the countertop on top. I had someone help me with this step to ensure it was aligned correctly. To guarantee a strong bond, I placed heavy objects on top of the countertop and let it sit for 72 hours.
Personalizing My Vanity Desk
After the glue had fully set, it was time to add the finishing touches. I organized my makeup on one side and hair products on the other, making everything easily accessible. The best part of this DIY project was the ability to customize the vanity exactly how I wanted it.
Customization Ideas for Your DIY Vanity Desk
Building a vanity desk that reflects your personal style and meets your needs can be a fulfilling DIY project. Here are some customization ideas to help you design a vanity desk that’s both functional and uniquely yours:
- Choose Your Color Palette: Select colors that resonate with your style. Whether it’s a classic white, a bold black, or a pop of color, painting your vanity desk can instantly personalize it. Use non-toxic paint for safety and durability.
- Select Stylish Hardware: Swap out standard knobs and handles for something more decorative. Brass pulls, crystal knobs, or even vintage handles can add character to your vanity desk.
- Add a Personal Touch with Decals: Use wall decals or stencils to add designs to your vanity desk. From floral patterns to geometric shapes, this is an easy way to inject personality without permanent changes.
- Incorporate a Theme: If you have a favorite era or style, like Art Deco or Bohemian, incorporate elements of that theme into your vanity design. This could be through the shape, decorative items, or accessories.
- Functional Add-Ons: Consider adding features that enhance usability, such as a fold-out mirror, built-in outlets for styling tools, or a slide-out tray for extra workspace.
- Organize with Accessories: Use drawer organizers, small trays, or cups to keep your makeup and tools tidy. Clear organizers allow you to see everything at a glance, while decorative ones can add to the aesthetic.
- Light It Up: Good lighting is crucial for a vanity desk. Install adjustable LED lights around the mirror to provide clear, bright light for makeup application or grooming.
- Reflect Your Style with a Mirror: Choose a mirror that complements your vanity desk. An ornate frame can add elegance, while a simple, modern frame might suit a minimalist aesthetic.
- Texture Play: Mix materials and textures for a rich look. Combine wood with metal, glass, or fabric to build depth and interest.
- Eco-Friendly Materials: If sustainability is important to you, opt for recycled or upcycled materials. Reclaimed wood or repurposed items can make your vanity desk eco-friendly and unique.
By incorporating these ideas, you’ll build a vanity desk that’s not only tailored to your taste but also adds functionality and style to your space.
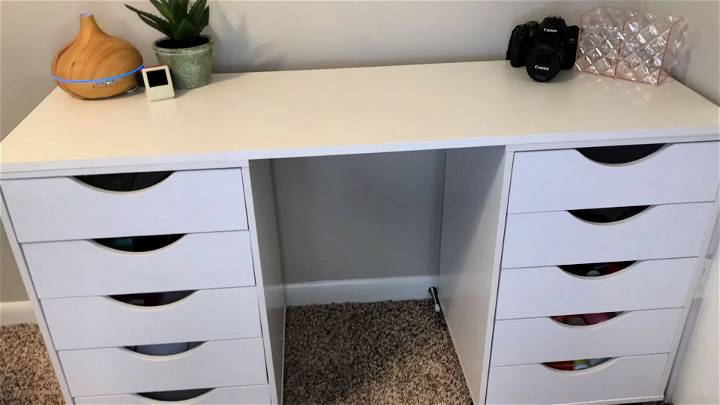
Upcycling Old Furniture into a New Vanity Desk
Transforming old furniture into a new vanity desk is not only eco-friendly but also a creative way to add a unique piece to your home. Here’s how you can upcycle an old desk or table into a beautiful and functional vanity:
- Find the Right Piece: Look for old furniture with good bones. A sturdy desk or table with drawers is ideal. Check garage sales, thrift stores, or your own home for hidden gems.
- Clean and Prep: Start by cleaning the furniture thoroughly. Remove old hardware and sand down the surface to prepare it for painting or staining.
- Paint or Stain: Choose a paint or stain that fits your style and the room where the vanity will be placed. Apply it evenly, following the manufacturer’s instructions for the best finish.
- Add a Mirror: Attach a mirror to the furniture. You can mount it on the wall above the desk or attach it to the furniture itself. Consider the size and shape that best fits the space.
- Install New Hardware: New knobs and pulls can completely change the look of your piece. Choose hardware that complements your design aesthetic.
- Organize the Space: Add drawer organizers or dividers to keep your makeup and accessories tidy. Consider using small baskets or trays inside the drawers for additional organization.
- Light It Up: Good lighting is essential for a vanity. Install a lighted mirror or add a lamp with soft, natural light to ensure you have the best lighting for getting ready.
- Personalize Your Space: Add personal touches like photos, a vase of flowers, or a decorative tray. This makes the space feel like your own and adds to the overall design.
- Seal and Protect: Once you’re happy with the look, seal the paint or stain to protect it from wear and tear. Use a clear topcoat for added durability.
Follow these steps to craft a unique vanity desk, saving furniture from the landfill and adding charm to your space. Enjoy making something beautiful and functional yourself.
Storage Solutions for Your DIY Vanity Desk
When it comes to a DIY vanity desk, smart storage solutions are key to keeping your space organized and functional. Here are some ideas to help you maximize storage and maintain a clutter-free vanity:
- Divide and Conquer: Use drawer dividers or small boxes to build compartments for different items. This will help you keep makeup, jewelry, and other small items sorted and easy to find.
- Vertical Space: Don’t forget the space above your desk. Install shelves or hang baskets on the wall to store items you don’t use daily. This keeps your desk surface clear for daily tasks.
- Hidden Compartments: Consider adding a hidden compartment under the tabletop or behind a false drawer front. It’s a perfect spot to store valuable items or things you want to keep out of sight.
- Magnetic Strips: A magnetic strip mounted on the wall or the side of your vanity can hold metal items like tweezers, scissors, and bobby pins, making them easy to grab.
- Clear Containers: Use clear containers to store items so you can see what’s inside without having to open them. This is especially useful for makeup and skincare products.
- Repurpose Items: Look around your home for items you can repurpose for storage. Old mason jars, teacups, or small vases can be great holders for brushes or lipsticks.
- DIY Drawer Organizers: Build custom drawer organizers using cardboard or foam board. Cut them to size and arrange them to fit your drawers and the items you need to store.
- Use Trays: A tray on top of your vanity can hold your most-used items. It keeps them accessible and can be easily moved when you need more space.
- Hooks and Rods: Install hooks on the side of your vanity or use a tension rod between legs to hang hair tools or bags with products.
- Adjustable Shelves: If you’re building your vanity, consider adding adjustable shelves inside the drawers or cabinets. This allows you to change the layout as your storage needs evolve.
Implementing these storage solutions ensures everything has its place, making your DIY vanity both beautiful and practical. The best storage suits your personal needs and keeps you organized.
Maintenance Tips for Your DIY Vanity Desk
Keeping your DIY vanity desk in top condition ensures it remains a beautiful and functional piece in your home. Here are some straightforward maintenance tips:
- Regular Cleaning: Dust your vanity regularly with a soft, dry cloth. For deeper cleans, use a damp cloth with mild soap, but avoid harsh chemicals that can damage the finish.
- Protect the Surface: Use coasters or mats to protect the desk surface from makeup spills or water rings. Wipe up any spills immediately to prevent stains.
- Avoid Direct Sunlight: Position your vanity away from direct sunlight to prevent the color from fading. If this isn’t possible, consider using a UV-protective varnish.
- Tighten Loose Screws: Check the hardware periodically and tighten any loose screws or knobs to ensure the vanity remains sturdy.
- Smooth Drawer Movement: If drawers start to stick, apply a small amount of beeswax or soap to the runners to help them glide smoothly.
- Scratch and Dent Care: For minor scratches, use a wood marker or crayon that matches the vanity’s color to fill them in. For dents, you can use a damp cloth and an iron to steam the wood, lifting the dent.
- Refresh the Finish: Over time, the finish can wear. Refresh it with a new coat of paint or varnish every few years to keep it looking new.
- Check for Wear and Tear: Inspect your vanity for signs of wear, such as peeling veneer or loose joints, and address these issues promptly to prevent further damage.
- Organize Wisely: Avoid overloading drawers or shelves, as this can cause strain on the vanity. Keep it organized to distribute weight evenly.
- Humidity Control: Maintain a stable environment around your vanity. Excessive humidity can cause wood to warp, so use a dehumidifier if necessary.
Follow these tips to keep your DIY vanity desk looking new and lasting longer. Regular care will ensure it remains cherished for years.
FAQs About DIY Vanity Desk
Discover answers to common questions about DIY vanity desks. Learn tips, materials, and steps for making your custom makeup station.
The size of your vanity desk should be based on the space available and your personal needs. A standard desk height is 30 inches for adults. If you’re using it as a makeup vanity, consider the height of the chair and the user’s eye level when seated to ensure the mirror is at the right height.
Absolutely! You can modify the dimensions of your vanity desk to fit your space. If you have a small room, consider a compact design with a flip-top for extra storage. For larger spaces, you might add more drawers or a larger tabletop.
When adding a mirror, ensure it’s the right size and height for the user. Consider adjustable mirrors like accordion or tilting-style mirrors for flexibility. Also, think about the lighting around the vanity to provide the best visibility for makeup application.
To ensure stability and durability:
Use sturdy materials like solid wood or high-quality plywood.
Reinforce joints with wood glue and screws rather than nails for added strength.
Consider adding braces or brackets at the corners if the desk feels wobbly.
Make sure all legs are cut to the same length and are perfectly vertical to prevent the desk from rocking.
For creative storage solutions:
Install drawers under the tabletop for hidden storage.
Use decorative boxes or baskets on the tabletop for easy access to frequently used items.
Add a magnetic strip under the desk to hold metal items like tweezers or bobby pins.
Consider a pegboard on the wall above the desk to hang small shelves, baskets, and other organizers.
Final Thoughts
Wrapping up, building your own DIY vanity desk for your home is both rewarding and practical. It allows you to customize the design and functionality to suit your needs. Plus, building a DIY vanity desk can be a fun and fulfilling project. Start planning your space and gather your materials; your personalized vanity desk awaits! Follow detailed guides on how to build a vanity makeup station, and you'll have a beautiful piece ready in no time!


