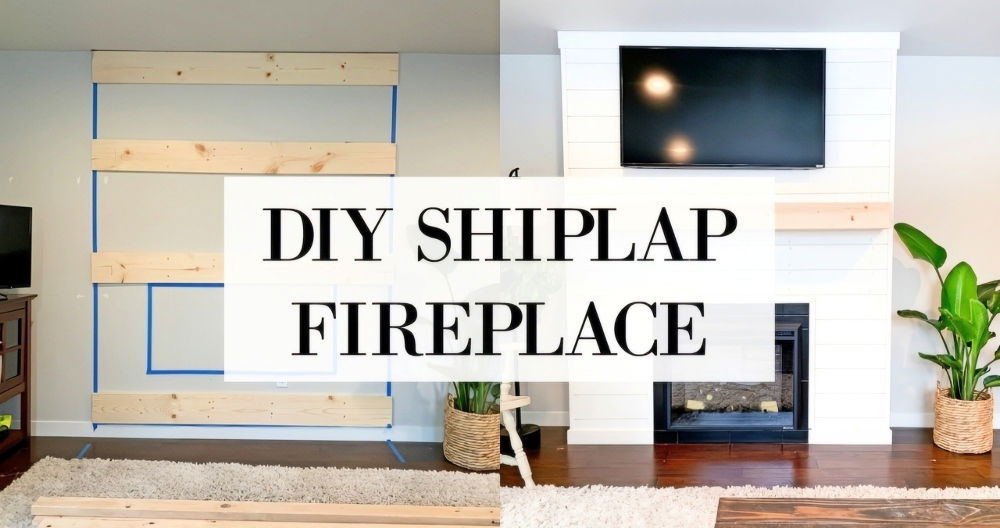
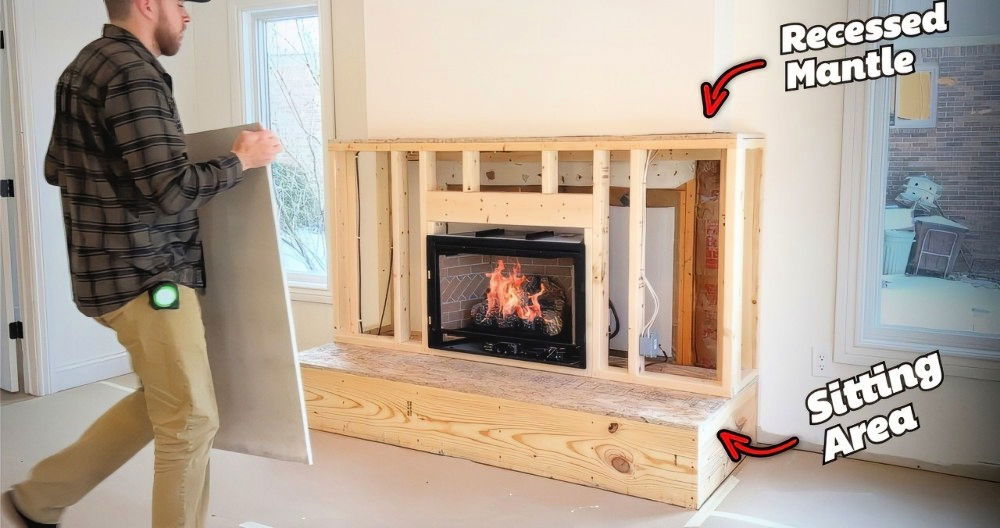
Building a DIY Venetian plaster fireplace is an intricate yet rewarding home improvement project. It blends the beauty of craftsmanship with the elegance of high-end finishes, making a stunning centerpiece in any living space. Learn how to apply Venetian plaster with this step-by-step guide, covering everything from framing to the finishing touches for a professional result.
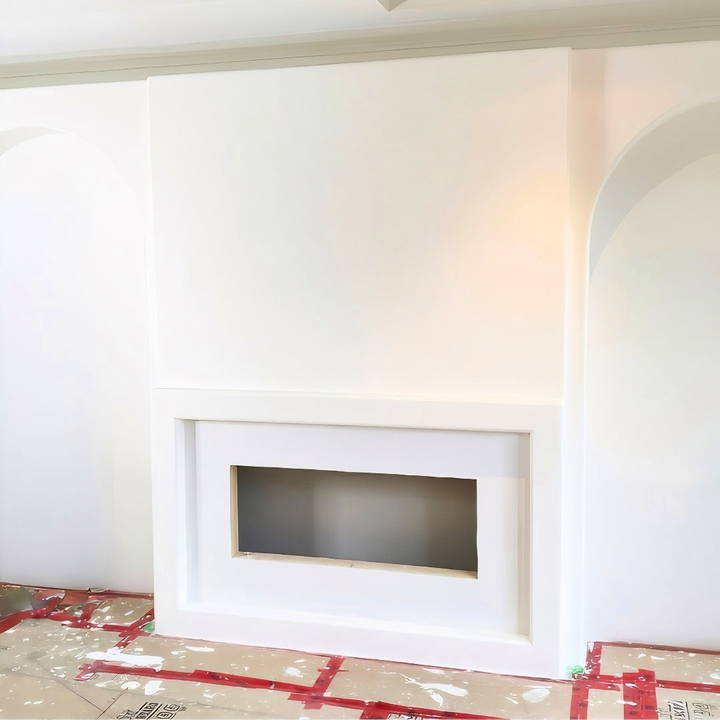
Understanding Venetian Plaster
Venetian plaster is a finishing material that uses lime, marble dust, and pigments to build a smooth, polished, or textured surface. Renowned for its durability and timeless aesthetic, it has been used for centuries in architectural designs. Applying it requires patience and attention to detail, especially on curved or complex surfaces like a fireplace.
Step by Step Instructions
Learn to build a Venetian plaster fireplace with our step-by-step guide, expert design tips, and craftsmanship advice from planning to finishing.
Step1. Planning and Preparation
Discover expert tips for planning and preparing a stunning venetian plaster fireplace, adding elegance and timeless charm to your home.
Designing the Fireplace
The foundation of any DIY project is meticulous planning. For a Venetian plaster fireplace, especially with unique elements like a radius or arch, understanding the design's geometry is crucial. Follow these steps:
- Sketch the Design: Start with a detailed drawing, including dimensions, arch radius, and desired finish.
- Consider Materials: Ensure you have high-quality 2x4s for framing, drywall for smooth surfaces, and plastering tools.
- Pro Tip: When designing, account for material thicknesses, such as drywall and corner beads, to ensure the final dimensions match your plans.
2. Gathering Tools and Materials
Prepare the following tools and materials:
- Framing Materials: 2x4 lumber, screws, nails
- Drywall Supplies: Sheets, joint compound, fiber fuse tape
- Plastering Tools: Putty knives (2–4 inches), an oval-shaped trowel for curved surfaces
- Venetian Plaster Mix: Marmarok KS or similar
Having everything ready minimizes interruptions and ensures a smoother workflow.
Step2: Framing the Fireplace
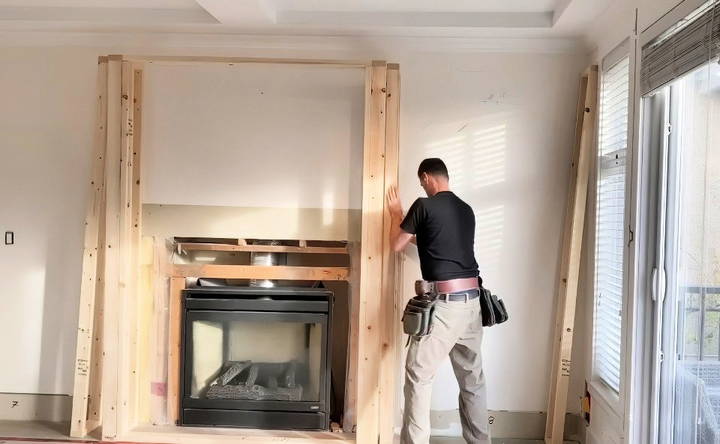
Framing is the foundation of your fireplace. The structure must be sturdy and precise to support the layers of drywall and plaster.
Building the Frame
Construct basic rectangular frames using 2x4s. Secure them to the wall with screws, ensuring they align with your design dimensions.
Key Challenges:
- Aligning Measurements: Translating a drawing into a physical structure requires accurate calculations.
- Adjusting for Finish Materials: Remember to consider the thickness of drywall and plaster during measurements.
- Tip: Double-check your layout to avoid dimensional errors that could complicate later steps.
Step3: Crafting the Arch
Making a perfectly curved arch is both a technical and artistic endeavor.
Cutting the Arch Template
- Draw the Radius: Use a simple method with a pencil, string, and a piece of wood as a compass.
- Cut Precisely: This first cut is your master template. Use a jigsaw for smooth, precise curves.
- Test Fit: Ensure the arch fits well before using it to scribe and cut additional pieces.
Avoiding Errors
When cutting multiple arch pieces:
- Always use the original template to avoid compounding errors.
- Secure the template while marking and cutting subsequent pieces.
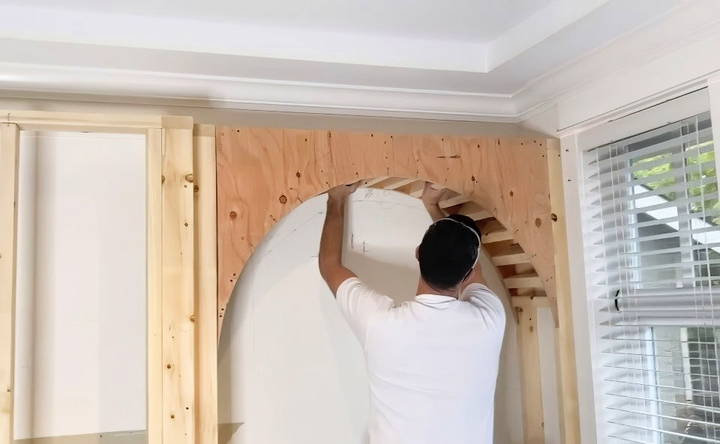
Step4: Installing Drywall
Once the frame and arches are complete, it's time to hang the drywall.
Preparing Drywall for Curves
- Soften Drywall: For curved sections, soak the drywall in water to make it pliable.
- Attach Carefully: Secure the drywall in layers to prevent cracking while maintaining the arch's shape.
- Tip: Use screws for tight holds and nails for smaller sections to speed up the process.
Applying Bullnose Corner Beads
Bullnose corner beads give the fireplace its smooth, rounded edges:
- Adhesive Application: Spray glue on the bead and drywall. Once tacky, press the bead firmly.
- Staple for Security: For arches, staple each tab to ensure longevity.
Leave a half-inch gap between the drywall edge and bead to accommodate the curvature and finish.
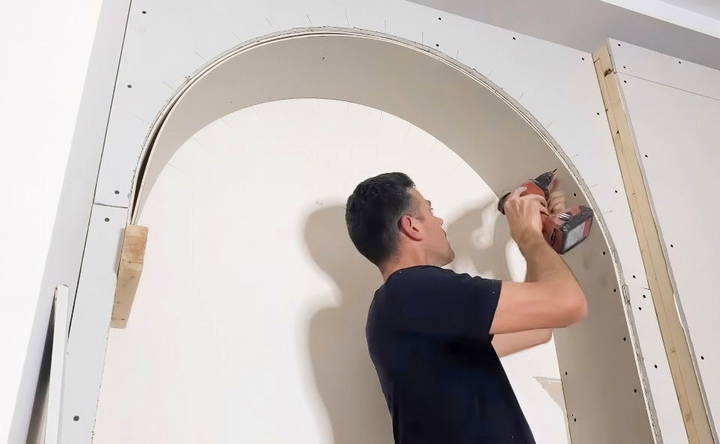
Step5: Mudding and Sanding
Mudding and sanding lay the groundwork for a flawless plaster finish.
Coating the Surface
- Apply all-purpose joint compound over seams and joints.
- Use fiber fuse tape on dissimilar materials to prevent cracking.
Sanding for Smoothness
Sanding is critical for a polished look:
- Avoid sanding parallel to edges to preserve the bullnose profile.
- Use fine-grit sandpaper for delicate areas.
- Tip: Take your time with this step; a smooth base ensures a perfect plaster application.
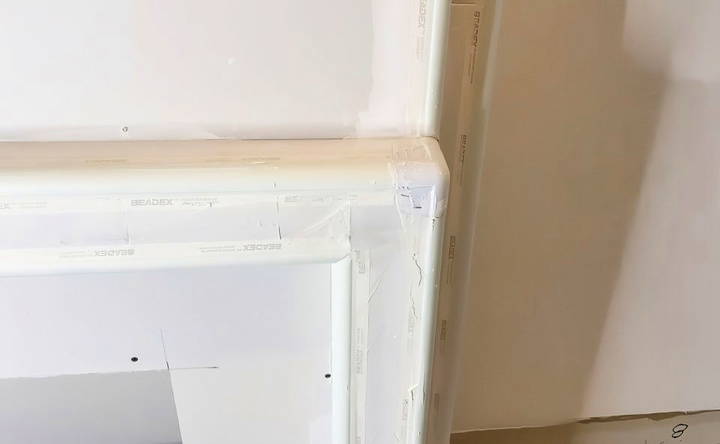
Step6: Applying Venetian Plaster
The Venetian plaster application transforms your fireplace into a work of art. It requires skill and patience, making it one of the most labor-intensive phases.
Preparing the Surface
- Ensure the drywall is clean and dust-free.
- Mix the Venetian plaster to a smooth consistency.
First Coat Application
- Use a small trowel (4-inch or smaller) for precise control.
- Focus on making a flat base layer while leaving some texture for depth.
- Challenge: On curved sections, maintaining uniformity is difficult. Use an oval-shaped trowel to avoid sharp lines or gouges.
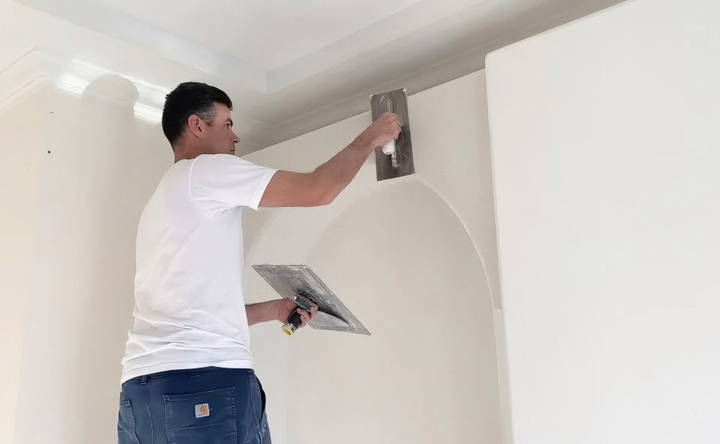
Step7: Making Texture and Movement
Venetian plaster is celebrated for its texture. Achieving this requires an artistic touch:
- Random Patterns: Avoid straight lines; work in random, overlapping strokes.
- Balance Texture: Strive for a cohesive look across all surfaces, especially on curves and corners.
- Pro Tip: Collaborate with a helper for efficiency. One person can tackle intricate areas while the other handles broader surfaces.
Step8: Adding Depth and Polish to the Venetian Plaster
Once the base layer of Venetian plaster is applied, the next steps focus on refining the texture and achieving a polished, elegant finish.
Applying Subsequent Coats
- Build Gradually: Apply a second coat to add depth, ensuring the texture looks consistent with the initial application.
- Use Small Tools: For intricate areas, such as inside curves or tight spaces, use small trowels or putty knives (2–3 inches wide).
- Random Movement: Keep your strokes varied to avoid repetitive patterns that could make the surface appear mechanical rather than organic.
- Challenge: Working with curved surfaces like arches requires extra care to maintain uniformity. The texture must look seamless across the entire fireplace.
Burnishing the Surface
Burnishing Venetian plaster builds the characteristic sheen that gives it a luxurious, marble-like appearance.
- Timing: Allow the plaster to set but not fully cure before burnishing.
- Polish High Spots: Use a clean trowel or a polishing tool to focus on high areas, giving them a smooth, reflective finish.
- Matte vs. Glossy Balance: Leave some areas matte to contrast with the polished spots, adding visual depth.
- Pro Tip: Ensure good lighting while burnishing. Direct light reveals imperfections and helps you adjust your technique for the desired effect.
Step9: Final Touches
Once the Venetian plaster is polished, inspect and fine-tune the details for a professional finish.
Addressing Imperfections
- Sanding Rough Edges: Use fine-grit sandpaper for minor adjustments, taking care not to damage the plaster.
- Filling Small Gaps: Spot-apply plaster in areas where the coverage is uneven.
- Tip: Don't rush this step; attention to detail will elevate the quality of your project.
Protecting the Finish
To enhance durability and maintain the appearance, apply a protective sealant:
- Type of Sealant: Choose a wax or acrylic sealant suitable for Venetian plaster.
- Application: Use a cloth or sponge for even application, ensuring all areas are covered.
- Buffing: Once dry, buff the sealant with a soft cloth to achieve a consistent shine.
Step10: Troubleshooting Common Challenges
Even with careful planning and execution, challenges can arise. Here's how to handle them:
Cracking in the Plaster
Cracks may form if the underlying structure isn't stable or if the plaster dries too quickly:
- Preventive Measures: Use fiber fuse tape over joints and allow adequate drying time between coats.
- Repairing Cracks: Fill with a thin layer of plaster, sand smooth, and reapply texture as needed.
Uneven Texture
Achieving uniform texture can be tricky, especially on curved surfaces:
- Solution: Use overlapping strokes to blend edges and avoid abrupt transitions.
Step11: Highlighting the Finished Product
After all the hard work, it's time to showcase your masterpiece.
Lighting for Emphasis
Proper lighting enhances the texture and sheen of Venetian plaster:
- Highlight Curves: Position lighting to emphasize the smooth, rounded edges of the fireplace.
- Avoid Shadows: Ensure even illumination to prevent harsh shadows that detract from the texture.
Adding Decorative Touches
Complement your Venetian plaster fireplace with décor:
- Mantel Styling: Add elegant pieces like candles, vases, or artwork.
- Color Coordination: Match surrounding furnishings to the plaster's tones for a cohesive look.
Step12: Reflections on the Project
Completing a Venetian plaster fireplace is an achievement that requires skill, patience, and artistry. It's a testament to craftsmanship and transforms your space into a work of art.
Lessons Learned
- Patience is Key: The slow process of applying and perfecting Venetian plaster teaches attention to detail.
- Importance of Tools: Investing in the right tools, such as specialized trowels, simplifies the process and improves results.
Pride in Craftsmanship
Looking back at your finished fireplace, appreciate the unique character and charm it brings to your home. No two Venetian plaster projects are identical, making yours a truly one-of-a-kind creation.
Conclusion: A Timeless Centerpiece
A DIY Venetian plaster fireplace combines structural precision and artistic flair, resulting in a stunning focal point for any room. Whether you're an experienced DIYer or tackling this as your first major project, the steps outlined here provide a roadmap to success. With patience, attention to detail, and a willingness to learn, you'll build a masterpiece that will be admired for years to come.
FAQs About DIY Venetian Plaster Fireplace
FAQs About DIY Venetian Plaster Fireplace
Venetian plaster is a mixture of lime, marble dust, and pigments, creating a smooth, polished, or textured finish. It is ideal for fireplaces due to its durability, heat resistance, and timeless aesthetic, making it both functional and visually appealing.
Use a pencil, string, and a piece of wood as a compass to draw a precise radius. Cut the first piece carefully using a jigsaw and test fit it before using it as the master template to cut additional arches. Avoid using subsequent pieces as templates to prevent compounding errors.
Soak drywall sheets in water to increase flexibility. Attach them in layers to achieve the desired curve while preventing snapping. Secure them tightly using screws or nails to maintain a consistent shape.
Use fiber fuse tape or carefully wrinkled paper tape to address inside corners. Apply a thicker layer of joint compound to smooth wrinkles and ensure a seamless transition between surfaces.
Use small trowels or oval-shaped tools to work on curved surfaces. Avoid straight, repetitive strokes; instead, focus on making random, overlapping patterns to achieve a cohesive, organic look.
Cracks often occur due to structural instability or improper application. Reinforce joints with fiber fuse tape during drywall preparation. To repair, fill cracks with a thin layer of plaster, sand smooth, and reapply the finish.
Yes, Venetian plaster can be tinted to match your desired color scheme. Ensure the pigment is evenly mixed before application to maintain a consistent hue throughout the project.
Secure bullnose corner beads with spray adhesive and staples. Ensure a half-inch gap between drywall edges and the bead for proper fitting. Stapling each tab can prevent lifting over time.
Yes, alternative materials like drywall mud or textured paints can replicate the look of Venetian plaster. However, they may lack the durability, sheen, and depth of traditional Venetian plaster.
Building and finishing a Venetian plaster fireplace can take around two weeks, depending on complexity and experience level. Allocate sufficient time for drying and curing between steps.


