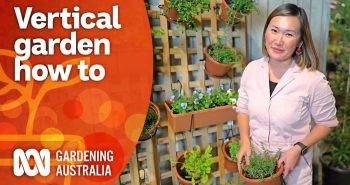
Building a DIY vertical planter is a great way to add greenery to your living space, especially if you're working with limited room. This design not only maximizes vertical space but also offers a beautiful, lush display for various plants, from ferns to herbs. Let's dive into a detailed, step-by-step guide to building a vertical planter that's sturdy, attractive, and long-lasting.
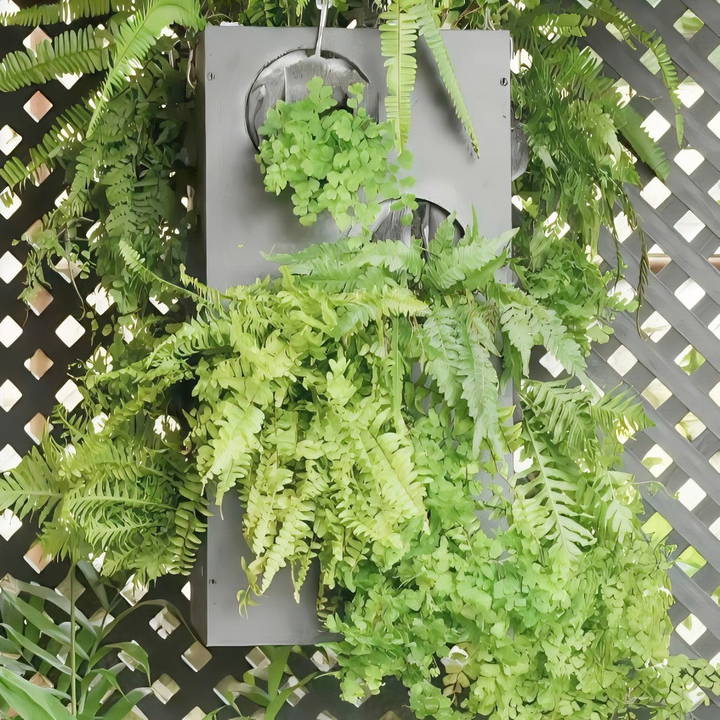
Why Choose a Vertical Planter?
Vertical gardening is ideal for small spaces, balconies, and even as a feature wall in a larger garden. A hanging or wall-mounted planter allows you to grow a range of plants without taking up much floor space. This planter box design is versatile and can accommodate flowers, herbs, vegetables, or decorative plants.
Materials and Tools Needed
Before you begin, gather all necessary materials and tools. The list below includes essentials for a sturdy, weather-resistant vertical planter.
Materials
- Marine Ply: This waterproof plywood will be used for the planter box frame.
- Dimensions: Two sides, 700 mm x 318 mm, and a base, 300 mm square.
- Additional Sides: Two pieces slightly thinner than the thickness of the ply.
- Timber Glue: For securing joints.
- 10-Gauge Screws: Essential for a strong assembly.
- Exterior-Grade Waterproofing Solution: To extend the life of the wood, preventing rot and water damage.
- Exterior Paint (Optional): Black is recommended for a minimalist look and to help the plants stand out.
- Geotextile Fabric (Geo-Fab): Lines the planter, keeping soil intact while allowing air and water to flow through.
- Premium Potting Mix: For healthy plant growth.
- Plants: Ferns, herbs, or flowers of your choice.
Tools
- Saw: To cut the plywood to size.
- Hole Saw (120 mm): For making planting holes in the sides.
- Drill: For assembly and drainage holes.
- Clamps: To hold the pieces together during assembly.
- Paintbrush: For applying waterproofing and paint.
- Measuring Tape and Pencil: For precise measurements and markings.
Step by Step Instructions
Make your own DIY vertical planter with our step-by-step guide! From cutting wood to planting, learn each step for a thriving vertical garden.
Step 1: Preparing the Wood for Assembly
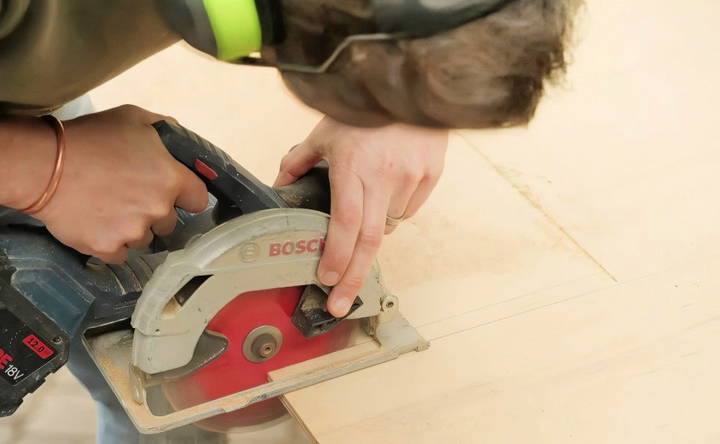
To build a robust structure, follow these detailed steps for cutting and preparing the marine ply:
Cut the Sides and Base:
- Two side pieces at 700 mm x 318 mm.
- A base piece, 300 mm square.
- For the other two sides, trim slightly so they're the thickness of the ply, ensuring the box fits together snugly.
Mark and Drill Planting Holes:
- On the side panels, mark staggered holes in a random pattern to give the plants space to grow in different directions.
- Use a 120 mm hole saw to cut out the holes, making room for the plants to spread and fill out the box.
Step 2: Assembling the Planter Box
Assembling the planter box correctly is crucial for durability and function.
- Glue the Joints: Apply timber glue along the edges of the side panels where they'll meet the base and each other.
- Clamp and Screw Together: Hold the pieces together with clamps, then screw the sides and base with 10-gauge screws. Make sure to countersink the screws for a flush finish.
- Test for Stability: Assemble one side first, then attach the other parts to ensure everything lines up correctly.
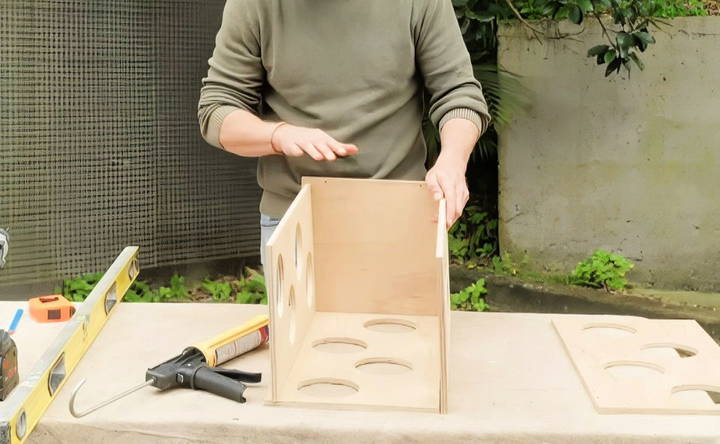
Tip: Leave the top of the planter open for easy planting and watering later on.
Step 3: Waterproofing the Inside
Waterproofing will significantly extend the lifespan of your planter, especially in outdoor environments.
- Apply Waterproofing Solution: Use an exterior-grade waterproofing product and apply two coats, allowing each coat to dry for about 12 hours.
- Seal the Inside: Pay special attention to the joints, as these areas are more prone to water damage.
Step 4: Painting for a Finishing Touch
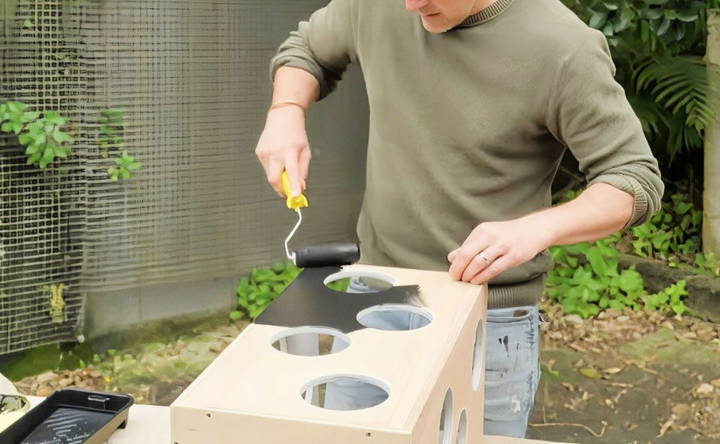
Adding a coat of paint can make the planter more visually appealing and protect the wood.
- Choose Dark Colors: Black or deep shades work well for vertical planters, allowing plants to stand out against a subtle background.
- Apply Exterior Paint: A single coat should suffice, but feel free to add a second coat for added durability.
Step 5: Lining with Geotextile Fabric
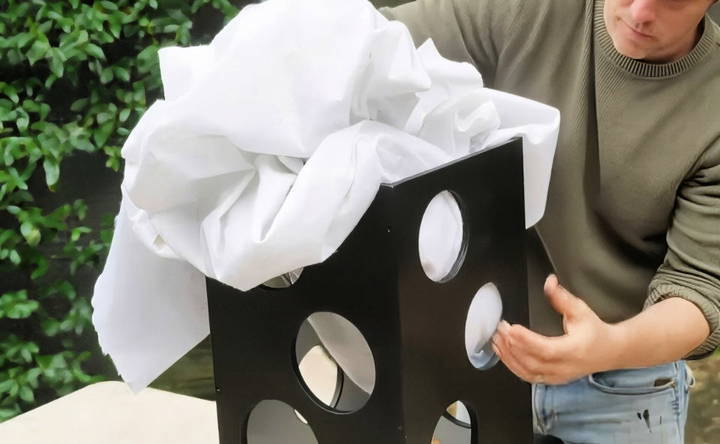
The geotextile fabric (geo-fab) plays an essential role in keeping soil from falling out while allowing air and moisture to circulate.
- Cut and Place the Fabric: Cut the fabric to fit inside the box, covering all the drilled holes.
- Spray Paint the Fabric (Optional): Black spray paint can help the fabric blend in, making it less visible.
- Cut Flaps for Planting: Build small flaps in the fabric over each hole, making it easier to insert plant root balls.
Step 6: Filling the Planter with Soil
For healthy plant growth, use a high-quality potting mix that offers good drainage and comes with added fertilizer.
- Add Potting Mix: Fill the planter box halfway with soil.
- Pack Soil Around the Holes: After each plant insertion, backfill around the root ball for support and to secure it in place.
Tip: Use a potting mix with slow-release fertilizer to feed the plants for up to six months.

Step 7: Planting
Planting is where your creativity shines! Choose plants that suit the light conditions where your planter will hang.
- Select Plants: Ferns are a great choice for shaded areas, while herbs, flowers, or strawberries are suitable for sunnier spots.
- Prepare the Root Ball: Gently loosen the root ball before inserting it, removing any excess soil.
- Place Plants: Insert each root ball through a flap, carefully feeding the foliage through the hole to ensure a natural appearance.
Step 8: Mounting the Planter Box
Proper mounting is essential, especially since a fully planted and watered box can weigh up to 45 kg.
- Install Mounting Brackets: Use heavy-duty brackets and make sure they're securely attached to the wall.
- Check Weight Capacity: Before watering, mount the planter box, ensuring it's stable and securely fastened to prevent accidents.
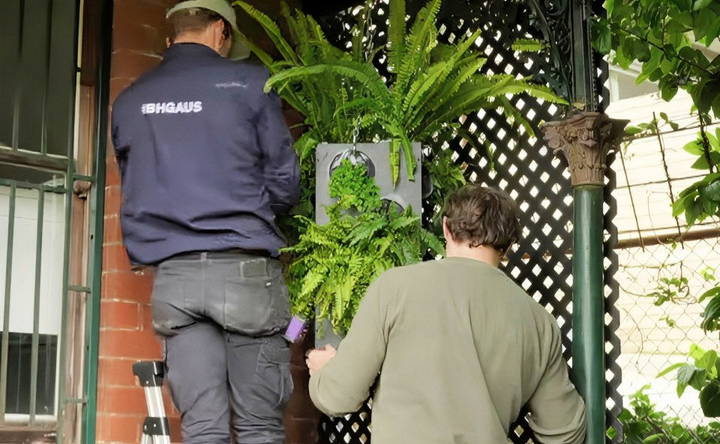
Tip: Always mount the planter before watering to avoid handling excess weight.
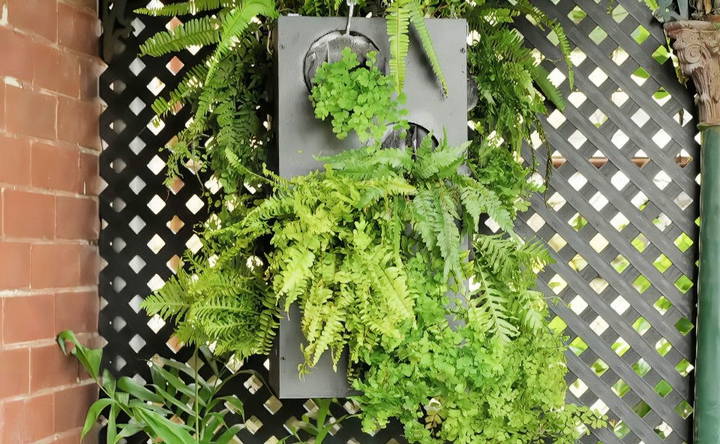
Step 9: Maintenance and Care
A well-maintained planter will stay lush and healthy for months. Here's what you need to do:
- Watering: Water from the top, letting it soak down through the soil.
- Fertilizing: Use a liquid fertilizer after six months to replenish nutrients. Pour it at the top, and it will naturally disperse throughout the soil.
- Pruning and Deadheading: Regularly remove dead leaves to maintain appearance and health.
Additional Tips for Success
- Drainage Holes: Drill a few small drainage holes at the base to prevent waterlogging.
- Sunlight Considerations: Choose plants that suit the sunlight available in your space.
- Winter Care: For colder climates, bring the planter indoors or protect it with an insulating cover.
Final Thoughts
A DIY vertical planter is a fantastic way to bring greenery into any space, no matter the size. By carefully following each step in this guide, you can build a beautiful, thriving wall garden that's easy to maintain and will bring you joy season after season.
FAQs for DIY Vertical Planter
Find answers to common questions about DIY vertical planters, including materials, assembly steps, and tips for making your own planter.
Black geo-fabric, which eliminates the need for spray-painting the fabric, is readily available. This option saves time and provides the same functionality by keeping the soil in place while remaining visually subtle behind the plants.
Bush lilies, ferns, herbs, and strawberries are all suitable options. Choose plants based on light availability: ferns thrive in shaded areas, while bush lilies and herbs generally prefer sunnier spots.
Using a geotextile fabric liner inside the planter stops soil from spilling through the drilled holes. This material allows air and water to pass through, keeping the plants healthy while maintaining a tidy appearance.
Applying an exterior-grade waterproof sealant and durable outdoor paint to the plywood extends the planter's life by protecting it from moisture and temperature changes. These layers safeguard the wood, making it resilient against rot and weather wear.
Ensure your mounting brackets are heavy-duty and securely fastened to wall studs or masonry. A fully watered planter can weigh up to 45 kg, so secure installation is essential to prevent accidents.
Since a premium potting mix contains slow-release fertilizer, reapply fertilizer only after six months. After that, a liquid fertilizer works best, seeping through the soil to nourish each plant evenly.


