Making a DIY video wall is an ambitious project, but for anyone interested in enhancing virtual production, live events, or immersive workspaces, it's achievable with the right tools, techniques, and planning. In this guide, we'll explore the process in detail, covering essential aspects like panel choices, mounting, power requirements, calibration, and troubleshooting. Let's dive into the specifics of building a video wall from scratch and gain a comprehensive understanding of this powerful display technology.
Understanding Video Wall Basics
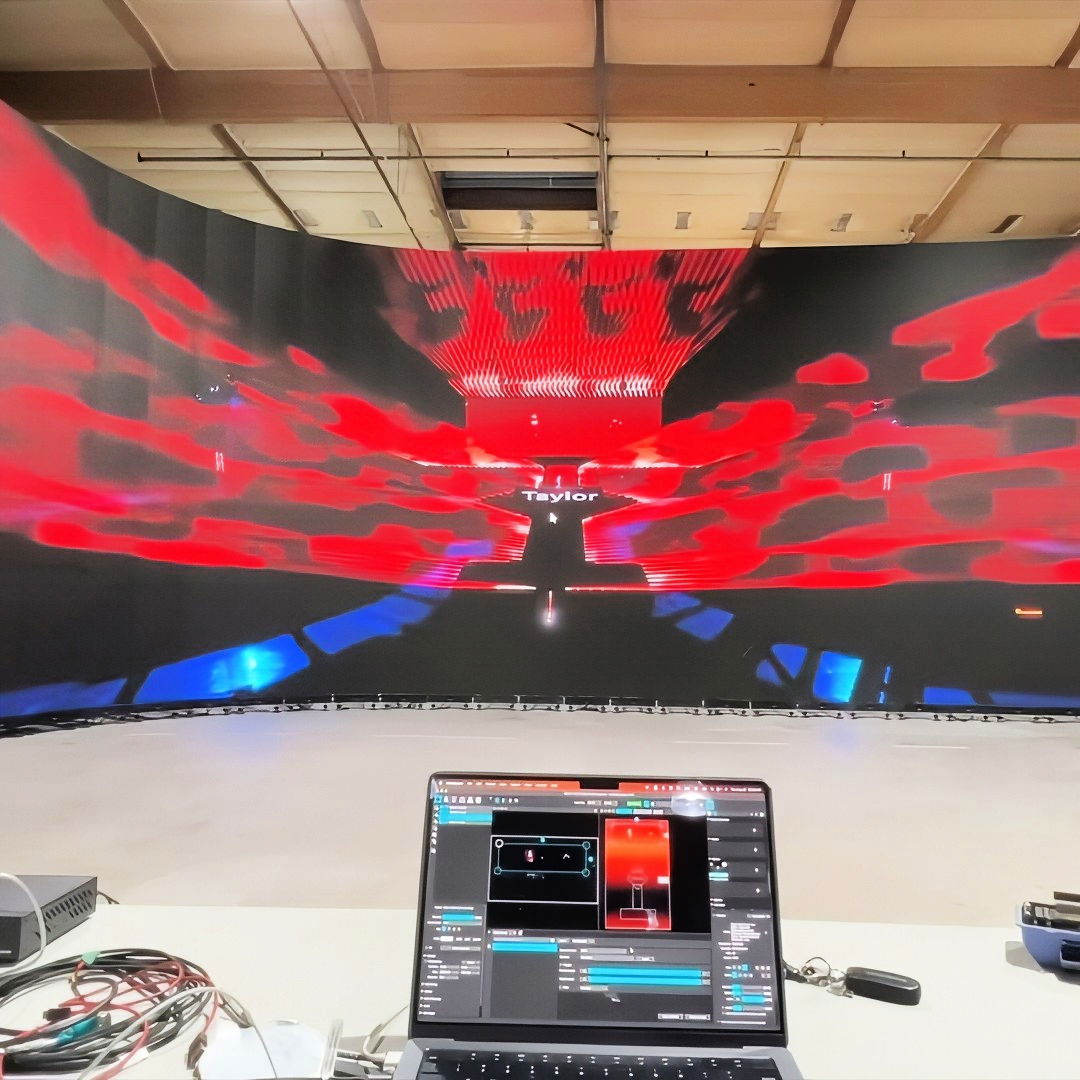
A video wall is essentially a large screen made by combining multiple smaller LED or LCD panels to form a single, seamless display. This setup is commonly used in virtual production (VFX), immersive environments, and large live events where a standard screen would fall short. A well-built video wall offers high visual quality, scalability, and modularity, making it perfect for dynamic visual projects.
Essential Equipment and Components
Before starting, it's crucial to know the key components required for a DIY video wall. Here are the primary elements:
- LED Panels: The building blocks of the video wall. For large projects, high-quality panels with accurate color rendering and durability are essential. Each panel has its own pixel density and resolution, affecting overall image quality.
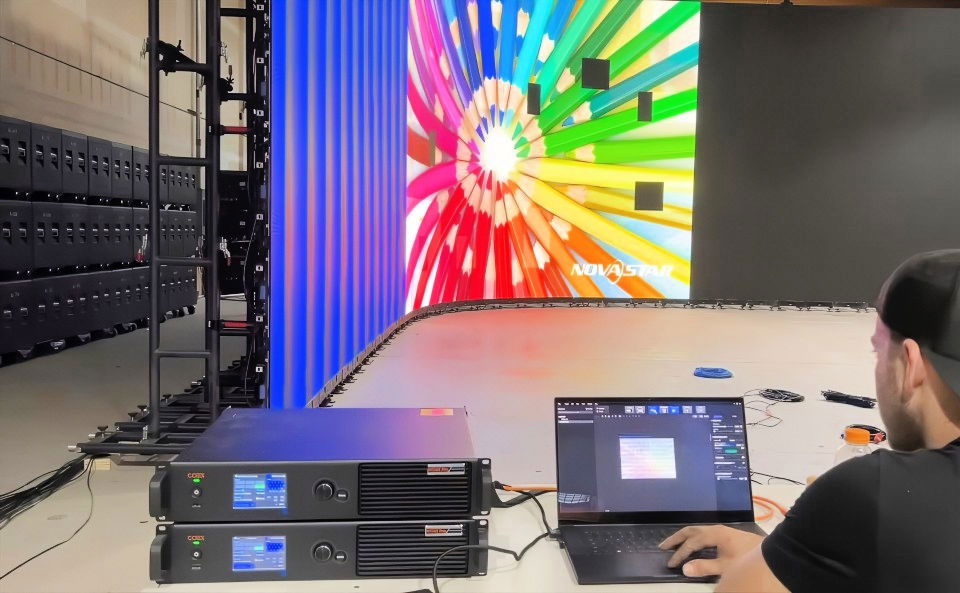
- Processors and Controllers: To ensure all panels display images consistently and at high frame rates, processors like the Novastar MX40 Pro are used. These devices help control video distribution and synchronize visuals across all panels.
- Mounting Structure: Trusses or frames hold the panels securely in place. Mounting needs to be precise to achieve a smooth display surface.
- Power Supply: Video walls require significant power, especially when operating at high brightness. Ensuring enough power and the right voltage is key to stable performance.
- Cabling: Ethernet cables and power cords connect each panel to the processors and power supply, respectively.
Step by Step Instructions
Learn DIY video wall setup with step-by-step instructions, from planning to maintenance. Optimize for virtual production and live events seamlessly.
Step 1: Planning Your Video Wall Configuration
- Decide the Size and Layout: The size and arrangement of your video wall depend on factors like the intended use, available space, and budget. For example, a virtual production setup might use a curved or U-shaped layout to surround actors, enhancing immersion. Alternatively, a flat setup works well for live events or conference settings.
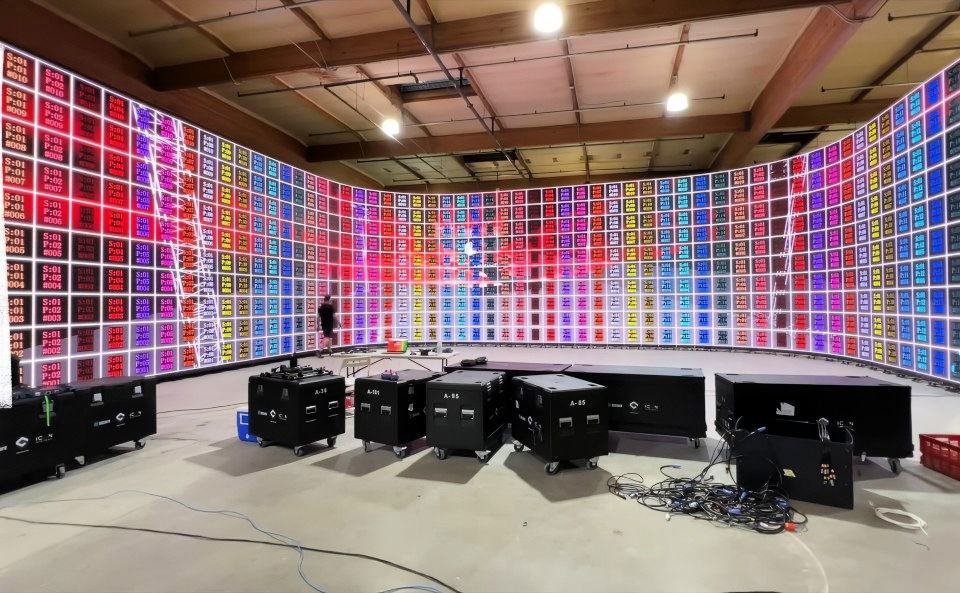
- A typical large video wall might be arranged in a grid. In the example discussed, the setup involved a massive 56-panel-wide by 10-panel-high wall, totaling about 90 feet wide and 16–17 feet tall.
- Frame Rate and Processor Requirements: A high frame rate (up to 120 frames per second) is ideal when working with multiple cameras or for smooth playback in dynamic scenes. However, for regular usage, 60 frames per second may suffice. For complex scenes using Unreal Engine, multiple computers might be needed, with each handling specific sections of the wall.
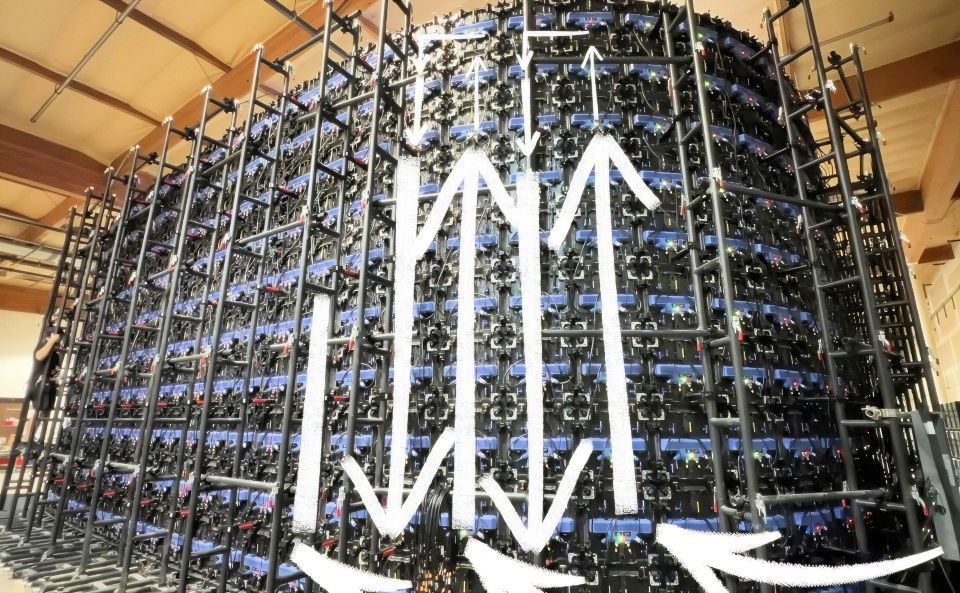
- Power Supply Needs: Calculate the amperage needed to avoid power issues mid-project. For instance, operating a large video wall at 100% brightness can demand around 200 amps. However, to improve efficiency, you can use 240-volt circuits, reducing the overall amperage required per panel. This method allows you to run more panels per line, simplifying cable management and reducing total power draw.
Step 2: Mounting and Structuring the Panels
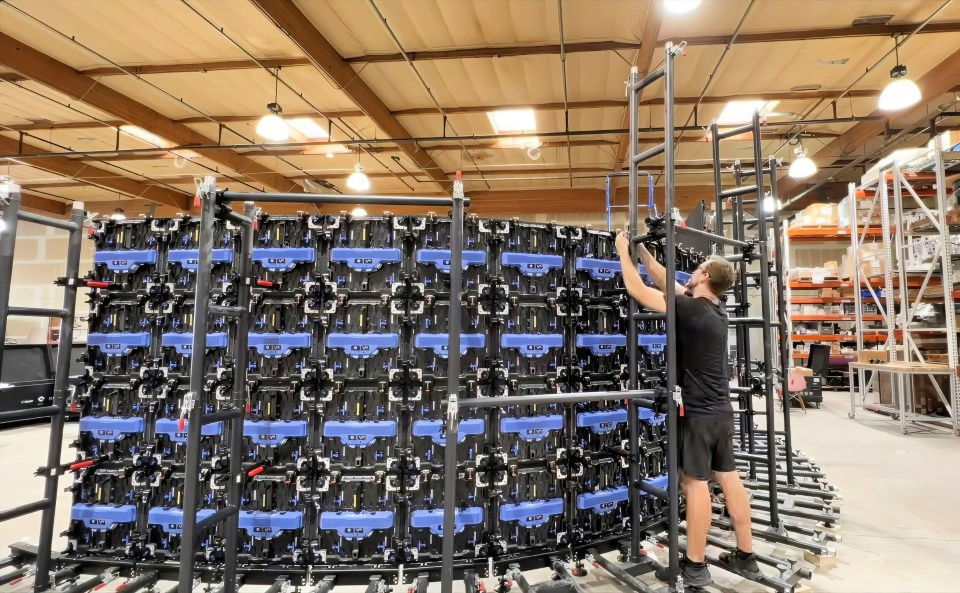
- Building the Truss or Mounting Frame: The truss or mounting frame should be stable and level to support the video wall's weight. Start with a solid ground stack setup and ensure that each row is leveled before stacking additional panels on top. This setup prevents gaps or misalignment at higher levels of the wall.
- For added stability, you can anchor the frame to the floor or use support structures to prevent tipping, especially when constructing curved or U-shaped configurations. Depending on your design, you might choose between ground-stacking and hanging the panels. Ground-stacking offers easier access and stability, while hanging is useful for making open space below the display.
- Attaching the Panels to the Frame: Each LED panel typically has safety tabs and locks on the edges. To attach them securely: Pull back the safety tabs to expose the edges. Carefully place the panel on the frame and check for alignment. Lock the panel in place on all four sides, ensuring a tight, flush fit with adjacent panels.
- Once each panel is attached, verify that it sits flat without gaps. Small imperfections can disrupt the seamless appearance, especially when displaying high-contrast visuals.
- Aligning Curved and Flat Sections: Curved walls add complexity to the build. In some cases, adjusting the panels' locks allows you to set specific degrees of curvature. For straight sections, ensure the truss is level and the wall remains upright. This stability prevents unwanted leaning, which can be more common in flat sections compared to curved setups.
Step 3: Wiring and Connectivity
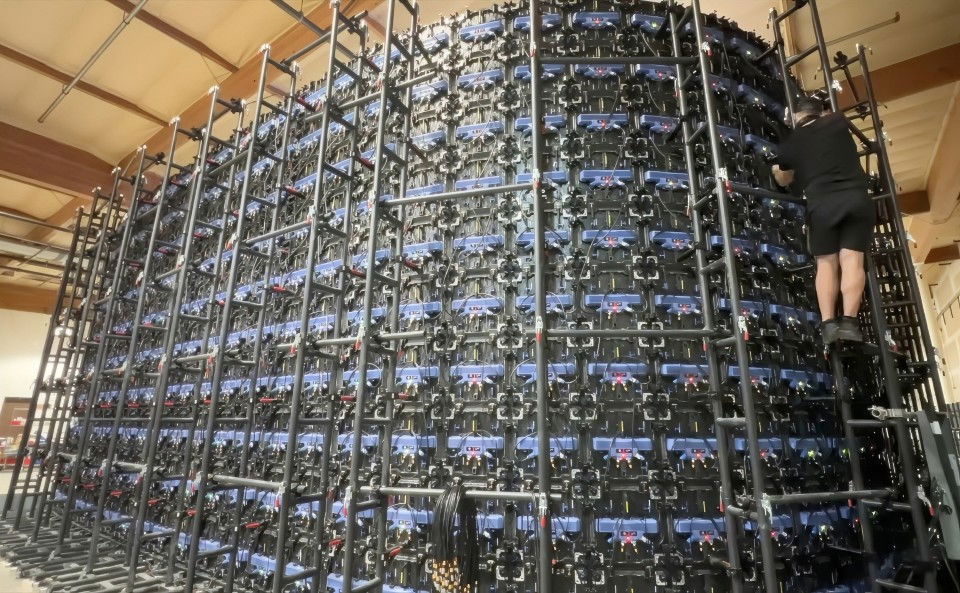
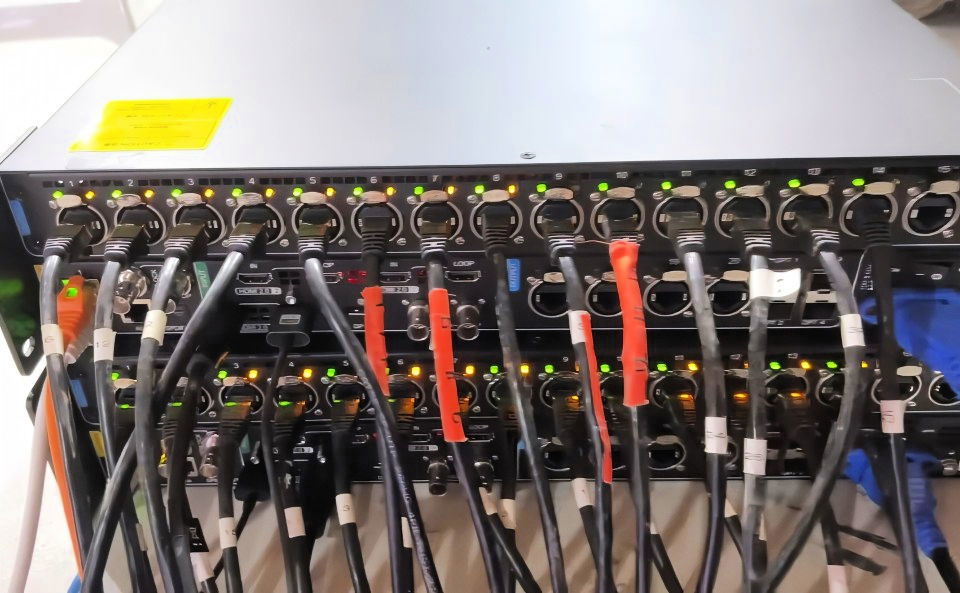
- Connecting Processors and Controllers: To control a large array of panels, each column of the video wall requires a dedicated Ethernet cable running from the processor. In our example, 56 Ethernet lines were needed, with each line connecting a processor to a column of panels. This setup means each processor manages several columns, ensuring even data distribution and reducing signal loss.
- Power Cabling Strategy: For efficient power distribution, you may choose to run power along a single column and then “jump” it over to the next column, reducing the number of individual power cables needed. Using 240-volt circuits further enhances efficiency by allowing more panels per power line, cutting down on cabling.
- Daisy-Chaining Ethernet and Power: Daisy-chaining is commonly used to connect panels within a column, simplifying the cabling process. Ethernet lines start from the processor, connect to the first panel in each column, and continue up to the top panel. Power is similarly daisy-chained along each column, allowing for easier power management across multiple panels.
Step 4: Color Calibration and Seamless Integration
- Achieving Consistent Color Across Panels: One of the biggest challenges is ensuring uniform color across all panels. This process, called “painting,” involves copying the color profile from a reference panel and applying it to all other panels. This uniformity is crucial for virtual production, where any slight color mismatch can be noticeable on camera.
- The painting process typically involves selecting a master panel with ideal color characteristics, then using software to copy and apply these settings across the entire wall. Although time-consuming, this calibration prevents “patchwork” appearances and ensures the wall appears as a single, cohesive display.
- Dealing with Pixel and Panel Variability: LED panels may vary slightly in color or brightness from batch to batch. If expanding or replacing panels over time, consider purchasing a batch with similar characteristics or recalibrate to match the new panels.
Step 5: Troubleshooting Alignment and Display Issues
- Avoiding Gaps and Misalignment: To avoid misalignment issues, assemble the wall row by row, ensuring each layer is level. A laser level can be used to check pixel alignment horizontally and vertically. Building from a solid, level foundation is essential; if the base rows are off, the issue will become more pronounced as you add more rows.
- Checking for Seam Issues: During assembly, inspect each panel connection for gaps. Even small gaps can be visible on camera, especially in high-brightness or high-contrast scenes. Constant communication between team members on either side of the wall can make the process smoother, allowing one person to check the front while another secures the back.
- Team Size and Build Time: The time required to complete a video wall varies based on team size:
- 8+ crew members: A large wall can be completed in about a week.
- 4-6 crew members: Expect to take around two weeks.
- 1-3 crew members: Building a large wall could take up to a month.
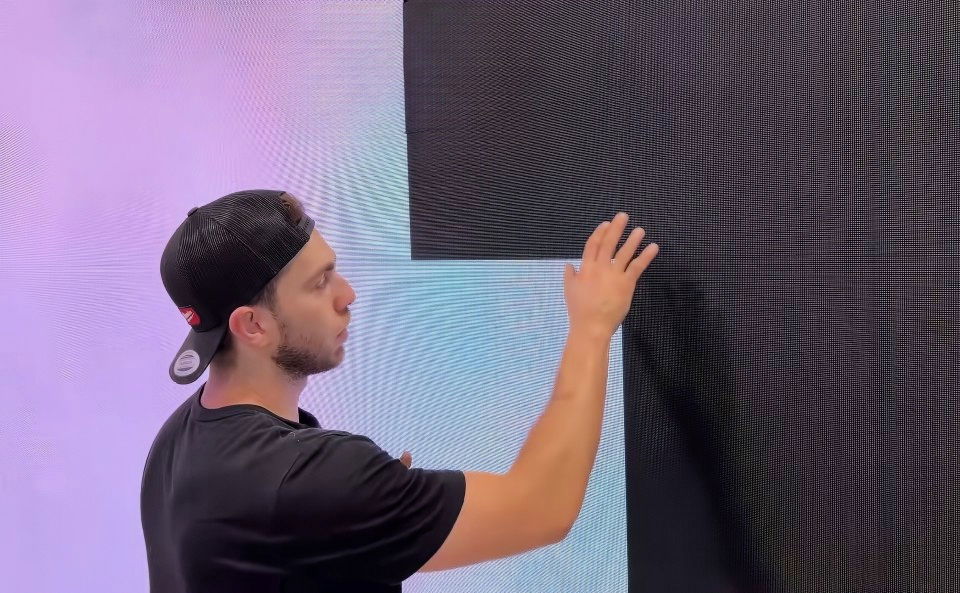
In general, working in groups of two or three per task (e.g., leveling, attaching panels, and aligning) streamlines the process and prevents errors.
Step 6: Testing and Adjustments
After assembling and aligning the wall, conduct a full test run:
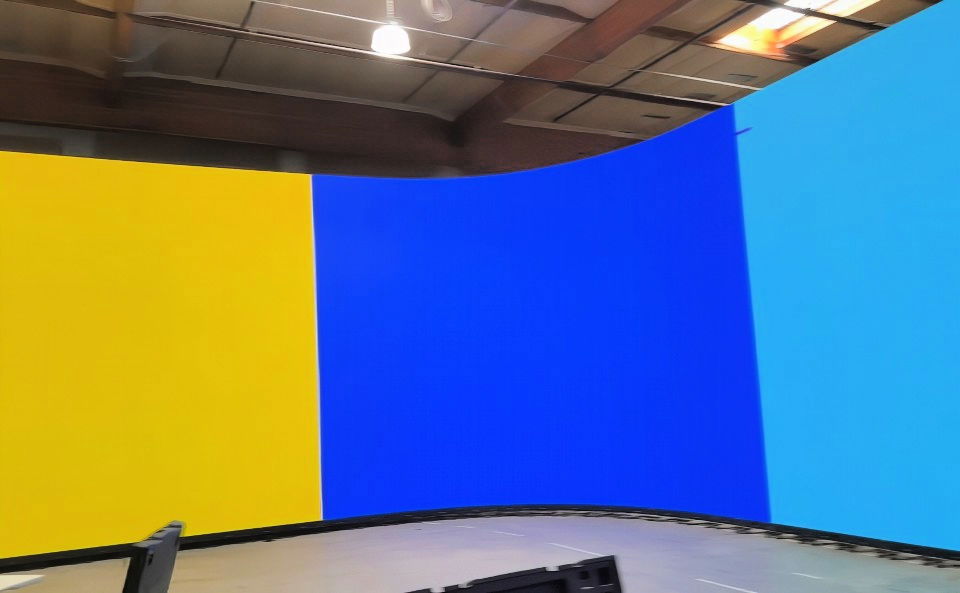
- Display High-Brightness and Color-Intensive Content: This helps identify any misaligned pixels, color issues, or panel defects.
- Adjust Brightness and Frame Rates: Ensure optimal settings for the intended use, whether it's for virtual production, live events, or as a display screen in a workspace.
- Fine-Tune Processor and Control Settings: Customize frame rates, image inputs, and other parameters based on your needs.
At this point, your video wall should be fully operational. Any remaining adjustments can usually be made through the processor and software settings.
Advanced Configuration and Control Options
Building a video wall is one thing, but optimizing it for specific applications like virtual production or live events requires additional configuration. By integrating advanced controls and software, you can enhance the wall's versatility and performance for various uses.
Step 7: Optimizing for Virtual Production and Live Events
Master virtual production & live events with top optimization techniques. Enhance engagement and streamline digital event experiences today.
Integrating with Unreal Engine
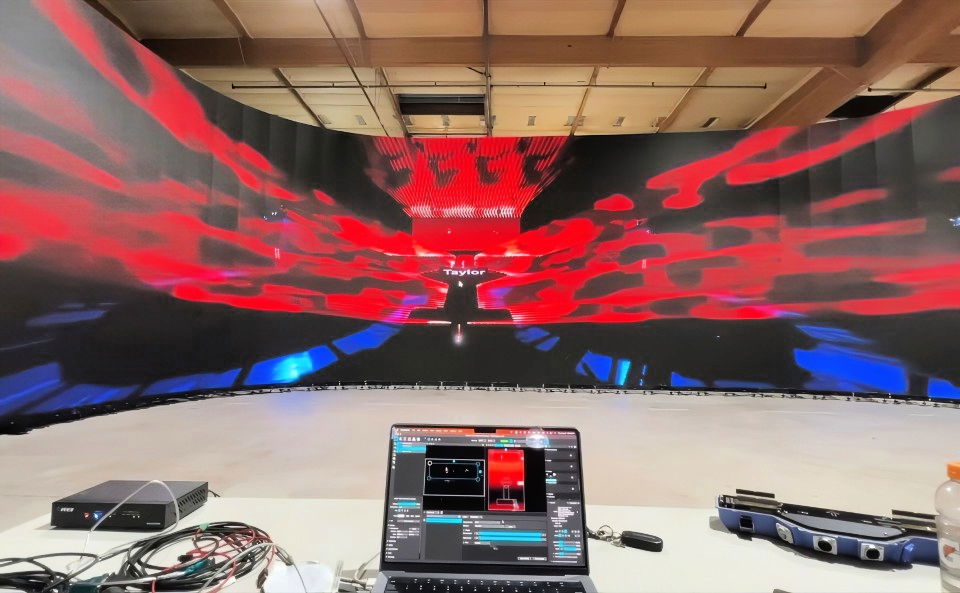
For virtual production, Unreal Engine is a popular choice for generating realistic, immersive environments on video walls. With Unreal Engine, you can render high-fidelity graphics that respond dynamically to camera movements. However, this requires additional hardware and software setups:
- Multiple Computers Setup: Large video walls in virtual production setups often need multiple Unreal Engine computers (called nodes) to handle the high graphics load. Each computer controls a specific section of the wall, and a master controller coordinates the output across nodes.
- DisplayPort Connectivity: High-performance graphics cards, like the NVIDIA RTX series, support DisplayPort, which is ideal for sending high-resolution images to video walls. Each computer outputs content to its assigned wall section, ensuring a seamless visual experience across multiple nodes.
- Mapping Environments Pixel by Pixel: Unreal Engine's N-Display technology helps align content precisely with each LED panel, ensuring realistic perspectives and avoiding distortion. This involves configuring a “mesh wall” within Unreal Engine, which acts as a digital representation of the physical video wall and aligns graphics pixel-perfectly.
Processor Customization for Live Events
For live events, your wall may display multiple inputs, such as live feeds, presentations, or multimedia content. Here's how to handle various feeds:
- Processor Input Flexibility: Many video wall processors, like the Novastar MX40 Pro, can accept multiple input types (HDMI, SDI, DisplayPort). This flexibility allows you to switch between feeds effortlessly or even display multiple feeds simultaneously.
- Picture-in-Picture and Layering: Using software controls on your processors, you can build picture-in-picture (PiP) displays or layer different video sources. This feature is particularly useful for live events where you need to show different visuals, such as a speaker feed alongside supporting graphics.
Step 8: Planning for Future Expansion and Upgrades
As needs evolve, so might your video wall. If you plan on expanding or upgrading the wall in the future, consider these strategies:
- Batch Purchasing Panels: LED panels can differ slightly in color or brightness from one manufacturing batch to another. If you plan to expand the wall later, try to purchase additional panels from the same batch to maintain color consistency. If this isn't possible, you'll need to re-calibrate using the “painting” method to match colors across the wall.
- Upgrading Processors: Higher-resolution panels or additional inputs may require more powerful processors. As processor technology advances, upgrading may allow for higher frame rates, better color depth, and increased flexibility in display configurations. Processors like the Novastar MX40 Pro offer modular upgrades, making it easier to stay current without replacing the entire system.
- Consider a Ceiling Setup: Some advanced video walls include ceiling installations for more immersive environments, especially in virtual production. However, ceiling configurations require additional structural support and more complex cabling, so plan accordingly if this is a long-term goal.
Step 9: Maintenance and Troubleshooting Tips
Keeping your video wall in top condition requires routine maintenance and prompt troubleshooting. Here are essential tips for maintaining your wall's performance and longevity:
- Regular Cleaning and Dusting: Dust buildup can affect panel brightness and image clarity. Use a soft, lint-free cloth to clean the panels gently, avoiding any harsh chemicals. Regular dusting prevents overheating, especially when panels are placed close together.
- Routine Software and Firmware Updates: Both processors and panels often come with firmware that may require periodic updates to improve performance, fix bugs, or add new features. Regularly check the manufacturer's website for the latest firmware, and update accordingly to ensure optimal functionality.
- Checking for Dead Pixels and Replacing Panels: LED panels can occasionally develop dead pixels, which can disrupt the wall's seamless appearance. If dead pixels become noticeable, consider replacing the affected panel. Most modern video walls allow for easy panel swapping and re-configuration without needing to disassemble large portions of the wall.
- Monitoring Power and Cabling: Large video walls consume significant power. Regularly inspect power and Ethernet cables for wear, loose connections, or damage. Faulty cables can cause flickering or signal loss, so replace any damaged cables promptly to prevent disruptions.
Step 10: Tips for Efficient Assembly and Operation
- Using a Laser Level for Precision: A laser level is an invaluable tool for ensuring the first few rows of panels are perfectly level. This initial step is crucial because any misalignment at the base will magnify as you build higher. Check alignment regularly as you add rows to maintain a clean, unified appearance.
- Assembling in Small Teams: For large-scale projects, working in teams of two or three can expedite the build. Designate roles such as panel handoff, locking panels in place, and alignment checking. This method reduces assembly time and helps catch potential issues early.
- Pre-Build Testing with Visualization Software: Before final assembly, run a visualization test using software to simulate how content will look across the video wall. This step can help you identify and resolve pixel mapping or color calibration issues before they become larger problems during actual usage.
Additional Considerations for Video Wall Applications
Whether you're using the wall for virtual production, live events, or an immersive workspace, a video wall brings distinct advantages:
- Virtual Production: The ability to build dynamic backgrounds on a video wall allows for immersive, real-time scenes without needing physical sets or green screens. Using a curved wall configuration enhances the realism by surrounding subjects with visuals.
- Live Events: Video walls offer high visibility, perfect for large venues where all audience members need a clear view. The modularity of video walls also allows for custom configurations based on event space and audience size.
- Immersive Workspaces: In offices or creative studios, video walls build unique collaborative environments, allowing team members to work together on a larger scale. Whether for brainstorming, presentations, or real-time data visualization, video walls enhance engagement and productivity.
Final Thoughts on DIY Video Wall Construction
Building a video wall is a challenging but rewarding project that opens new possibilities in visual production. By understanding the necessary equipment, precise installation techniques, and the importance of calibration, you can build a powerful tool for immersive displays and live visual experiences.
A successful video wall project hinges on planning, quality equipment, and meticulous attention to detail during assembly. As you grow familiar with video wall technology, you'll be able to customize and adapt the wall to various needs, from complex virtual production scenarios to dynamic live events.
FAQs About Building a DIY Video Wall
Discover answers to FAQs about building a DIY video wall, including setup, cost, and tips for an immersive visual experience.
For large walls, expect high power demands, often requiring around 200 amps at 240 volts, translating to 48 kW. Running at 240 volts halves the amperage needed per panel, making power management more efficient and reducing the total circuit requirement. Check with an electrician for proper setup and breaker requirements to handle this safely.
Yes, 240V is more efficient for high-power systems like video walls. Using 240V reduces the current needed, allowing more panels per circuit. For instance, each panel might need 2 amps at 120V, but only 1 amp at 240V. This reduction minimizes cabling and circuit needs, making the setup simpler and more manageable.
Panel painting is a digital calibration process that matches the color profile across all panels. You select a reference panel and copy its settings to other panels using processor software. This prevents color inconsistencies. Although some suggest automation with a camera, panel painting is typically a manual but simple software step.
While complete automation isn’t standard, some processors allow semi-automated calibration. Advanced systems like Nova’s MVP software let you select one panel’s settings and apply them to the whole wall, ensuring color consistency across panels without a fully automated camera-based process.
Most setups support up to 18 panels high if adequately braced. For taller configurations, additional structural support behind the wall is essential for stability. Larger walls may require scaffolding or additional reinforcement, especially in settings with external environmental factors like wind.
It’s recommended to keep around 5% extra panels or components as backups. LED panels include modular parts like quadrants and splines that can be swapped quickly if a section fails. Having these extras ensures minimal downtime during events or production.
Running a video wall at full brightness requires significant power and generates considerable heat. It’s typically not recommended for prolonged use as it can reduce panel lifespan. Instead, 70-80% brightness is standard for most setups, balancing visibility and durability.
Not all LED panels are suited for outdoor use. Many panels designed for virtual production are optimized for indoor settings and lack weatherproofing. For outdoor use, opt for specifically rated outdoor panels that can withstand moisture, dust, and temperature fluctuations.
Costs vary, but a large video wall (like 56x10 panels) can run close to a million dollars. Pricing includes LED panels, processors, trussing, cabling, and additional hardware. Smaller walls can reduce costs significantly but expect a high investment even for smaller setups.
Yes, advanced processors like the Novastar MX40 Pro support multiple inputs, including HDMI, SDI, and DisplayPort. This feature allows seamless switching or simultaneous display of various sources, enhancing flexibility in live events or production environments.


