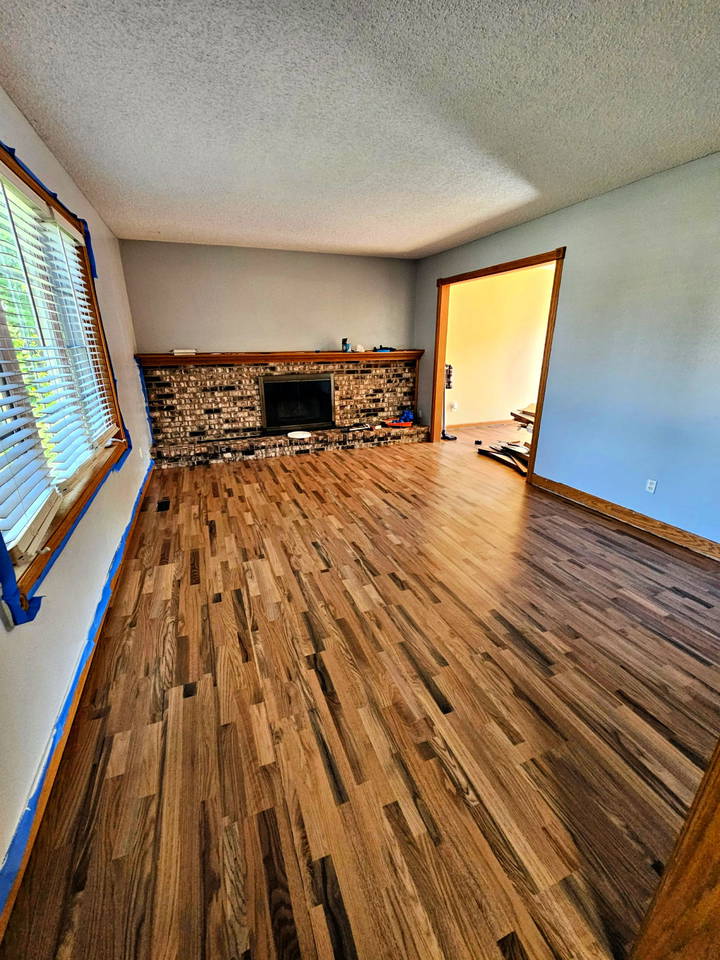
If you've ever looked at your floors and thought they could use an upgrade, installing vinyl plank flooring yourself can be a rewarding and cost-effective way to give your space a fresh new look. I recently took on this project in my home, transforming the living room by ripping out old, stained carpet and replacing it with sleek vinyl planks. This process, although involving some sweat and a bit of learning, is completely doable even for beginners. In this guide, I'll walk you through everything I learned to make your vinyl flooring installation as smooth as possible.
Why Choose Vinyl Plank Flooring?
Vinyl plank flooring has gained popularity for several good reasons. It offers the beautiful look of hardwood floors without the hefty price tag. Besides being budget-friendly, vinyl flooring is durable, moisture-resistant, and easy to clean, making it an excellent choice for high-traffic areas, bathrooms, or even basements. It's also relatively soft underfoot and provides sound dampening, a great benefit if you have kids or pets running around the house.
From my experience, installing vinyl flooring is much less daunting than it seems. With some basic tools, a little patience, and a good understanding of the steps involved, you can achieve a professional-looking result in just a few hours.
Step 1: Choose Your Vinyl Plank Flooring Type
Before diving into the installation, it's crucial to choose the right type of vinyl plank flooring for your needs. There are three main types based on installation methods:
- GripStrip Vinyl Planks: These have an adhesive strip that connects the planks together, forming a floating floor. This method is easy to install over existing flooring without additional adhesives.
- Click-Lock Vinyl Planks: This type also forms a floating floor, but the planks interlock with a tongue-and-groove mechanism. It offers a secure fit and is fully waterproof, making it a great choice for bathrooms or kitchens.
- Glue-Down Vinyl Planks: As the name suggests, these require adhesive to be applied to the subfloor. They are more stable and less prone to shifting, ideal for larger or high-traffic areas.
Each type has its own advantages, so consider the room you’re updating and your comfort level with each method. I opted for the click-lock type for its easy installation and waterproof qualities, perfect for my living room that also serves as an entryway.
Step 2: Gather Your Tools and Materials
Before you start, make sure you have all the necessary tools and materials. For any vinyl plank flooring installation, you’ll need:
- Vinyl planks (with 10-20% extra to account for cuts and waste)
- Measuring tape
- Utility knife or vinyl cutter
- Straightedge or T-square
- Chalk line or crayon for marking
- Rubber mallet
- Tapping block (for click-lock type)
- Floor adhesive and notched trowel (for glue-down type)
- Safety gear (gloves, knee pads, safety goggles)
From my own experience, investing in a good utility knife was a game-changer. It made cutting the planks to fit the room's dimensions much easier and cleaner.
Step 3: Prepare the Subfloor
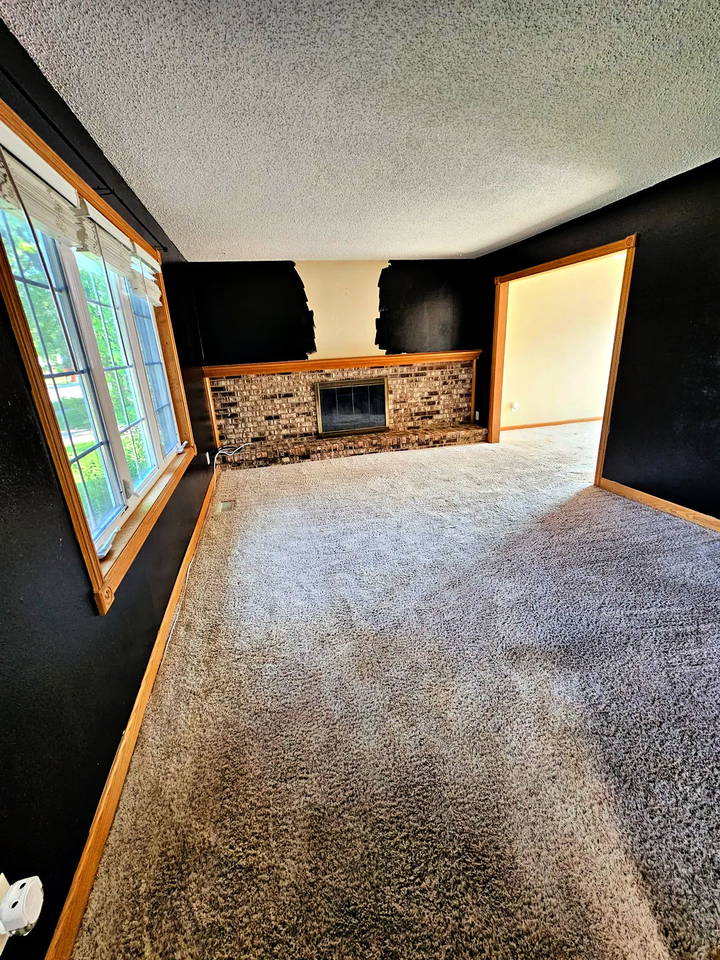
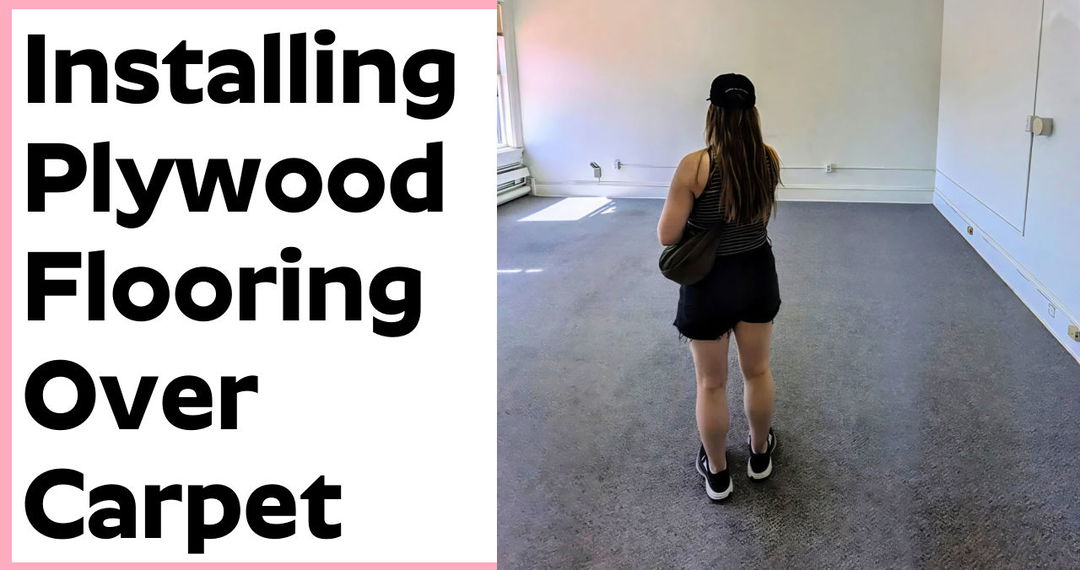
A clean, level, and rigid subfloor is crucial for a successful vinyl floor installation. Start by removing any old flooring, such as carpet, tiles, or previous vinyl. If you're working with concrete, wood, or even a single layer of existing vinyl, ensure it is flat and free of cracks.
Measure the room carefully to determine how much flooring you'll need. I recommend buying 10-20% more than your measurements suggest to account for any mistakes or unique cuts.
If your subfloor has uneven spots, use a self-leveling compound to fill in low areas. Sand down any high spots to ensure a flat surface. Remember, a level subfloor prevents the vinyl planks from shifting or developing gaps over time.
Step 4: Plan Your Layout
Before starting to lay down the planks, plan how you'll position them in the room. Measure the width of the room and divide it by the width of the planks to determine if you'll need to trim the first or last row. It’s best to avoid having very narrow planks along the edges, so aim for at least half the width of a plank on the borders.
Stagger the planks for a natural look and strength, ensuring that the seams between the planks do not line up across rows. For best results, shuffle the planks from different boxes to mix colors and patterns.
Step 5: Start Installing Your Vinyl Planks
Installing Click-Lock Vinyl Planks
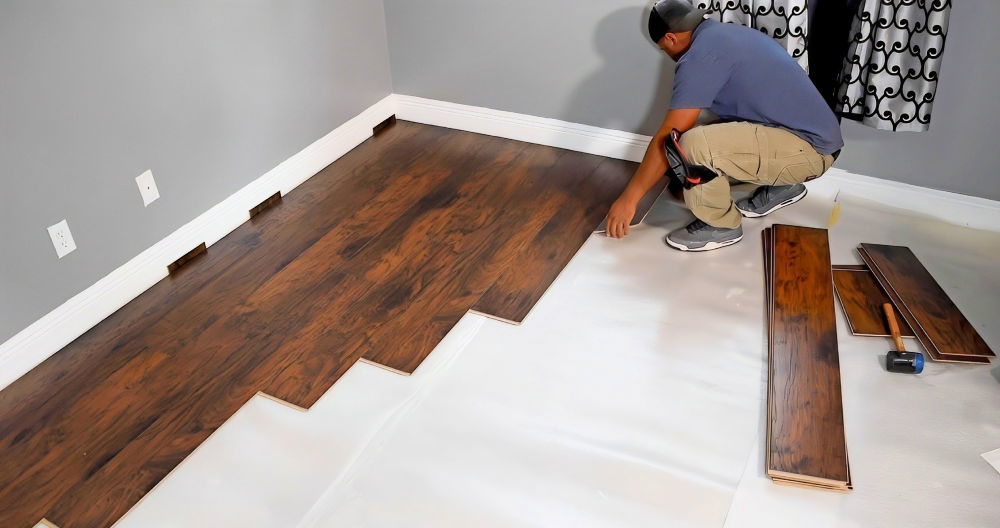
For the click-lock method, begin at the longest wall and work your way across the room. Here’s how I did it:
- Start with the First Row: Trim the tongue side of the first row of planks to ensure a clean edge against the wall. Place spacers between the planks and the wall to allow for expansion (usually about 1/4 inch).
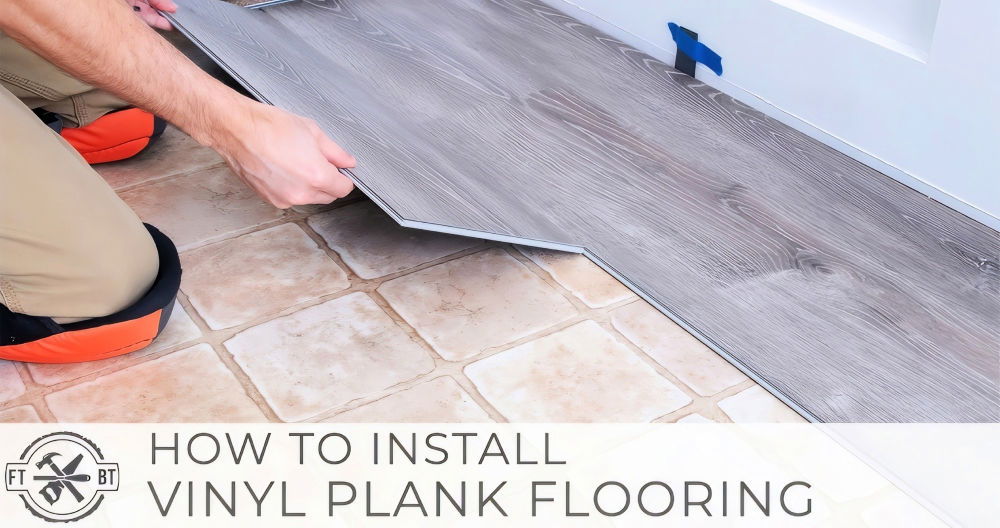
- Click and Lock: Lay the first plank and position the second plank at a slight angle to the first. Engage the tongue and groove and gently lower the second plank to click them into place. Repeat this process along the row.
- Continue with Subsequent Rows: Start the next row with a cut-off piece from the previous row to stagger the seams. Use a tapping block and rubber mallet to lock the planks securely together without damaging them.
- Trim the Last Row: Measure and cut the last row of planks to fit, ensuring to leave space for expansion.
- Finish Up: Once all planks are laid, remove the spacers and reinstall the baseboards.
Installing GripStrip Vinyl Planks
For GripStrip planks, the process is similar but involves pressing the adhesive strips together:
- Lay the first row along the wall, ensuring expansion space.
- Press the adhesive strips of the second plank against the first plank and continue this process across the room.
- Use a hand roller to press firmly along the adhesive strips to secure them.
- Trim the last row and replace the baseboards.
Installing Glue-Down Vinyl Planks
Glue-down planks require a bit more preparation but offer a more permanent solution:
- Mark the Center Point: Start in the center of the room and use chalk lines to divide the room into four quadrants.
- Apply Adhesive: Spread the adhesive evenly with a notched trowel in one quadrant, following the manufacturer's instructions.
- Lay the Planks: Begin laying planks from the center outwards, pressing them firmly into the adhesive. Continue to work quadrant by quadrant until the room is complete.
- Roll the Floor: Use a floor roller to press the planks into the adhesive to ensure a good bond and remove any air bubbles.
- Finish Edges: Trim the border planks as needed and replace the baseboards.
Step 6: Finishing Touches
Once the flooring is installed, consider removing the factory seal (if present) and applying a high-traffic floor polish to protect the surface. Regular maintenance, like sweeping and using a neutral pH cleaner, will keep your floors looking new.
Conclusion
Installing vinyl plank flooring is a practical DIY project that transforms your space without needing to hire a professional. Whether you choose GripStrip, click-lock, or glue-down planks, each method offers a way to achieve a durable, stylish, and budget-friendly floor.
From my experience, the satisfaction of completing this project on my own was well worth the effort. It wasn't just about changing the look of my home; it was about taking pride in the work done. If you're considering this project, go for it—you'll learn a lot and love the result!
FAQ: Vinyl Plank Flooring Installation
This FAQ section provides additional details and addresses common questions about installing vinyl plank flooring.
What Type of Vinyl Plank Flooring Is Best for Different Rooms?
Choosing the right type of vinyl plank flooring depends on the room's needs:
- GripStrip Vinyl Planks: Ideal for rooms where ease of installation is a priority, such as living rooms or bedrooms. They are water-resistant but not completely waterproof.
- Click-Lock Vinyl Planks: Best for areas that may experience more moisture, like kitchens and bathrooms, due to their waterproof nature.
- Glue-Down Vinyl Planks: Suitable for high-traffic areas or large spaces like hallways and basements where stability is key.
How Do I Handle Installation Over Uneven Floors?
For a smooth installation, the subfloor must be flat and rigid:
- Self-Leveling Compound: Use a self-leveling compound to fill in any low spots on the floor. This is especially useful for concrete subfloors.
- Sanding Down High Spots: If there are high spots, sand them down carefully to create an even surface. Be cautious not to sand old vinyl floors, as they may contain asbestos.
Can Vinyl Plank Flooring Be Installed Over Existing Floors?
Yes, vinyl plank flooring can be installed over certain types of existing floors:
- One Layer of Vinyl or Linoleum: You can install directly over a single layer if it’s in good condition.
- Tile or Hardwood: The existing floor must be level, clean, and securely attached. For uneven tiles, consider using an underlayment to create a flat surface.
- Carpet: Carpet must be removed, as vinyl planks require a solid and even subfloor.
How Much Expansion Space Should I Leave Between the Planks and Walls?
Vinyl planks need room to expand and contract with temperature changes:
- Expansion Space: Typically, leave about 1/4 inch (6 mm) of space between the planks and the walls. This can vary by manufacturer, so check the instructions on the packaging.
How Do I Cut Vinyl Planks for a Clean Fit?
Cutting vinyl planks to fit the edges and around obstacles is crucial for a professional finish:
- Utility Knife and Straightedge: Score the plank with a utility knife along a straightedge, then snap it for a clean break.
- Jigsaw or Miter Saw: For more intricate cuts, such as around door frames or vents, use a jigsaw or miter saw.
What Should I Do If Planks Are Not Clicking Together Properly?
If click-lock planks are not snapping together as they should, consider these troubleshooting steps:
- Check for Debris: Ensure there’s no dirt or debris in the grooves.
- Use a Tapping Block: Gently tap the planks into place with a tapping block and rubber mallet to avoid damage.
- Adjust the Angle: Sometimes adjusting the angle at which you’re snapping the planks together can help them lock more securely.
Can I Replace a Damaged Vinyl Plank Without Redoing the Entire Floor?
Yes, replacing a damaged vinyl plank is possible:
- Click-Lock Planks: Simply unlock the damaged plank and replace it with a new one.
- GripStrip and Glue-Down Planks: For GripStrip, peel back the damaged plank carefully and replace it. For glue-down planks, heat the damaged area with a hairdryer to soften the adhesive, then replace the plank.
How Can I Ensure My Vinyl Floor Stays in Good Condition?
Maintaining your vinyl flooring is key to its longevity:
- Regular Cleaning: Sweep regularly and use a damp mop with a neutral pH cleaner. Avoid abrasive cleaners that can damage the finish.
- Protective Pads: Use furniture pads to prevent scratches.
- Periodic Stripping and Sealing: For glue-down planks, consider stripping and reapplying a protective sealant every 6 to 9 months to keep the surface looking new.
Are There Any Special Considerations for Installing Vinyl Plank Flooring in Bathrooms?
Yes, installing vinyl plank flooring in bathrooms requires a few additional steps:
- Waterproofing: Ensure the planks are waterproof, especially around the bathtub, shower, and sink.
- Sealing Gaps: Use silicone caulk to seal the gaps between the planks and the walls or fixtures to prevent water from seeping underneath.
- Underlayment: Consider a moisture barrier underlayment to protect the subfloor from water damage.
What Should I Do If I Encounter Asbestos in Old Flooring?
Asbestos is a serious health hazard:
- Do Not Sand or Cut: If you suspect asbestos in old vinyl or linoleum flooring, do not sand or cut it.
- Consult a Professional: Contact a licensed professional to test for asbestos and handle the removal safely if necessary.


