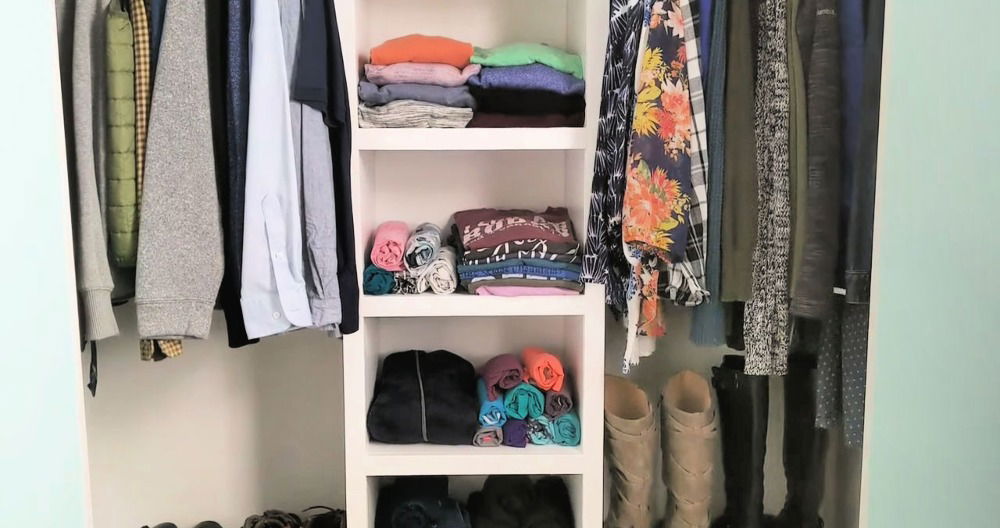
Building extra storage space can transform your home. My experience with building a DIY walk-in closet was satisfying and fun. Initially, I felt overwhelmed by the task at hand, but I quickly realized that with the right plan, it was achievable. The simplest design made it easy to organize all my clothes and shoes, and I felt proud seeing everything in place.
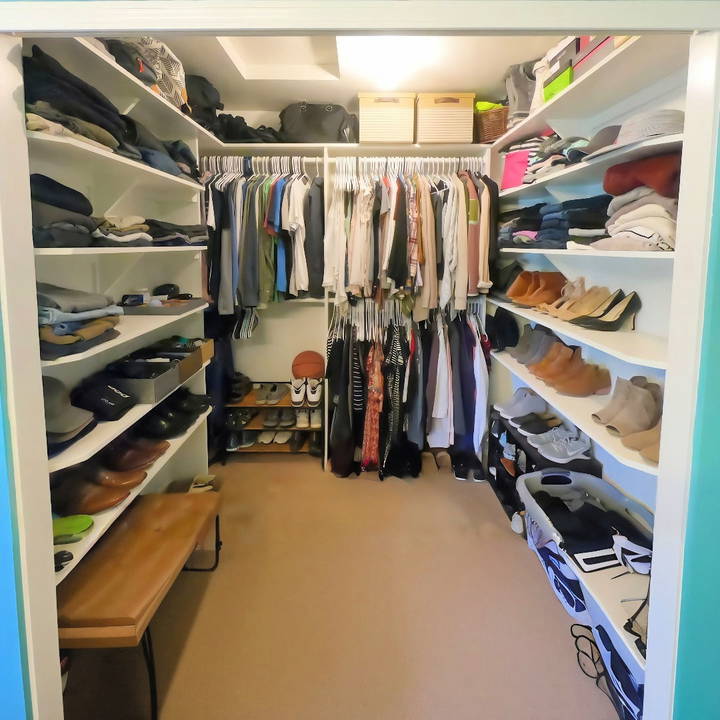
Starting this project taught me the value of planning and pacing myself. I gathered tools and materials and gradually saw everything come together. You might find it rewarding too! With some effort and patience, you can make your own space that caters to your needs. I'm sharing this experience to provide guidance and encourage you to start your own DIY walk-in closet adventure.
Gathering Materials: The Foundation of Your Project
Materials are the backbone of any DIY project. For this closet build, I used three-quarter inch MDF (medium-density fiberboard), which is affordable, sturdy, and easy to work with. It comes in 4'x8' sheets and typically costs between $30 and $40 per sheet, depending on your location.
Why MDF?
MDF is great because:
- Cost-Effective: It's less expensive than solid wood.
- Smooth Surface: Its smooth surface is perfect for painting, which is crucial for a neat finish.
- Easy to Cut: MDF can be easily cut with basic tools like a circular saw or a table saw.
Step by Step Instructions
Learn how to build a low-budget DIY walk-in closet with step-by-step instructions, from cutting MDF shelves to installing clothes rods, all using common tools.
Step 1: Cutting the MDF into Shelves
Learn how to cut mdf into shelves with essential tools and make sturdy shelf supports for a perfect DIY project.
Tools You'll Need
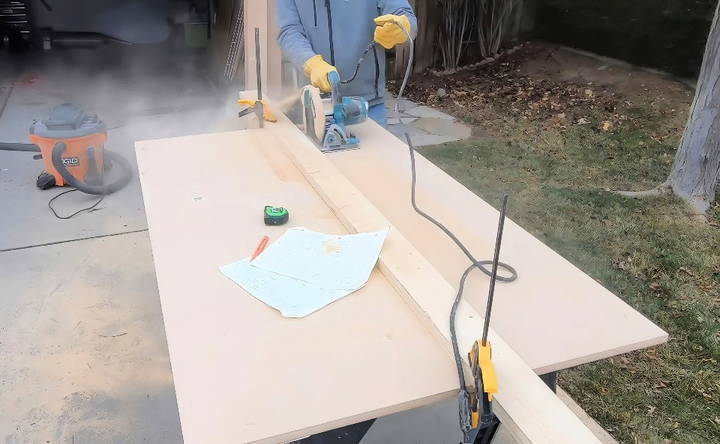
- Circular Saw (or Table Saw): For cutting the MDF.
- Straight Edge: To guide your cuts for straight lines.
- Clamps: To secure your guide in place.
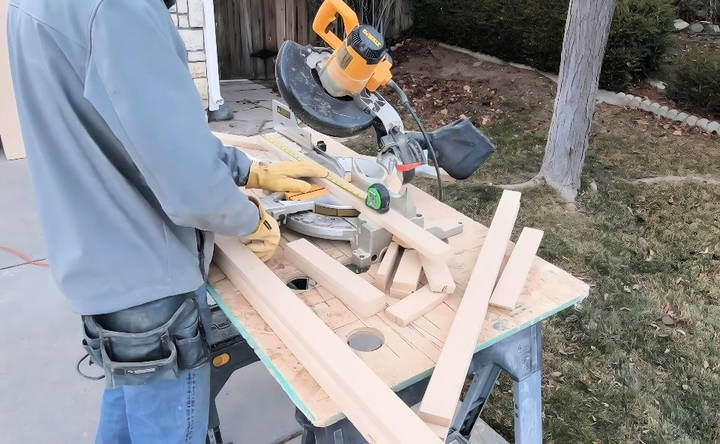
- Miter Saw: Optional, but helpful for precise cuts.
Start by cutting your MDF into the sizes you'll need for your shelves. I chose to make my shelves 12 inches wide, but you can adjust this based on your space and needs.
Building Shelf Supports
Cut additional strips of MDF to serve as shelf supports. These should be at least two inches wide. This alternative is better than using traditional shelf brackets as it provides a cleaner look and more flexibility.
Tip: Make a cut list of all the components needed for your closet. It saves time and minimizes mistakes!
Step 2: Preparing and Painting the Shelves
Once cut, sand any sharp edges with 180 or 220 grit sandpaper for a smooth finish. Dust them off thoroughly before proceeding to paint.
Materials
- Oil-Based Primer: Provides a smooth finish.
- Paint of Choice: Two coats recommended.
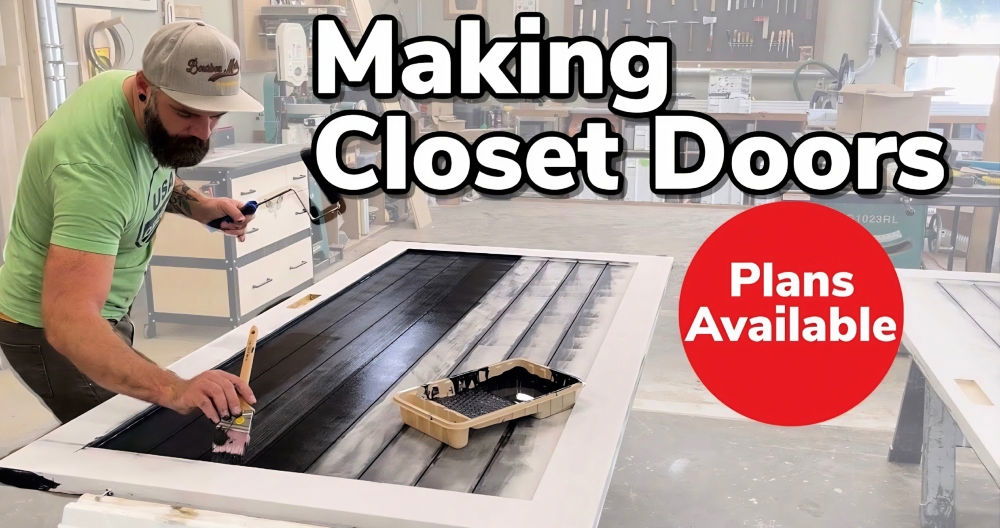
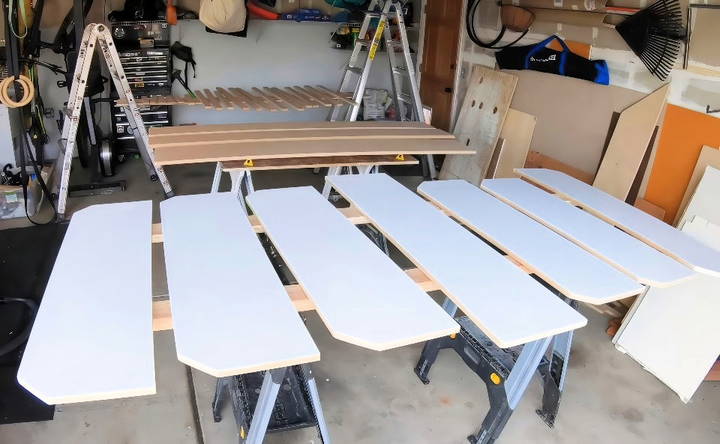
For a straightforward DIY setup, use a paint roller. Paint each piece one side at a time, allowing it to dry completely before flipping over to the other side.
While oil-based primer is preferred for a smoother surface, I opted for a water-based primer. It required a bit of sanding on the surfaces afterwards, but it worked well for my needs.
Step 3: Prepping the Closet Space
While your shelves dry, prep your closet area.
Tasks Involved
- Remove Old Shelves: Clear out any existing structures.
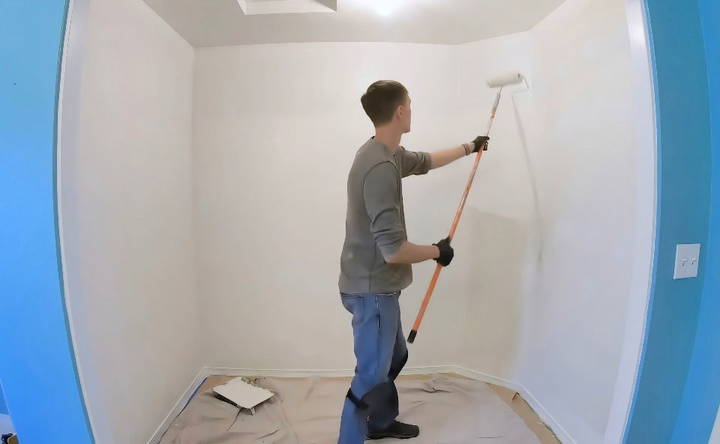
- Patch and Paint Walls: Repair holes and apply a fresh coat of paint for consistency.
I painted my closet walls the same color as the shelves, which saves time later on. However, if you're using a paint sprayer, you could do this after installing the shelves.
Step 4: Installing the Shelves
Learn how to install shelves with our guide. Tools & materials needed plus tips on nailing shelf supports. Perfect for DIY enthusiasts!
Tools and Materials
- Stud Finder: To locate studs for support.
- Level: For straight lines and proper alignment.
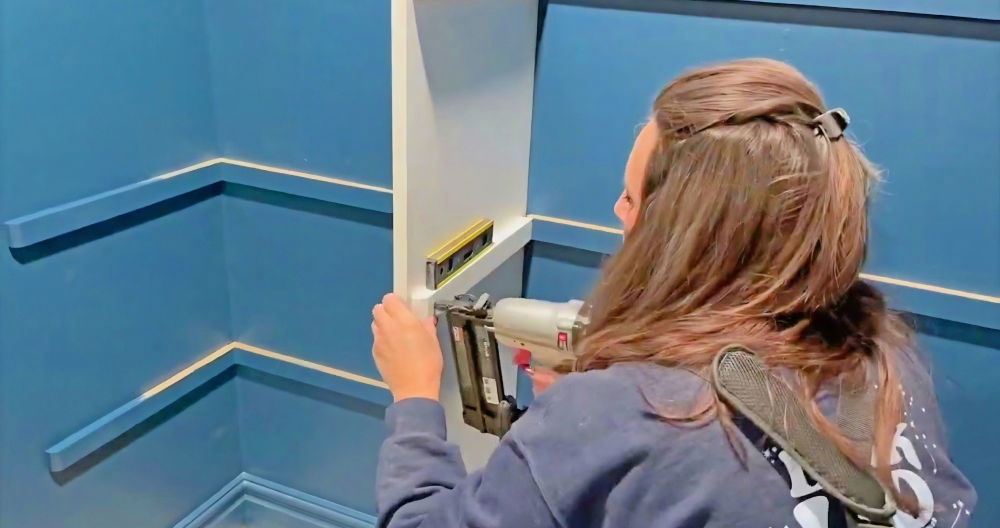
- Brad Nailer (Optional): Expedites the nailing process.
Draw lines on the wall using your level to indicate where the shelf supports will be placed. Use your stud finder to mark the studs, as these will be the structural support points for your shelves.
Nailing Shelf Supports
Nail the shelf supports along the lines you've drawn, ensuring they are securely fastened into the studs. I used two-inch nails, providing a solid hold.
Step 5: Adding Vertical Boards and Completing the Installation
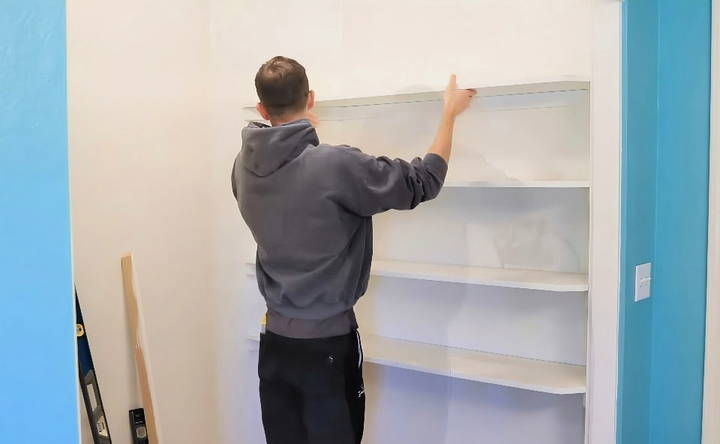
For additional support, I included vertical boards that also serve to separate sections of the closet. Cut the carpet and baseboards to achieve a snug fit if needed.
Work Efficiently
Install each shelf, working methodically from one side of the closet to the other. This part of the project took me about five days, working just a couple of hours each day. With uninterrupted focus, this could be condensed into two full days.
Optional: Final Touches for a Polished Look
Though not necessary, caulking the edges of the installed shelves and painting over any visible nails or screws can enhance the closet's finished appearance.
Step 6: Installing Clothes Rods
The last step involves installing clothes rods. Purchase rods from your local home store and cut them to fit your closet layout. Positioning them strategically can maximize your closet's storage capacity and organization.
Planning Your Closet Design
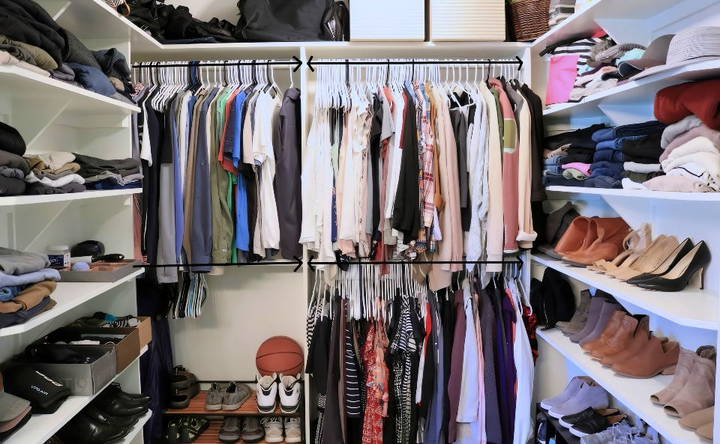
Before making any cuts, it's crucial to plan thoroughly. Measure you closet's dimensions accurately and take note of any unusual features. Sketch out your design several times to tweak and optimize your space efficiently.
Considerations for Your Design
- Rack Space for Hanging Clothes: Calculate the length needed.
- Storage for Larger Items: Plan where things like laundry baskets or shoe racks will go.
- Fill Remaining Space with Shelving: Aim for as much functionality as possible without overcrowding.
This step is essential as it helps avoid costly mistakes and ensures the end product fits your needs perfectly.
Customization Ideas
Customizing your walk-in closet can transform it into a personalized and functional space. Here are some creative ideas to help you tailor your closet to your needs and style:
Color Schemes
Choose a color scheme that reflects your personality and complements your bedroom decor. Light colors can make the space feel larger and more open, while darker shades add a touch of elegance and sophistication. Consider using a mix of neutral tones with pops of color for a balanced look.
Lighting Options
Good lighting is essential in a walk-in closet. Install LED strip lights under shelves and inside cabinets to illuminate your clothes and accessories. A chandelier or stylish pendant light can add a touch of luxury. Don't forget to include task lighting around mirrors and dressing areas for better visibility.
Shelving and Storage Solutions
Maximize your storage with a combination of shelves, drawers, and hanging rods. Adjustable shelves allow you to customize the height to fit different items. Incorporate pull-out baskets for easy access to smaller items like scarves and belts. Use clear bins or labeled boxes to keep everything organized and visible.
Mirrors
Mirrors are a great addition to any walk-in closet. They not only help you check your outfit but also make the illusion of more space. Consider a full-length mirror on one wall or mirrored cabinet doors to enhance the room's brightness and depth.
Personal Touches
Add personal touches to make the space uniquely yours. Display your favorite accessories or shoes on open shelves. Use decorative hooks for hats, bags, or jewelry. Incorporate a small seating area with a cushioned bench or ottoman for comfort while dressing.
Multi-Functional Furniture
Incorporate furniture that serves multiple purposes. A dresser with a built-in vanity can save space and provide a convenient spot for getting ready. A fold-out ironing board or a pull-out laundry hamper can keep the area tidy and functional.
Eco-Friendly Materials
Consider using sustainable materials for your closet. Bamboo shelves, recycled wood, and eco-friendly paint can reduce your environmental footprint. Look for energy-efficient lighting options to save on electricity.
Tech Integration
Integrate smart technology to enhance your closet's functionality. Install motion-sensor lights that turn on when you enter. Use a smart mirror with built-in lighting and Bluetooth speakers. Consider a digital inventory system to keep track of your wardrobe.
By incorporating these customization ideas, you can make a walk-in closet that is not only stylish but also highly functional and tailored to your personal needs.
Common Mistakes to Avoid
When designing a walk-in closet, it's easy to make mistakes that can affect its functionality and aesthetics. Here are some common pitfalls to avoid:
Ignoring Proper Lighting
Good lighting is crucial in a walk-in closet. Without adequate lighting, it can be hard to see and find your items. Install a mix of ambient, task, and accent lighting to ensure every corner is well-lit.
Lack of Adjustable Shelving
Fixed shelves can limit your storage options. Adjustable shelving allows you to customize the space to fit different items, from shoes to handbags. This flexibility can help you make the most of your closet space.
Not Considering Future Needs
Plan for the future when designing your closet. Your storage needs may change over time, so it's important to make a versatile space. Consider adding extra hanging rods or shelves that can be adjusted as needed.
Overlooking Shoe Storage Solutions
Shoes can quickly clutter a closet if not stored properly. Incorporate dedicated shoe storage solutions like racks, cubbies, or pull-out shelves. This keeps your shoes organized and easily accessible.
Ignoring Ventilation
A walk-in closet needs proper ventilation to prevent musty odors and keep your clothes fresh. Ensure there is adequate airflow, and consider installing a small fan or vent if necessary.
Poor Use of Vertical Space
Don't waste the vertical space in your closet. Use tall shelves and double hanging rods to maximize storage. This helps you utilize every inch of the closet, from floor to ceiling.
Neglecting Personalization
Your closet should reflect your personal style and needs. Avoid generic designs and think about how you use your space. Customize the layout and storage solutions to fit your lifestyle and preferences.
By avoiding these common mistakes, you can make a walk-in closet that is both functional and stylish.
FAQs About Low-Budget DIY Walk-in Closet
Discover answers to FAQs about low-budget DIY walk-in closet. Get tips and ideas to make stylish, affordable storage solutions effortlessly.
You can achieve a stylish walk-in closet without breaking the bank! Here are some budget-friendly ideas:
Repurpose existing furniture: Use bookshelves, dressers, or even ladders to create storage.
DIY shelving and hanging rods: Utilize affordable materials like wood planks and metal pipes to build your own storage solutions.
Utilize vertical space: Install shelves or hanging rods high up to maximize storage.
Thrift store finds: Look for second-hand furniture or storage units at thrift stores or online marketplaces.
There are plenty of budget-friendly storage options to organize your clothes and accessories:
Plastic bins and baskets: These are versatile and affordable for storing folded clothes, shoes, or accessories.
Hanging organizers: Utilize vertical space with hanging shoe organizers or shelves.
Tension rods: Install tension rods to create additional hanging space for scarves, belts, or ties.
Pegboards: These are great for hanging jewelry, hats, or bags.
You can make the illusion of space in a small walk-in closet with these tips:
Light colors: Paint the walls and shelves in light colors to brighten up the space.
Mirrors: Add a mirror to reflect light and make a sense of openness.
Good lighting: Install bright lighting to illuminate every corner of the closet.
Declutter regularly: Keep your closet organized and remove any items you no longer need.
Efficient planning is key to maximizing your walk-in closet space:
Assess your needs: Consider the types of clothes and accessories you need to store.
Measure the space: Take accurate measurements of your closet's dimensions.
Sketch a layout: Draw a rough plan of your closet, including shelving, hanging rods, and any other storage solutions.
Prioritize accessibility: Make sure frequently used items are easily reachable.
Add a personal touch to your walk-in closet with these simple DIY projects:
Paint or wallpaper: Add a pop of color or pattern to the walls.
Decorative hardware: Replace plain knobs and pulls with more stylish options.
Lighting fixtures: Install unique lighting fixtures to enhance the ambiance.
Labels and tags: Build custom labels for bins and baskets to keep everything organized.
Conclusion: Transforming Your Closet and Skills
In conclusion, building a DIY walk-in closet can transform your storage space and elevate your home's organization. By carefully planning, measuring, and choosing materials that suit your style, you can craft a functional and stylish closet. With creativity and attention to detail, you'll enjoy a personalized sanctuary that enhances your everyday routine. Start your project today and experience the satisfaction of building a tailored space with endless possibilities.


