Building your own walk-in freezer can be a practical solution for farms, homesteads, or anyone needing extra storage for frozen goods. With this complete guide, you'll learn each stage of assembling a DIY walk-in freezer, based on real-life expertise and including a full breakdown of materials, tools, and processes. Whether you're working with a used freezer or assembling a brand-new unit, these insights will help ensure your project runs smoothly.
Why Build a Walk-In Freezer?
For those in agriculture, homesteading, or small food businesses, managing frozen goods effectively is crucial. A walk-in freezer provides:
- Large Storage Capacity: Far more space than typical home freezers, making it ideal for long-term storage of meats, vegetables, and other perishables.
- Energy Efficiency: A walk-in freezer can be more energy-efficient than multiple smaller units.
- Longevity: With proper care, a well-constructed walk-in freezer can last for years.
By building your own, you can tailor the size, location, and specifications to your needs, saving money in the process.
Planning Your Walk-In Freezer
- Location: Choose a location that is accessible but out of the way. If you're using the freezer for farm operations or a business, it's important to place it where it won't disrupt daily activities but is still close enough for convenient access.
- In the case described, the freezer was placed outside, near the farm market area, close to the current chest freezer. This freezer had been exposed to the elements, leading to rust, making the new walk-in freezer a timely addition.
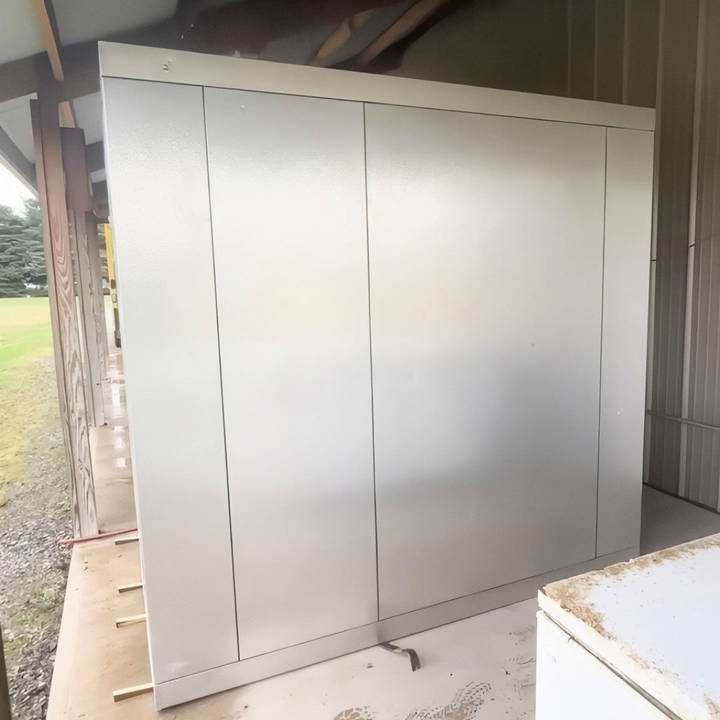
- Sizing Your Freezer: The size of your walk-in freezer will depend on your needs and the space available. The model described was approximately 5x8 feet, large enough for substantial storage but small enough to fit next to the store.
- Measure the available space carefully and account for door clearance and room for ventilation around the unit. When sizing, consider your current and future storage needs.
- Used or New? In many cases, it's possible to find used walk-in freezer panels and equipment. The freezer in this project was a used model, in excellent condition despite its prior use. This approach can save significant money if the equipment has been well-maintained.
If buying used, inspect the condition of key components:
- Panels: Ensure there's no structural damage or excessive rust.
- Compressor and Condenser: Verify these are functional, as these are expensive to replace.
- Doors and Seals: Check the seals to ensure airtight insulation.
Tools and Materials Needed
To assemble a walk-in freezer, gather the following tools and materials:
- Allen wrenches: For securing the panels together.
- Soapy water and scrub brushes: To clean the panels before assembly.
- WD-40: To lubricate and protect the metal parts during assembly.
- Level: To ensure the freezer sits correctly on uneven ground.
- Drill and screws: For any modifications or securing panels.
- Compressor and condenser: Essential components that regulate the freezer's temperature.
Step by Step Instructions
Learn how to build a DIY walk-in freezer with step-by-step instructions, from panel prep to installation and maintenance.
Preparing the Panels
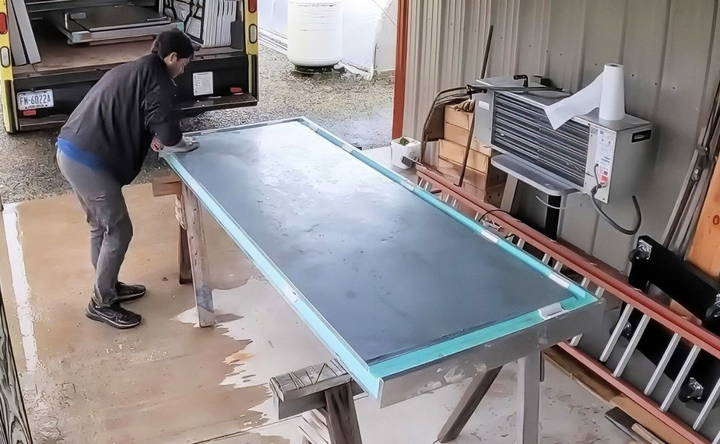
Before assembly begins, clean the panels thoroughly with warm, soapy water to remove any dirt, grime, or residue. This is especially important for used panels. The team in this project also applied WD-40 to the bottom panels to prevent rust, given that these would be in constant contact with the ground. Ensuring the panels are clean and protected will prolong their lifespan.
Laying the Foundation
The freezer must be installed on a flat, level surface. In this project, the assembly team encountered a sloped concrete surface, which caused misalignment of the panels. They compensated for this by leveling the base using shims and adjusting the panel positioning.
A flat, even foundation ensures the door seals properly and that the panels lock together correctly, maintaining an airtight environment.
Assembling the Panels
The walk-in freezer is constructed using interlocking insulated panels. Each panel has tabs that connect, secured using an Allen wrench. To assemble the panels:
- Start with the base: Ensure it's perfectly square, as any misalignment will carry over to the walls and ceiling.
- Lock the panels: Insert the Allen wrench into the designated holes and rotate to pull the panels together. The locking mechanism uses a counterclockwise motion, which can be counterintuitive, so take care during this step.
- Use lubrication: Applying WD-40 or similar lubricant can help the locking mechanisms work more smoothly, especially for used parts.
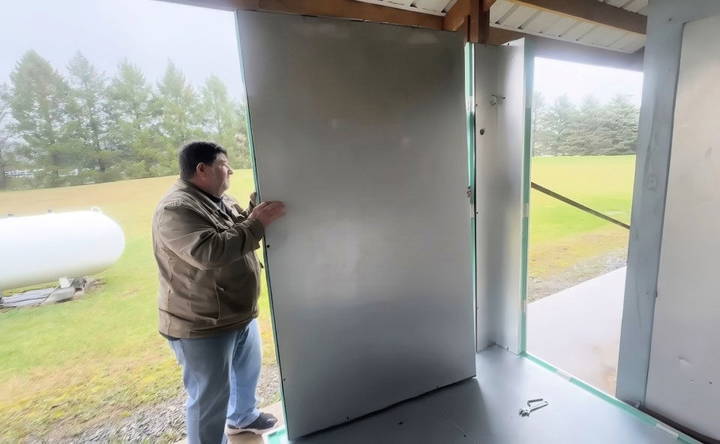
Assembling the panels can be a labor-intensive process, requiring at least two people for handling large, heavy components like the door and ceiling panels. In this case, the team faced challenges with the door due to its weight, requiring extra hands to maneuver it into place.
Sealing and Insulating
Ensuring airtight seals between the panels is critical to maintaining the cold temperature inside the freezer. This is achieved by the rubber gaskets built into the panel edges. As you assemble, ensure the gaskets are properly aligned and that no gaps remain.
Installing the Door
The door is one of the most critical components, as it provides access and must maintain the freezer's airtight environment. Due to its weight, the door is installed last to avoid unnecessary strain during panel assembly. Make sure the door frame is level and the seal is intact.
Adding the Compressor and Condenser
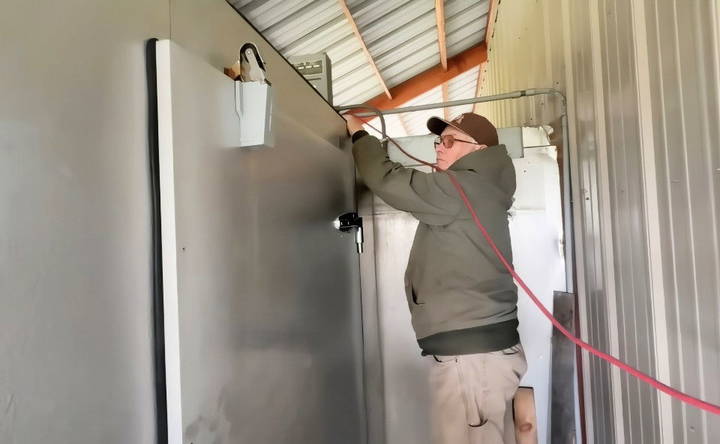
Once the shell of the freezer is constructed, the compressor and condenser need to be installed. These units regulate the internal temperature of the freezer, ensuring it remains below freezing. In this project, the compressor was set aside while the structure was being built, but it's crucial to follow the manufacturer's instructions when setting these components up.
Final Touches
Once the freezer is assembled, additional steps include:
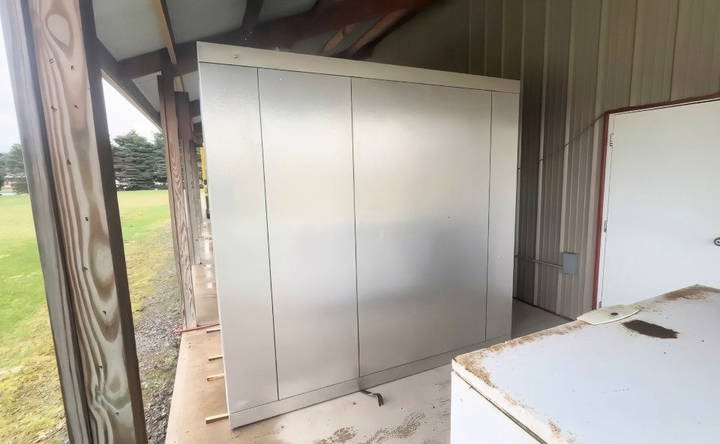
- Installing caps: Cover any exposed Allen wrench holes with the provided caps to protect the locking mechanisms from moisture or dirt.
- Installing lighting: Depending on the freezer's location and intended use, adding interior lighting may be necessary. Be sure to use lights rated for cold environments.
- Testing the seals: Walk around the freezer and check for any air leaks. Use your hand to feel for cold air escaping, especially around the door.
Troubleshooting and Adjustments
During the assembly process, you may encounter some issues. For example, in this case, the team faced a panel alignment problem due to the sloping concrete foundation. They solved this by lifting one side of the freezer to level it out, allowing the panels to lock together properly.
Other common issues include:
- Panel misalignment: If the panels don't fit together snugly, check the foundation for levelness or obstructions.
- Door not sealing: Adjust the hinges or leveling to ensure the door closes tightly.
Maintaining Your Walk-In Freezer
To ensure your freezer operates efficiently and lasts a long time:
- Regular cleaning: Wipe down the interior and exterior with soapy water periodically. Ensure the door seals are clean to maintain a proper seal.
- Inspect the compressor and condenser: Regularly check these components for dust or blockages. Clean as necessary to maintain efficiency.
- Check for leaks: Periodically inspect the freezer for any signs of air leaks, which can lead to increased energy use and reduced efficiency.
Conclusion
Building your own walk-in freezer can be a rewarding and cost-effective project. By carefully planning the size, location, and materials, and following the step-by-step process outlined in this guide, you can build a freezer that meets your specific needs.
With regular maintenance, a DIY walk-in freezer can last for many years, providing you with the cold storage necessary for your farm, homestead, or business. Whether you're using new or second-hand materials, the key to success lies in careful assembly, proper insulation, and regular upkeep.
FAQs About DIY Walk-In Freezer
Discover the essentials of building a DIY walk-in freezer with our comprehensive FAQs. Save money and gain valuable insights today!
Choose a location that is flat, accessible, and away from extreme weather conditions. For outdoor installations, ensure it's protected from elements like rain or direct sunlight, which could lead to rust or wear over time. Keep it close to your store or workspace for convenience.
If the surface isn’t level, use shims or adjust the panels during assembly to ensure the freezer sits correctly. Ensuring a level foundation prevents gaps between panels and doors, which can cause temperature inefficiency.
While WD-40 can temporarily protect metal from rust, it is primarily a penetrating oil, not a long-term protective coating. For better protection, consider applying a rust-proof coating designed for long-term use, especially on metal parts exposed to moisture.
You’ll need basic tools such as Allen wrenches (for panel assembly), a level (to ensure flatness), and a drill for securing panels. WD-40 or lubricant is useful for easing panel locks during assembly, especially on used units.
Misalignment can occur due to uneven surfaces or improper panel placement. Recheck the foundation and use a level. Lubricate locking mechanisms to help panels fit smoothly, and adjust as necessary to eliminate gaps between sections.
Walk-in freezer doors are typically very heavy, requiring at least two people for safe installation. Always ensure the frame is aligned before attaching the door, as misalignment can cause sealing issues.
Ensure all panels are locked together tightly, and check the rubber gaskets between panels for proper sealing. Once assembled, run your hand along the seams and door to check for any cold air leaks.
Regularly clean the panels and seals with soapy water to prevent dirt buildup. Inspect the compressor and condenser for dust and debris, and monitor the seals for any signs of wear or leaks to maintain energy efficiency.
If the door isn't sealing, check for any misalignment in the hinges or foundation. Adjust the door frame and inspect the rubber gaskets for damage or improper seating, which can cause air leaks.
Yes, but use cold-rated lighting fixtures that can withstand freezing temperatures. Standard lights may not function properly in such environments.


