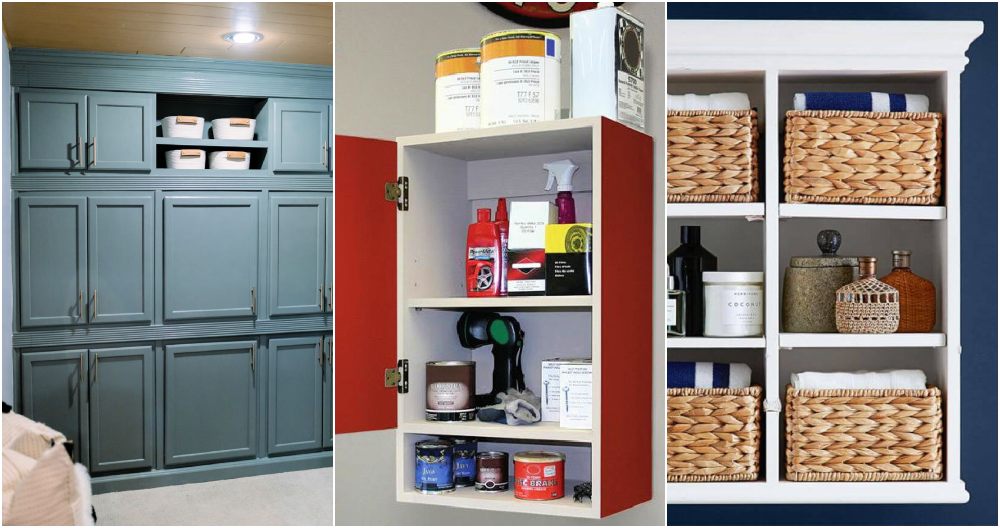
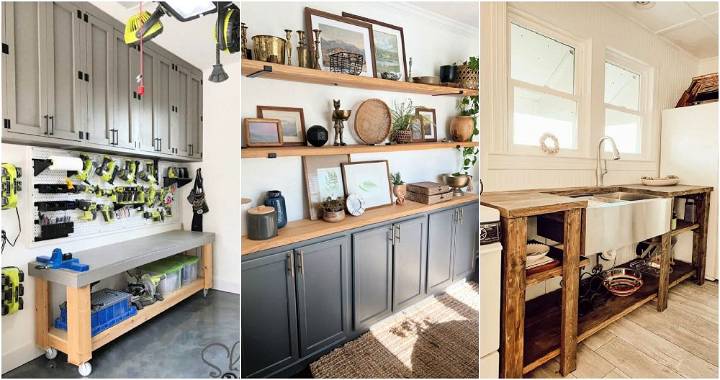
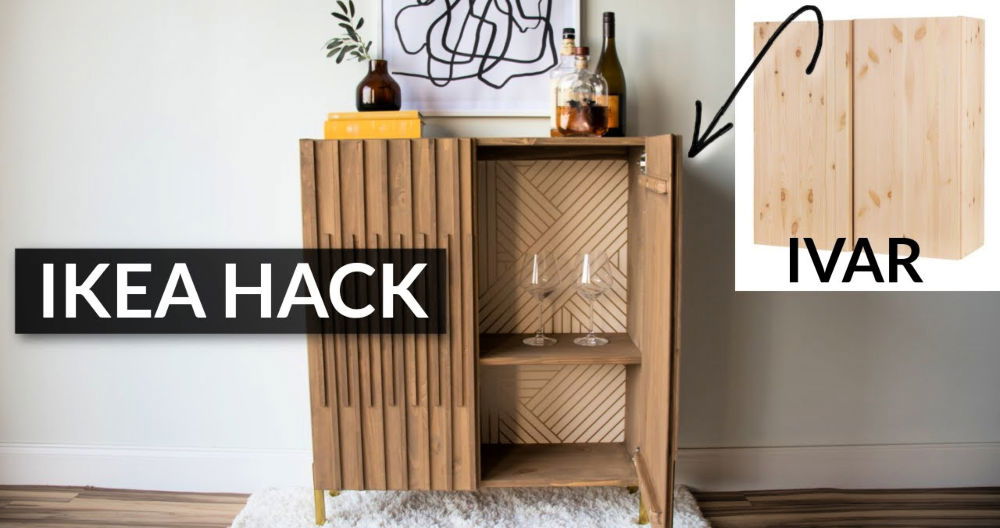
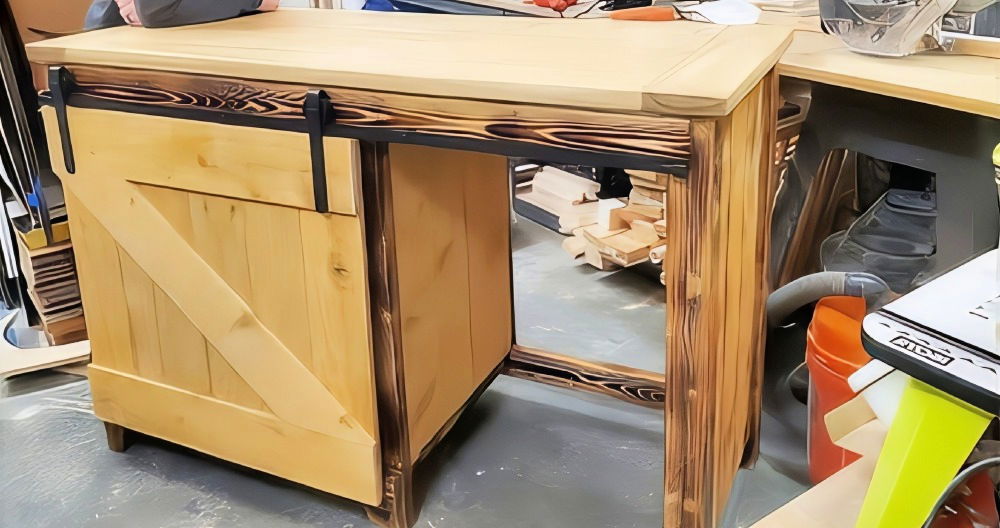
Making a DIY wall cabinet is an enriching project, enhancing your woodworking skills and offering a practical storage solution for your home, shop, or pantry. In this guide, you'll find a complete overview of the process, with explanations for two primary construction methods. The first is a simple, sturdy cabinet perfect for shop use, while the second offers a more traditional approach, ideal for kitchens and pantries.
Both methods have unique advantages and can be customized to suit your needs. Let's dive into the materials, tools, and steps needed to build your wall cabinet.
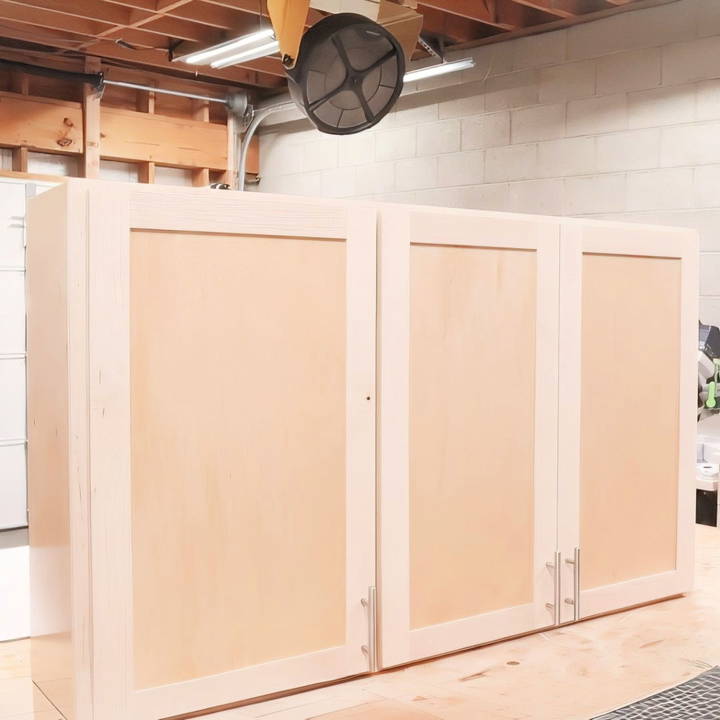
Materials and Tools
Discover essential materials and tools for your project. Get a complete list to ensure you have everything you need for success.
Materials:
- 3/4-inch plywood for cabinet carcass
- 1/2-inch plywood for back panels and door panels
- 1/4-inch plywood for the backs of traditional-style cabinets
- Pre-surfaced lumber (such as maple) for the face frame
- Pocket screws
- Wood glue
- Brad nails (for attaching back panels and trim)
- Shelving pins and clips
- Edge banding (optional)
Tools:
- Circular saw or track saw
- Table saw with crosscut sled
- Pocket hole jig or pocket cutting machine
- Shelf pin jig
- Router with undersized plywood bits
- Dado stack (for cutting grooves)
- Clamps
- Brad nailer
- Iron (for applying edge banding)
- Screwdriver or drill for attaching hinges
Now that we've covered the essentials, let's move on to the construction process.
Step by Step Instructions
Learn how to DIY wall cabinet construction with simple, step-by-step instructions—from plywood breakdown to hinge installation. Ideal for any home project!
Step 1: Breaking Down Plywood
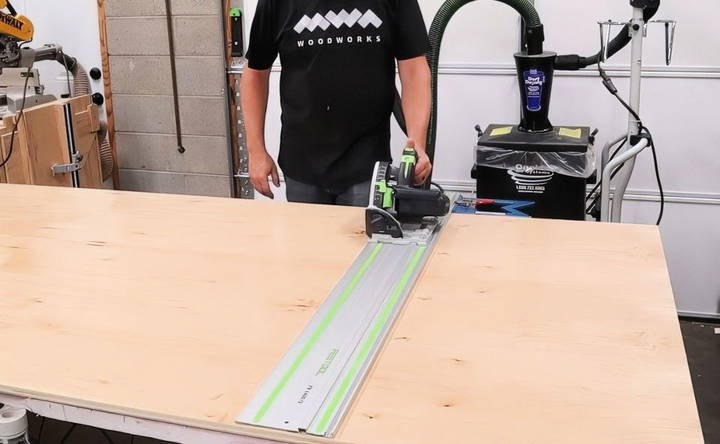
Start by cutting your plywood sheets into manageable sizes. If you're working with full sheets, this can be difficult and cumbersome without the right tools. A circular saw with a straight edge can work well, but a track saw makes this job much easier, reducing the amount of dust and ensuring straighter cuts.
The goal is to cut the plywood into large blanks that will later be trimmed down to their final sizes. For a standard project, you'll need pieces for the sides, tops, bottoms, and shelves of the cabinets.
Step 2: Cutting Cabinet Parts to Size
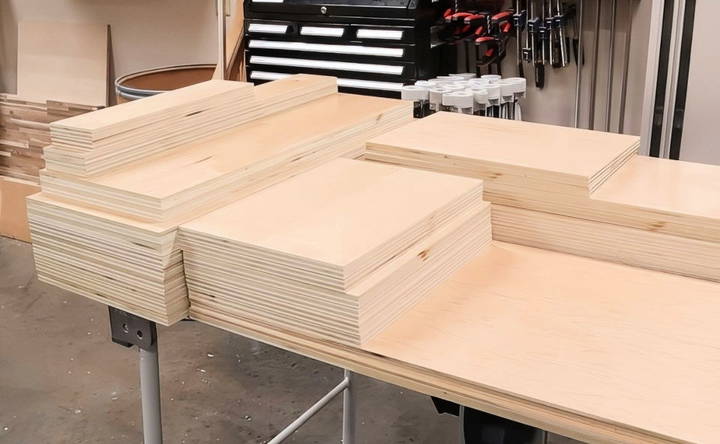
Once your plywood is broken down into manageable chunks, head over to the table saw to trim everything to its final dimensions. For example, if you're building 30-inch and 18-inch cabinets, you'll want to carefully cut the sides, tops, and bottoms to the correct widths and lengths.
Remember to remove the factory edges first to ensure clean, precise cuts. The edges left by manufacturers can often be rough, which can lead to improper alignment during assembly.
Step 3: Basic Construction with Pocket Screws
The first method of construction uses pocket screws. This is a simple, strong way to build your cabinet without requiring specialized joinery skills.
Using a Pocket Cutting Machine
A traditional pocket hole jig works, but upgrading to a pocket cutting machine can save time and effort. Machines like the Castle pocket cutting machine build clean, debris-free pockets in a single motion. These machines use two router bits: one for the pocket and the other for the pilot hole, making the process faster and more efficient.
Rabbeting the Back
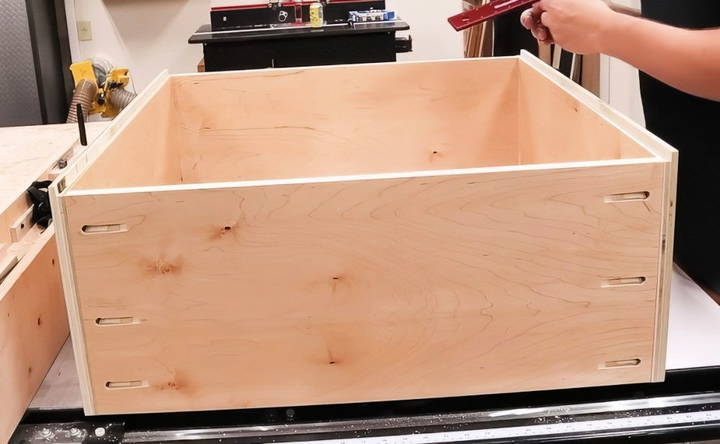
To make room for the back panel, cut a rabbet along the back edge of each cabinet side using a table saw. This allows the back panel to sit flush with the edges, building a cleaner look and adding structural stability.
Assembly
Line up the top and bottom panels with the sides and clamp them in place before driving in your pocket screws. Always assemble the cabinets face down so the rabbets are on the correct side.
Once the frame is squared up, slide the 1/2-inch back panel into place, apply glue to the rabbeted joints, and secure the panel with screws for extra strength.
Step 4: Traditional Cabinet Construction with Dados
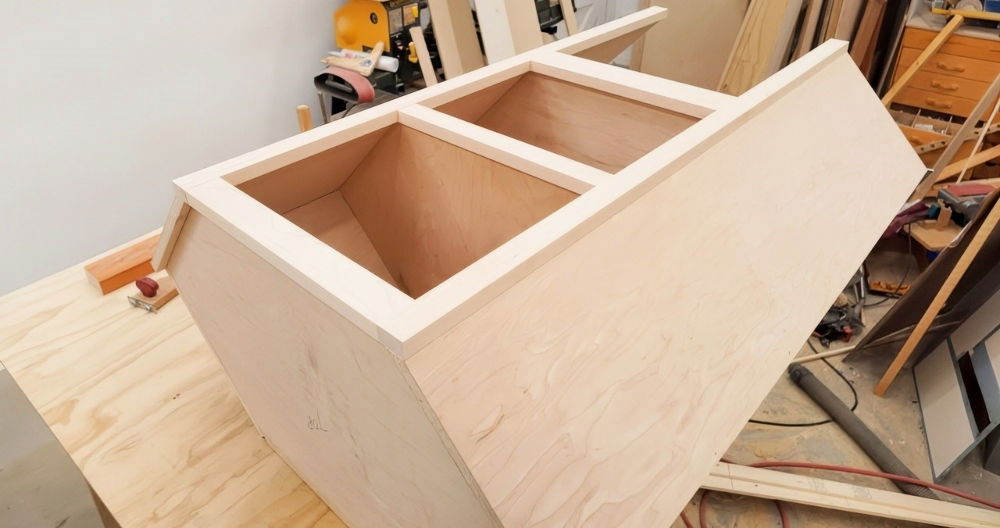
For the more traditional cabinet style, we'll use dados and grooves for a sturdier, more professional look. This method is great for cabinets that will be installed in kitchens or pantries, where aesthetics are a priority.
Cutting Dados and Grooves
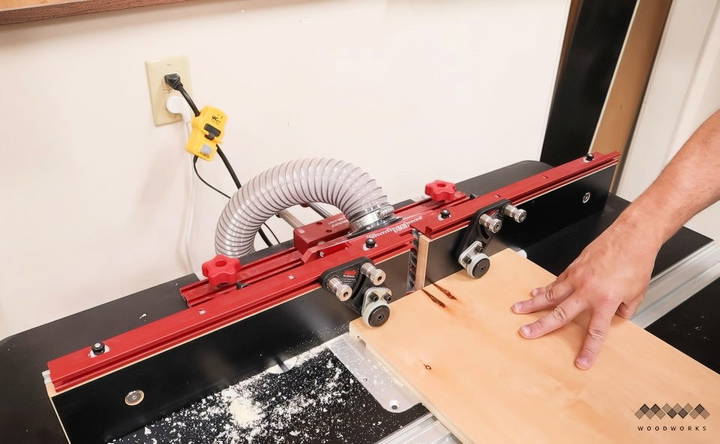
To cut the grooves that hold the back panel, use a table saw or router fitted with an undersized plywood bit. Begin by marking the locations of your grooves and dados, ensuring they align correctly on both sides.
Use the table saw to cut the grooves along the back edge, followed by the dadoes for the top and bottom panels. These should be approximately 3/4 inches from the edges to leave room for future trim installation.
Why Dados Matter
The traditional method builds a 3/4-inch offset between the top and bottom panels, which allows for the addition of trim around the top of the cabinet. It also provides a recessed area at the bottom, which is helpful if you plan to add under-cabinet lighting.
Combining Cabinet Sections
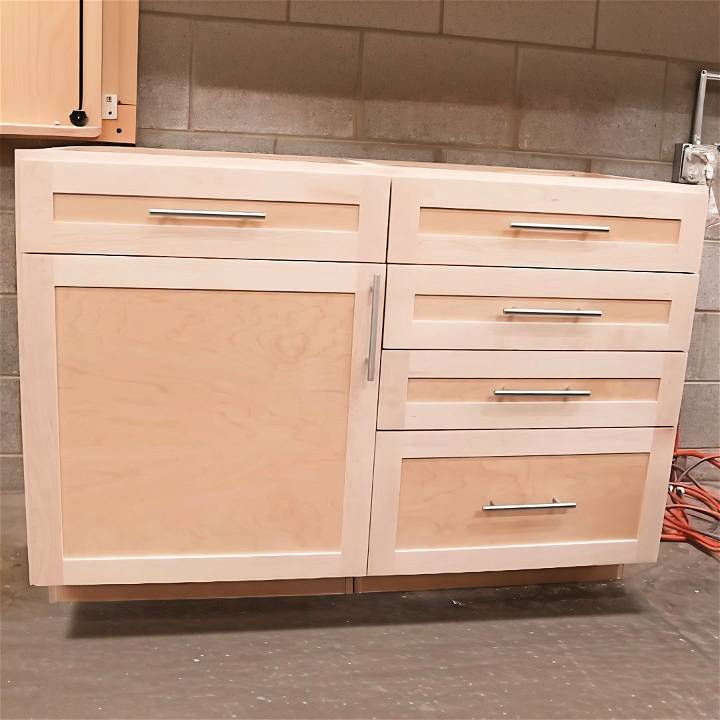
If you're building larger cabinets, such as combining 30-inch and 18-inch sections into a 48-inch unit, now's the time to join them. Line up the edges and clamp the pieces together, securing them with screws placed discreetly to maintain a clean appearance.
Step 5: Building the Face Frame
A face frame adds a finished, polished look to your cabinet. The frame covers the front edges of the plywood, making the cabinet look more refined. You'll typically use pre-surfaced lumber, such as maple, which requires little additional milling.
Cutting Face Frame Parts
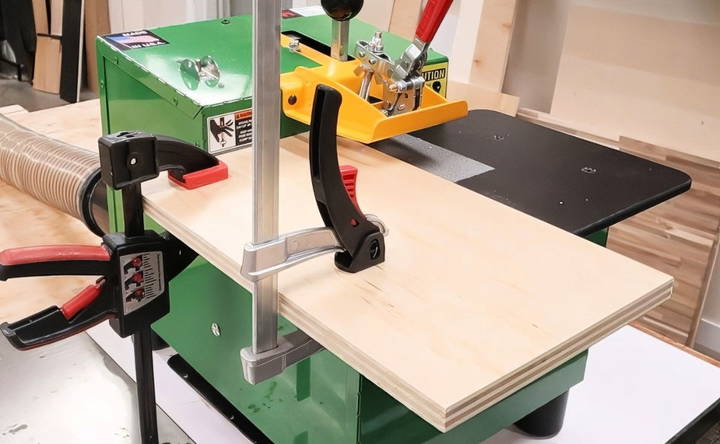
Cut the face frame components to size using your table saw and crosscut sled. The frame typically consists of vertical stiles and horizontal rails that form a rectangle around the cabinet opening.
Assembling the Face Frame
Using pocket screws, assemble the face frame, ensuring all joints are flush. The advantage of a pocket cutting machine is that it builds shallow angles for the screws, which helps prevent parts from shifting during assembly.
Once the frame is assembled, sand it down to 180 grit for a smooth, seamless finish.
Attaching the Face Frame
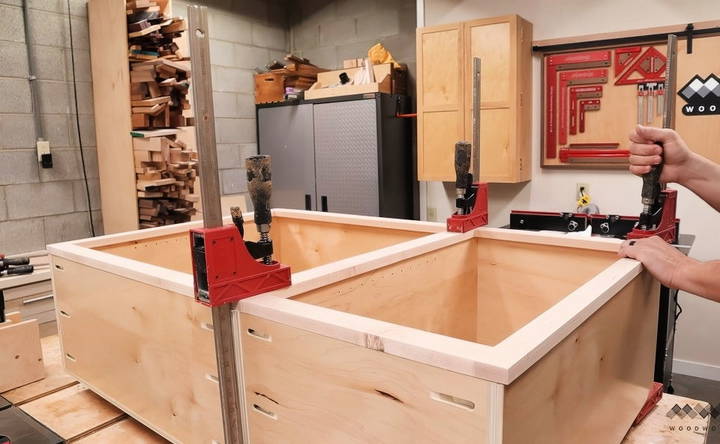
Glue the face frame to the front of the cabinet, using clamps to hold it securely in place. If you plan to paint the cabinet, you can use brad nails instead of clamps, as any nail holes can be filled before painting.
Step 6: Constructing Cabinet Doors
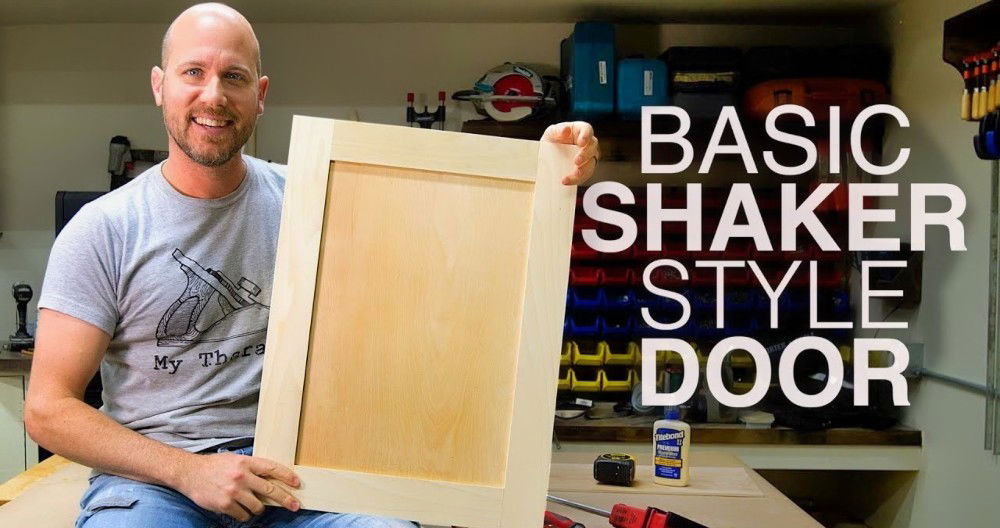
If you're building a shop cabinet, you can use simple plywood doors, but for a more finished look, consider making frame-and-panel doors. These doors have a solid wood frame with a plywood center panel, giving them a classic look.
Cutting the Frame Parts
Cut the door frame parts (rails and stiles) to width and length using the same pre-surfaced maple as the face frame. Two-inch-wide frame parts are common for most cabinet doors, but you can adjust the width to suit your design.
Building Grooves and Tongues
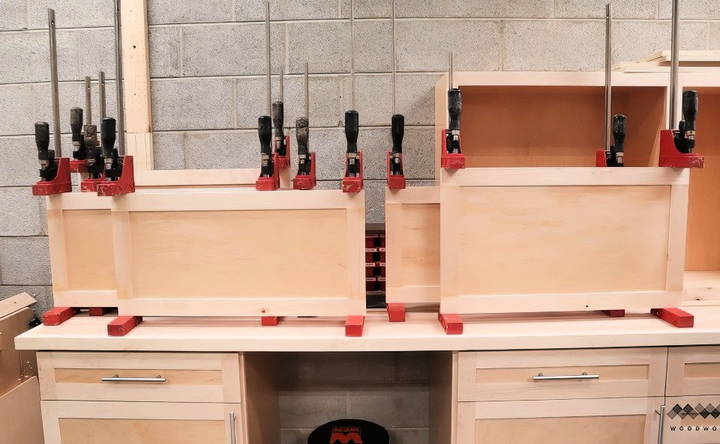
Cut grooves into the frame pieces to house the center panel. Then, use a dado stack on the table saw to cut tongues on the ends of the rails. These tongues will fit into the grooves on the stiles to build a strong joint.
Installing the Center Panel
Cut the 1/2-inch plywood for the center panel to size and rabbet the edges using a dado stack. Fit the panel into the grooves of the door frame, ensuring everything sits flush before clamping the frame together.
Step 7: Installing Hinges and Shelves
Learn how to expertly install hinges and add shelves with step-by-step guidance. Perfect DIY for enhancing your space easily and efficiently.
Hinge Installation
European-style concealed hinges are a popular choice for cabinets because they offer adjustability and a clean, modern look. Use a hinge jig to drill the necessary holes for the hinges, and attach them to the face frame.
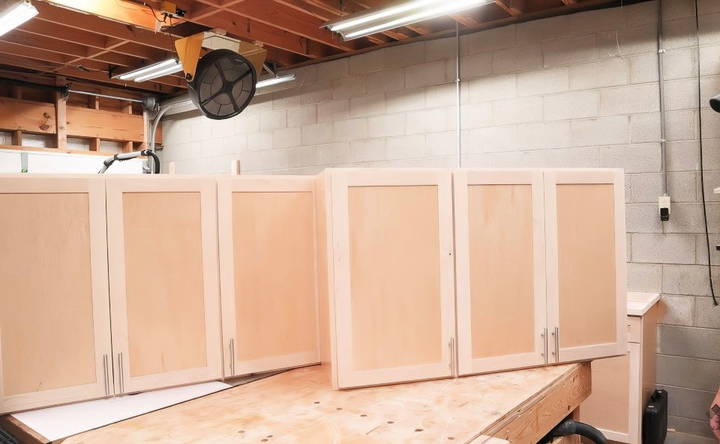
Once the hinges are in place, attach the doors to the cabinet and make any necessary adjustments to ensure the doors sit evenly.
Adding Shelves
For adjustable shelves, drill shelf pin holes in the cabinet sides using a shelf pin jig. This allows you to move the shelves up and down as needed. Apply edge banding to the front edge of the shelves for a more finished look, using an iron to activate the glue.
Snap the shelves into place using shelf clips, and your cabinet is complete!
Conclusion
Building a DIY wall cabinet can be as simple or as complex as you'd like, depending on the style and finish you're aiming for. Whether you opt for a basic construction method with pocket screws or go the more traditional route with dadoes and face frames, you'll end up with a custom piece that adds both function and style to your space.
By following this guide, you can build sturdy, professional-looking wall cabinets tailored to your needs. So grab your tools, head to the shop, and enjoy the satisfaction of building something with your own hands!
FAQs for DIY Wall Cabinets
Discover comprehensive FAQs for DIY wall cabinets, covering essential tips, tools, and techniques for building stylish storage solutions.
To hang cabinets, find the wall studs and fasten screws through the cabinet's back panel and nailer strips directly into the studs. If you’re mounting on a concrete wall, use Tapcon screws for a strong hold.
Use pre-finished plywood, such as maple or birch, for ease and durability. It saves time by eliminating the need to apply a finish later.
While 3/4-inch plywood offers more strength and durability, 1/2-inch can be used for lighter-duty cabinets, especially in spaces where less weight is stored.
Use European-style hinges with three-way adjustments. These allow you to fine-tune the door alignment, ensuring consistent gaps across multiple doors.
For shop cabinets, 1/2-inch panels provide extra strength if you plan to hang tools or items inside the doors. However, 1/4-inch is suitable for lighter-duty cabinets.
No, it's better to leave the panels floating within the frame to allow for wood movement due to changes in humidity. If you're painting the doors, pre-paint the panels before assembly.
Yes, pocket screws are a simple, effective method for cabinet assembly, especially in shop cabinets. However, using dados and rabbets adds extra strength and durability for kitchen or pantry cabinets.
Use a shelf pin jig to drill evenly spaced holes. Insert shelf pins and secure the shelves in place. Adding edge banding to the shelves' front edges can build a more polished look.
Use an 80-tooth fine trim blade designed for plywood to minimize splintering. Alternatively, you can score the plywood with a shallow cut first before cutting through completely.
Consider using a French cleat system. This method allows for easier installation, as the cleat securely holds the cabinet in place while you fasten it to the wall.


