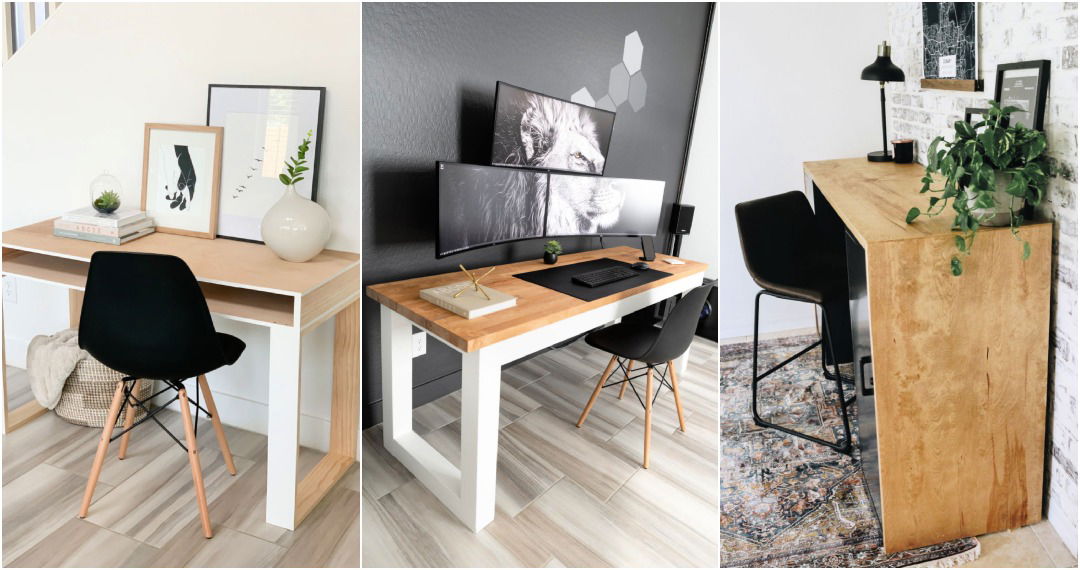
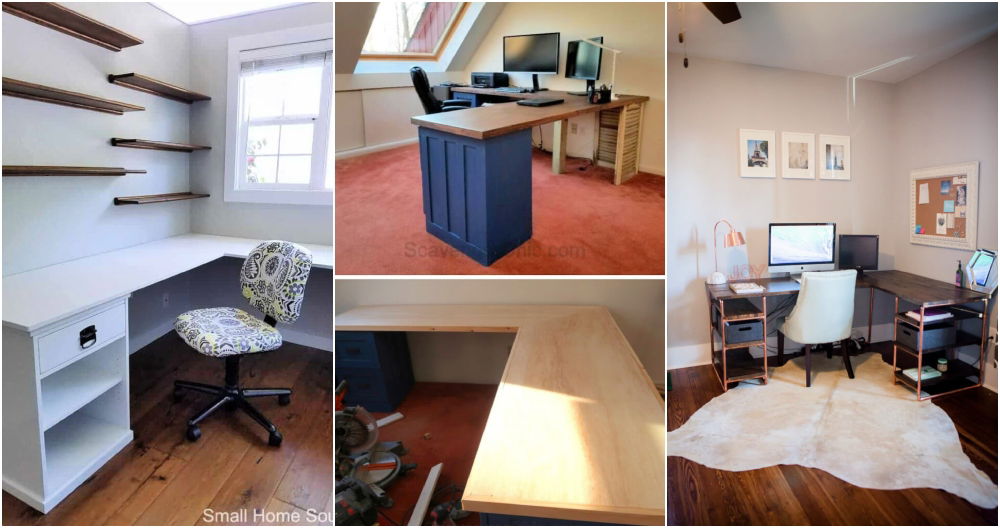
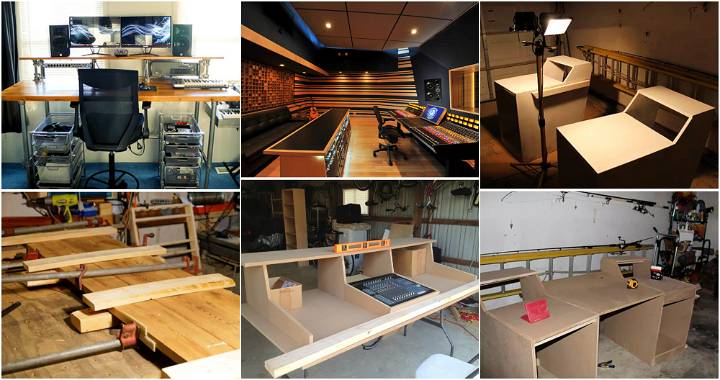
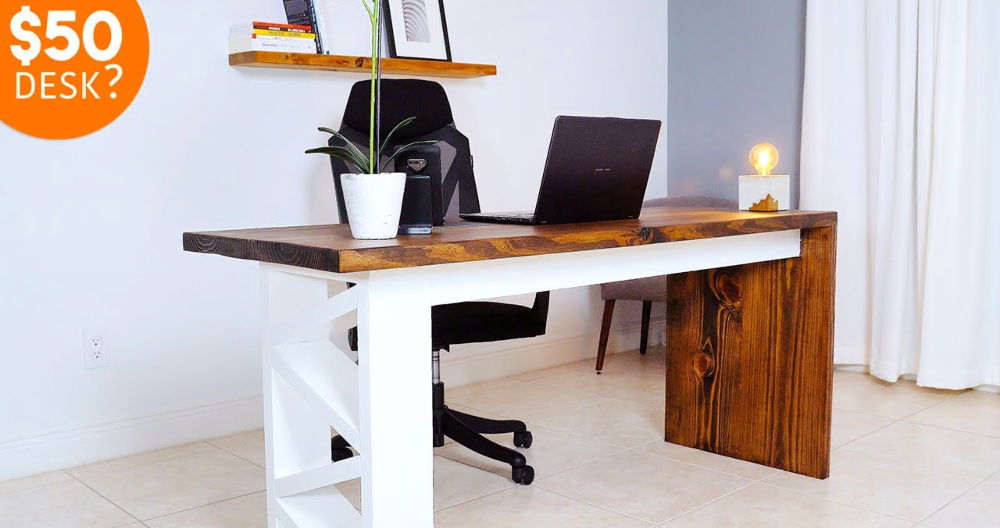
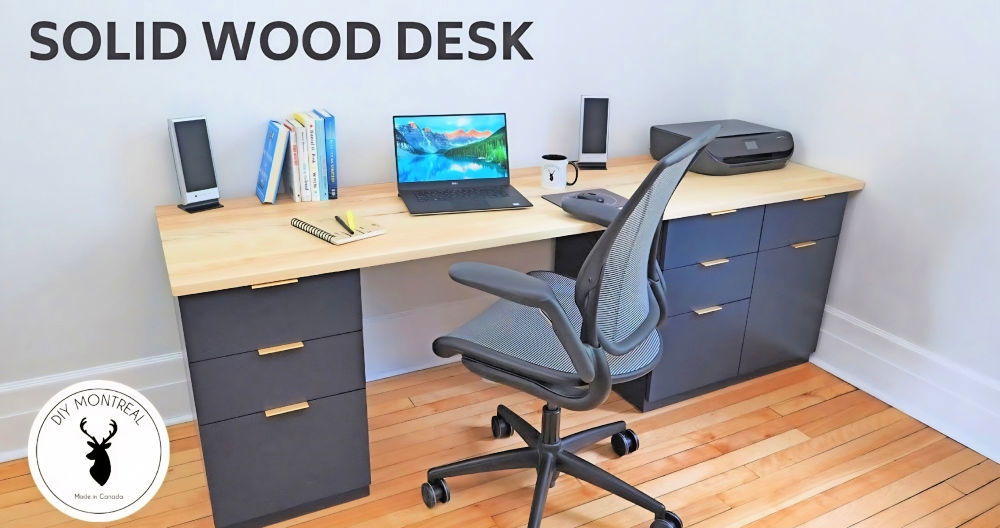
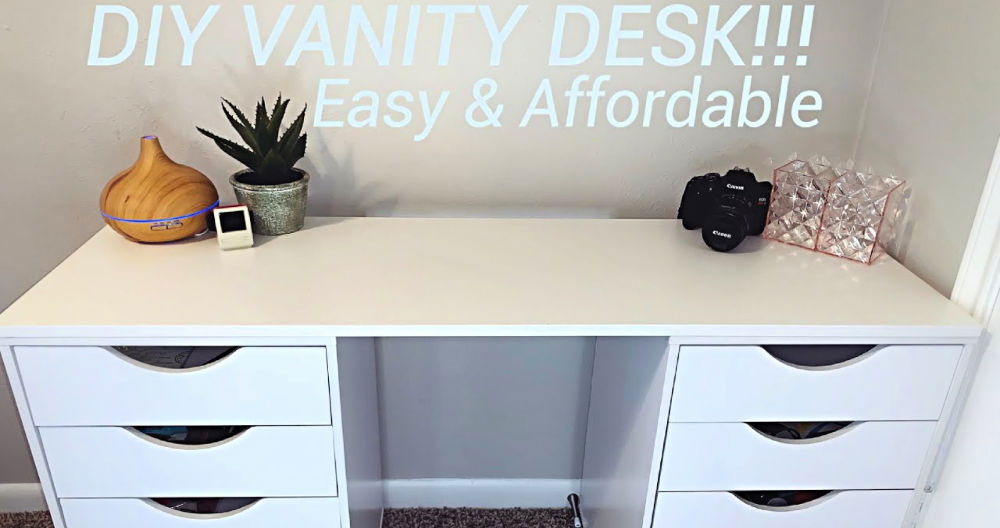
Building a DIY wall-mounted desk is a practical and stylish solution for maximizing space in any room. Start by measuring your desired area and gathering materials like wood, brackets, and screws. Cut the wood to fit your dimensions, carefully sand the edges, and attach the brackets to the wall. By securely mounting the desk, you ensure it supports your equipment and supplies without wobbling or tipping.
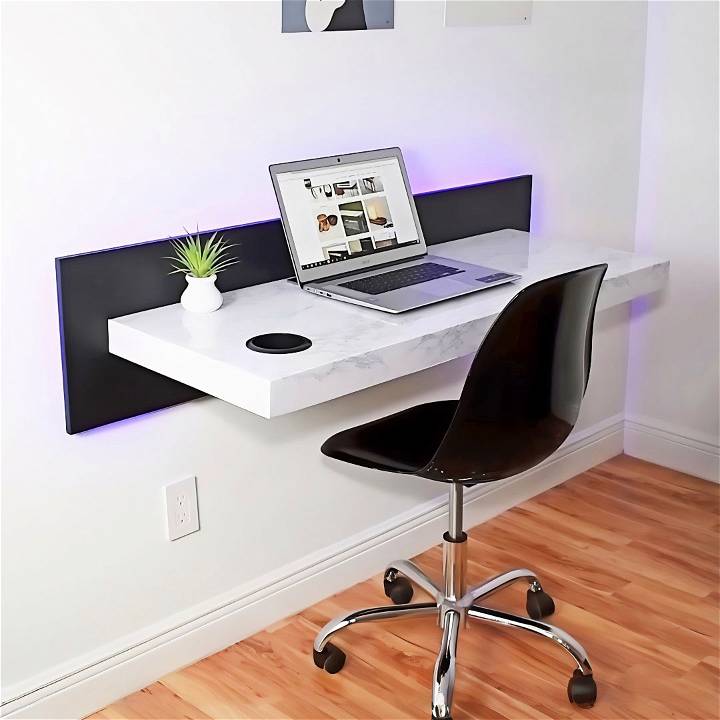
A wall-to-wall desk can offer a more expansive workspace, ideal for home offices or study areas. Measure the full length of the wall to determine the size of your desk. Secure the wood along the entire wall with sturdy brackets and additional support beams if necessary. This setup allows you to build a sleek, functional workspace that blends seamlessly with your room’s design.
Discover how to make a stylish, space-saving DIY wall-mounted desk with this easy guide. Perfect for any home office or room.
Materials and Tools: What and Why
- Plywood: For the desk surface and frame. It’s durable and gives a solid base.
- Wood glue & Brad nails: Essential for assembling the frame securely.
- 1x3 lumber: To frame the desk edges, hiding plywood layers and giving a polished look.
- Circular saw & Table saw: For cutting materials to accurate sizes.
- Brad nailer: For joining pieces quickly and neatly.
- Vinyl wrap: For a sleek desk surface finish that’s easy to maintain.
- LED strip lights: To add ambient lighting for a modern touch.
- Wireless charger kit: For seamless device charging built into the desk.
- Power outlet with USB ports: To ensure easy access to power for charging and plugging in devices.
- Cup holder insert: Because spills are a bane.
- French cleat system: For securely mounting the desk to the wall, saving floor space.
- Paint (optional): To finish the non-wrapped parts of the desk.
Step by Step Instructions
Learn how to build a DIY wall-mounted desk with our step-by-step guide, including cutting plywood, assembling the frame, adding trim, and more.
Step 1: Cutting the Plywood
I started by cutting my plywood sheet into manageable sizes, being mindful to support the wood to prevent it from falling. Though a circular saw did the job, a table saw made the cuts more precise for the smaller pieces.
Step 2: Assembling the Frame
Building a sturdy frame was crucial for the desk's integrity. I used wood glue and brad nails for a firm assembly. Gluing the frame to the top and securing it with brad nails ensured a solid base.
Step 3: Adding the Trim
Applying a 1x3 lumber trim along the desk's edges hid the plywood layers beautifully. Minimizing nail use here was intentional to keep the finish clean, relying on clamps and glue until set.
Step 4: Rethinking and Problem-Solving
Originally planning to paint, at this point, I pivoted to using a vinyl wrap for a modern, easy-to-clean surface. This decision introduced me to new challenges, especially around applying the vinyl without bubbles or wrinkles. A heat gun became unexpectedly pivotal in smoothing out the surface.
Step 5: Integrating Modern Conveniences
The integrated tech features were essential for my dream desk:
- Wireless Charger: Routing out a section for this required precision. Placing it prior to attaching the frame would have been easier, a lesson for next time.
- Power Outlet and USB Ports: Cutting a precise hole for these meant ensuring no interference with the desk's sleek look.
- LED Lighting: Adding ambient light with LED strip lights around the edges brought the modern aesthetic to life.
Step 6: The Wrap Challenge
Applying the vinyl wrap was a newfound skill for me. Ensuring a smooth, bubble-free application took patience and the helpful use of a heat gun for adjustments.
Step 7: Mounting and Final Touches
Using the French cleat system for wall mounting proved straightforward and secure. However, planning the exit for cables and ensuring all tech integrations worked seamlessly needed foresight. Additionally, deciding to add a paint finish to the non-vinyl parts for a cohesive look was a last-minute, yet satisfying choice.
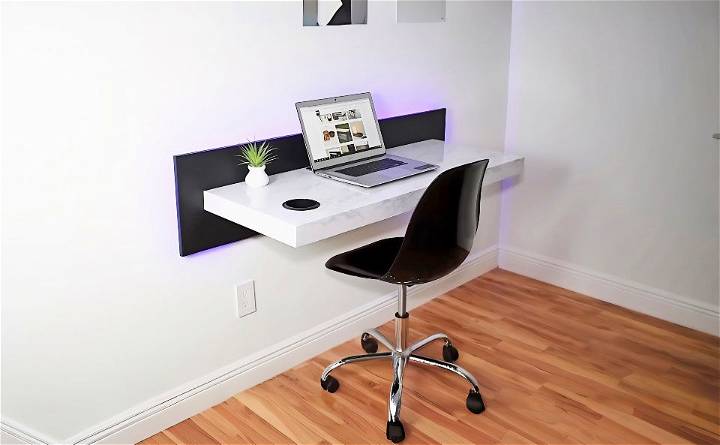
My dream desk is now real, showcasing DIY skills with style and function. It saves space and offers a sleek surface, ambient lighting, power, and wireless charging, all perfectly designed for my needs.
Design Customization Ideas
When it comes to making a wall-mounted desk, the beauty lies in the ability to tailor it to your personal taste and the needs of your space. Here are some ideas to inspire your design:
- Choose Your Style: Whether you’re a fan of the sleek, modern look or prefer a rustic charm, select a design that reflects your personality. For a modern touch, think clean lines and glossy finishes. If rustic is more your style, consider using reclaimed wood for warmth and character.
- Color It Up: The color of your desk can transform the mood of the room. A bright color can add a pop of fun, while a dark stain can bring elegance and sophistication. Remember, lighter colors can make small spaces appear larger.
- Functional Features: Think about what you’ll need on your desk. If you’re a tech enthusiast, incorporate cable management systems to keep wires neat. If you’re an artist, add a roll of paper that you can pull over the desk for sketching.
- Storage Solutions: Even with limited space, you can be smart about storage. Use vertical space by adding shelves above the desk or attach small containers to the underside to store pens and tools.
- Personal Touches: This is your space, so make it yours. Add a magnetic strip to hold notes and photos, or install a small vase for fresh flowers to brighten up your work area.
- Light It Right: Good lighting is crucial. Consider attaching a flexible desk lamp or installing LED strips underneath the upper shelf for a well-lit workspace.
- Ergonomics Matter: Your comfort is important. Ensure the desk height is appropriate for your seating position to maintain good posture.
By incorporating these ideas, you’ll build a desk that’s not only functional but also a reflection of who you are.
Troubleshooting Common Issues
When embarking on a DIY project like a wall-mounted desk, you might encounter a few hiccups along the way. Here’s a guide to help you troubleshoot some common issues:
The Desk Isn’t Level
- Solution: Use a spirit level when installing the brackets. Adjust the position until the bubble is centered. If the problem persists after installation, add small shims under the brackets to achieve a level surface.
The Desk Wobbles
- Solution: Ensure all screws are tightened properly. If the wobble is due to an uneven wall, you can use wall anchors or find a stud to secure the desk more firmly.
Insufficient Space for Accessories
- Solution: Consider adding a secondary shelf above the desk or attach hanging organizers to the side to maximize your space without cluttering the work area.
Difficulty Managing Cables
- Solution: Install cable management trays under the desk. Use cable ties or clips to bundle cords together and route them neatly to the power source.
The Wood Finish is Uneven
- Solution: Sand the surface gently before applying any stain or paint. Apply thin, even coats and allow ample drying time between layers.
The Desk Surface Gets Scratched Easily
- Solution: Apply a clear protective finish, like polyurethane, to guard against scratches. Use coasters or mats to protect the surface from daily wear and tear.
Tools Required Are Not Available
- Solution: Rent tools from a local hardware store or borrow from friends or family. Some community centers also offer tool-lending libraries.
By anticipating issues and knowing how to handle them, you'll be prepared to build a sturdy wall-mounted desk.
Maintenance and Care Tips
Keeping your wall-mounted desk in top condition is key to ensuring it remains a functional and attractive part of your space. Here are some straightforward maintenance and care tips:
- Regular Cleaning: Dust your desk weekly with a soft, dry cloth. For deeper cleans, use a damp cloth with mild soap, but avoid harsh chemicals that can damage the finish.
- Protect the Surface: Use coasters for drinks and desk pads underwriting materials to prevent scratches and stains. If you’re using a computer, consider a mouse pad to protect the desk’s surface.
- Check for Stability: Periodically check the brackets and screws to make sure they’re tight and secure. Over time, they can loosen, especially if the desk is used frequently.
- Avoid Overloading: Be mindful of the weight limit of your desk. Overloading it can cause strain on the brackets and the wall, leading to potential damage.
- Mind the Sun: If your desk is near a window, be aware that direct sunlight can fade the wood over time. Use blinds or curtains to minimize exposure.
- Address Spills Immediately: If any liquid is spilled on the desk, wipe it up promptly to prevent watermarks or damage to the wood.
- Touch-Up as Needed: If you notice any chips or scratches, touch them up with matching paint or stain. For larger areas, sanding and refinishing may be necessary.
By following these simple tips, you can keep your DIY wall-mounted desk looking great and functioning well for years to come.
FAQs About DIY Wall-Mounted Desk
Discover answers to faqs about DIY wall mounted desk. Get insights on installation, materials, sizing, and customization tips.
It’s crucial to attach your desk to wall studs for maximum stability. Use a stud finder to locate the studs in your wall. If you can’t align the desk with studs, use heavy-duty wall anchors suitable for your wall type. Always follow the weight capacity guidelines for the hardware you choose.
Yes, you can! There are many simple plans available that require minimal tools and materials. Some designs use pre-cut wood or even repurposed materials like an old door. The key is to start with a straightforward plan and ensure you have clear instructions to follow.
For a space-saving design, consider adding a fold-down mechanism so the desk can be tucked away when not in use. Integrated shelves, magnetic boards, or pegboards for organization can also help maximize the functionality of your desk without taking up additional space.
Customization can be as simple as choosing a paint or stain that matches your decor. You can also add decorative brackets, use unique materials like reclaimed wood, or incorporate personal touches like a built-in cup holder or a wireless charging pad. The possibilities are endless, and you can tailor the desk to your exact preferences and needs.
Managing cables and wires is essential to keep your workspace tidy and safe. Consider installing a cable management tray under the desk to hide and organize wires. You can also use cable clips or sleeves to bundle cords together. For a cleaner look, drill a small hole in the desk to run cables directly to your devices. If you’re using a floating desk design, ensure that the cable management system doesn’t interfere with the desk’s ability to fold up against the wall.
Conclusion:
In conclusion, building a DIY wall-mounted desk is a rewarding and fun project that enhances your space's functionality and aesthetic. Following this guide on how to build a DIY wall-mounted desk ensures you have a sturdy and stylish workspace that fits your needs perfectly. Utilize proper tools and materials, measure accurately, and take your time with each step. A well-crafted DIY wall-mounted desk not only saves space but also adds a unique, personalized touch to your room.


