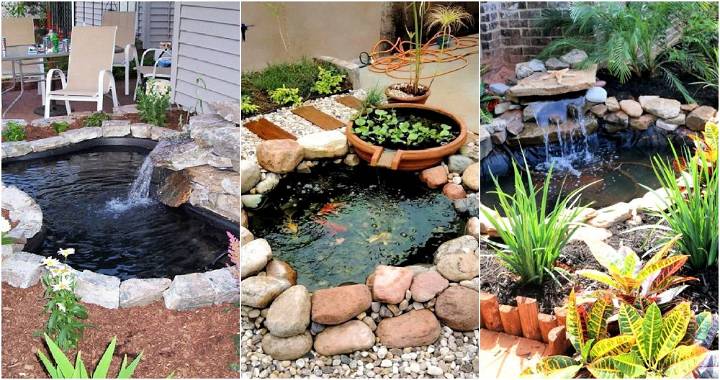
Building a DIY waterfall in my backyard changed the whole atmosphere. I found it soothing to see the water flow over the rocks, adding a touch of nature to my home. The entire process was more straightforward than it seemed. With some effort and the right materials, I could build something beautiful and functional.
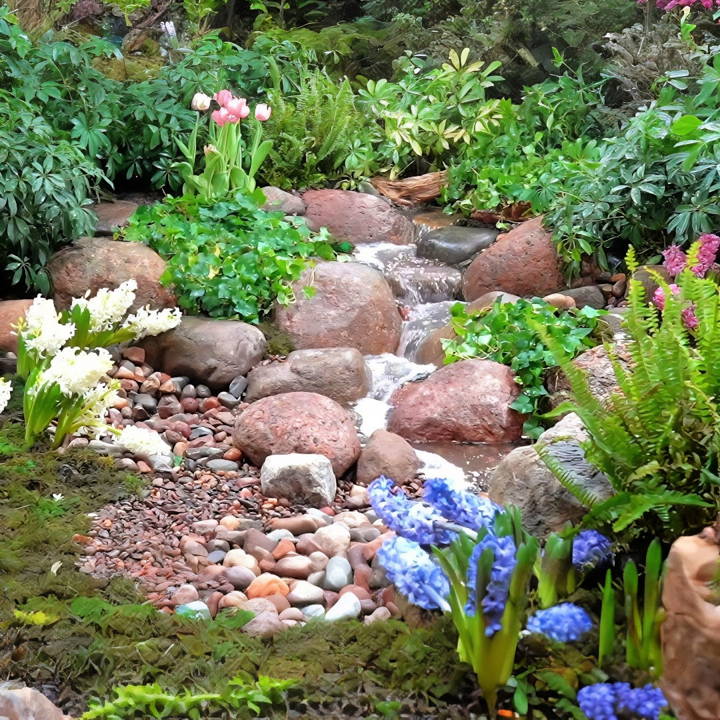
I want to share this experience so you can enjoy a backyard transformation, too. You'll need rocks, a pump, and some basic supplies, but trust me, it's worth it. Following a simple guide, you'll get hands-on experience and a lovely waterfall. I believe this will help you bring a serene element to your home.
Ready to start building your DIY waterfall? I'm here to guide you every step of the way. Let's begin and make your backyard a tranquil retreat.
Materials Needed
- Aquascape DIY Waterfall Kit: Contains the basin, pump, and all necessary plumbing components.
- Rocks and Boulders: A variety of sizes for building your waterfall and stream.
- Gravel: For filling gaps and decorating around the waterfall.
- Shovel and Trowel: For digging and shaping the area.
- Level: To ensure your basin and rocks are set evenly.
- Gloves: To protect your hands while handling rocks.
Why Each Material Is Needed
- The Aquascape DIY Waterfall Kit is the heart of this project, offering a straightforward way to set up your waterfall with all components designed to work perfectly together.
- Rocks and Boulders serve as the structure of your waterfall, shaping the falls and streams.
- Gravel not only fills the spaces between rocks but also adds a natural aesthetic appeal to the surroundings.
- Shovels and Trowels are essential for digging the space for your basin and sculpting the landscape around your waterfall.
- A Level is crucial to ensure that water flows correctly and does not spill out of your waterfall structure.
- Gloves are a simple necessity to avoid cuts and scrapes.
Step by Step Instructions
Learn how to build a enchanting DIY waterfall with our easy, step-by-step instructions. Perfect for adding beauty and serenity to your outdoor space.
Preparing the Area
- Choose the Location: Find a small space in your garden that you believe would benefit from the beauty of a waterfall. Remember, you don't need a large area—something as small as a 6x6 ft space can work, but if you have more room, even better.
- Dig a Hole: Based on the size of the Aquascape basin, dig a hole slightly larger and deep enough to fit the basin comfortably.
Setting Up the Basin
- Place the Basin: Fit the basin into the hole and use a level to ensure it sits evenly. Fill any gaps underneath with dirt or sand for stability.
- Connect the Pump: Before placing rocks and boulders around, ensure your pump is connected as per the kit's instructions. This is crucial as access becomes difficult once the rocks are in place.
Placing the Rocks and Boulders
- First Rock Placement: Pick a significant boulder to act as the main feature of your waterfall. Roll or carefully place it near the edge of the basin.
- Building the Waterfall Structure: Using additional rocks and boulders, start shaping your waterfall. Place one rock on one side and another on the opposite, leaving a gap for water to flow through. Adjust the rocks' position until you're satisfied with how the water will cascade down.
- Test the Water Flow: Before proceeding, it's wise to fill the basin and test the pump to observe how water flows over your rocks. This allows you to make any necessary adjustments.
Adding Gravel and Finishing Touches
- Fill Gaps with Gravel: Use gravel to fill the spaces between larger rocks and around the basin. Besides offering aesthetic appeal, this step also helps to secure your rocks in place.
- Final Adjustments: Turn on the pump and watch how the water flows. Adjust any rocks as needed to achieve the desired effect.
- Add Plants: For a natural look, surround your new waterfall with plants. They not only enhance the beauty but also help to integrate the waterfall into the rest of your garden.
Customization Ideas for Your DIY Waterfall
Making a DIY waterfall can be a rewarding project that adds beauty and tranquility to your garden. Here are some customization ideas to make your waterfall uniquely yours:
- Choose the Right Spot: Select a location that can be easily viewed and enjoyed from your favorite outdoor spots. Ensure it's near a power source if you plan to add lighting or a pump.
- Select Stones Wisely: Pick stones that complement your garden's aesthetics. Consider different shapes and colors to build a natural look. Larger stones can serve as a sturdy base, while smaller, smooth stones can build a gentle water flow.
- Incorporate Lighting: Add underwater LED lights to illuminate your waterfall at night. Choose energy-efficient options and consider colors that enhance the water's appearance.
- Plant Selection: Surround your waterfall with plants that thrive in moist environments. Ferns, mosses, and water-loving flowers can add life and color.
- Add a Pond: If space allows, consider adding a small pond at the base of your waterfall. This can be a home for fish and aquatic plants, making a mini-ecosystem.
- Make a Seating Area: Design a seating area nearby to relax and enjoy the sound of the flowing water. Use weather-resistant materials for durability.
- Sound Customization: The sound of the waterfall is as important as its appearance. Adjust the height and flow rate to build a soothing sound that's not overwhelming.
- Wildlife Friendly: Make your waterfall a haven for wildlife. Shallow areas can attract birds, and the sound of water can lure beneficial insects.
- Maintenance Access: Ensure you can easily access the waterfall for cleaning and maintenance. Hidden pathways or removable stones can help.
Make a beautiful waterfall that fits your style and garden needs. The key to a successful DIY project is planning and creativity.
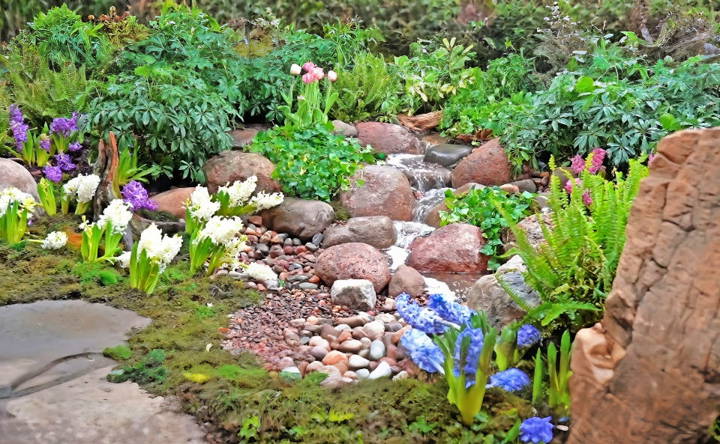
Maintenance and Upkeep of Your DIY Waterfall
Keeping your DIY waterfall in top condition is crucial for its longevity and beauty. Here's a straightforward guide to maintaining your waterfall:
- Regular Cleaning: Remove leaves and debris from the water basin and stream bed weekly. This prevents clogs and maintains water clarity.
- Water Quality: Check the water level regularly, especially in hot weather, as evaporation can lower it. Top up as needed with fresh water to keep the pump submerged.
- Pump Care: Clean the pump filter monthly to ensure efficient operation. A clogged filter can reduce water flow and damage the pump.
- Algae Control: Algae growth is natural, but too much can disrupt the water's balance. Use eco-friendly algae treatments and consider adding algae-eating fish if you have a pond.
- Winterizing: If you live in a cold climate, prepare your waterfall for winter. Drain the water, remove the pump, and cover the stones to protect them from freezing temperatures.
- Inspect for Wear: Twice a year, inspect the liner and hoses for leaks or wear. Early detection can save you from costly repairs.
- Seasonal Adjustments: Adjust the waterfall flow as seasons change. A gentler flow in winter can prevent ice dams, while a robust flow in summer adds oxygen for any aquatic life.
- Professional Check-Up: Once a year, consider having a professional check your waterfall. They can spot issues you might miss and ensure everything is running smoothly.
By following these simple steps, you can enjoy a beautiful, functioning DIY waterfall for years to come.
FAQs About DIY Waterfall
Explore FAQs about DIY waterfall projects, including tips, costs, materials, and steps to build your own stunning backyard water feature.
Start by considering the style of your backyard and the size of the waterfall you want. Sketch your ideas or use a digital design tool. Ensure the waterfall matches the overall style of your backyard and choose a location that is visible from different angles. Incorporate materials like rocks and plants to enhance the natural look.
The basic steps involve making a strong foundation, stacking rocks in a natural-looking arrangement, installing the pump, and making the waterfall flow. You'll need to dig a hole for the reservoir, line it with a rubber membrane, and stack the stones to guide the water flow.
Select a pump with a flow rate of at least 300 gallons per hour and a lift or head of at least 6 feet. It’s important to choose a pump that can handle the volume of water you want to circulate to ensure a pleasing water flow.
Yes, you can build a small DIY waterfall on a budget. The cost will vary based on the size and complexity of your waterfall, but with careful planning and sourcing of materials, you can build a beautiful feature for your backyard without breaking the bank.
Regular maintenance is key to the longevity of your DIY waterfall. Here are some tips:
Check the pump regularly to ensure it's working properly and clear any debris.
Clean the water by removing leaves and other organic matter to prevent clogs and maintain water clarity.
Inspect the liner for leaks and patch any holes to prevent water loss.
Trim plants and manage overgrowth around the waterfall to maintain its appearance and functionality.
Winterize your waterfall in colder climates by draining the system and protecting the pump.
Conclusion:
In conclusion, building a DIY waterfall for your backyard can transform your outdoor space into a serene oasis. Making a personal DIY waterfall provides a unique feature and a relaxing ambiance. Start today to build a waterfall that brings beauty and tranquility to your garden.


