Making a DIY wedding arch or arbor can transform your special day into an unforgettable spectacle. For anyone planning their wedding, building a wedding arch adds a touch of personalization and beauty to the ceremony. It's not just a structure; it's a backdrop for your most cherished moments. Crafting it yourself adds a significant and memorable element to your matrimonial celebrations. This guide is designed to be clear and straightforward, ensuring everyone can build something beautiful, regardless of their crafting skill level.
In this section, we will walk you through everything needed to construct your own wedding arbor, from the materials required to a detailed, step-by-step guide for assembly. We cover essential tips for preparing the wood, constructing the arch, adding final touches, and decorating your arch effectively.
Stay tuned for our comprehensive coverage of making your wedding day truly special with a personal touch.
What You'll Need:
- Three 2x4x12 foot pieces of pressure-treated wood
- One 2x4x8 foot piece of pressure-treated wood
- Wood screws (2.5 inches long)
- Miter box and saw or circular saw
- Drill with drill bits
- Square
- Staple gun (optional, for decorations)
- Decorative elements (fabric, flowers, greenery)
Step by Step Instructions:
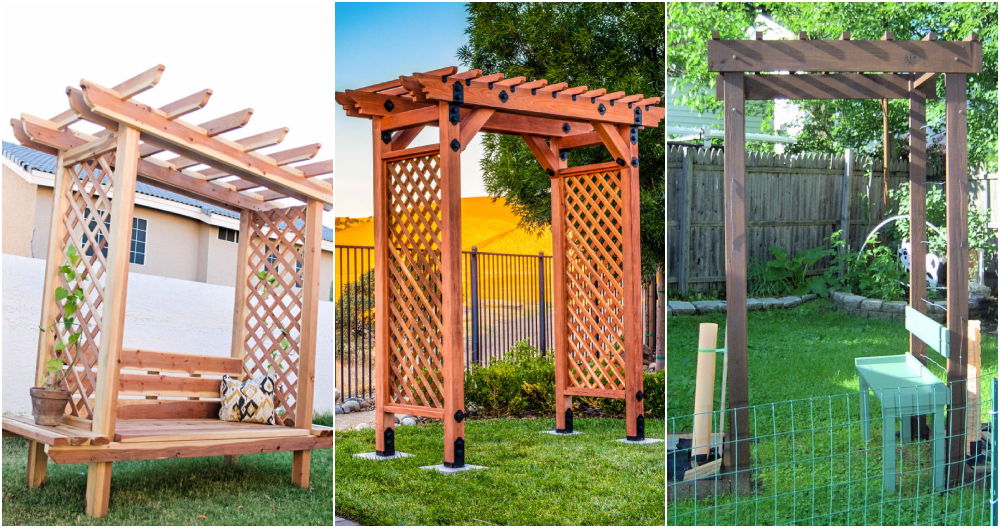
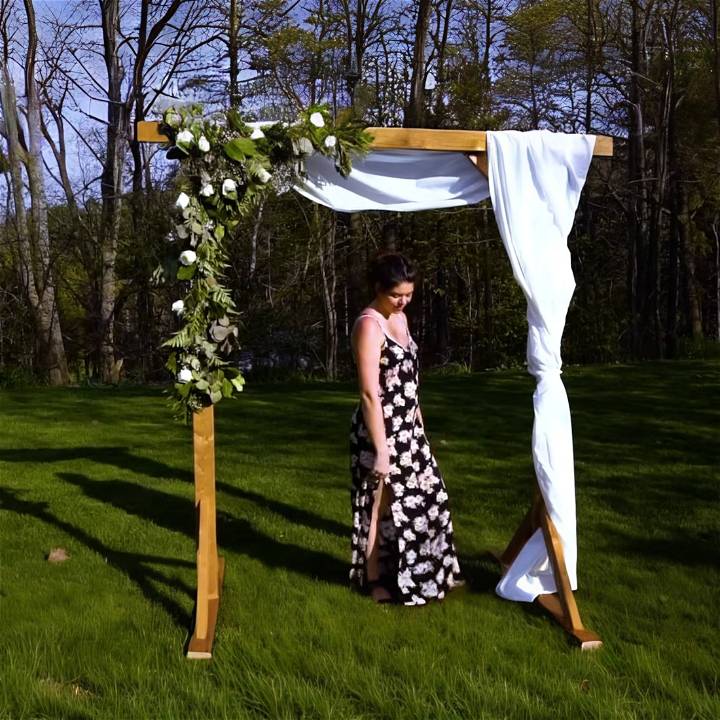
Elegant DIY wooden arches for weddings. Easy to make at home. Make a stunning backdrop for your special day.
Preparing the Wood:
- Cut the Wood: Start by getting the 12-foot wood pieces cut to 7 feet at your local hardware store. This will leave you with three 7-foot pieces and three 5-foot pieces from the cuts.
- Making Brace Pieces: Take one of your 5-foot pieces to make the brace pieces. You'll want to cut 45-degree angles on both ends of each brace, making them 26 inches long from point to point. You need six of these braces.
Constructing the Arch:
- Making the Arch Shape: Lay three 7-foot pieces on the ground and form the outline of your arch. For the top horizontal piece, measure and mark 1 foot in from each end. This is where your vertical pieces will align.
- Attaching Vertical to Horizontal: Use two wood screws, placed diagonally, to attach each end of the vertical pieces to the horizontal top piece.
- Adding Braces: Flip the structure so the backside faces up. Use the six 26-inch brace pieces to connect the vertical and horizontal pieces at each corner, ensuring they are perfectly aligned using a square. Screw these in place, two screws per end.
Final Touches:
- Bottom Support Braces: Cut the 8-foot piece of wood in half to build two 4-foot pieces. These will serve as bottom supports. Secure them perpendicular to the vertical pieces at the bottom, using the remaining 26-inch braces to hold everything in place. Ensure everything is square and tighten all screws.
Decorate Your Arch:
- Feel free to decorate your arch however you like. Using a staple gun to attach fabric or greenery is an easy way to beautify your creation.
Maintenance and Safety:
- If your event is outdoors, consider securing your arch against the wind with sandbags or stakes. Always check for stability before decorating.
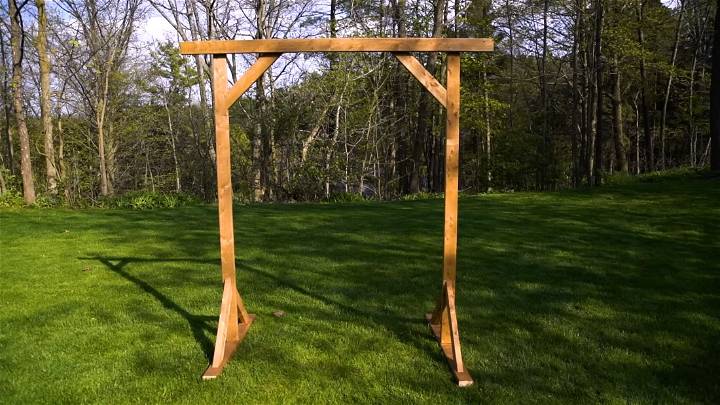
Video Tutorial
For a step-by-step video tutorial, watch this helpful guide by The Sorry Girls.
It pairs well with this written guide, enriching your understanding by showcasing each technique in action.
By following these instructions, you'll have a gorgeous, bespoke wooden arch that adds a personal and elegant touch to your event. Enjoy the process and the outcome of your DIY project!
Estimated Time and Cost
When planning a DIY project, it's important to have a clear understanding of the time and cost involved. This section aims to provide an estimate of both for building a DIY wedding arch.
Time Investment
Making a DIY wedding arch is not a quick task. It requires careful planning, shopping for materials, and the actual construction. Here's a rough breakdown of the time you might need:
- Planning: This includes deciding on the design, size, and materials for your arch. It could take a few hours or a few days, depending on how clear you are about what you want.
- Shopping: Once you have your plan, you'll need to shop for materials. This could take a few hours or even a full day if you need to visit multiple stores.
- Construction: Building the arch will likely take a full day, especially if you're doing it for the first time.
In total, you should be prepared to invest two to three days in this project.
Cost Estimation
The cost of a DIY wedding arch can vary greatly depending on the materials you choose. Here's a rough estimate:
- Wood or Metal Frame: A simple wood or metal arch frame can cost anywhere from $50 to $200.
- Decorations: Flowers, fabric drapes, and other decorations can add another $50 to $200 to the cost.
- Tools: If you don't already have the necessary tools, you might need to spend an additional $20 to $100.
So, a DIY wedding arch could cost you anywhere from $120 to $500. Remember, these are just estimates. The actual cost could be lower or higher depending on your choices and local prices.
Please keep in mind that costs and time may vary depending on location, design complexity, and materials—plan for unexpected challenges.
Customization Ideas
One of the best parts about building a DIY wedding arch is the ability to customize it to fit your personal style and wedding theme. Here are some ideas to inspire you:
Choose Your Material
The material you choose for your arch can greatly influence its look and feel. For a rustic or boho wedding, consider using natural wood. For a modern or minimalist wedding, a metal frame could be a great choice.
Select Your Decorations
The decorations you choose can transform your arch. Here are a few ideas:
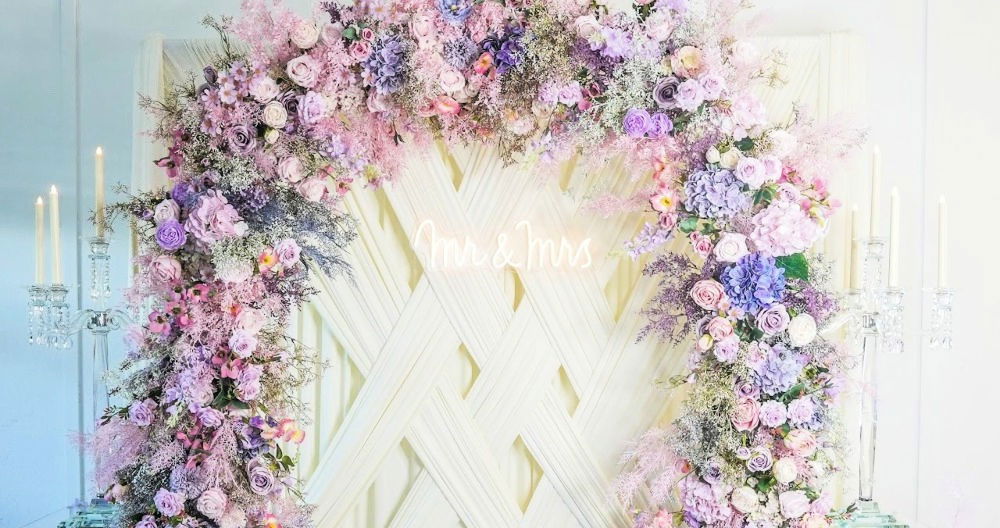
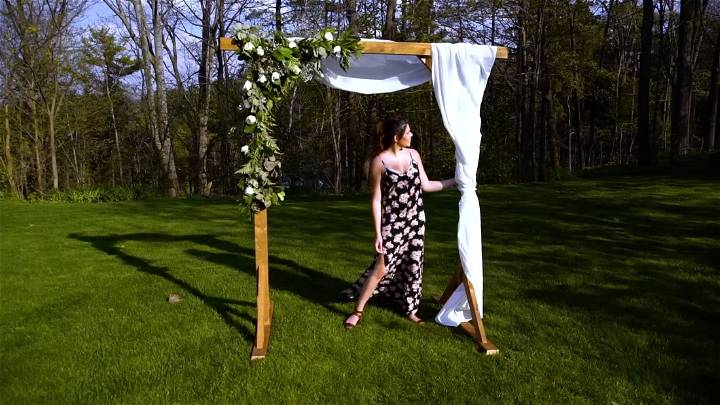
- Flowers: Fresh flowers can add a romantic and natural touch. Consider using flowers that match your wedding bouquet or centerpieces. You could use roses for a classic look, or wildflowers for a more rustic feel.
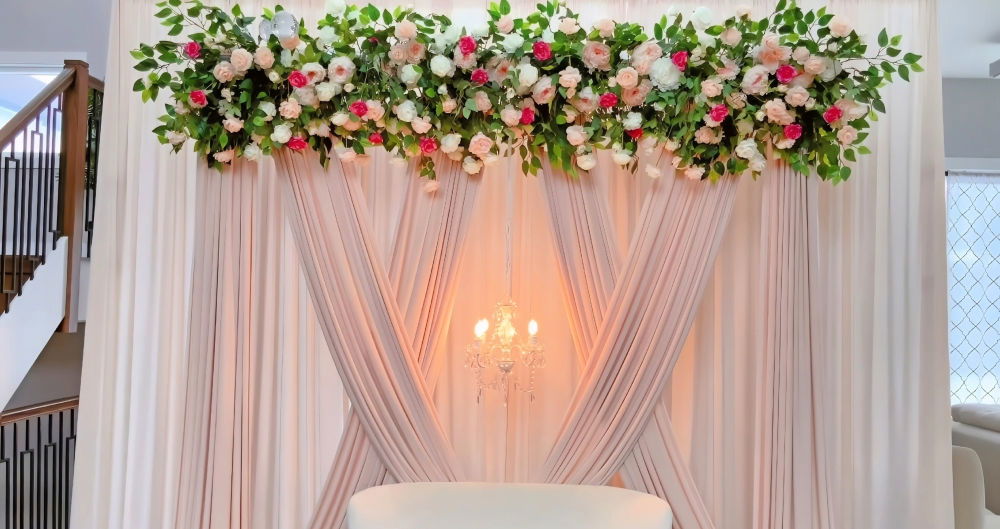
- Fabric: Draping fabric over your arch can build a soft and elegant look. You could use white tulle for a traditional wedding, or a colorful silk for something more unique.
- Lights: Fairy lights or lanterns can add a magical touch, especially for evening weddings.
Add Personal Touches
Adding personal touches can make your arch truly unique. You could hang family photos, use decorations made by loved ones, or incorporate elements that represent your shared hobbies or interests.
The most important thing is that your wedding arch reflects you and your partner's style and love story.
Troubleshooting Guide
Making a DIY wedding arch can be a rewarding experience, but it's not without its challenges. Here are some common issues you might encounter and how to solve them:
Problem: The Arch is Unstable
Solution: If your arch is wobbling or tipping over, it might not be balanced properly. Make sure the base is level, and the arch is evenly weighted on both sides. You could also consider adding additional support, such as crossbeams or weights at the base.
Problem: Decorations are Falling Off
Solution: If your decorations are not staying in place, you might need to secure them more firmly. Use floral wire for flowers and strong adhesive or zip ties for heavier items. Always test your decorations beforehand to ensure they stay put.
Problem: The Arch Doesn't Look as Expected
Solution: If your arch isn't turning out how you envisioned, don't be afraid to make adjustments. Try adding more decorations, changing the color scheme, or even altering the shape of the arch. Remember, this is your project and it should reflect your personal style.
Problem: The Arch is Difficult to Transport
Solution: If you're having trouble moving your arch, consider building it in sections that can be easily assembled and disassembled. This will make it easier to transport and set up on your wedding day.
Every DIY project comes with its own set of challenges. Don't be discouraged if things don't go perfectly the first time. With a little patience and creativity, you'll have a beautiful wedding arch that you can be proud of.
Maintenance Tips
Maintaining your DIY wedding arch throughout the ceremony and reception is crucial to ensure it remains beautiful and intact. Here are some tips to help you:
Weather Protection
If your wedding is outdoors, weather can be a significant factor. Here's how to protect your arch:
- Sunlight: If your arch is made of material that can fade, consider using a UV protective spray. This will help maintain the color of your decorations.
- Rain: Waterproof your arch if there's a chance of rain. Use waterproof materials or apply a protective sealant.
- Wind: Secure your arch firmly to prevent it from toppling over in the wind. You can use weights or stakes for this purpose.
Transporting the Arch
Moving your arch from one place to another can be challenging. Here's what you can do:
- Disassemble: Design your arch so it can be easily disassembled and reassembled. This makes transportation easier and reduces the risk of damage.
- Pack Carefully: Wrap delicate parts in bubble wrap or soft fabric to prevent scratches or breakage.
During the Event
Here's how to keep your arch looking its best during the event:
- Check Regularly: Assign someone to check on the arch regularly. They can fix any issues that arise, like fallen decorations or instability.
- Avoid High Traffic Areas: Place your arch in a location where it won't be bumped into or knocked over.
With a little planning and care, your DIY wedding arch can remain a beautiful centerpiece throughout your special day.
FAQs About DIY Wedding Arch
Here are some frequently asked questions about DIY wedding arches:
What materials do I need for a DIY wedding arch?
The materials you need will depend on the design of your arch. However, common materials include wood or metal for the frame, screws or nails for assembly, and decorations like flowers, fabric, or lights.
How much does it cost to make a DIY wedding arch?
The cost can vary greatly depending on the materials you choose. However, you can expect to spend anywhere from $120 to $500.
How long does it take to make a DIY wedding arch?
The time required can also vary, but you should be prepared to invest two to three days in this project. This includes time for planning, shopping for materials, and construction.
Can I make a DIY wedding arch if I'm not very crafty?
Absolutely! With clear instructions and a bit of patience, anyone can build a beautiful DIY wedding arch. Just be sure to give yourself plenty of time and don't be afraid to ask for help if you need it.
How can I customize my DIY wedding arch?
There are many ways to customize your arch. You could choose different materials for the frame, use flowers or fabric that match your wedding colors, add personal touches like family photos, or even incorporate elements that represent your shared hobbies or interests.
How do I make my DIY wedding arch stable?
To ensure your arch is stable, make sure the base is level and the arch is evenly weighted on both sides. You could also consider adding additional support, such as crossbeams or weights at the base.
What do I do if my decorations keep falling off?
If your decorations are not staying in place, you might need to secure them more firmly. Use floral wire for flowers and strong adhesive or zip ties for heavier items.
How do I transport my DIY wedding arch?
Design your arch so it can be easily disassembled and reassembled. This makes transportation easier and reduces the risk of damage. Also, wrap delicate parts in bubble wrap or soft fabric to prevent scratches or breakage.
How do I protect my DIY wedding arch from the weather?
If your wedding is outdoors, consider using a UV protective spray to protect against sunlight, applying a protective sealant for rain, and securing your arch firmly to prevent it from toppling over in the wind.
What do I do if my DIY wedding arch doesn't look as expected?
Don't be afraid to make adjustments. Try adding more decorations, changing the color scheme, or even altering the shape of the arch. Remember, this is your project, and it should reflect your personal style.
Conclusion:
In conclusion, mastering the art of building a DIY wedding arch adds a personal and enchanting element to your special day. By following our comprehensive guide, which covers everything from the essential materials needed, through step-by-step construction, to putting on those final aesthetic touches, you're well on your way to crafting a stunning wedding arbor that mirrors the beauty of your love story.
Whether troubleshooting common issues or seeking inspiration for customization, this guide serves as your ultimate resource. Remember, with some patience and creativity, your DIY wedding arch will be not only a focal point of your ceremony but also a cherished memory of the day you were united in love.


