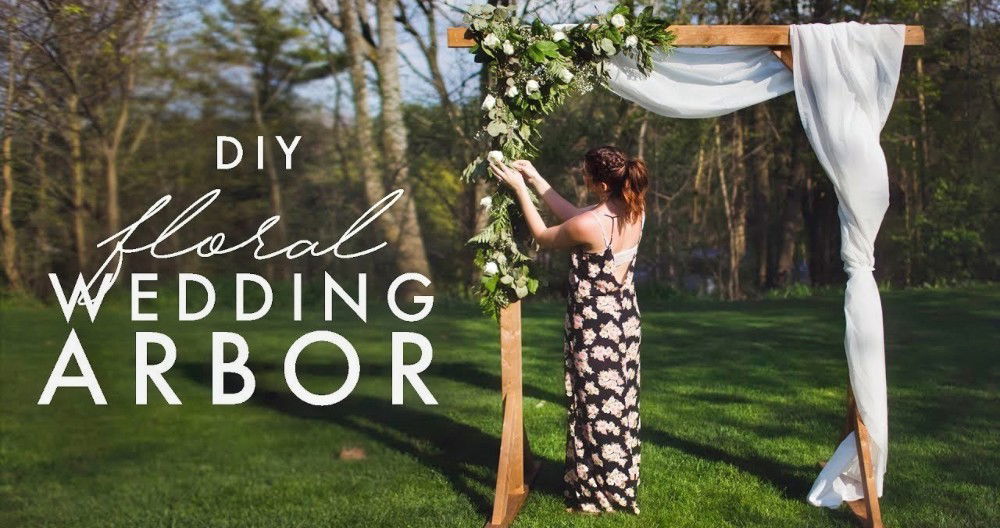
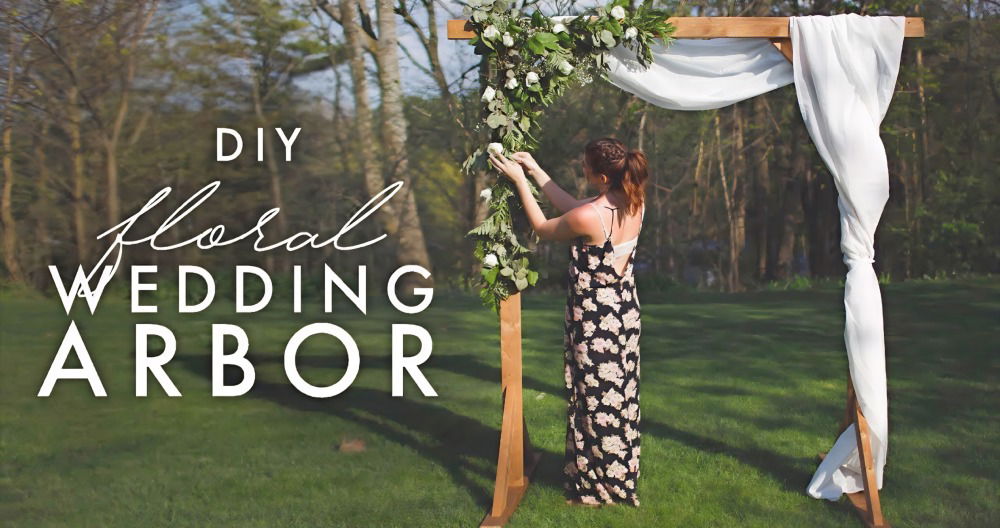
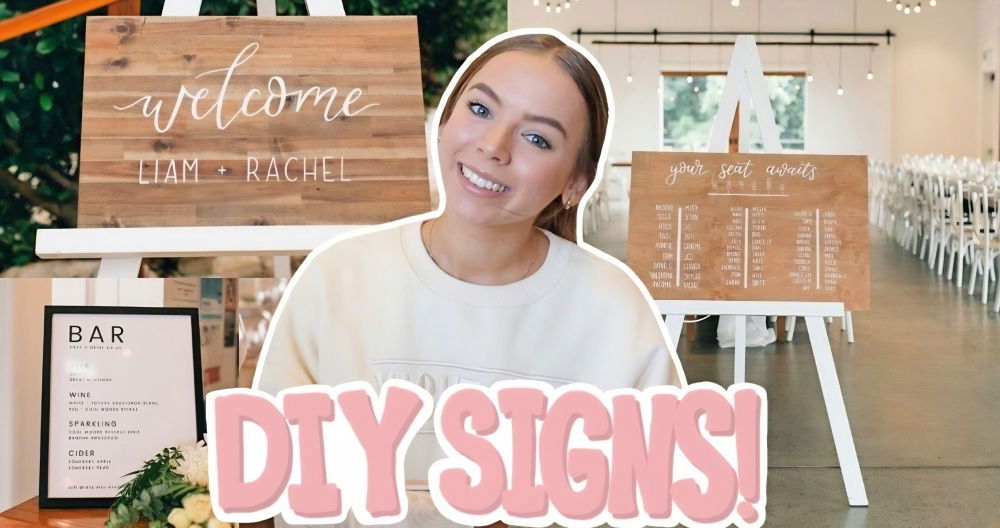
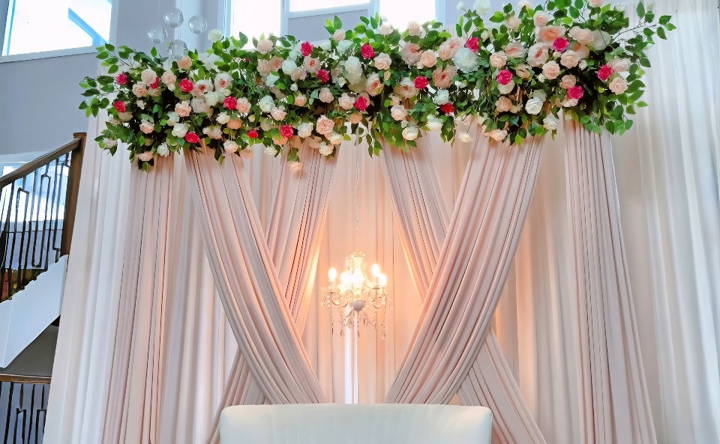
Making a DIY wedding backdrop at home was one of the most enjoyable projects I've undertaken. It turned out to be a unique way to add a personal touch to our special day. We gathered materials from local stores and focused on crafting something simple yet beautiful. The process, though time-consuming, was incredibly rewarding, especially when we saw the final product.
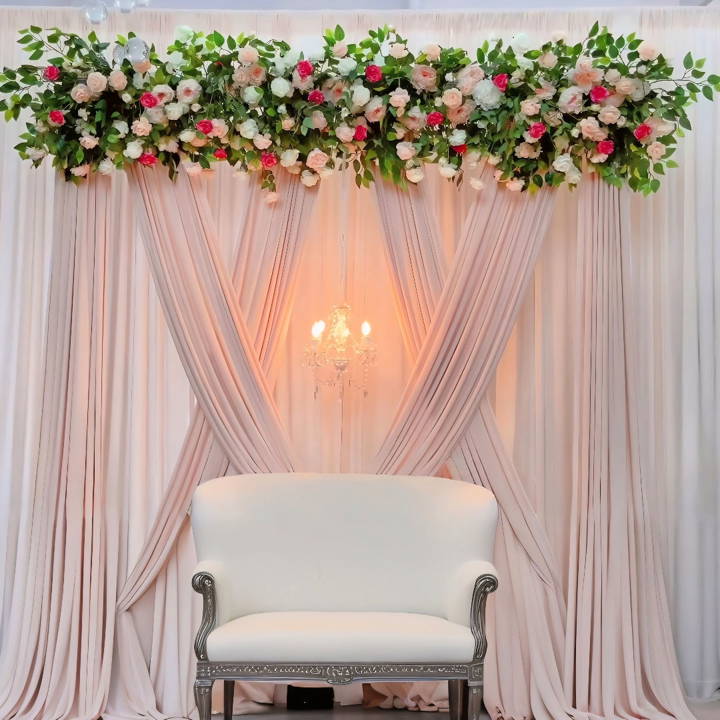
Planning this backdrop involved lots of creativity and teamwork. We used items like fabric, fairy lights, and flowers to build a stunning visual. Friends and family helped, making it a fun and collaborative effort. In the end, our homemade backdrop became a fantastic photo spot that everyone loved. It saved us money and made our wedding day even more memorable.
Why You Should Consider a DIY Floral Wedding Backdrop
Opting for a DIY approach not only personalized our wedding but also allowed us to manage our budget efficiently. It gave us the freedom to pick materials that resonated with our theme and ensure every flower, every light, represented our story.
Materials Needed and Their Importance
- Couch: Serves as the anchor element for your backdrop. Its style should complement your wedding theme.
- Wood (1 in. x 4 in. x 8 ft.): Used to build the frame for the backdrop. It's sturdy enough to hold the rest of the decorations and the chandeliers.
- Pipe insulation foam: A clever and budget-friendly way to build soft curves or hide any harsh edges of the wood.
- Ficus leaves (43 branches): These provide a lush green base for your backdrop, symbolizing nature and revival.
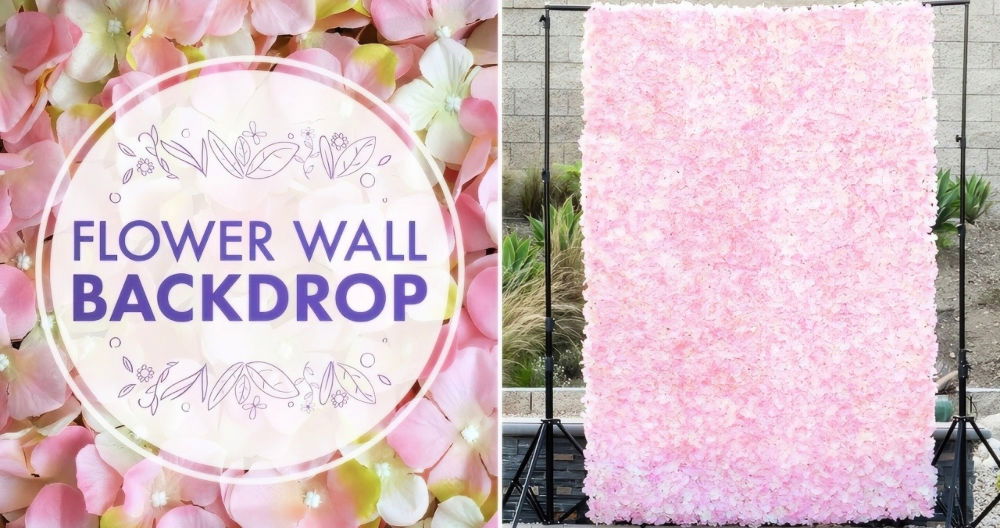
- White & champagne peonies (50) and Pink peonies (4 bushes): The peonies add romance and softness to your backdrop. Their color combination can complement any wedding palette.
- Roses (20, color - rose): Roses are a classic symbol of love and beauty, adding depth to your floral arrangement.
- Chandeliers and bulbs: The chandeliers add elegance and a touch of luxury. They are not just d* écor but also functional, providing soft lighting.
- Black backdrop stand: This is the foundation of your DIY project. A sturdy stand ensures your backdrop remains secure throughout the event.
Step by Step Instructions
Make the perfect DIY wedding backdrop with easy step-by-step instructions, from building the frame to adding flowers and chandeliers.
Preparations
- Planning: Sketch your backdrop design, considering the dimensions and how each element will be incorporated.
- Purchasing: Gather all the materials listed above. We found everything online, making sure to compare prices and quality.
Building the Frame
- Assemble the wood: Using the 1 in. x 4 in. x 8 ft. wood pieces, construct a frame that matches your planned dimensions. Secure the joints with screws or nails.
- Cover with foam: Wrap any visible edges with pipe insulation foam. It softens the look and makes the frame safer to handle.
Adding the Greenery and Flowers
- Attach the ficus leaves: Start at the bottom and work your way up to ensure full coverage, using a staple gun or floral wire.
- Add peonies and roses: Intersperse the peonies and roses among the ficus leaves for a balanced look. Use floral wire to secure them to the frame.
Installing the Chandeliers
- Prepare the chandeliers: Ensure all bulbs are working before hanging.
- Secure to the frame: Depending on the weight, you may need to reinforce the part of the frame where each chandelier will hang. Use sturdy hooks or wire.
Final Touches
- Inspect and adjust: Step back and look at your backdrop from different angles, making any necessary adjustments to the floral arrangements or the lighting.
- Safety check: Double-check that everything is securely attached and that the electrical setup for the chandeliers is safe.
The Big Day and Beyond
On our wedding day, the backdrop served as a stunning focal point, receiving compliments from our guests for its beauty and originality. It was not just a decoration but a labor of love, imbued with our personal touch.
Personalization Tips for Your DIY Wedding Backdrop
Building a personalized wedding backdrop is a wonderful way to make your special day even more memorable. Here are some tips to help you add a personal touch to your backdrop:
- Reflect Your Love Story: Think about the moments that define your relationship. Did you meet at a music festival? Consider incorporating musical elements into your backdrop. Love letters exchanged? Display them creatively as part of the design.
- Incorporate Shared Interests: If you both love nature, use natural elements like flowers, branches, or leaves. Book lovers? Stack vintage books or use pages to build a literary theme.
- Use Meaningful Colors: Choose colors that have significance to you, whether they're from your first date outfit or your favorite shared experiences.
- Add Monograms or Initials: A simple yet elegant way to personalize is by adding your monograms or initials to the backdrop.
- Include Family and Friends: Dedicate a section of your backdrop to display photos with loved ones or small mementos from friends.
- Interactive Elements: Set up a space where guests can contribute to the backdrop, like a canvas they can sign or a wall they can stick polaroids on.
- Cultural Touches: Honor your heritage by incorporating traditional patterns, fabrics, or symbols that represent your cultural background.
- Seasonal Flair: If your wedding is during a particular season, use seasonal decorations like autumn leaves for fall or seashells for a summer beach theme.
- Light It Up: Use lighting to add ambiance. Fairy lights, lanterns, or even a custom neon sign can make your backdrop stand out.
- Remember the Venue: Ensure your backdrop complements the venue. If you're in a garden, a backdrop that blends with the natural setting would be ideal.
Follow these tips to build a beautiful and meaningful backdrop that tells your story. Keep it simple and true to you, and it will be memorable for your guests.
Time Management Advice for Crafting Your DIY Wedding Backdrop
When planning to build your own wedding backdrop, managing your time effectively is crucial. Here's how you can ensure your project is completed without any last-minute stress:
- Start Early: Begin planning your backdrop as soon as you have your wedding date. This gives you plenty of time to gather materials, experiment with designs, and make any necessary adjustments.
- Set a Timeline: Break down the project into smaller tasks and set deadlines for each. For example, allocate one week for design, two weeks for material collection, and so on.
- Be Realistic: Consider how much time you can dedicate to this project weekly and plan accordingly. Don't forget to account for your daily responsibilities.
- Delegate Tasks: If the project is complex, don't hesitate to ask for help. Assign tasks to friends or family members who are willing to assist.
- Practice Makes Perfect: Do a trial run to estimate how long the actual crafting will take. This also helps you identify potential issues early on.
- Plan for the Unexpected: Set aside extra time in your schedule for unforeseen delays or last-minute changes.
- Relaxation Time: Avoid burnout by scheduling breaks. This ensures you stay refreshed and motivated throughout the process.
- Final Assembly: Plan to assemble your backdrop at least a few days before the wedding. This way, you can make any final tweaks without rushing.
Follow these time management tips to build a personalized wedding backdrop ready before your big day. Start early and plan carefully to avoid stress.
Troubleshooting Common Issues with DIY Wedding Backdrops
When making a DIY wedding backdrop, you might encounter a few hiccups along the way. Here's how to troubleshoot some common issues:
The Backdrop Keeps Falling Over
- Solution: Make sure your backdrop has a sturdy base. Use heavier materials for the frame, like PVC pipes or wood. Sandbags or weights can also help keep it in place.
Wrinkles in Fabric Backdrops
- Solution: Iron or steam the fabric before the big day. For storage, roll the fabric instead of folding to minimize creases.
Difficulty Hanging Decorations
- Solution: Use fishing line or clear command hooks for a strong hold that's nearly invisible. Ensure the surface you're attaching to can support the weight.
Decorations Look Sparse
- Solution: Add depth by layering decorations or using a mix of materials. Fill in gaps with greenery, flowers, or fabric.
Backdrop Doesn't Match the Venue Aesthetics
- Solution: Visit the venue beforehand and take photos. Use these as a reference to ensure your backdrop complements the space.
Lighting Issues
- Solution: Test your lighting at the same time of day as your wedding to see how it looks. Adjust the position or intensity as needed.
Time Constraints
- Solution: If you're short on time, simplify your design. Focus on one or two key elements that make a big impact.
Weather Concerns for Outdoor Weddings
- Solution: Plan for wind by securing elements tightly. Have a backup plan, like a moveable backdrop, in case of rain.
Anticipate issues and know solutions to build a stunning wedding backdrop. Preparation and flexibility are key to overcoming challenges.
FAQs About DIY Wedding Backdrop
Get answers to common questions about DIY wedding backdrops. Discover tips and tricks to build your perfect wedding backdrop on a budget.
Yes, you can! There are many simple and elegant designs that require minimal crafting skills. For example, a fairy light backdrop can be created by draping string lights over a sheer curtain. You can also use pre-made decorations and attach them to a frame or wall.
Make sure your frame is sturdy and well-supported. If you’re using a freestanding frame, sandbags or weights at the base can help prevent tipping. Securely attach all decorations, and if you’re hanging anything heavy, ensure the structure can support the weight.
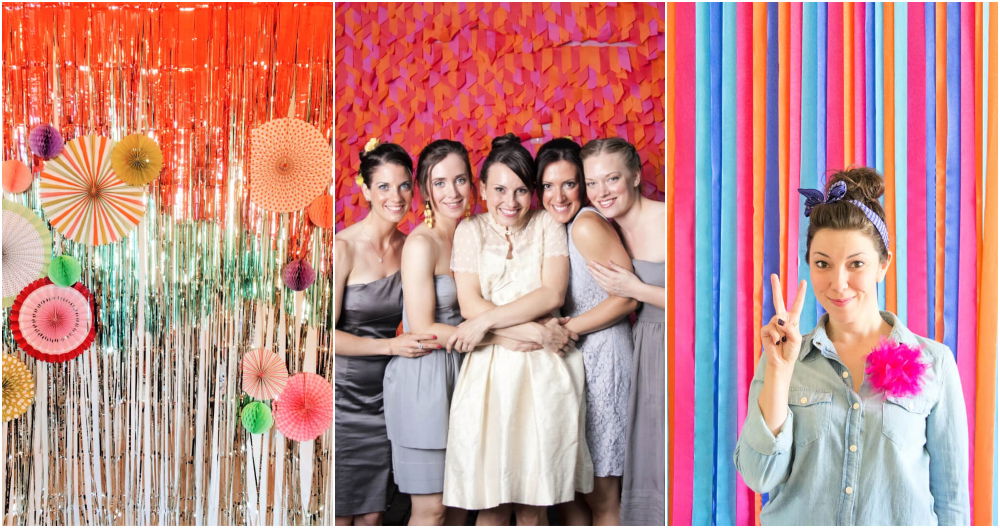
For a budget-friendly option, use materials like butcher paper, streamers, or balloons. You can create a beautiful backdrop by arranging these items creatively. Thrift stores and dollar stores are great places to find inexpensive decorations that can be transformed into something special.
Incorporating lighting into your wedding backdrop can add a magical touch. You can use string lights, fairy lights, or even LED strip lights for a modern look. Arrange the lights behind sheer fabric or in between layers of tulle to create a soft, glowing effect. For a more dramatic look, hang lanterns or chandeliers from the top of the backdrop frame.
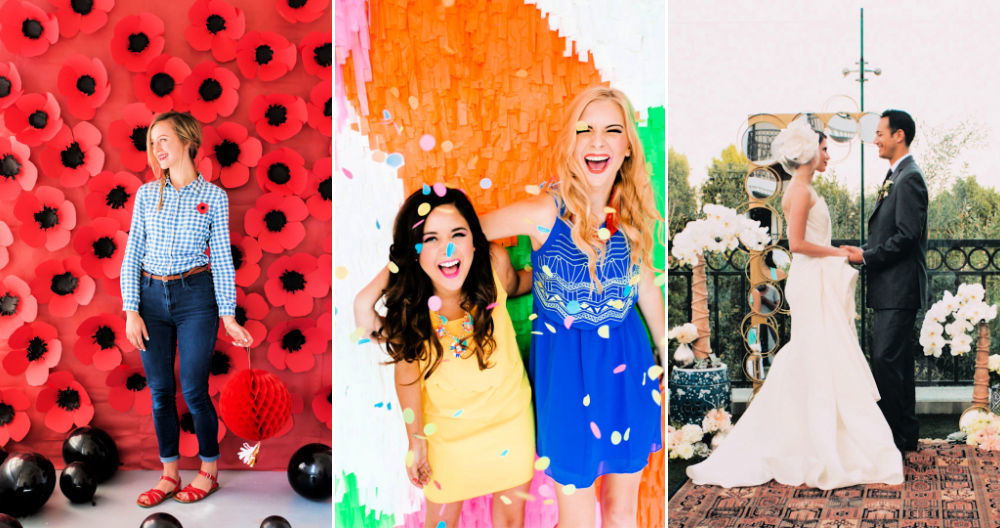
If you're short on time, there are several quick and easy backdrop ideas that can save the day. A popular option is to use large paper flowers or tissue pom-poms; they're simple to make and look stunning. Another idea is to hang a collection of picture frames with photos or love quotes. You can also build a backdrop by hanging different lengths of ribbon or streamers from a rod for a colorful and playful effect.
Wrapping Up
I encourage you to try making a simple DIY wedding backdrop yourself. It's a fun and meaningful project that won't break the bank. You'll be amazed at what you can build with basic materials and a little effort. Give it a try and see how it enhances your wedding photos!


