Your wedding day is one of the most important days of your life, and every detail matters. While the dress often takes center stage, your shoes play a significant role in your overall bridal look. Making your own DIY wedding shoes is not only a way to add a personal touch but also an opportunity to save money while crafting something truly unique. From selecting the right materials to mastering the techniques, this guide provides everything you need to craft your own wedding footwear, along with some valuable advice for achieving success.
Why Choose DIY Wedding Shoes?
There are several reasons why brides choose to go the DIY route when it comes to wedding shoes:
- Customization: You have the freedom to choose the exact design, color, and embellishments that match your wedding theme and personal style.
- Cost-Effective: Bridal shoes can be expensive, but by customizing your own, you can achieve a high-end look for a fraction of the price.
- Comfort: By selecting shoes that you know are comfortable, you can ensure that you'll enjoy your day without worrying about blisters or discomfort.
- Sentimental Value: DIY shoes add a special, personal touch to your wedding, making them more than just an accessory but a part of your love story.
Materials You'll Need
Before you dive into your DIY project, gather all the materials you'll need to make your custom wedding shoes. Based on the steps in the provided guide, here's a list of essentials:
- Shoes: Start with a pair of basic white heels or flats. For outdoor weddings, consider shoes with chunky or low heels to avoid sinking into the grass.
- Appliqués or Trims: Decorative pieces such as diamantes, pearls, or lace that can be glued onto your shoes.
- Glue Gun or Super Glue: Ensure the glue you choose is strong enough to hold embellishments in place throughout your wedding day.
- Scissors: For cutting your appliqués or trims to the right size.
- Measuring Tape: To measure straps, heels, and other parts of your shoes accurately.
- Tweezers (Optional): For handling small embellishments with precision.
Step by Step Instructions
Make stunning DIY wedding shoes with our easy step-by-step guide. From choosing materials to perfect embellishments, craft your dream pair now!
Step 1: Choosing Your Base Shoes
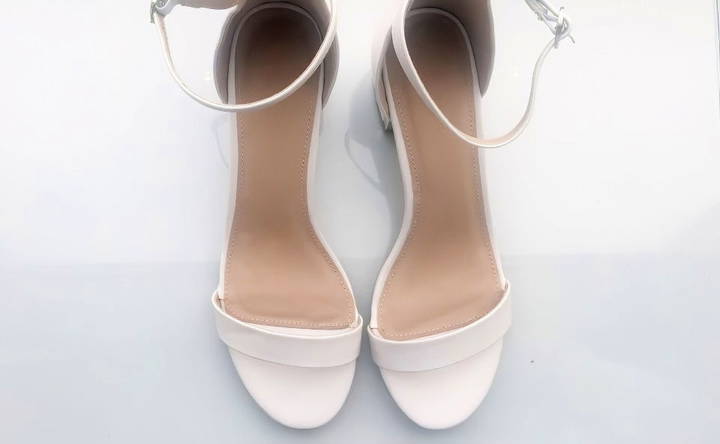
Your base shoe is the foundation of your DIY project, so choose wisely. Whether you opt for heels or flats, make sure they are comfortable enough to wear for the entire day. Consider the following tips when selecting your base shoes:
- Heel Height: Choose a heel height that you're comfortable walking and standing in for several hours. A mid or low-chunky heel is a great option if your ceremony is outdoors, as it will prevent you from sinking into the ground.
- Color: White or ivory shoes are classic bridal colors, but don't be afraid to match your shoes to your wedding theme. You can also start with a neutral base and add pops of color with your embellishments.
- Fit: Comfort is key on your wedding day, so make sure your shoes fit well. Consider adding cushioned insoles if your shoes need extra padding.
Step 2: Measuring and Preparing
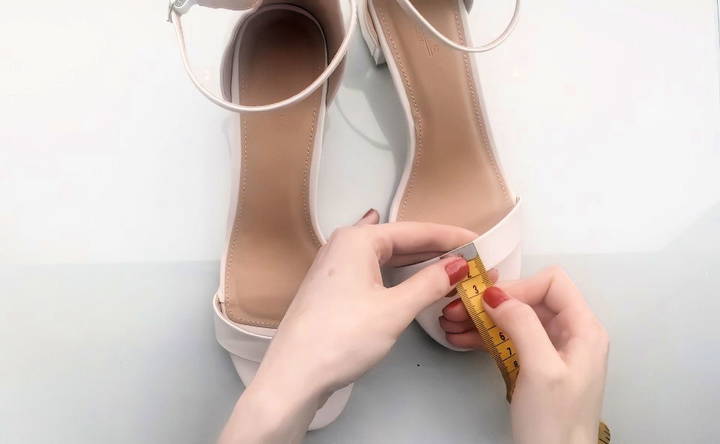
Once you have your shoes, the next step is to measure and prepare them for decoration. This ensures your appliqués or trims will fit perfectly without any last-minute adjustments. Here's how to do it:
- Toe Strap: Measure the width of the toe strap (in this guide, it was about 2 centimeters) to determine how much trim you'll need.
- Ankle Strap: If you plan to decorate the ankle strap, measure it carefully. The example project left the ankle strap plain, but you can embellish it for added glamour.
- Back of the Heel: Measure the height of the heel if you plan to add decorations. In the tutorial, the heel measured 10 centimeters, providing the ideal space for larger appliqués.
Step 3: Cutting and Securing Trims
Now that you've measured your shoes, it's time to cut the trims or appliqués to the correct size. Here are a few tips:
- Leave Extra Material: Always cut slightly more than you need. This allows you to secure the ends properly without risking the trim unraveling.
- Prevent Fraying: If your trim or appliqué is sewn, you may need to fold or tuck the edges to prevent loose gems or beads from falling off. For example, the tutorial suggested leaving a bit of tape at the end and folding it underneath for a neat finish.
- Customize the Shape: Depending on the design of your shoe, you may want to taper the ends of your trim to fit around curves, like a toe strap. However, straight cuts work well too.
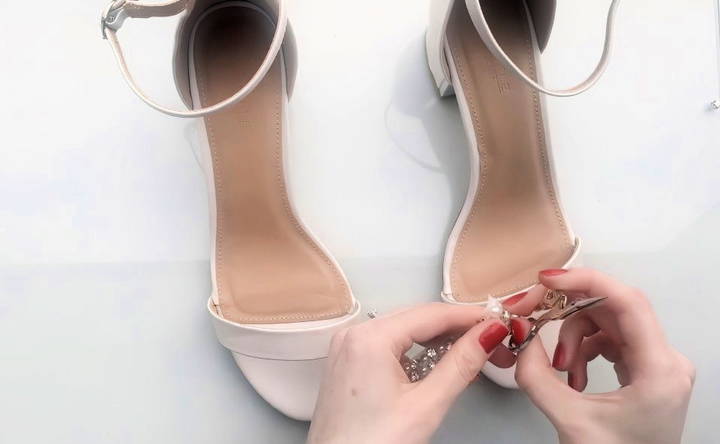
Step 4: Gluing the Appliqués
With your trims and appliqués ready, it's time to start gluing. Here's a step-by-step guide to ensure your decorations are applied securely:
- Apply Glue to the Shoe: Using a glue gun or super glue, apply a small amount of glue directly onto the shoe's surface. Be careful not to apply glue too close to the edge to avoid spillage.
- Position the Trim: Quickly, before the glue dries, place the trim or appliqué onto the shoe. Make sure it aligns perfectly with the edges of the strap or heel.
- Secure the Edges: Tuck or fold any excess material under the strap or along the edges. Add a small amount of glue to hold it in place.
- Repeat for the Other Shoe: Once you've finished one shoe, repeat the same steps for the other to ensure both shoes look identical.
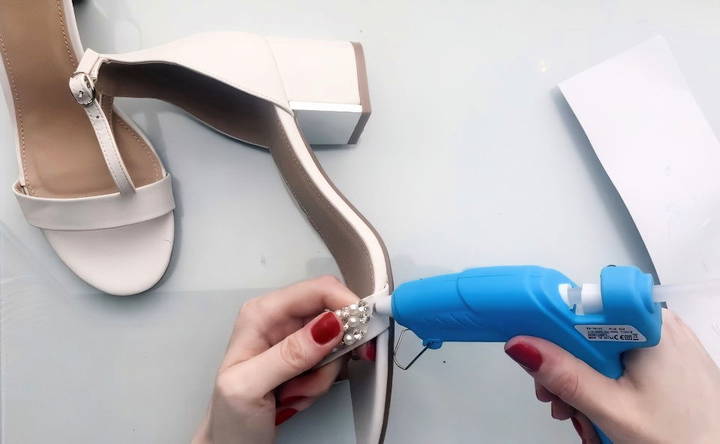
Step 5: Embellishing the Heel
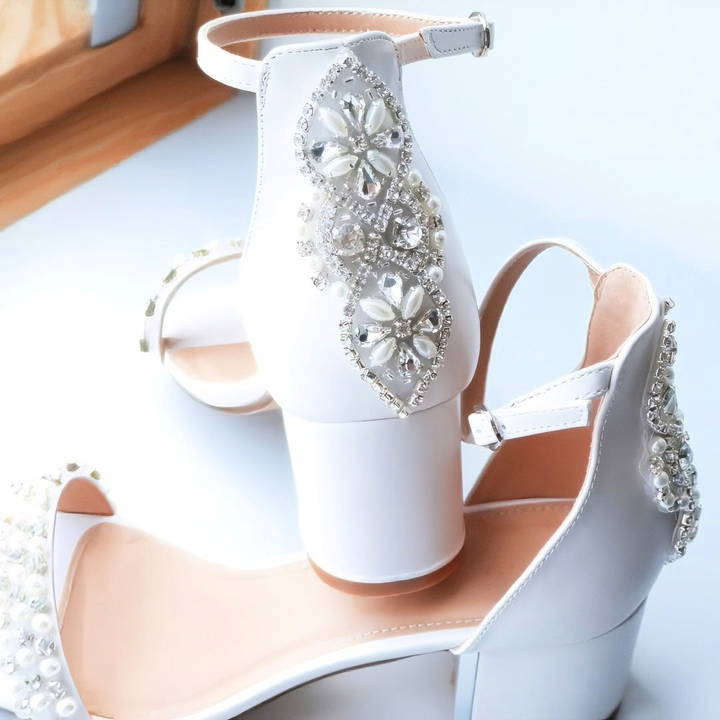
One of the standout features of the DIY shoes in this project is the decorated heel. Larger appliqués, such as lace or beaded designs, can be applied to the back of the heel for a dramatic effect. Here's how to do it:
- Apply Glue Directly to the Appliqué: This helps control the amount of glue and ensures that none will seep out onto the visible parts of the shoe.
- Position Carefully: Align the appliqué with the seam or other design features on the heel for a neat and professional look.
- Press Firmly: Hold the appliqué in place for a few seconds to ensure it adheres properly.
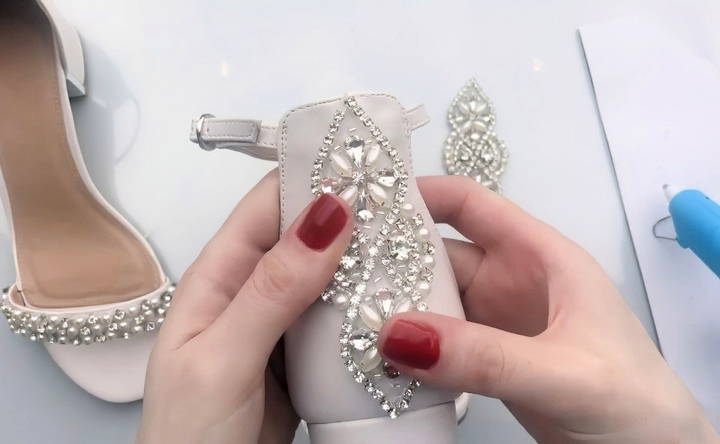
Step 6: Let the Shoes Dry
Once you've finished gluing, allow the shoes to dry completely before wearing them. This ensures that the decorations won't shift or fall off while you're walking.
Tips for Success
- Practice First: If you're new to DIY projects, consider practicing on an old pair of shoes before working on your wedding shoes. This gives you a chance to perfect your technique.
- Test the Glue: Not all glue types work well with all materials. Test your glue on a small, hidden part of the shoe to ensure it adheres properly without damaging the fabric.
- Don't Rush: Take your time with each step, especially when positioning the appliqués. A steady hand and patience will result in a cleaner, more professional finish.
Common Mistakes to Avoid
- Cutting Trims Too Short: Always leave extra material when cutting trims to avoid them falling apart or being too short for your shoes.
- Using Too Much Glue: Excess glue can spill onto the visible parts of the shoe, making a messy appearance. Use a minimal amount and press the appliqués into place.
- Ignoring Comfort: While the appearance of your shoes is important, comfort is key. Avoid decorations that might rub or cause discomfort during the wedding.
Final Thoughts
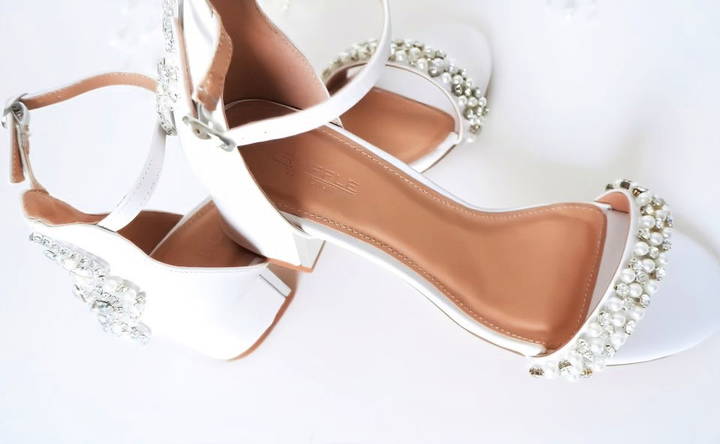
Making your own DIY wedding shoes can be a rewarding and enjoyable project. Not only do you get to wear a one-of-a-kind creation on your big day, but you also get the satisfaction of knowing that you crafted something truly unique. With a few basic materials, some creativity, and a bit of patience, you can design shoes that perfectly match your wedding look, fit your theme, and reflect your personal style.
FAQs About DIY Wedding Shoes
Explore frequently asked questions about DIY wedding shoes, from design tips to material choices, ensuring a perfect fit for your special day.
Use a strong adhesive like a glue gun or a durable glue such as E6000. Apply glue evenly and press the appliqué firmly in place. Allow the shoes to dry for at least 24 hours before wearing them to ensure the decorations won’t shift or fall off during your wedding day.
You can use other strong adhesives, like E6000, which is popular for crafting. It's durable and strong, though it takes longer to dry. Super glue is another quick alternative, but be cautious, as it can sometimes leave visible residue.
Yes! This DIY technique works on flats, heels, or even sneakers. Just adjust the trim size and style to fit your shoe shape. For flats, ensure that the appliqués don’t interfere with comfort or flexibility.
Before decorating, make sure your shoes fit well. Add cushioned insoles or padding for extra comfort. If needed, break them in before decorating to avoid damaging the embellishments during adjustments.
If your gems or appliqués come loose, you can reattach them using the same adhesive. For preventive measures, leave extra trim at the ends during your initial application, folding it under for a more secure hold.
Yes, if you use a glue gun or E6000, the decorations can often be removed by peeling them off carefully. You may need to use adhesive remover to clean off any residue. However, delicate materials like fabric might be harder to restore fully.
Absolutely! You can use lace, ribbons, or even fabric flowers as decorations. Just ensure that the fabric is securely attached with a strong adhesive and avoid fraying by sealing the edges with fabric glue.
If you have trouble finding your shoe size in stores, look for base shoes online where a wider range of sizes is available. Once you have a plain pair that fits well, you can follow the same DIY process to customize them.
The process itself doesn’t take long—typically about an hour or two. However, you should allow for 24 hours of drying time to ensure the glue fully sets before wearing them.
Yes! This project is beginner-friendly. It requires minimal tools and straightforward steps, so even if you're new to DIY, you'll find it easy to follow. Just take your time and practice on an old pair of shoes if you're unsure.


