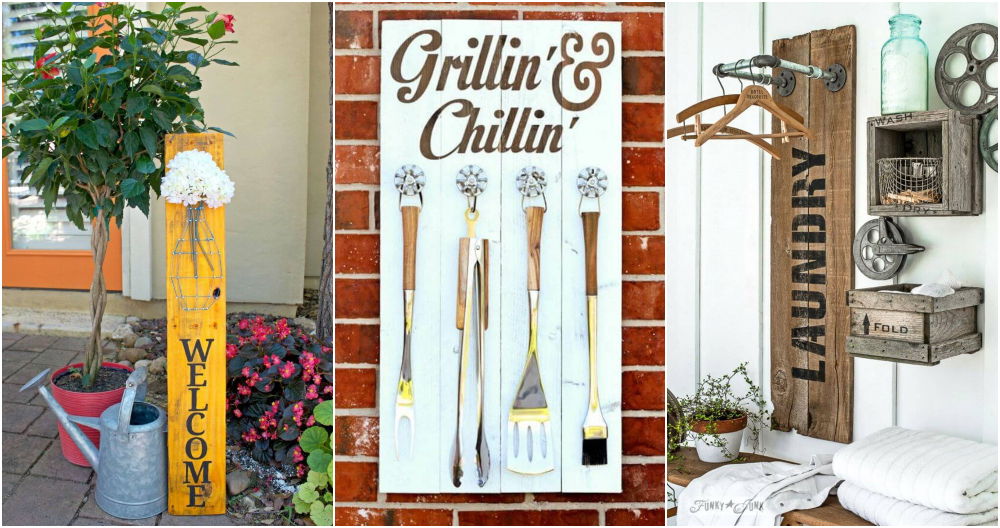
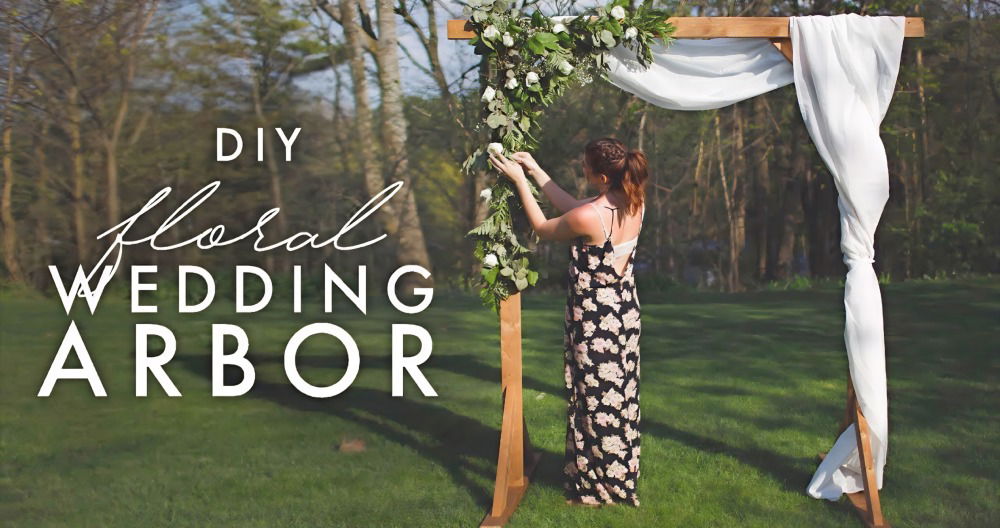
Building our DIY wedding signs felt like a special journey. Making a wedding welcome sign was incredibly satisfying. Makng DIY wedding signs added a personal touch to our day. With simple materials and a bit of creativity, we put together unique decorations. They reflected our style and made the venue look stunning. It was all about adding those personal touches.
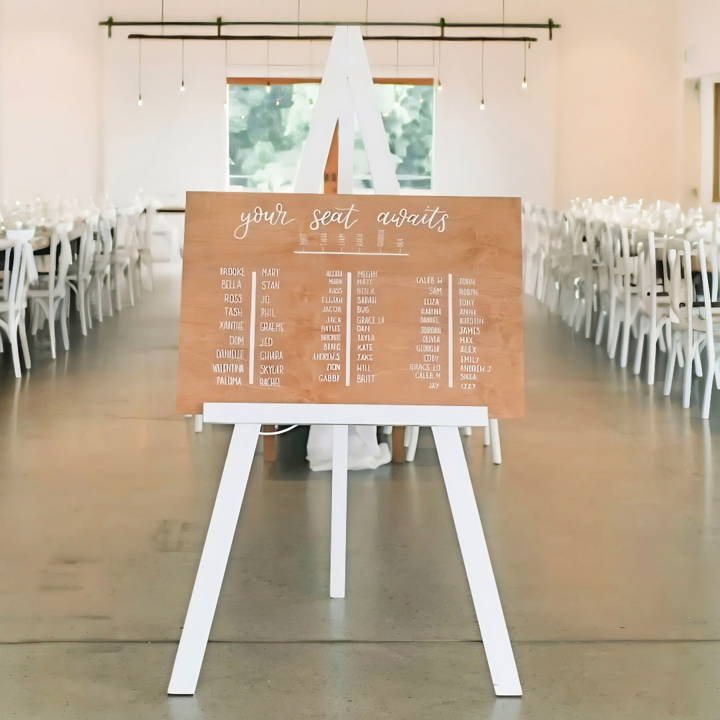
Seeing the finished signs at the wedding made everything worth it. Every guest admired our work. It became a talking point and added warmth to the event. With some effort and creativity, you, too, can make amazing DIY wedding signs. These ideas can help you add a personal touch to your wedding.
If I can do it, you can too. Building something so personal is incredibly rewarding. Give these ideas a try—you might find it easier than you think!
Why DIY?
I chose the DIY route mainly for two reasons: budget and personalization. Custom signs can be pricey, and I wanted our wedding to feel intimately ours, with a personal touch that pre-made signs couldn't offer. Plus, the thought of making something from scratch for our special day was incredibly appealing.
Materials Needed
Discover the materials needed for your project: wooden boards or acrylic sheets, paint or vinyl letters, stencils, paintbrushes, markers, and sealant.
Wooden Boards or Acrylic Sheets
For a rustic look, I went with wooden boards, but acrylic sheets are perfect for a modern aesthetic.
- Why? Your base material sets the tone for your signage.
Paint or Vinyl Letters
Depending on your preference and skill level, you can hand-paint your signs or apply pre-cut vinyl letters.
- Why? These will form the content of your signs.
Stencils (Optional)
If you're painting, stencils can help achieve neater letters.
- Why? They guide your hand, making painting letters easier.
Paintbrushes and Fine Tip Markers
For detailed work and touch-ups.
- Why? Precision is key for professional-looking signs.
Sealant
To protect your sign from weather, especially if it's for an outdoor wedding.
- Why? Durability ensures your signs last throughout the day.
Step by Step Instructions
Build lovely DIY wedding signs with our easy-to-follow, step-by-step instructions. Perfect for adding a personal touch to your special day!
Step 1: Planning Your Design
Start by deciding what each sign will say and sketch out designs. I found inspiration on Pinterest and wedding blogs. Consider your wedding theme and colors to ensure consistency.
Step 2: Preparing Your Base
For wooden boards, sand down any rough edges to achieve a smooth surface. Wipe clean of any dust before painting or applying letters. If using acrylic, remove the protective film from only one side until you've completed your design.
Step 3: Building Your Letters
- Painting: If you're hand-painting, sketch your letters lightly with pencil. Use thin brushes for detailed work. Apply a second coat if necessary.
- Vinyl Letters: Design your letters using a word processor or design software, then cut them out with a vinyl cutter. Place them on your base material, ensuring proper alignment.
Step 4: Adding Details
Now's the time to add any decorative elements. I went for simple florals on the corners to frame the text. Use stencils or free-hand, depending on your comfort and skill level.
Step 5: Sealing Your Sign
Once your paint is dry, or your vinyl is firmly applied, seal your sign with a clear sealant. This step is crucial, especially for outdoor signs, as it prevents damage from moisture and sunlight.
Tips for Success
- Practice First: Before working on your final piece, practice your design on scrap material.
- Patience is Key: Allow the paint to dry fully between steps to avoid smudging.
- Have Fun with It: Don't stress over perfection. Embrace the unique imperfections that come with handcrafted items.
Personalization Tips for DIY Wedding Signs
Building DIY wedding signs is not just about guiding your guests or adding a decorative touch to your special day; it's also a wonderful opportunity to infuse your personality and love story into every detail. Here are some tips to help you personalize your wedding signs:
- Reflect Your Love Story: Think about the milestones and moments that define your relationship. Did you meet in a coffee shop? Consider using coffee-themed elements in your sign design. Use quotes, dates, or locations that are significant to you as a couple.
- Incorporate Your Wedding Theme: If you have a specific wedding theme, let your signs echo that motif. For a beach wedding, use light blues, sand, and shells. For a rustic theme, opt for wood signs with elegant white lettering.
- Use Your Colors: Carry the color scheme of your wedding through to your signs. This makes a cohesive look throughout your venue and makes your signs a part of the celebration.
- Add a Personal Touch: Handwrite the signs yourself or ask a talented friend to help. This adds a unique touch that can't be replicated by store-bought signs.
- Interactive Signs: Build signs that engage your guests. A sign with a hashtag for social media, a quirky quote that sparks conversation, or a beautifully designed seating chart can all be points of interaction.
- Include Family and Heritage: Honor your family history by including elements from your or your partner's heritage in the sign design. This could be through language, traditional patterns, or symbols.
- Think Beyond the Sign: Personalization doesn't stop at the sign itself. Consider the stand or the way it's displayed. An easel, a vintage frame, or hanging from a tree can all add that personal flair.
- Keep It Readable: While personalization is key, readability is paramount. Ensure the font size is large enough and the contrast is high so that your guests can easily read the signs from a distance.
- Test Your Signs: Before the big day, test your signs at your venue. Make sure they are visible and placed at the right spots to be both useful and decorative.
Follow these tips to make DIY wedding signs that are both helpful and memorable, reflecting your unique bond. Keep it simple and meaningful, and have fun!
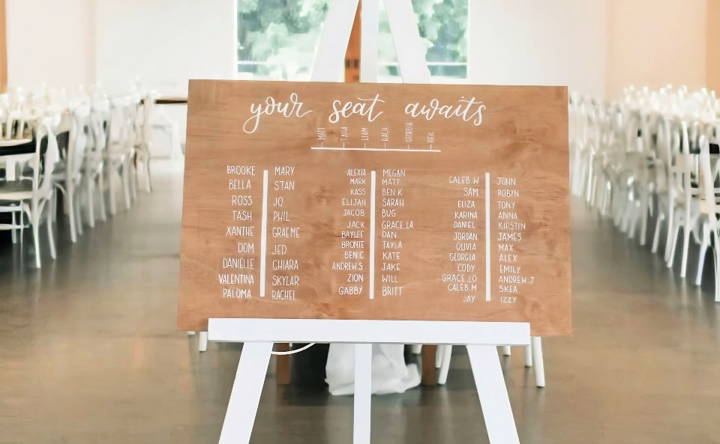
Troubleshooting Common Issues with DIY Wedding Signs
When making DIY wedding signs, you might encounter a few hiccups along the way. Here's a guide to help you overcome common challenges:
Paint Bleeding on Wood Signs
- Solution: Seal the wood surface with a clear primer before painting. Use painter's tape to get clean edges and remove it while the paint is still slightly wet to prevent peeling.
Vinyl Letters Not Sticking
- Solution: Clean the surface thoroughly before applying vinyl. Use a transfer tape to place the letters and a scraper tool to firmly adhere them to the surface.
Warped or Damaged Materials
- Solution: Store your materials flat and in a dry area before use. If warping occurs, try gently bending the material back into shape or using heavy objects to flatten it over time.
Misspelled Words
- Solution: Always double-check your spelling before you start painting or printing. If a mistake happens, wait for the paint to dry and carefully paint over the error with the base color before correcting the spelling.
Signs Not Visible at Night
- Solution: Use reflective or glow-in-the-dark paint for key information. Alternatively, position lights to illuminate the signs after dark.
Unstable Signage
- Solution: Ensure your signs have a sturdy base. Use easels for larger signs and consider weights or tie-downs for outdoor signs to withstand wind.
Fading Colors
- Solution: Use UV-resistant materials and coatings to protect your signs from sun exposure. Place them in shaded areas when possible.
Difficulty in Transporting Large Signs
- Solution: Design your signs to be easily disassembled and reassembled. Use lightweight materials and plan for secure transportation.
Prepare solutions in advance to ensure your DIY wedding signs are beautiful and functional.
FAQs About DIY Wedding Signs
Explore the faqs about DIY wedding signs to learn essential tips, materials, and creative ideas for crafting perfect wedding signage yourself.
It's best to start making your wedding signs about 4-6 weeks before your wedding. This gives you enough time for design, production, and any unexpected issues that might arise. If you're working with a stationer or designer, they'll need this time to finalize your items.
Absolutely! There are many ways to make beautiful signs without being an artist. You can use stencils, pre-made decals, or editable templates that you can print and display. There are also many tutorials online that can guide you through the process.
Get creative with materials and textures. Use pallets for a rustic look, acrylic for a modern vibe, or even upcycle items like cheeseboards for unique table signs. Incorporating lights or using a chalkboard for a vintage feel are also popular ideas. Remember to keep the text legible and the design functional.
Consider the flow of your wedding and place signs where they're most needed, like directing guests to the ceremony, reception, or restrooms. Make sure the signs are large enough to read and placed at eye level. Using contrasting colors for text and background can also improve visibility.
Personalizing your wedding signs is a great way to share your love story with your guests. Consider adding quotes, dates, or locations that are significant to your relationship. You can also use photos, illustrations, or symbols that represent your journey together. For a truly unique touch, incorporate elements from your hobbies, cultural backgrounds, or shared interests.
Conclusion
Wrapping up, making your own DIY wedding signs can add a personal and unique touch to your special day. From a DIY wedding welcome sign to directional signs matching your theme, these lovely details can enhance the overall ambiance of your wedding. Embrace creativity and let your personality shine through each DIY wedding sign. Happy crafting!


