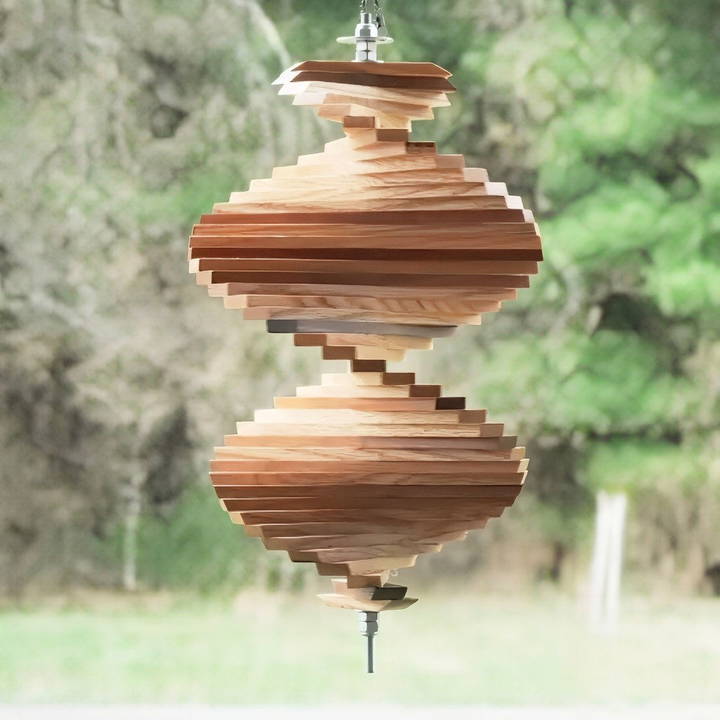
Wind spinners are not only visually captivating but also offer a calming effect as they twirl and dance with the slightest breeze. Whether you want to adorn your garden, patio, or deck, making a wind spinner is a delightful woodworking project that can add charm to your outdoor space. In this detailed guide, you'll learn how to make a simple, yet elegant, DIY wind spinner from wood. No special skills are required—just follow these steps carefully, and you'll have a wind spinner ready to catch the wind in no time!
Materials and Tools You'll Need
Before diving into the step-by-step process, it's important to gather all the necessary materials and tools. Here's a list of what you'll need:
Materials:
- Wood (preferably different types for a contrasting pattern)
- Metal rod (for threading the wooden slats)
- Washers and nuts (to secure the slats on the rod)
- Sandpaper or Disc Sander (to smooth the wood)
- Wood varnish or paint (optional for finishing)
Tools:
- Table saw (for cutting the wood into slats)
- Planer (for smoothening and adjusting the thickness of the wood)
- Drill press (for drilling holes in the slats)
- Bandsaw (for shaping the slats)
- Measuring tape (for accurate measurements)
- Clamp or Stop (to keep wood steady while cutting)
- Marker or pencil (for drawing patterns)
- Wrench (for tightening the nuts on the rod)
Step by Step Instructions
Make your own DIY wind spinner with our step-by-step guide, from preparing the wood to hanging the final product. Perfect for garden enthusiasts!
Step 1: Preparing the Wood
Begin by selecting your wood. You can choose a single type of wood for a uniform appearance, or you can mix different types to build a more visually appealing pattern. For example, you can combine a lighter wood with a darker one for contrast.
- Thickness and Dimensions: The first thing you want to do is plane the wood down to about three-quarters of an inch thick. The slats that will make up the wind spinner should ultimately measure three-quarters of an inch by one-quarter of an inch, so plan your wood accordingly.
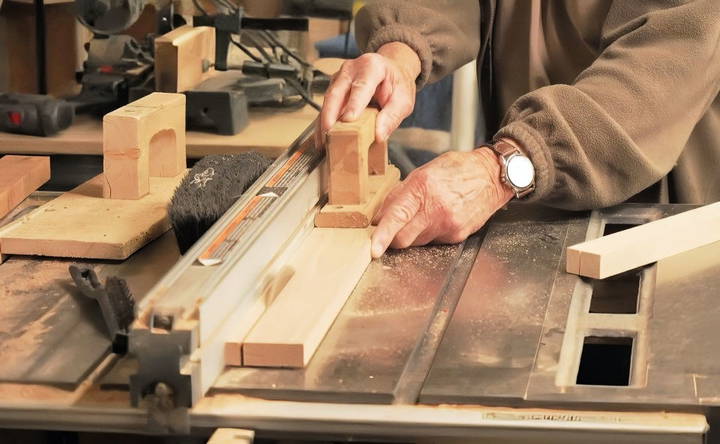
- Cutting Slats: Using your table saw, carefully cut the wood into strips or slats. These should be about eight inches long. The exact length can be adjusted depending on the size of wind spinner you want to build, but eight inches is a good standard for a balanced and functional spinner.
Step 2: Smoothen the Slats
Once you have the slats cut to size, the next step is to smooth them down using a planer or sandpaper.
- Why Plane the Wood? By cutting the slats a little thicker than you need, you can plane down the wood to make the surface as smooth as possible, eliminating any rough edges. This is important because rough edges can affect how well the spinner turns in the wind, and it's also visually unappealing.
- Planing Technique: Run each slat through the planer, ensuring that all sides are smooth. If you're using sandpaper instead, carefully rub down the edges and surfaces by hand. The goal is to make sure the wind spinner moves effortlessly once assembled.
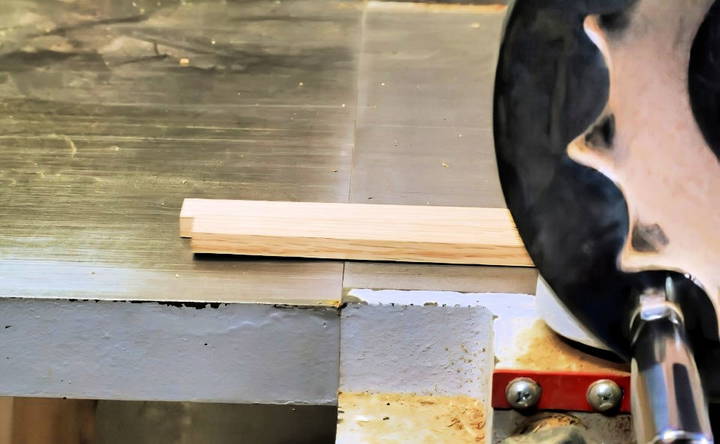
Step 3: Cut the Slats to Size
After smoothing the slats, use a stop on your table saw to ensure each slat is exactly the same length. For this tutorial, we'll be cutting them to a uniform eight inches. The stop is crucial for making sure all pieces are precisely measured, as even slight differences in length can cause imbalance.
- Precision Is Key: This part of the process involves careful measurement to ensure that the hole you'll drill in each slat is exactly in the center. Measure four inches from the edge of each slat to find the center point for drilling.
Step 4: Drilling the Holes
The next step is drilling holes in the slats, which will allow you to thread them onto the metal rod.
- Set up the Drill Press: Position the slat so the center mark (made earlier) is directly under the drill bit. This hole should be wide enough to easily thread the rod through but not too large to cause the slats to wobble loosely on the rod.
- Using a Stop: For consistency, you can place a stop on your drill press setup. This allows you to line up each slat quickly, ensuring the hole is drilled in the exact same spot each time.
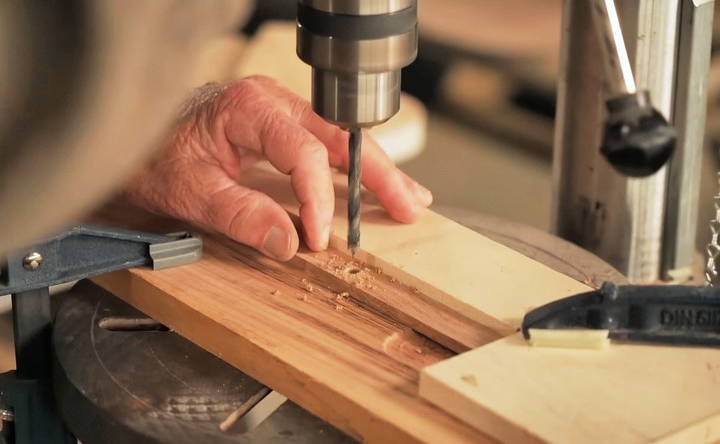
Step 5: Assembling the Wind Spinner
Now that your slats are all prepped and drilled, it's time to assemble the wind spinner!
- Threading the Slats: Begin by threading the slats onto the metal rod, making sure they are evenly spaced and positioned. At the far end of the rod, place a washer and secure it with a nut to prevent the slats from sliding off. You'll add another washer and nut to the other end once all the slats are in place.
- Spreading the Slats: Once all the slats are threaded onto the rod, you can start adjusting their position to build the desired spiral effect. To do this, turn each slat slightly, so it overlaps the previous one in a spiral formation. You'll see the wind spinner begin to take shape as the slats spread out.
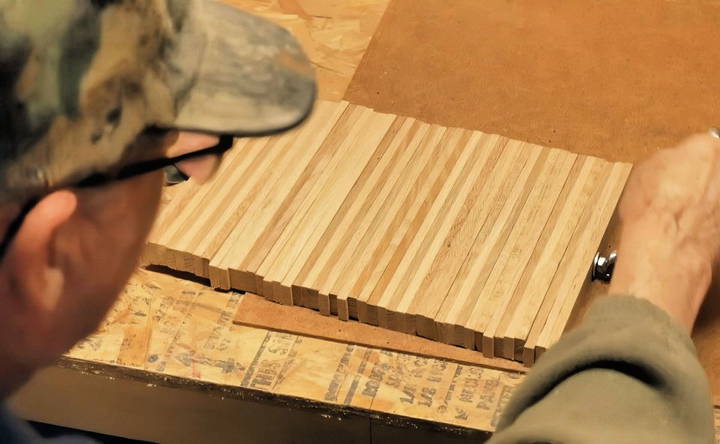
Step 6: Shaping the Slats
If you want your wind spinner to have a more dynamic and decorative appearance, you can shape the ends of the slats. This step is optional but can add a lot of visual interest to your project.
- Draw the Pattern: Use a pencil or marker to draw the desired pattern on the wood. This might be a simple curve or something more intricate depending on your preferences.
- Cutting the Shape: Using the bandsaw, carefully cut along the lines you've drawn. The bandsaw allows for precise cuts, so you can follow the pattern closely.
- Smoothing the Edges: After cutting the shapes, use a disc sander to smooth the rough edges, making the final product look polished and professional.
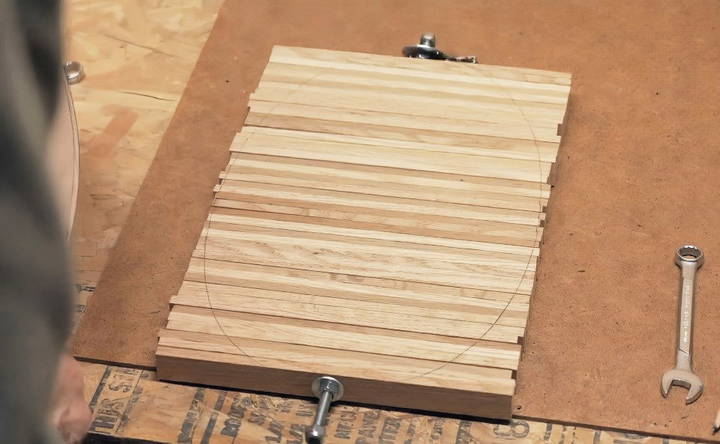
Step 7: Smoothing and Final Adjustments
Now that the wind spinner is assembled and shaped, it's time for the final smoothing process. Use sandpaper or a disc sander to remove any remaining rough spots, ensuring all surfaces are smooth and the spinner will rotate freely.
- Disc Sander Use: Lightly sand the edges of each slat, especially where cuts were made, to give the spinner a flawless appearance.
- Final Adjustments: Before finishing, splay out the slats again to make sure they're properly aligned and that the wind spinner spins smoothly.
Step 8: Finishing Touches (Optional)
If you want to protect the wood from the elements and give it a finished look, now is the time to apply a coat of varnish or paint.
- Choosing a Finish: If you prefer the natural look of the wood, use a clear varnish or sealant to protect it from moisture and sun damage. For a more colorful appearance, consider painting the slats with bright colors or patterns that will stand out as the wind spinner twirls.
- Applying the Finish: Whether you choose varnish or paint, apply it evenly to all sides of the slats and allow ample time for drying before hanging the spinner outdoors.
Step 9: Hanging the Wind Spinner
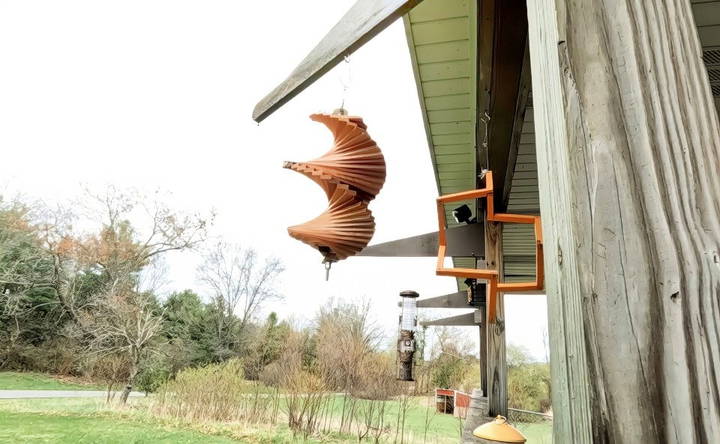
The final step is to hang your new wind spinner and enjoy watching it spin in the breeze! You can hang it on your deck, in your garden, or any outdoor space that gets some wind.
- Where to Hang: Look for an area that gets a gentle breeze—too much wind can cause the spinner to spin too fast, while too little wind won't move it at all.
- Mounting Options: You can hang the wind spinner from a hook, a tree branch, or a specially installed pole. Be sure to use strong, weather-resistant string or wire for hanging.
Conclusion
Building a DIY wind spinner is a fun and rewarding woodworking project that brings beauty and movement to your outdoor space. With just a few basic materials and tools, you can craft a custom wind spinner that will catch the breeze and captivate your eye. Whether you leave it natural or paint it bright colors, your wind spinner will become a unique part of your garden or deck decor.
Now that you've followed these steps, it's time to hang your wind spinner and watch it twirl!
FAQs About DIY Wind Spinner Project
Discover answers to common questions about your DIY wind spinner project. Get tips, materials, and step-by-step guidance for a successful build.
Hardwoods like oak, maple, or cherry are ideal because they are durable and hold up well outdoors. You can also use softer woods like pine, but they may wear down more quickly due to weather conditions.
Yes, you can customize the shape of each slat! In addition to straight slats, you can build star-shaped, curved, or patterned pieces using a bandsaw to achieve various visual effects.
Make sure each slat is evenly spaced and aligned on the rod. Smooth the wood thoroughly using sandpaper or a disc sander to remove any rough edges that might cause friction.
Check for any imbalance in the slats or tightness in the rod. Loosen the nuts slightly to allow more freedom for the slats to rotate, and make sure the spinner is hung in a location with sufficient wind.
Absolutely! Adding a coat of paint or varnish not only enhances the appearance but also protects the wood from the elements, ensuring your wind spinner lasts longer.
Regularly check for any wear or weather damage. Reapply a protective coat of varnish or paint as needed to preserve the wood’s integrity and appearance.
It's possible but more challenging. You can use hand tools like a saw and manual sander, but this will take significantly more time and effort compared to using power tools such as a table saw and planer.


