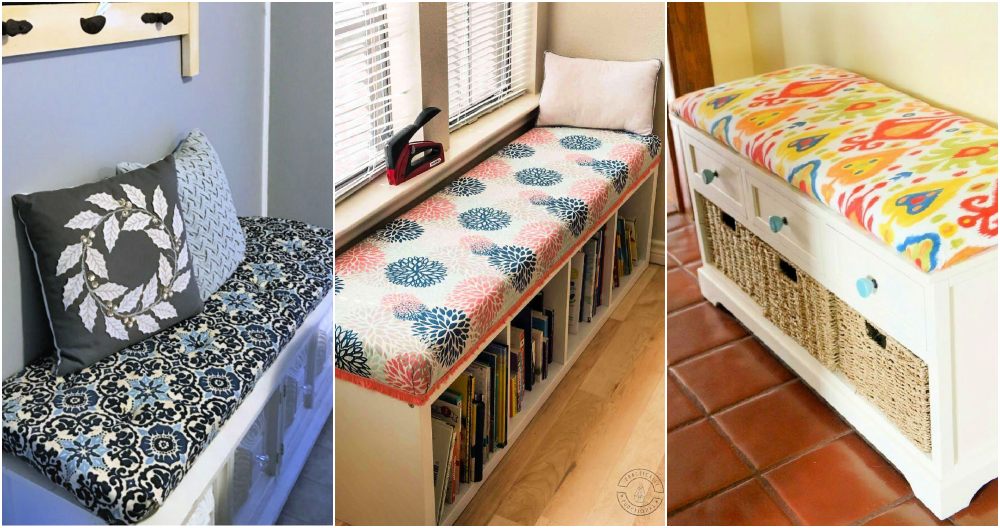
Building my own DIY window seat has been one of the most rewarding projects I've tackled. I always wanted a cozy nook where I could sit and enjoy my morning coffee or read a book. With a bit of planning and a few materials, I turned an empty corner of my living room into a perfect little escape.

Starting with a simple wooden bench, I added a comfy cushion and some decorative pillows to make it inviting. It took some effort to measure the space correctly and ensure everything fit snugly, but the final result was worth it. I now have a beautiful, cozy spot that's all mine.
Encouraged by my success, I decided to share this project to help others build their own cozy nooks. Building a window seat might seem like a big task, but the steps are simple, and the outcome is very satisfying. Get started on your window seat today and enjoy your own special place at home.
Materials Needed and Their Importance
- Timber or Plywood: For the frame, seat, front, and top boards. It forms the skeleton of your window seat.
- Screws and Brackets: To assemble the frame securely and add support beams for stability.
- Hinge Hardware: For making storage lids that are both functional and aesthetically pleasing.
- Sandpaper, Filler, and Caulk: For smoothing rough edges and filling any gaps, ensuring a professional finish.
- Primer and Paint: To protect the wood and give your window seat a polished look that complements your room.
- Tools: Including a saw, screwdriver, drill, tape measure, and paintbrushes. These are essential for cutting materials to size, assembling the seat, and applying finishes.
Each material plays a pivotal role in the construction and final look of your window seat. Quality materials ensure durability, while the right tools make the build process smoother and more efficient.
Step by Step Instructions
Build a beautiful DIY window seat with our step-by-step guide: Measure, frame, add beams, craft boards, build storage, and finish with style!
Measuring Up and Building the Frame
First things first, getting the measurements right was crucial. I measured the bay window area twice to avoid any mistakes. Then, I cut my timber according to these measurements to build the frame. This initial step set the foundation of the whole project.
Adding Support Beams for Stability
The next step involved screwing in horizontal and vertical support beams within the frame. I spread these evenly for balanced support, knowing they would have to withstand significant weight. Stability is key for a project like this, as safety comes first.
Crafting the Front and Top Boards
For a cohesive look, I cut the front and top boards to match the frame's measurements precisely. Ensuring these pieces fit perfectly was a bit challenging but incredibly satisfying once everything aligned.
Building Storage Lids
The most exciting part for me was making the storage lids. I used a hinge mechanism that would allow easy access to the storage space below without compromising the seat's aesthetic. It felt like piecing together a puzzle, one that would have a practical use in my daily life.
The Finishing Touches: Fill, Caulk, Sand, Prime, and Paint
Before painting, I filled any gaps with caulk and sanded down the surfaces to achieve a smooth texture. Priming was next, followed by a coat of paint in a shade that matched my room's decor. This part of the process required patience and a steady hand, but the transformation was worth every minute.
The Grand Reveal
After attaching the top board and ensuring everything was solid and secure, I finally placed the cushions. Sitting down, I felt an immense sense of accomplishment. Not only did I have a new favorite spot in my home, but I had also buildd it with my own two hands. The storage compartments were perfect for keeping my living space organized, hiding away blankets, books, and other odds and ends.
Customization Tips
Building a window seat that reflects your personal style and meets your needs is a rewarding DIY project. Here's how you can customize your window seat to make it truly your own:
- Choose Your Style First, think about the overall look you want. Do you prefer a modern, minimalist design or a cozy, traditional feel? Your window seat should complement the room it's in. For a modern look, consider clean lines and a monochromatic color scheme. For a traditional vibe, opt for ornate details and warm colors.
- Selecting Materials The materials you choose for your window seat will greatly influence its appearance and durability. For the frame, sturdy wood like oak or maple ensures longevity. For the seating area, a high-density foam provides comfort and retains shape over time.
- Fabric Selection The fabric for your cushions and pillows can add color and texture to your space. Choose a durable fabric that's easy to clean, like microfiber or canvas, especially if you have pets or children. For a luxurious touch, velvet or leather might be the right choice.
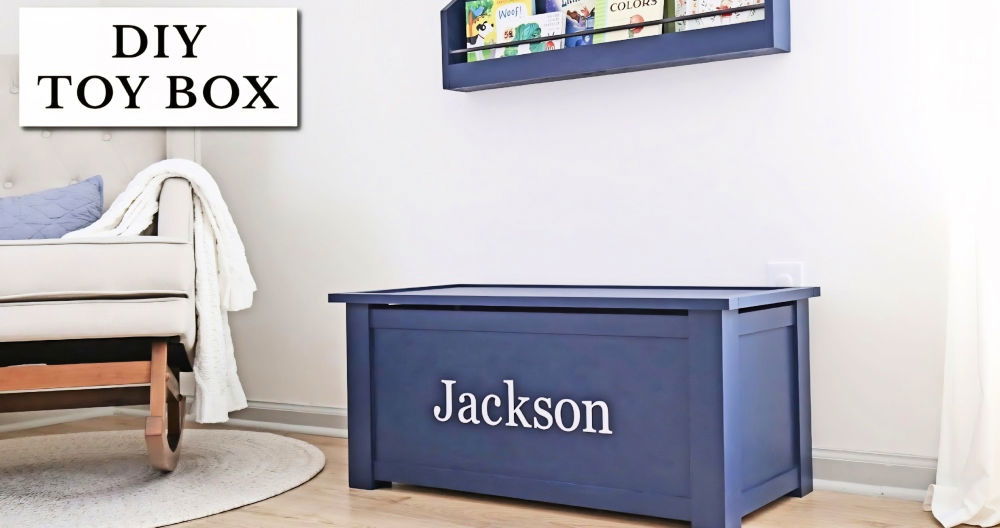
- Incorporate Storage A window seat is an excellent opportunity to add extra storage to your room. Consider drawers underneath for items like blankets or books. Alternatively, a hinged lid can provide access to a large storage compartment.
- Accessorize Pillows and throws not only add comfort but also allow you to introduce patterns and colors. Seasonal decorations can also be swapped out to refresh the look throughout the year.
- Lighting Consider the lighting around your window seat. A nearby floor lamp or a wall-mounted reading light can make the space more functional and inviting.
- Personal Touches Finally, add some personal touches. This could be anything from a small side table for your coffee cup to a shelf for your favorite knick-knacks or plants.
Following these tips, you'll craft a window seat that's stylish, personal, and practical. The best DIY projects blend form and function.

Storage Solutions
When it comes to adding a window seat to your home, one of the most appealing features is the potential for additional storage. This section will guide you through the process of integrating storage solutions into your window seat design, ensuring that your new nook is not only cozy but also practical.
- Maximizing Space with Built-In Storage The space beneath your window seat is prime real estate for storage. Consider building drawers or cabinets that blend seamlessly with the seat's design. Drawers are perfect for stowing away items you need regular access to, like books or craft supplies. Cabinets can hold larger items out of sight, keeping your space tidy.
- Utilizing Vertical Space Don't forget the area above and around your window seat. Shelving units or bookcases can be installed to take advantage of vertical space, providing a home for everything from your favorite novels to decorative items.
- Hidden Compartments For a more discreet option, a hinged seat top can open to reveal a hidden storage compartment. This is an excellent spot for storing extra pillows, blankets, or seasonal items. It keeps them accessible yet out of the way.
- Organizational Accessories Inside your storage areas, use baskets, bins, or dividers to keep smaller items organized. This will help maintain order and make it easier to find what you need without rummaging through everything.
- Dual-Purpose Furniture Consider furniture pieces that can serve double duty. A storage ottoman or a chest can act as both a comfortable footrest and a place to store items. This is especially useful in smaller spaces where every inch counts.
- Customization for Your Needs Think about what you need to store and customize your storage solutions accordingly. If you're a music lover, perhaps include space for your vinyl collection. If you're an avid reader, make sure there's ample room for books.
Add storage to make your window seat charming and functional, keeping your space organized and clutter-free. Balance form and function for a beautiful and practical result.
Maintenance and Care
A window seat is a delightful addition to any home, but like any piece of furniture, it requires regular maintenance to keep it looking its best. Here's how you can care for your window seat to ensure it remains a cozy and inviting space.
Cleaning the Seat Area
- Dust Regularly: Use a soft cloth or a handheld vacuum to remove dust and debris from the seat, especially in the corners and under the cushions.
- Spot Clean Spills: If spills occur, clean them up promptly with a mild detergent and a damp cloth to prevent stains.
Upholstery Care
- Vacuum Cushions: Use an upholstery attachment to vacuum the cushions and remove any dust or pet hair.
- Wash Covers: If your cushion covers are removable, wash them according to the manufacturer's instructions. It's usually best to use a gentle cycle and air dry to prevent shrinkage.
Woodwork Maintenance
- Polish Wood Surfaces: If your window seat has a wooden frame, polish it periodically with a suitable wood cleaner to keep it shiny and protect it from wear.
- Check for Scratches: For minor scratches, a bit of furniture polish or a color-matched wood marker can help conceal them.
Storage Compartment Upkeep
- Organize Periodically: Take time every few months to declutter the storage compartments. This will help you keep track of what you have and make the space more functional.
- Clean the Interior: Wipe down the inside of drawers or storage bins with a damp cloth to keep them clean and dust-free.
Window Treatment
- Clean the Window: Keep the window pane clean to ensure you have a clear view and to let in natural light.
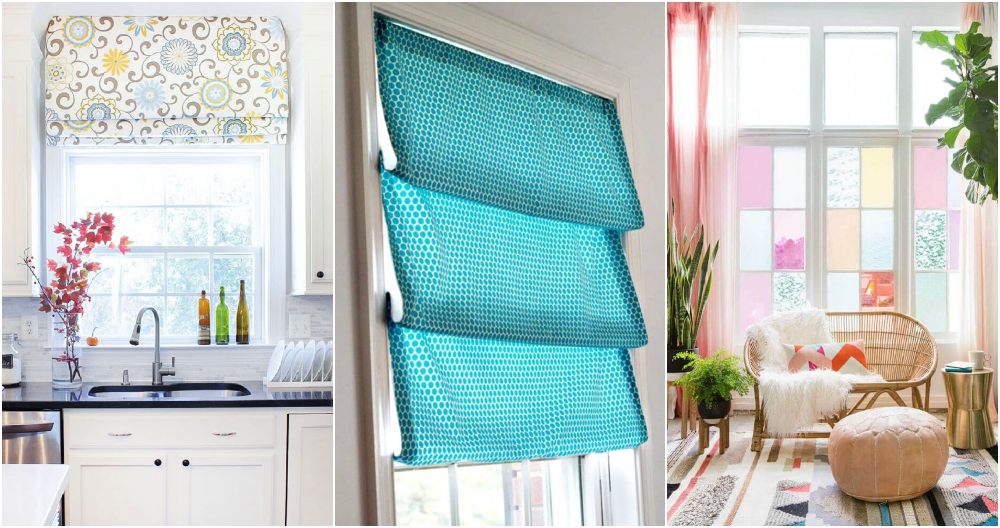
- Dust Blinds or Wash Curtains: If you have window treatments, dust blinds regularly or wash curtains as needed to keep the area fresh.
Seasonal Adjustments
- Rotate Cushions: To prevent uneven wear, rotate your seat cushions with the change of seasons.
- Update Accessories: Consider changing out throw pillows or blankets to match seasonal decor for a fresh look.
By following these simple tips, your window seat will remain a cherished spot for years. Regular upkeep preserves its beauty and enhances comfort.
FAQs About DIY Window Seat
Explore faqs about DIY window seat projects, including materials, costs, and step-by-step guidance to build your perfect cozy nook at home.
Start by measuring the width of the window at the widest point. Then, measure the depth from the wall to how far you want the seat to extend. Finally, measure the height from the floor to the bottom of the window sill. Remember to subtract the thickness of your cushion when determining the height of the seat.
To ensure comfort, choose a high-quality foam for your cushion that is at least 2 inches thick. Add pillows for back support and consider the height and depth of the seat to match your ergonomic preferences. The standard height for a comfortable seat is around 19 inches from the floor.
Selecting the right fabric is crucial for both aesthetics and durability. Opt for upholstery fabric as it’s designed to withstand wear and tear. If your window seat will receive a lot of sunlight, consider fade-resistant fabric to prevent discoloration. For easy cleaning, stain-resistant or washable fabrics are ideal choices.
Safety is paramount when undertaking any DIY project. Ensure that your window seat is securely attached to the wall to prevent tipping. If you're including storage, make sure that any hinges are safely installed and that lids have soft-close mechanisms to protect fingers. Always follow the manufacturer's instructions for any tools and materials you use.
Absolutely! Consider adding built-in bookshelves on either side for a cozy reading nook. USB ports and power outlets can be integrated for charging devices. For a decorative touch, install LED strip lighting underneath for ambiance. Personalize your window seat to fit your needs and style.
Conclusion
Wrapping up, making your own DIY window seat is not only a rewarding project but also adds a personalized touch to your home. With some basic tools and materials, you can build a cozy nook that fits perfectly in your space. Remember to plan carefully, measure twice, and enjoy the process. Your new window seat will soon become a favorite spot for relaxation and comfort. Happy building!


