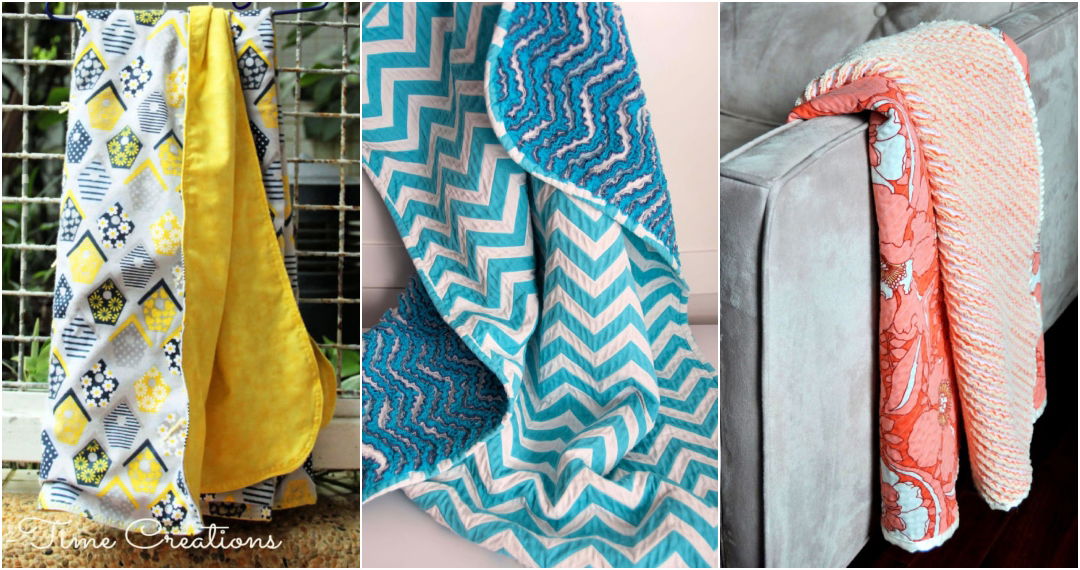
If you're looking to add a touch of personality and style to your windows, making your own window valances can be the perfect solution. Valances are not only a decorative touch, but they can also help to hide curtain rods and enhance the overall look of your room. This guide provides all the steps you need to sew a custom DIY window valance. Whether you're a beginner or experienced in sewing, you'll find these easy-to-follow instructions helpful.
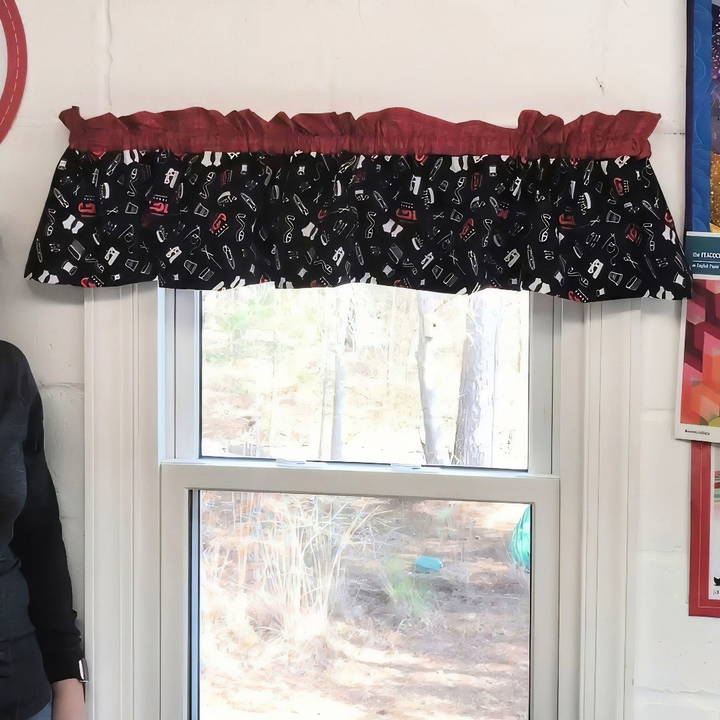
Why Make Your Own Window Valance?
Making your own window valance offers several benefits:
- Customization: You can choose fabrics and styles that perfectly match your home decor.
- Cost-Effective: Making your valance can be much cheaper than buying one, especially if you already have sewing supplies at home.
- Creative Outlet: Crafting a valance gives you the chance to express your creativity, experiment with patterns, and add unique design elements to your home.
Now, let's dive into how you can make a window valance in two styles: one with ruffles and one without.
Tools and Materials You Will Need
Before you start, gather the necessary tools and materials:
- Fabric of your choice (depending on window size and style)
- Measuring tape
- Scissors
- Sewing machine
- Thread (to match your fabric)
- Muslin (optional, for lining)
- Iron and ironing board
- Ruler or fabric marker
- Pins
- Curtain rod
- Best Press or fabric starch (optional, for crisp seams)
Step by Step Instructions
Make stunning window valances with our DIY guide. Follow easy steps from measuring to sewing and get expert tips for perfect window treatments.
Step 1: Measuring Your Window
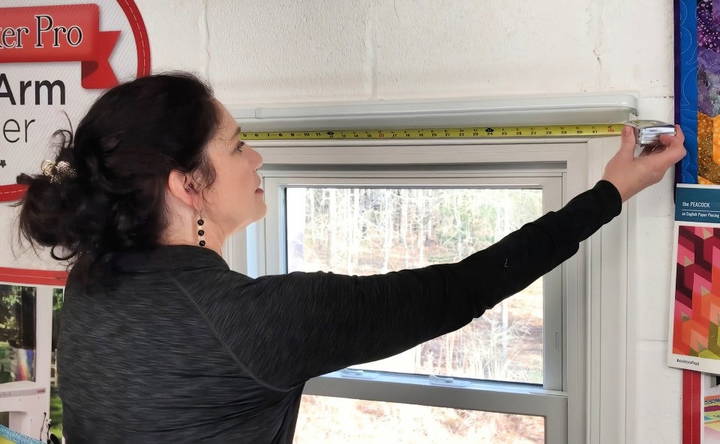
The first step in making your valance is measuring your window and curtain rod to determine the fabric size you will need. Accurate measurements ensure that your valance fits perfectly. Here's what to do:
- Measure the Curtain Rod: Measure the width of the curtain rod. This is the essential width of your valance. In the example from our source, the curtain rod measured 33 inches.
- Decide the Length of Your Valance: How long do you want the valance to hang? Typically, valances are anywhere from 10 to 15 inches in length. If you decide on a 10-inch drop, add a couple of inches for seams. For instance, if you want the valance to hang 10 inches, you will need to cut the fabric at 12 inches to account for the seams and hem.
Step 2: Calculating Fabric Width
The width of the fabric depends on whether you want a ruffled or non-ruffled valance.
- Non-Ruffled Valance: If you want a clean, straight valance without ruffles, multiply the width of your curtain rod by 1.5. For example, if your curtain rod is 33 inches wide, multiply that by 1.5, which equals 50.5 inches of fabric.
- Ruffled Valance: For a ruffled look, multiply the width of your curtain rod by 2. Using the same 33-inch rod, you will need 66 inches of fabric for a ruffled valance.
Step 3: Cutting the Fabric
Once you've determined the dimensions of your fabric, it's time to cut.
- Cut the Fabric to Length and Width: Cut the fabric based on the measurements you calculated earlier. Be sure to add extra inches for hems and seams.
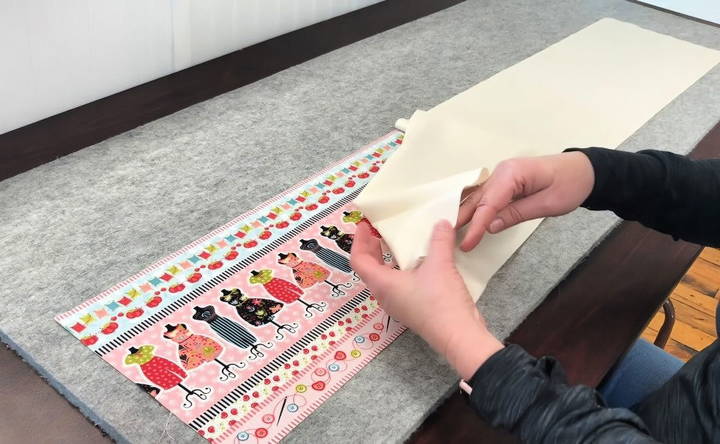
- Optional Lining: If you're using a lining fabric like muslin, cut the lining fabric to match the main fabric. Lining not only gives the valance a fuller look, but it also protects your main fabric from sunlight damage and fading.
Step 4: Sewing the Valance
Now that your fabric is cut, it's time to start sewing. We'll first walk through how to make a non-ruffled valance, and then move on to the ruffled version.
Sewing a Non-Ruffled Valance
- Make a Fabric Tube: If you're using two layers of fabric (main fabric and lining), place them right sides together and sew along the long edges, leaving the short sides open. Use a quarter-inch seam allowance.
- Turn the Tube Right Side Out: After sewing the sides, turn the fabric tube right side out. Press the fabric with an iron to make smooth, crisp edges.
- Make a Rolled Hem: Fold the fabric along the open short edges by a quarter of an inch, then fold again to enclose the raw edges. Press the folds and sew a straight stitch along the edge to secure the hem.
- Sew the Curtain Rod Pocket: Measure one and a half inches down from the top edge of the valance to make a pocket for the curtain rod. Use your ruler and fabric marker to draw a line across the fabric. Sew along the marked line, making sure to backstitch at the beginning and end to secure the stitches.
Sewing a Ruffled Valance
For a ruffled valance, the process is similar to the non-ruffled version but with a few key differences.
- Make a Fabric Tube: Like before, place the right sides of your main fabric and lining together and sew along the long edges to make a tube. Again, leave the short sides open.
- Turn Right Side Out and Press: Turn the fabric right side out and press it flat with an iron to remove any wrinkles or creases.
- Make a Rolled Hem: On the open short ends, fold the edges by a quarter-inch, fold again, press, and sew to make a rolled hem.
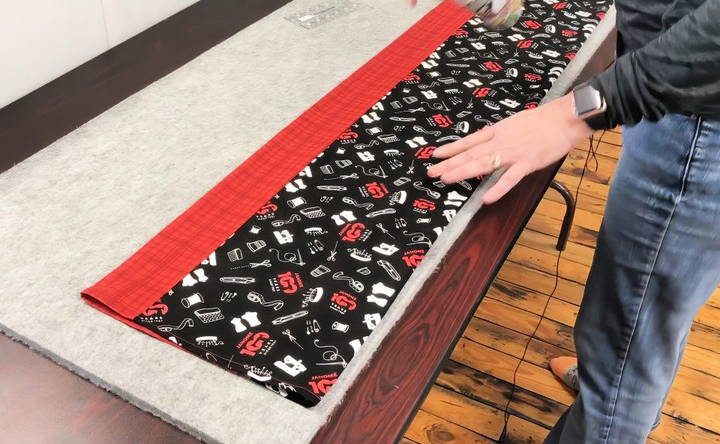
- Decide on the Ruffle Amount: This valance is reversible, so both sides of the fabric will be visible. Determine how much trim (or contrasting fabric) you want to show on the front side. For example, you may want to show three inches of trim. Use your ruler to mark the fabric, fold it at the marked line, and press with an iron.
- Stitch in the Ditch: Once you have your fold set, sew along the seam where the two fabrics meet (this is known as "stitching in the ditch"). Make sure the thread matches the fabric color for a neat finish.
- Make the Rod Pocket: Just as with the non-ruffled valance, measure one and a half inches down from the top fold and mark a line across the fabric. Sew along this line to make the rod pocket.
Step 5: Final Touches
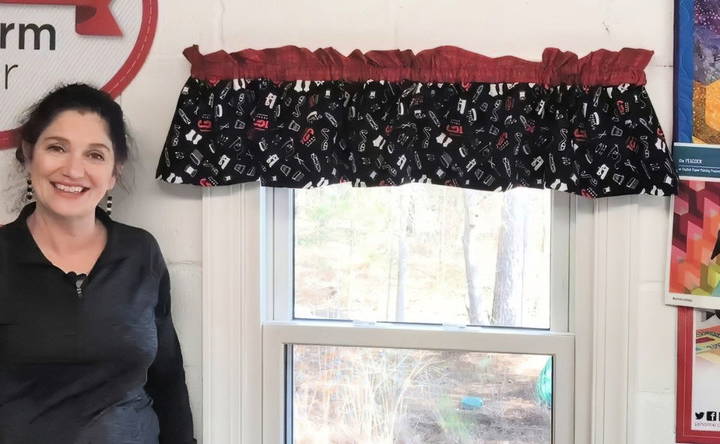
After completing the sewing, insert the curtain rod into the pocket you maked and hang your valance. Stand back and admire your work! Whether you chose a ruffled or non-ruffled style, your new DIY window valance is a fantastic way to personalize your space.
Tips for Success
- Choose the Right Fabric: If you want a structured valance, choose heavier fabrics like cotton or linen. For a softer, flowier look, opt for lighter fabrics such as silk or polyester blends.
- Press as You Go: Ironing your fabric after each step helps to keep everything smooth and easier to work with, ensuring clean and professional results.
- Stitching in the Ditch: When sewing reversible valances, stitching in the ditch can help keep your seams invisible, making a seamless transition between fabrics.
- Customize Your Valance: Add trims, tassels, or decorative tape to the bottom edge for a unique touch. You can also play with the length or fullness of the ruffles to suit your style.
Step by Step Video Tutorial
Conclusion
Making your own DIY window valance is a simple and rewarding project that can completely transform the look of a room. With just a few materials and some basic sewing skills, you can make a custom valance that reflects your personal style. Whether you prefer a sleek, tailored look or a soft, ruffled design, this guide covers everything you need to know to get started. So, why not give it a try and bring new life to your windows with a homemade valance?
Enjoy the process of making your home a little cozier, one stitch at a time!
FAQs About DIY Window Valance
Discover answers to common questions about DIY window valance, including materials, styles, and installation tips for perfect window decor.
For a 36" wide window, you'll need fabric 1.5 to 2 times the width of the window, depending on whether you want a straight or ruffled valance. For an 18" length, add 2 inches for hemming. Therefore, you'll need fabric approximately 54" to 72" wide and 20" long.
A standard curtain rod works well for most valances. If you want to make a more dramatic or formal look, you can use a decorative rod or a rod with finials. For heavy fabrics, a thicker rod is recommended.
Yes! To make a reversible valance, stitch two fabrics together (right sides facing), then sew a rod pocket at the top and bottom. This allows the valance to be flipped and displayed on either side, making a versatile design.
A lining is optional but recommended if your fabric is thin or if the valance will receive direct sunlight. Lining helps protect the fabric from fading and adds fullness. Muslin is a great, affordable option for lining.
If your fabric puckers, check the tension on your sewing machine. Lower the tension slightly and use a sharp needle designed for the fabric type. Pressing the fabric as you sew can also help prevent puckering.
To ensure a straight hem, use a ruler to measure and mark your fold before sewing. Pressing the hem with an iron before sewing helps to keep everything aligned. A fabric starch or Best Press can also help maintain sharp edges.
Yes, you can adjust the ruffles by changing the width of the fabric. For more dramatic ruffles, use a width double or even triple the window width. For fewer ruffles, reduce the width to 1.5 times the window width.
To stitch a secure rod pocket, measure 1.5 inches from the top of the fabric for a standard pocket. Mark the line with a fabric marker, sew straight along the marked line, and backstitch at both ends to reinforce the seam. For reversible valances, ensure the pocket is sewn at the top and bottom.


