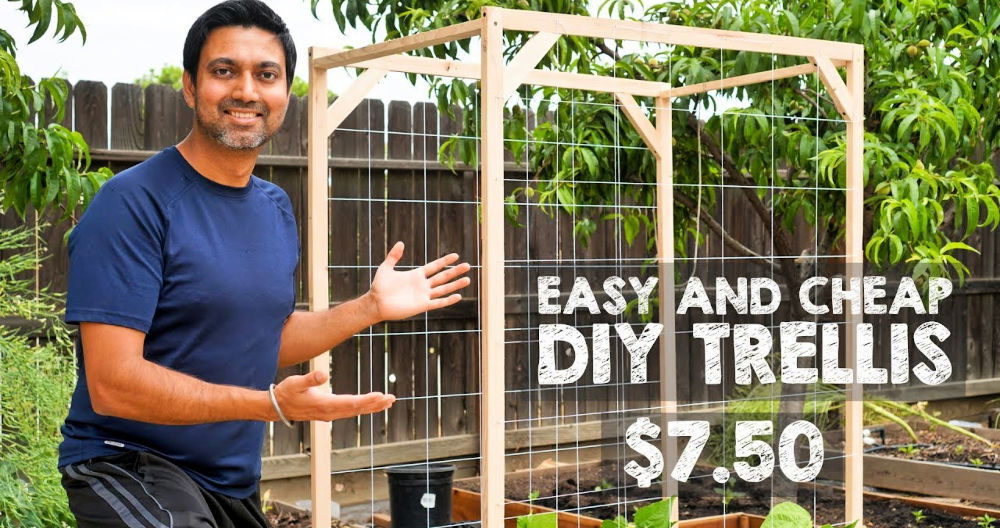
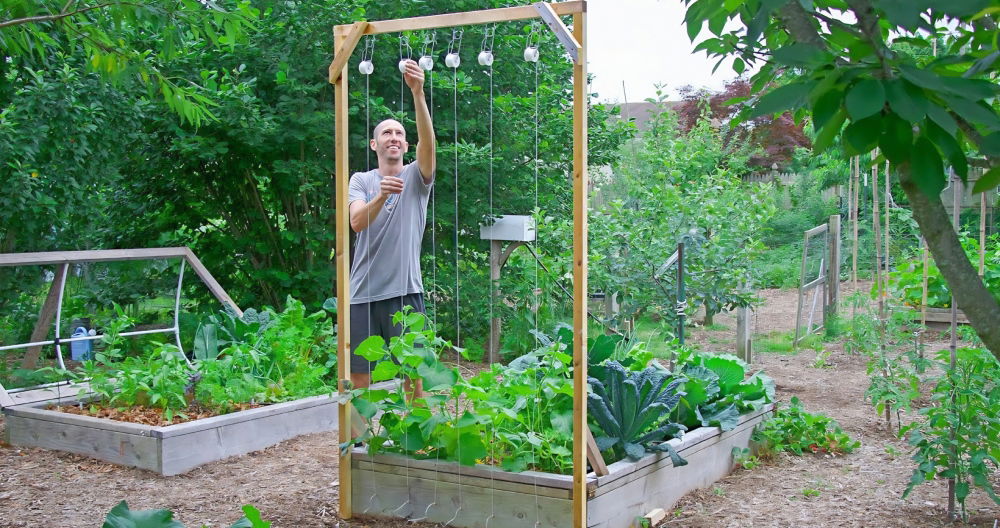
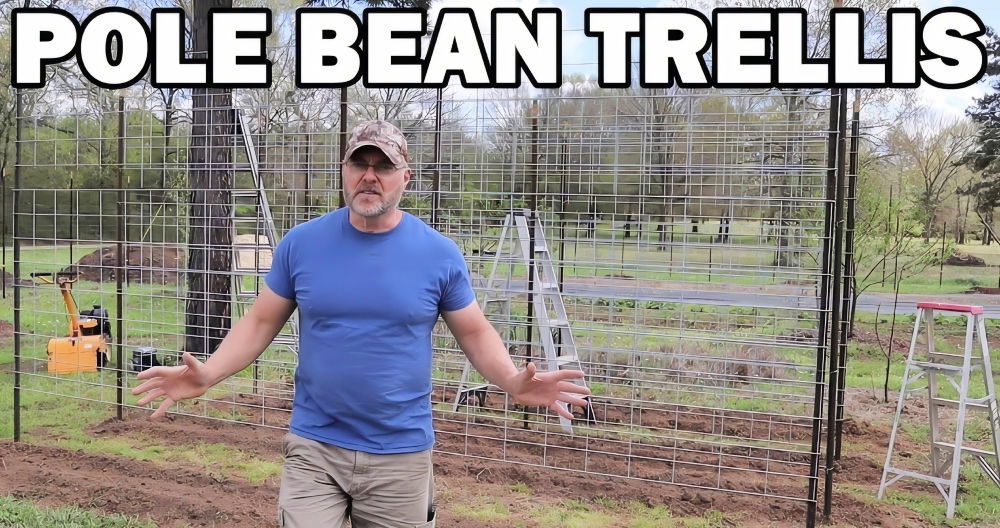
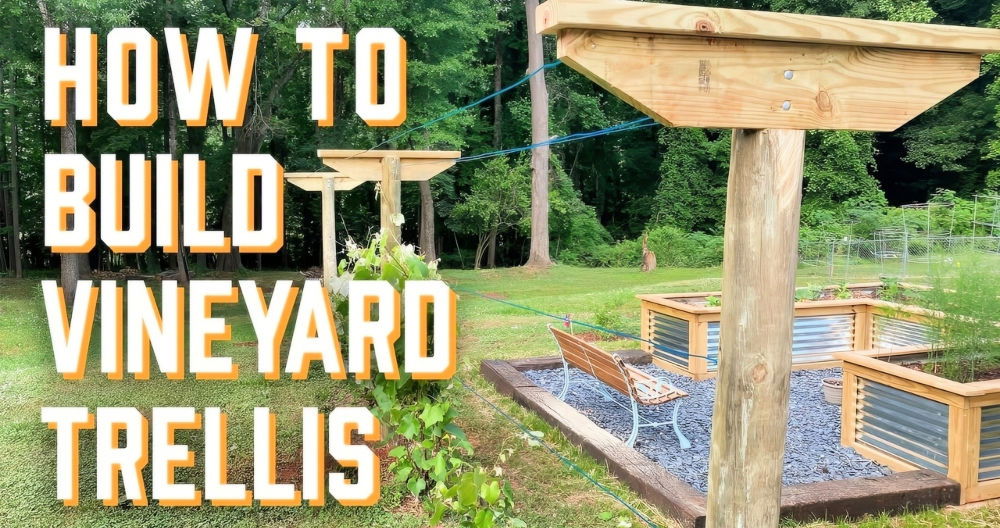
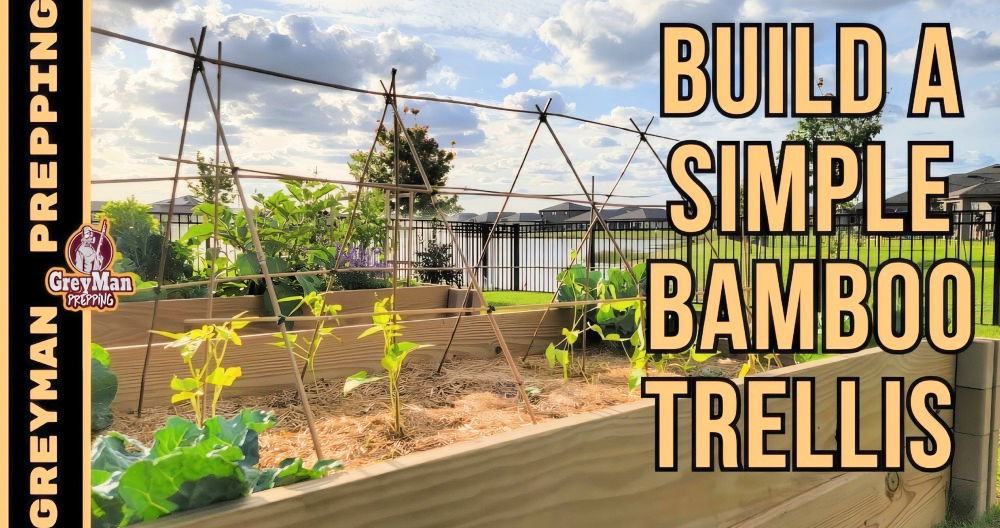
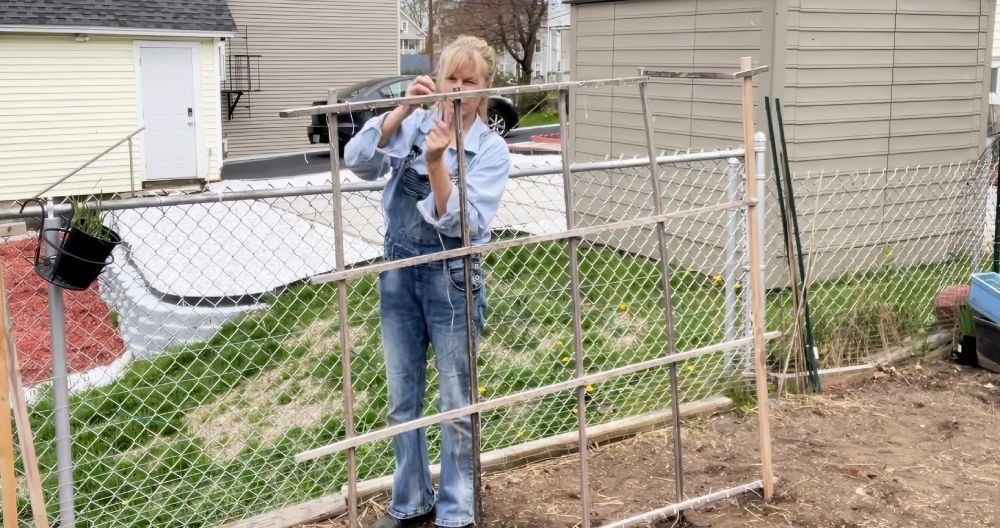
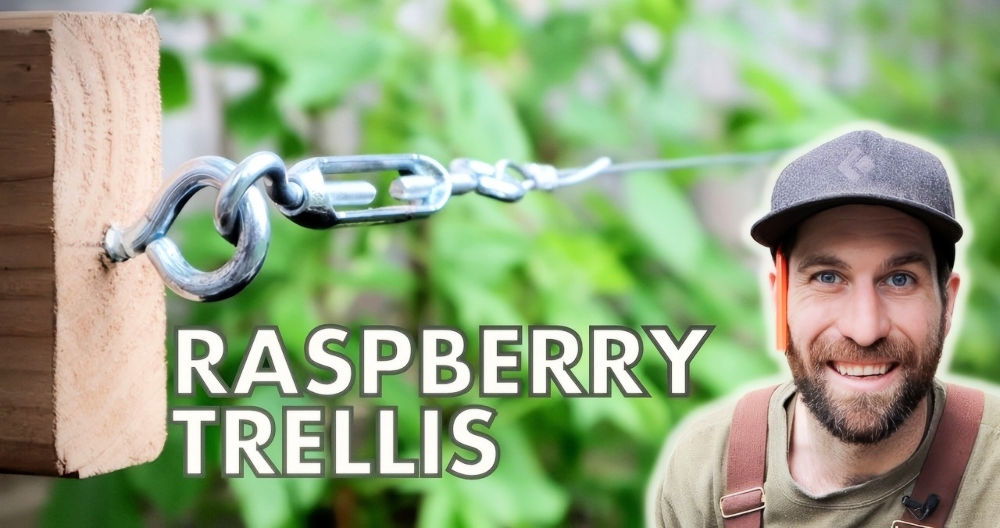
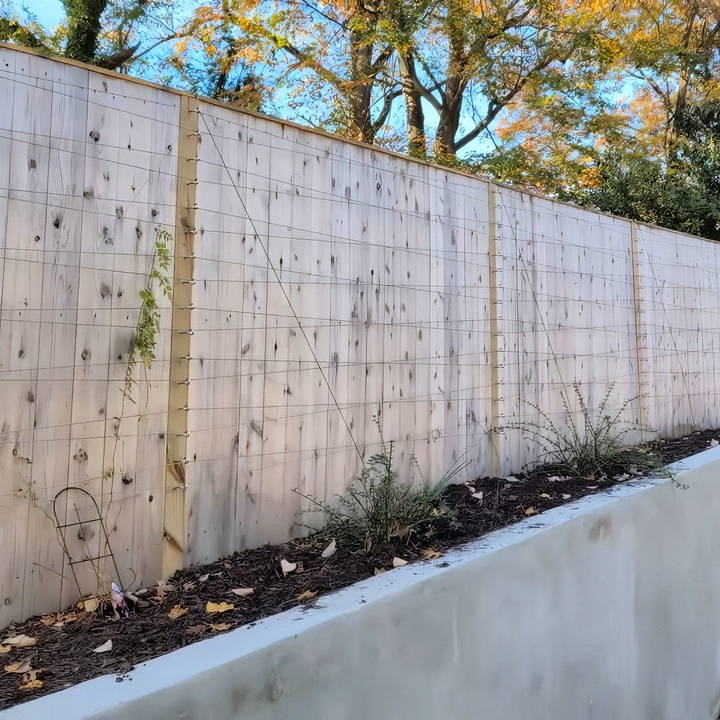
Building a DIY wire trellis using stainless steel cable is a great way to support climbing plants, adding both functionality and aesthetic appeal to your garden or outdoor space. In this step-by-step guide, you'll learn how to make a reliable 50-foot trellis using eye hooks, turnbuckles, stainless steel cable, and the necessary tools. This project requires moderate DIY skills, and with the right preparation, you can complete it in a day.
Materials Needed
To build a robust wire trellis, you will need the following materials:
- Stainless Steel Cable (1/8-inch): Provides the main support structure for your plants. Opt for high-quality stainless steel like 316 or 304 for better durability.
- M6 Eye Hooks: These hooks anchor the cables into wooden posts or other structures.
- Turnbuckles: Used to adjust the tension of the cables.
- Cable Sleeves and Thimbles: These help secure the cable ends at the turnbuckles and eye hooks.
- Cable Crimper: For crimping the sleeves onto the cable.
- Cable Clamps: Optional, as an alternative to a crimper.
Tools Required
- Drill and Allen Wrench: For installing the eye hooks.
- Measuring Tape: To ensure accurate spacing of the eye hooks and the cable lengths.
- Wire Cutters: To trim the cables to the desired length.
- Safety Gear: Gloves and eye protection for safe handling of the materials.
Step by Step Instructions
Learn how to build a DIY wire trellis with our step-by-step instructions, from planning to maintenance, for a perfect garden feature.
Step 1: Planning Your Trellis Layout
Before you start drilling and attaching cables, take some time to plan the design of your trellis:
- Determine the Length: This guide covers a 50-foot trellis, but you can adjust the length based on your needs.
- Spacing of Eye Hooks: Space the eye hooks evenly along the posts to ensure uniform support for the cables. For a 50-foot run, using 16 eye hooks per post can offer good coverage.
- Vertical Paths: Decide if you want additional vertical cables for plants to climb. This can make a more intricate pattern and support different types of plants.
Step 2: Preparing the Posts and Installing Eye Hooks
To ensure a stable and strong trellis, follow these steps:
- Mark the Holes for Eye Hooks: Use a measuring tape and a pencil to mark where each eye hook will go on the posts. A simple jig can be helpful for maintaining consistent spacing.
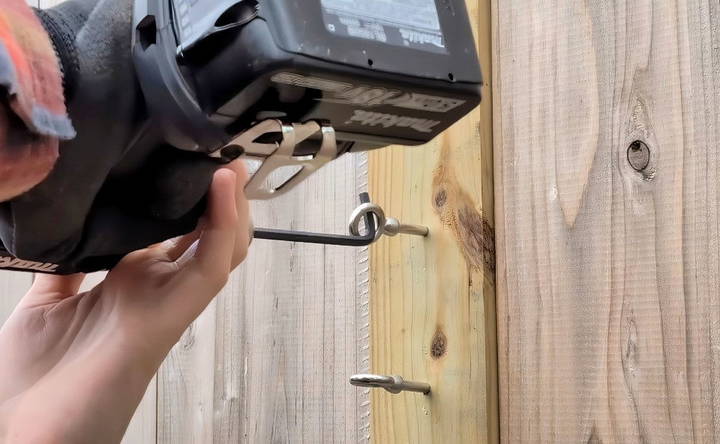
- Pre-Drill the Holes: Using your drill, pre-drill holes where each eye hook will be installed. This makes it easier to insert the hooks and prevents the wood from splitting.
- Install the Eye Hooks: Partially screw in each eye hook by hand. To save time, use an Allen wrench inserted into your drill to drive the hooks the rest of the way. This process can take about 4-6 hours for a long run like 50 feet.
Step 3: Attaching the Stainless Steel Cable
With the eye hooks in place, you can begin attaching the stainless steel cable:
- Cut the Cable to Length: Measure the distance between the posts and cut the cable accordingly, allowing extra length for crimping.
- Attach Cable Using Sleeves and Thimbles: Insert the cable into an aluminum sleeve, loop it around the eye hook, and add a thimble if using one. Crimp the sleeve using the cable crimper.
- Repeat for the Other End: On the other end of the cable, use a turnbuckle to adjust the tension. Insert the cable into another sleeve, loop it through the turnbuckle, and crimp it securely.
- Adjust the Tension: Spin the center of the turnbuckle to tighten the cable until it is taut. A properly tensioned cable will not sag and will offer solid support for climbing plants.
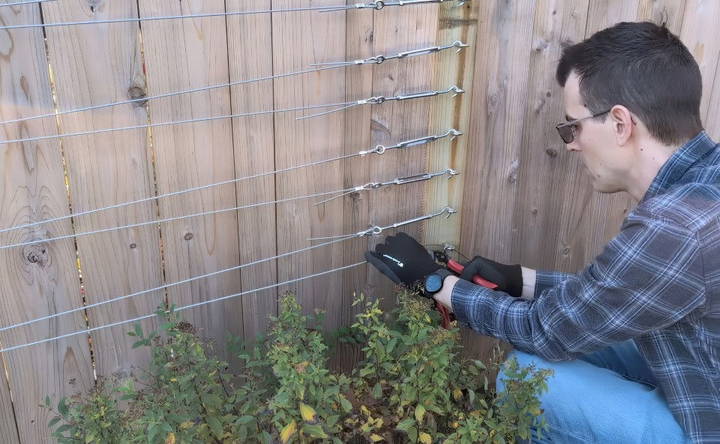
Step 4: Installing Additional Vertical Cables
If you want to add extra vertical cables to make a lattice-like pattern, follow these steps:
- Mark the Position: Decide where the vertical cables will run and mark their positions on the horizontal cables.
- Attach with Eye Hooks: Use smaller eye hooks or cable clamps to secure the vertical cables to the horizontal ones.
- Tension the Vertical Cables: Use a similar process with sleeves and turnbuckles to tension the vertical cables. This will make additional pathways for your plants to climb, enhancing the structure's functionality.
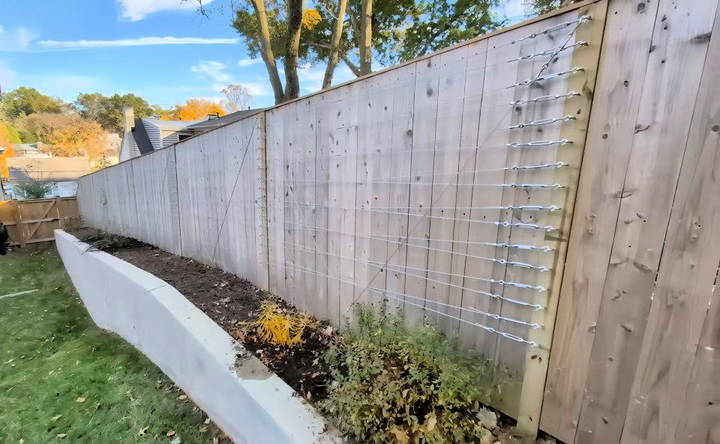
Step 5: Tidying Up the Cables
After all the cables are attached, trim any excess cable near the crimped areas:
- Cut the Excess Cable: Use wire cutters to trim the extra length of cable near the sleeves, ensuring a neat appearance.
- Check for Sharp Edges: Inspect the cable ends for any sharp edges that could pose a hazard. Filing down any rough spots can prevent injury.
Step 6: Maintenance and Adjustments
Once your wire trellis is up, it's important to maintain it to ensure longevity:
- Check Cable Tension: Over time, the cables may lose tension due to weather conditions. Adjust the turnbuckles as needed to keep the cables taut.
- Inspect for Rust: Although stainless steel is highly resistant to corrosion, it's wise to check for any signs of rust, especially if you live in a coastal area.
- Prune Climbing Plants: Regularly prune your plants to prevent them from overwhelming the trellis. This helps maintain airflow and sunlight exposure for healthier growth.
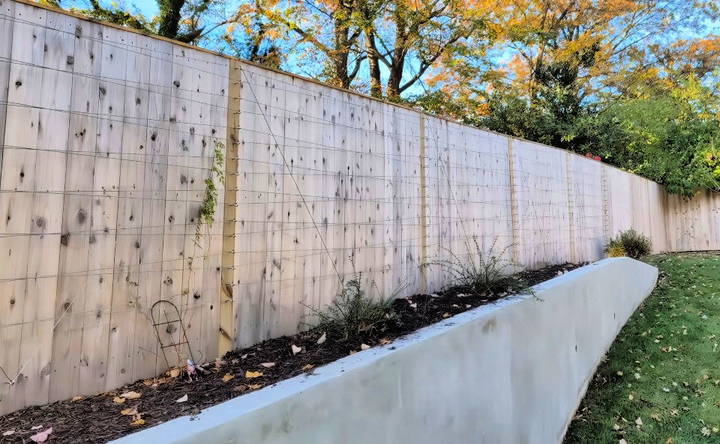
Tips for a Successful Wire Trellis
- Use Quality Materials: Investing in high-quality stainless steel hardware ensures that your trellis will withstand the elements and last for many years.
- Take Your Time with Crimping: Properly crimping the cable sleeves is crucial for maintaining the structure's integrity. A secure crimp will prevent the cables from slipping.
- Plan for Plant Growth: Consider the types of plants you'll be supporting and how they grow. Some plants need closer horizontal cables, while others can span larger gaps.
Budget Considerations
Building a wire trellis can be cost-effective or a bit of an investment, depending on the size and materials used:
- Hardware Costs: For this 50-foot trellis, the cost of stainless steel cable, eye hooks, turnbuckles, and other hardware ranges from $350 to $400. This price can vary based on the length of your trellis and the materials chosen.
- Smaller Projects: If you are building a smaller trellis, your costs will be significantly lower. A 10 or 20-foot trellis might cost around $100-$150.
- Reuse and Repurpose: If you have leftover materials from other projects, consider using them to reduce costs. Stainless steel cables and eye hooks from previous DIY endeavors can be repurposed effectively.
Conclusion: Enjoy Your New Wire Trellis
A DIY wire trellis made from stainless steel cable is not just a functional addition to your garden but also adds a sleek, modern look to your outdoor space. With this guide, you can build a trellis that supports climbing plants, building a beautiful green wall that enhances your home's aesthetics. Whether you're a seasoned DIYer or new to home projects, this wire trellis project is a rewarding way to combine craftsmanship with gardening.
Happy building, and enjoy watching your climbing plants thrive on their new support structure!
FAQs About DIY Wire Trellis Using Stainless Steel Cable
Learn how to make a durable DIY wire trellis using stainless steel cable with these frequently asked questions and expert tips.
The "V" shape helps plants grow vertically by providing additional paths for climbing. It's especially useful for plants like wisteria that naturally seek upward growth. For plants like roses that need support, fewer runs spaced further apart can be sufficient.
Yes, you can use cable clamps as an alternative if you don't have a crimper. However, using a crimper is recommended for a more secure hold and a cleaner finish.
Use turnbuckles to adjust the cable tension as needed. Over time, cables may loosen due to weather changes, so occasional adjustments will keep them taut.
For plants that require more support, such as roses, you can space the horizontal cables closer together and tie the plants directly to the trellis. This ensures they stay in place as they grow.
Yes, you can easily scale down the design for smaller areas. Adjust the number of eye hooks, reduce the cable length, and space the runs closer together to fit your specific needs.
Building a 50-foot trellis takes about 4 to 6 hours from start to finish, depending on your familiarity with the process and tools. It may take less time for shorter trellises.
Stainless steel types 316 or 304 are recommended for outdoor trellises due to their high resistance to rust and corrosion, ensuring long-term durability.


