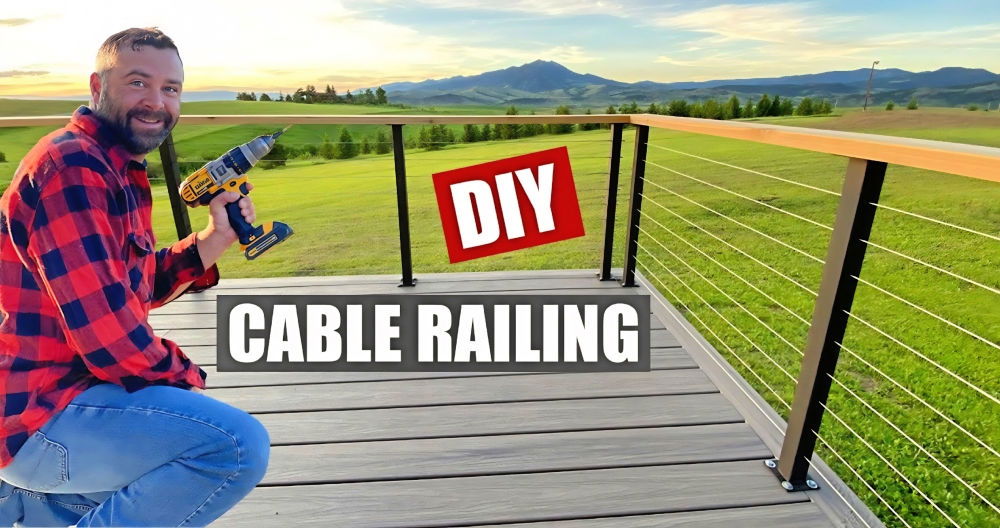
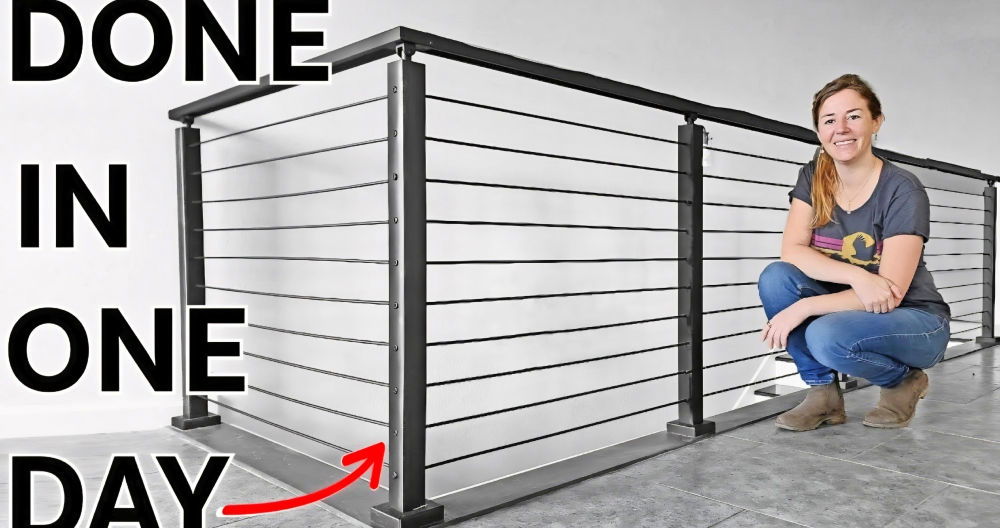
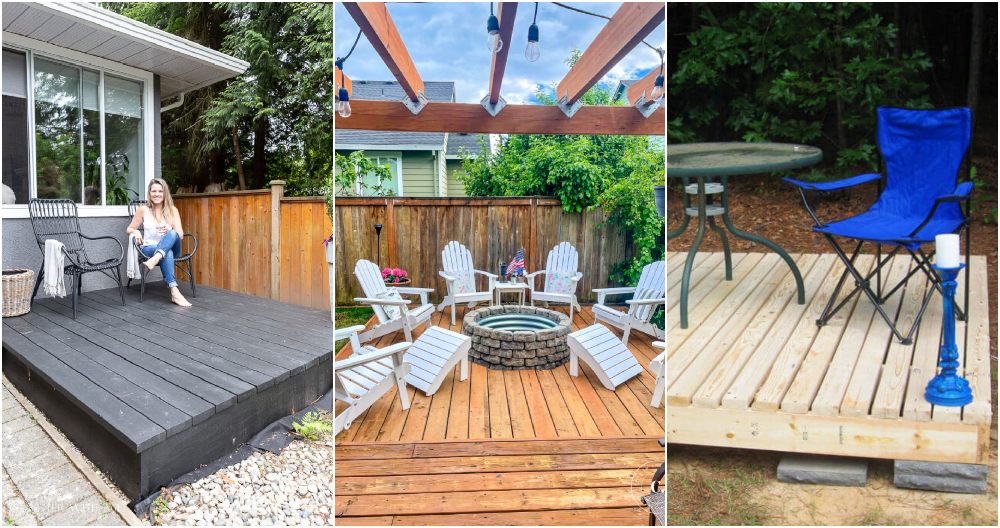
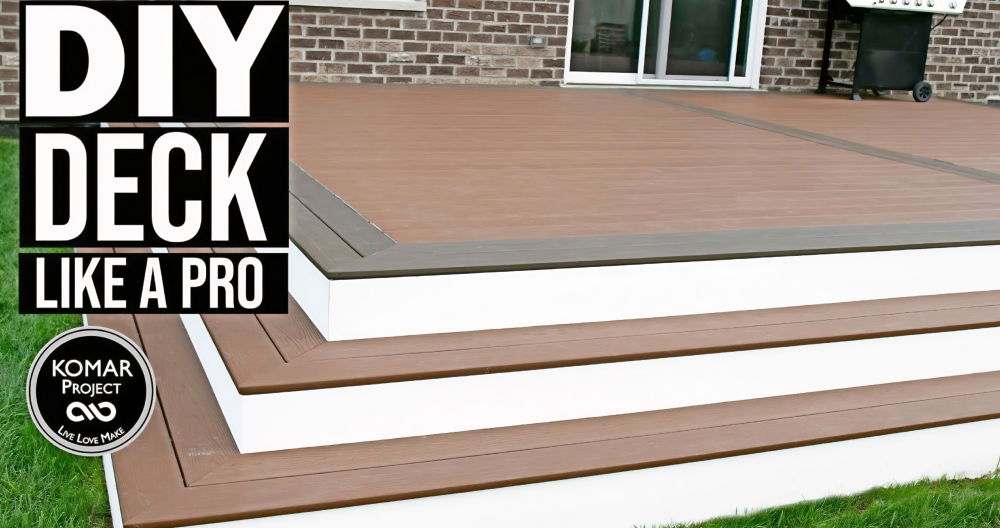
One sunny afternoon, I decided to build a wood deck railing for my backyard deck. The old railing was falling apart, and I wanted something new. I gathered some basic tools like a saw, drill, and measuring tape. With some wood from the hardware store, I was ready to start my project. It felt good to imagine my deck with a fresh, sturdy railing.
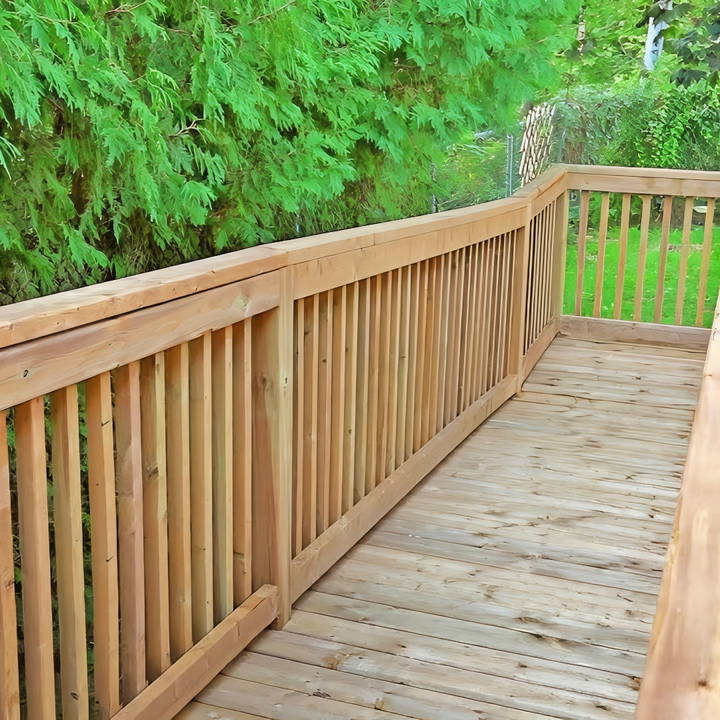
Following a step-by-step guide, I measured and cut the wood pieces to fit. Drilling holes and securing screws were easier than I thought. Slowly, the new railing came together. Finishing it gave me a sense of accomplishment. Now, I have a safe and beautiful deck railing that I can be proud of.
If you're interested in making something similar, there are great tips and guides below to help you get started on your own DIY wood deck railing. Trust me, the results are worth the effort!
Materials and Tools Required
Discover essential materials and tools needed and their importance for your project. Ensure success with the right supplies every time.
Why Each Material is Needed:
- 2x8 Ridge Board and 2x4s: These provide a sturdy base for the railings, ensuring a secure attachment to the deck structure.
- Fence Boards (5/8" by 5 1/2"): Used for the skirting around the deck, they offer both aesthetic appeal and functional barrier.
- Level: Ensures that your skirt boards and railings are perfectly horizontal.
- Screws (1 1/4" and others for various attachments): Used to secure the boards and railings in place.
- 4x4 Posts: These serve as the main support for the handrails and spindles.
- Spindles/Balusters: Required for the safety barrier between the handrail and the deck, ensuring no one falls off.
- Skill Saw and Hand Saw: For cutting the wooden materials to the required sizes.
- Measuring Tape, Pencil, and Square: For precise measurements and marks before cutting or drilling.
- Spacer (made from a piece of the baluster): Helps maintain even spacing between spindles.
By gathering these materials and tools, you're setting a strong foundation for the project, ensuring both safety and a pleasing appearance for your deck.
Step by Step Instructions
Learn how to build a DIY wood deck railing with our step-by-step guide. From preparing the base to adding spindles, get detailed instructions for a perfect railing.
Step 1: Preparing the Base
Before I dove into the heart of building the railings, it was crucial to prepare the base. I attached a 2x4 at the bottom end of each 4x4 post to build a uniform level across the rim joists. This step is fundamental because a secure base is critical for the overall stability of your deck railings.
Step 2: Skirting the Deck
The skirting was an interesting part of the project, as it involved making sure each board was level. I placed the boards snugly against each other, knowing they would shrink slightly when drying out, leaving perfect gaps for ventilation. Every two or three boards, I used a level to ensure straightness, making minor adjustments as necessary. This iterative process helped maintain a consistent aesthetic and function over the entire length of the deck.
Step 3: Cutting and Fitting the Skirt Boards
For angled sections, I had the option of cutting the boards in advance or trimming them in place. I find cutting them afterward allows for more accuracy, ensuring a perfect fit around the deck's corners and edges. Using a skill saw, I carefully followed the top of the rim joist, removing excess material to ensure a snug fit.
Step 4: Installing the Posts and Handrail
Securing the 4x4 posts was critical for safety. I made sure they were firmly attached at both the rim joist and the top rail. When it was time to add the handrails, I measured and cut the wood to ensure each piece would align perfectly with the slope of the ramp, keeping in mind the overall visual appeal and structural integrity.
Step 5: Adding Spindles/Balusters
Adding spindles was perhaps the most meticulous part. Abiding by local building codes, I ensured that the gap between each spindle did not exceed three inches. Using two spindles to gauge the spacing made the process manageable, maintaining consistency and safety along the railing.
Tips for a Smooth DIY Deck Railing Project:
- Regularly Check Levels: As you progress, always double-check the levelness of your boards to avoid any noticeable unevenness.
- Dry Fit Before Final Installation: Place your skirt boards and railings temporarily to ensure everything aligns perfectly before securing them permanently.
- Precision in Measurements: Accurate measurements cannot be overstated; they are the key to a successful DIY deck railing project.
- Safety First: Ensure all structural elements are securely attached to withstand the elements and usage over time.
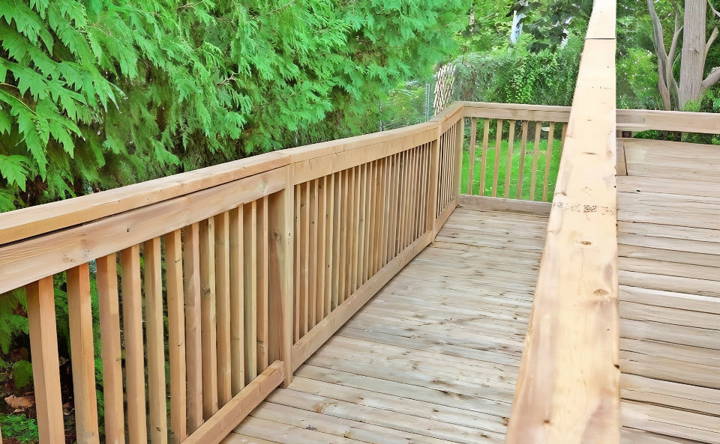
Customization Tips for DIY Wood Deck Railing
Building a wood deck railing that reflects your personal style and meets your functional needs doesn't have to be complicated. Here are some tips to help you customize your deck railing effectively:
Choose Your Style:
- Traditional: For a classic look, consider using turned balusters or spindles. These can be painted or stained to match your home's exterior.
- Modern: If you prefer a sleek, contemporary design, horizontal rails or metal balusters can offer a clean and minimalist aesthetic.
Add a Personal Touch:
- Patterns: Introduce patterns into your railing design. This could be a repeating geometric shape or a more organic motif that resonates with your personal taste.
- Colors: Don't shy away from color. A bold hue can make your railing stand out, while a more subdued tone can complement your home's palette.
Enhance with Lighting:
- Integrated Lights: Consider embedding small LED lights within the railing posts or balusters for ambiance and safety at night.
- Solar Post Caps: Solar-powered post caps are an eco-friendly option that provides soft lighting without the need for wiring.
Focus on Details:
- Post Caps: Choose from a variety of post cap designs, from classic wood to ornate metal, to add a finishing touch to your railing posts.
- Handrails: Customize the handrail profile to fit comfortably in your hand and match the overall design theme of your deck.
Consider Accessibility:
- Handrail Extensions: Extend handrails beyond the top and bottom of the stairs to provide additional support for those who need it.
- Contrasting Colors: Use contrasting colors for the railing to aid those with visual impairments in navigating the deck safely.
Incorporate Nature:
- Planters: Attach planters to the railing to bring greenery to your deck. Choose plants that can withstand the outdoor conditions and complement the wood's natural beauty.
- Climbing Plants: Train climbing plants to grow along the railing for a living, breathing element that changes with the seasons.
Use these tips to design a functional, stylish wood deck railing that reflects your preferences. Ensure safety and comply with local building codes.
Safety and Compliance
Ensuring the safety and compliance of your DIY wood deck railing is not just about following rules—it's about making a secure environment for everyone who uses it. Here's how you can achieve that:
Understand Building Codes:
- Local Regulations: Familiarize yourself with local building codes. They can vary by location, but generally include specifications for railing height, spacing between balusters, and load-bearing capacity.
- Permit Process: Before starting your project, check if you need a permit. This is often required and ensures your design plan meets safety standards.
Design for Safety:
- Height Requirements: Railings typically need to be at least 36 inches high. This can prevent falls and provide a sturdy handhold.
- Baluster Spacing: Keep balusters no more than 4 inches apart. This helps prevent small children and pets from slipping through.
Choose Quality Materials:
- Strength and Durability: Select wood that can withstand the elements and the weight of people leaning on it. Pressure-treated wood is a common choice for its resistance to rot and insects.
Regular Inspections:
- Check for Wear: Inspect your railing annually for signs of wear, such as loose fittings, rotting wood, or rusting hardware.
- Make Repairs Promptly: Address any issues immediately. Delaying repairs can lead to bigger problems and safety hazards.
Installation Best Practices:
- Secure Fasteners: Use screws and bolts that are appropriate for outdoor use and can resist corrosion.
- Solid Foundation: Ensure that posts are securely anchored to the deck structure. They should not wobble or give way when pressure is applied.
Accessibility Considerations:
- Handrail Grip: Make sure the handrail is easy to grip and comfortable to hold, especially for those with limited hand strength.
- Visual Cues: For those with visual impairments, consider adding tactile or color contrasts to help navigate the deck safely.
Keep Documentation:
- Records of Compliance: Keep a file with documentation of your permit, design plans, and any inspections. This can be helpful if you ever sell your home or need to prove compliance.
By adhering to these guidelines, you not only ensure the safety of your deck railing but also protect yourself legally.
FAQs About DIY Wood Deck Railing
Find answers to common questions about DIY wood deck railing, including installation tips, materials, and maintenance for a perfect outdoor space.
The spacing for deck railing posts depends on the strength of the material you are using. For wood railings, posts can typically be spaced up to 8 feet apart. However, always check your local building codes for specific requirements, as they can vary by location.
Absolutely! While there are standard designs for deck railings, you are free to customize the look to match your home’s aesthetic. You can choose different patterns for the balusters, add decorative elements, or even mix materials. Just ensure that your design complies with safety standards and building codes.
You will need a tape measure, saw, drill, level, screwdriver, and paintbrush or sprayer for applying primer and finish. It's also recommended to have safety glasses and ear protection when cutting and drilling.
Maintaining your wood deck railing involves regular cleaning, inspection, and reapplication of sealant or stain every few years to protect against weather damage. Look for signs of wear such as splintering, cracking, or loose components, and repair them promptly to ensure safety.
Safety and compliance with building codes are crucial when constructing a wood deck railing. To ensure safety, use pressure-treated wood for all parts of the railing, including posts, rails, and balusters. The railing height should be at least 36 inches from the deck surface, and the balusters should be spaced no more than 4 inches apart to prevent small children from slipping through. Always pre-drill holes to avoid splitting the wood and use galvanized or stainless steel fasteners to prevent corrosion. For code compliance, check with your local building department for specific requirements, as they can vary by region.
Final Thoughts
Start your own DIY deck railing project today and enjoy the satisfaction of building something with your own hands.


