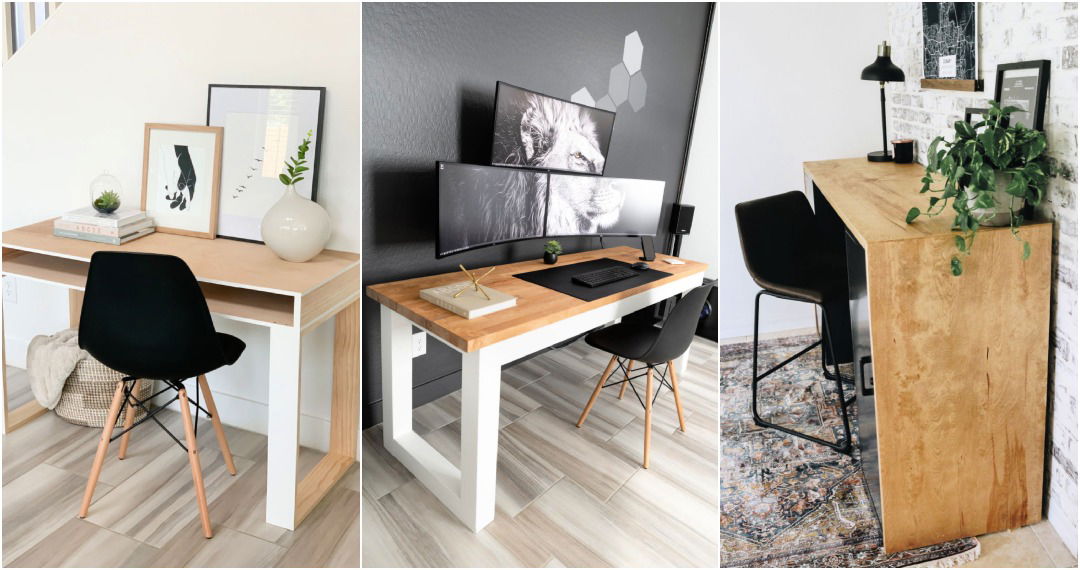
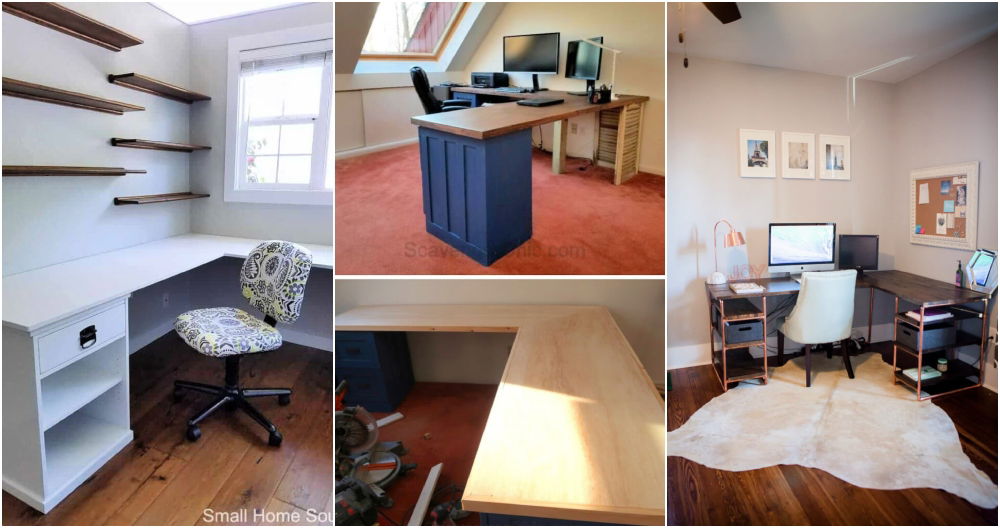
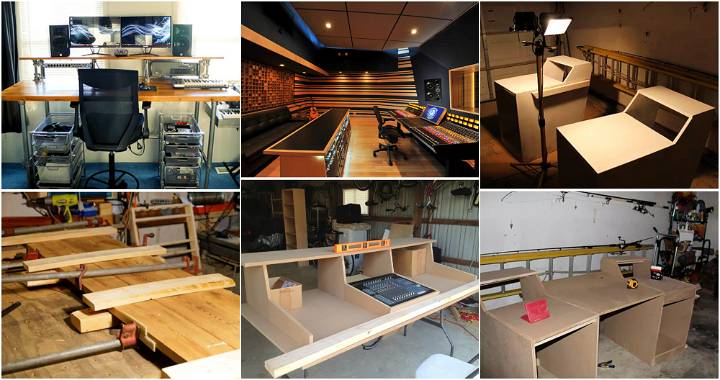
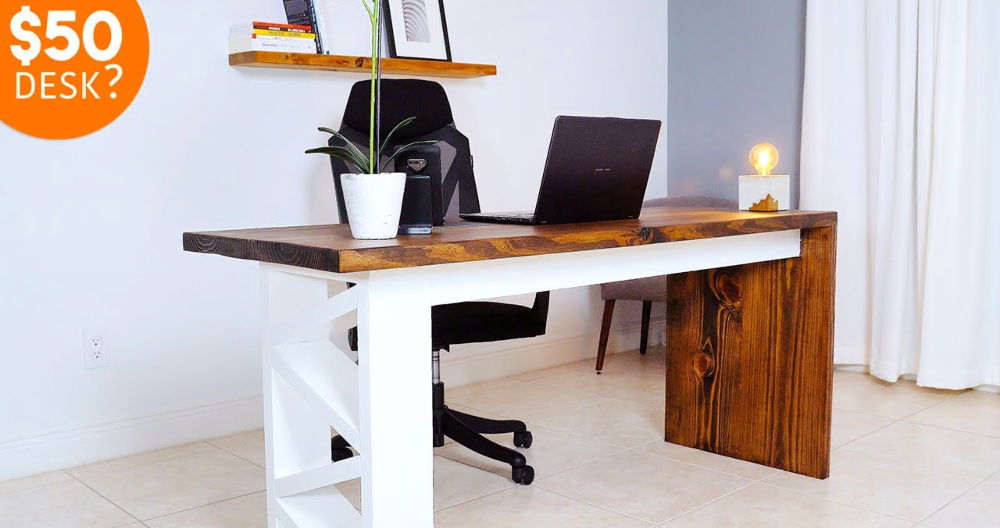
Building your own DIY wood desk can be a rewarding project that combines both functionality and style. This guide will walk you through the steps needed to build a DIY wooden desk that's perfect for your home or office. Whether you prefer a modern wood desk design or something more traditional, constructing your own desk is an enjoyable and practical experience.
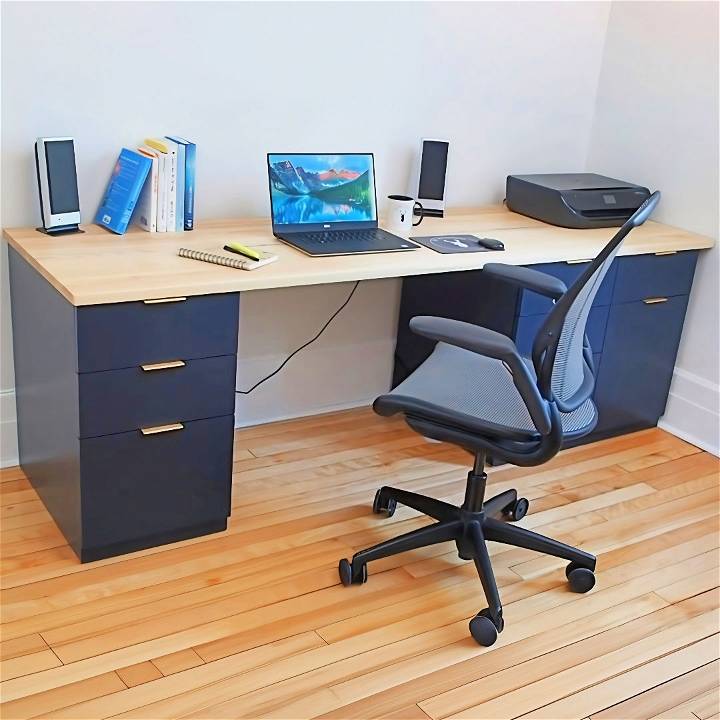
Not only will you save money by building a desk yourself, but you'll also have the satisfaction of knowing it was crafted by your own hands. This guide covers everything from selecting the right wood to assembling the final piece.
Keep reading to discover all the tips and tricks you need to build your DIY wood desk masterpiece!
Materials and Why They're Needed
- 5/4 Rough Sawn Ash: The main component for the desktop. Ashwood was chosen for its durability and beautiful grain.
- Roller Stands: Essential for supporting long boards during milling, ensuring safety and ease of work.
- Glue: To bond the wood boards together. A strong wood glue ensures the desk remains intact under use.
- Clamps: Necessary for holding the boards together tightly while the glue dries, ensuring a flat and stable desktop.
- Sandpaper (80 grit to 220 grit): To smooth the wood surface, prepare it for finishing.
- Osmo Polix-oil: A wood finish that protects the desktop and enhances its appearance. It's low VOC and easy to apply.
Step by Step Instructions
Easily build your own DIY wood desk with this step-by-step guide. From prepping materials to finishing and assembly, create a stunning desk at home.
Preparing the Workspace and Materials
After ensuring my base cabinets were installed and leveled in my office, I began the actual desktop build. I quickly realized the importance of space management in my workshop. Most of my tools are on wheels, which allowed me to make room for maneuvering these longboards.
Milling the Ash Wood
The journey started with milling the 5/4 rough-sawn ash. Since this was my first time working with such longboards, I had to pause and get roller stands from Princess Auto to support the wood during milling. I began by flattening one face on the jointer and then squaring an edge. This process took time and physical effort but was crucial for achieving a flat, stable desktop.
Gluing the Boards Together
The glue-up process needed considerable prep. I applied a thick bead of glue along the edge of each board, spreading it evenly with a glue brush. Laying the boards flat, I clamped without overtightening at first, gradually increasing the pressure to ensure tight seams and a flat assembly. This step was stress-inducing, but also where the desktop started to take shape.
Sanding and Finishing
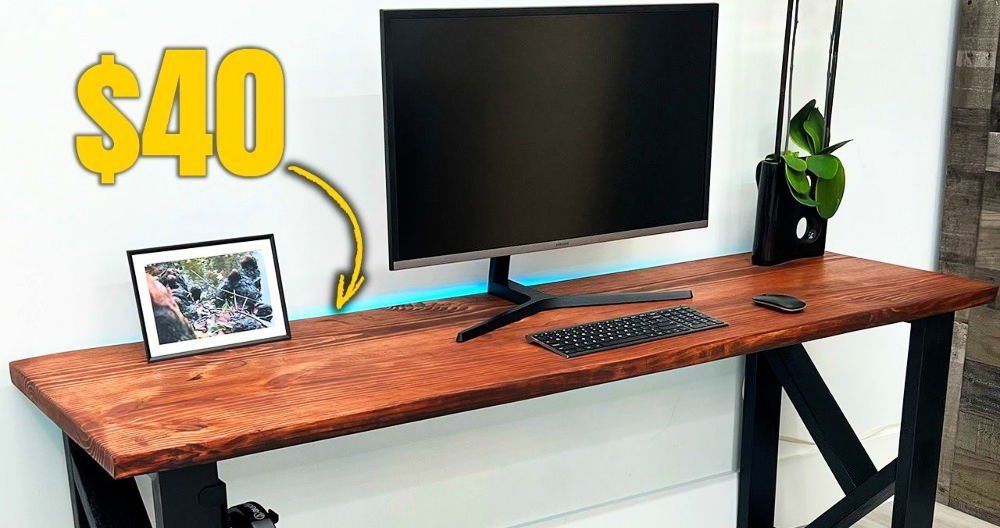
After the glue was cured, I embarked on the daunting task of sanding. Starting with 80 grit and working my way up to 220 grit, I made sure each pass with the sandpaper was even and thorough. Pencil lines helped me gauge my progress and ensured even sand across the entire surface. Then, I applied Osmo Polix oil with a plastic spreader for a smooth, silky finish.
Attaching the Desktop to the Base
This was a moment of decision. Ultimately, I opted to attach the desktop to the base cabinets for stability. However, to accommodate wood movement, I made elongated holes at the back of the desktop where the screws would go. This detail was something I hadn't anticipated but found crucial for the long-term durability of the desk.
Customization Ideas for Your DIY Wood Desk
When it comes to building a DIY wood desk, customization is key to making it truly your own. Here are some ideas to inspire you to personalize your workspace:
- Choose Your Wood Wisely: Start by selecting the type of wood. Each has its own color, grain, and character. Pine is affordable and easy to work with, making it great for beginners—hardwoods like oak or walnut offer durability and a rich look.
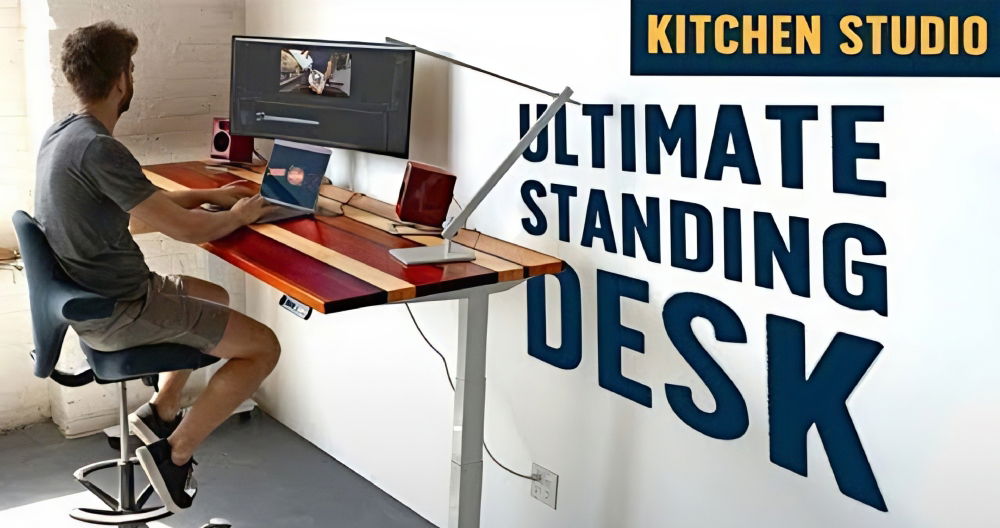
- Pick a Desk Style: What will you use your desk for? If it’s for computer work, ensure room for monitors and cable management. For writing or drawing, a flat, sturdy surface is vital. Consider a standing desk design for health benefits.
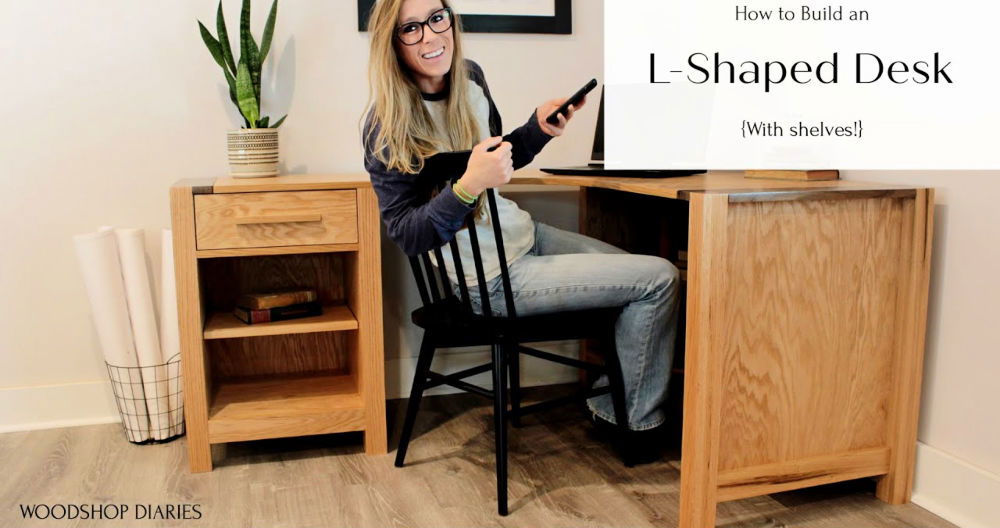
- Add Functional Features: Think about adding drawers or shelves for storage. A keyboard tray can be a practical addition for computer users. For artists, a tilting section can make drawing more comfortable.
- Personalize with Paint or Stain: Paint allows for bold color choices and creativity. Stains can enhance the natural beauty of the wood. Always prep your surface properly for the best results.
- Upgrade with Hardware: Select knobs or pulls for any drawers. Metal accents can add an industrial touch, while classic brass can give a timeless feel.
- Incorporate Ergonomics: Ensure the desk height suits your seating position. Add a footrest or ergonomic chair to boost comfort.
- Think About the Environment: Use sustainable or reclaimed wood if possible. Non-toxic finishes are better for you and the planet.
By considering these customization ideas, you can build a desk that not only serves your needs but also reflects your personal style.
Advanced Techniques in Woodworking
Enhancing your woodworking skills involves learning and applying advanced techniques that can take your projects from good to great. Here’s a guide to some sophisticated methods that will elevate your craftsmanship:
- Inlay Work: Inlay is a decorative technique that involves embedding pieces of contrasting materials into the surface of your wood to build patterns or images. This can be done with various materials like metal, ivory, or different types of wood. The key to a beautiful inlay is precision and patience.
- Marquetry: Similar to inlay, marquetry involves building pictures or patterns with thin slices of wood veneer. This technique is perfect for adding intricate designs to your work and can range from simple geometric shapes to complex scenes.
- Parquetry: Parquetry is the art of building geometric patterns with wood. Unlike marquetry, which often depicts figures or landscapes, parquetry is all about bold, repeating patterns. It’s a great way to add visual interest to floors, tabletops, and other large surfaces.
- Dovetail Joints: Dovetails are a sign of fine craftsmanship. They not only provide strong joints without hardware but also add an aesthetic touch to your work. Mastering dovetails requires practice, but the result is worth the effort.
- Bending Wood: Wood bending is a technique for building curved pieces for furniture or decorative items. This can be achieved through steam bending or laminating thin strips of wood together.
- Carving: Wood carving is an expressive way to add detail and texture to your work. From relief carving to intricate three-dimensional figures, the possibilities are endless. Start with simple projects and gradually move to more complex ones as you gain confidence.
- Finishing Techniques: A good finish not only protects your work but also brings out the natural beauty of the wood. Learn about different types of finishes, from oils and waxes to lacquers and varnishes, and how to apply them for the best effect.
Use these techniques to handle complex woodworking and build standout pieces. Practice makes perfect, so try new methods and learn each time.
Styling and Decor Tips for Your DIY Wood Desk
Building a desk that’s both functional and stylish can make your work area a pleasant and inspiring place to spend time. Here are some styling and decor tips to help you achieve that perfect balance:
- Embrace Natural Light: Position your desk to take advantage of natural light. It’s not only good for your eyes but also brings warmth to your workspace.
- Add a Personal Touch: Decorate with items that reflect your personality, like photos, artwork, or a favorite figurine. These personal touches can make your space feel more ‘you’.
- Incorporate Plants: Adding greenery can bring life to your desk. Plants not only improve air quality but also add a pop of color and texture.
- Choose Comfortable Seating: A comfortable chair is crucial. It should be both functional and fit the style of your desk. Consider ergonomics to support your posture throughout the day.
- Organize with Style: Keep your desk clutter-free with stylish containers and organizers. This helps maintain a clean look and makes it easier to find what you need.
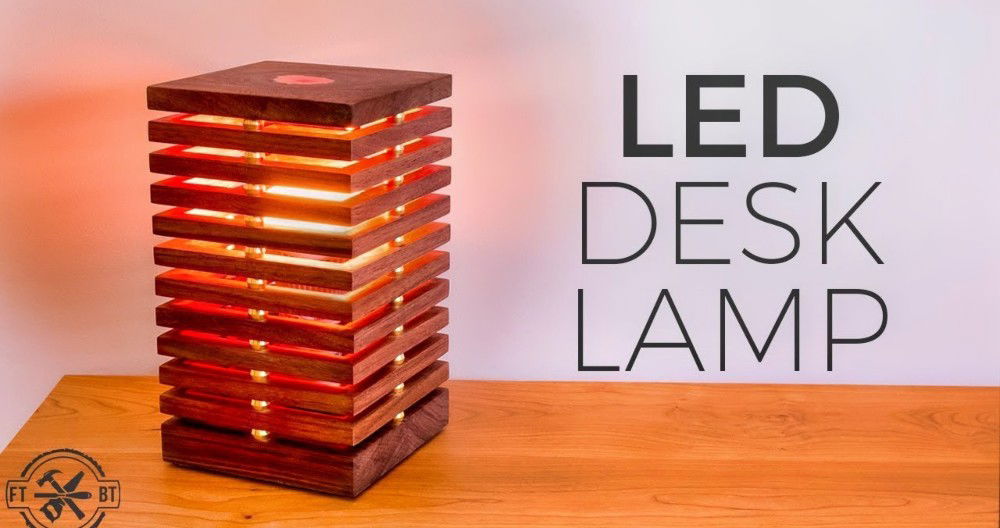
- Lighting Matters: Invest in good lighting. A chic desk lamp can provide direct light for tasks and contribute to the overall aesthetics of your desk.
- Color Scheme: Select a color scheme that complements the wood of your desk and the room it’s in. This can build a cohesive and calming environment.
- Tech with Taste: Choose tech accessories that match your style. A sleek mousepad or a minimalist keyboard can be both practical and visually pleasing.
- Cable Management: Keep cables tidy with clips or a cable organizer. This not only looks better but also prevents tangling and damage.
- Desk Accessories: Select accessories that are not only functional but also enhance the look of your desk. A beautiful pen holder or a unique paperweight can be both practical and decorative.
Follow these tips to craft an efficient workspace that reflects your style and boosts productivity. Build a space where you're comfortable and motivated.
Troubleshooting Common Issues in DIY Wood Desk Projects
When embarking on a DIY wood desk project, you might encounter some challenges along the way. Here’s a guide to help you navigate through common issues and find solutions:
- Warping or Bowing Wood: If your wood warps or bows, it can be due to moisture imbalance. To fix this, ensure your wood is properly acclimated to your home’s humidity before starting your project. If warping occurs after assembly, you can try using clamps and cauls to coax the wood back into shape over time gently.
- Uneven Legs: An uneven desk can be frustrating. Check if your floor is level first. If the desk itself is the issue, adjust the length of the legs until they’re even. You can add adjustable feet to the bottom of the legs for a quick fix.
- Splintering When Cutting: To prevent splintering, use sharp blades and fine-toothed saws. Also, placing masking tape over the cut line can help reduce splinters. Always cut slowly and with steady pressure.
- Sticky Drawers: Drawers that don’t slide smoothly can be a nuisance. Apply wax or a specialized drawer slide gel to the runners to help them glide better. If they’re still sticky, check for misalignment and adjust as necessary.
- Screw and Nail Issues: Stripped screws or bent nails can halt your progress. When dealing with stripped screws, remove them with a screw extractor and replace them with a larger screw. For bent nails, it’s best to remove them and start fresh.
- Finish Flaws: Bubbles, streaks, or brush marks in your finish can detract from the beauty of your desk. Sand the area lightly and reapply the finish. Make sure to work in a dust-free environment and follow the product’s instructions for the best results.
- Glue Squeeze-Out: Excess glue can mar the appearance of your desk. Wipe away wet glue with a damp cloth. For dried glue, gently scrape it off with a chisel, being careful not to damage the wood surface.
Being prepared for common issues keeps your DIY wood desk project on track, resulting in furniture to be proud of. Patience and persistence are essential.
Maintenance and Care for Your DIY Wood Desk
Taking care of your DIY wood desk is essential to maintain its beauty and extend its life. Here are some straightforward and effective tips to keep your desk in top condition:
- Regular Cleaning: Dust your desk regularly with a soft, dry cloth to prevent buildup. For deeper cleaning, use a damp cloth with mild soap and warm water, then dry it thoroughly.
- Protect the Surface: Always use coasters for drinks and mats for any hot items to prevent rings and heat damage. Avoid eating at your desk to prevent crumbs and spills.
- Avoid Direct Sunlight: Place your desk away from direct sunlight to prevent the wood from fading or warping over time. If your desk is near a window, use curtains or blinds during peak sunlight hours.
- Manage Humidity: Wood expands and contracts with humidity changes. Keep indoor humidity levels between 30 to 45 percent and temperature from 60 to 80 degrees Fahrenheit to minimize this effect.
- Treat the Wood: Periodically treat your wood desk with suitable oils or waxes to nourish the wood and protect its surface. This will also give it a nice sheen and bring out the natural grain.
- Handle Spills Immediately: If spills occur, wipe them up promptly with a dry cloth to prevent staining and water damage.
- Use Gentle Cleaners: Harsh chemicals can strip the finish from your desk. Stick to gentle, non-abrasive cleaners specifically designed for wood.
- Scratch and Dent Care: For minor scratches, a matching wood marker can camouflage the damage. Deeper gouges may require wood filler and touch-up stains.
- Regular Inspections: Check for loose screws or hardware periodically and tighten them as needed to ensure your desk remains stable and secure.
Follow these simple maintenance tips to enjoy your DIY wood desk for years. A little care preserves your handcrafted furniture's beauty and functionality.
Safety First: Ensuring a Secure DIY Wood Desk Project
When diving into a DIY wood desk project, safety should always be your top priority. Here’s a detailed guide to help you stay safe while building your masterpiece:
- Wear Protective Gear: Always wear safety glasses to protect your eyes from dust and debris. Use ear protection when operating loud machinery, and don’t forget a dust mask to avoid inhaling sawdust.
- Read the Manual: Before using any power tool, read the manual thoroughly. Understand its functions, safety features, and limitations to prevent misuse.
- Keep Your Workspace Clean: A cluttered workspace can lead to accidents. Keep your area tidy and free of loose wood pieces, tools, or other materials that could cause you to trip or distract you.
- Secure Your Materials: When cutting or drilling, make sure your wood is clamped down or otherwise secured. This prevents movement that could lead to inaccurate cuts or potential injury.
- Use Sharp Tools: Dull tools require more force and can slip, increasing the risk of injury. Keep your blades sharp and in good condition for safer and more precise cuts.
- Avoid Loose Clothing: Wear fitted clothing and keep long hair tied back. Loose items can get caught in machinery, posing a serious hazard.
- Stay Focused: Distractions can be dangerous. Always give your full attention to the task at hand, especially when using power tools.
- Know Your Limits: If you’re tired or feeling unwell, postpone your project. Working when you’re not at your best can lead to mistakes and accidents.
- Keep a First Aid Kit Handy: Accidents happen, so it’s important to have a first aid kit nearby. Make sure it’s stocked with bandages, antiseptic, and other essentials.
- Educate Yourself: Learn about the tools you’re using. Watch tutorials, attend workshops, or seek advice from experienced woodworkers.
- Plan Your Cuts: Before making any cut, plan it out. Visualize the process, ensure you have the right tool for the job, and double-check measurements.
Following these safety tips lets you enjoy woodworking with less injury risk. Preparing and focusing on safety ensures a successful and enjoyable DIY experience.
FAQs About DIY Wood Desk
Find answers to common faqs about DIY wood desks, including materials, tools, and step-by-step guides to build your perfect desk.
Measure the space where you plan to place your desk. Consider how much surface area you need for your activities. Leave enough room for a chair and for movement around the desk. It’s important to ensure the desk is not too large for the space or too small for your needs.
Yes, many simple desk designs require minimal woodworking skills. Plans for desks like the DIY Truss Desk or the Easy-to-Build Wooden Desk use straightforward cuts and assembly methods suitable for beginners.
Choose wood based on your budget, the desired finish, and durability. Pine is affordable and easy to work with, while ash or oak provides a more durable surface. Consider using plywood for a cost-effective option that still offers strength.
Customize your desk by choosing unique legs, adding drawers or shelves, or incorporating a specific stain or paint color. You can also add personal touches like a DIY monitor stand or metal inlays for a modern look.
To ensure the stability and durability of your DIY wood desk:
Use thick, high-quality wood or plywood for the desktop.
Ensure all joints are tight and well-connected; use pocket-hole screws for strong joints.
Add support braces or aprons under the desk for extra stability.
Apply a finish such as polyurethane to protect the wood from moisture and wear.
Regularly check and tighten any loose screws or bolts to maintain the desk’s integrity over time.
Final Thoughts:
Wrapping up, constructing a DIY wood desk you can build today is both rewarding and straightforward. By following these steps, you can build a functional and stylish DIY wooden desk that suits your needs. Embrace the satisfaction of completing a hands-on project, and enjoy the benefits of a customized piece of furniture that enhances your workspace.


