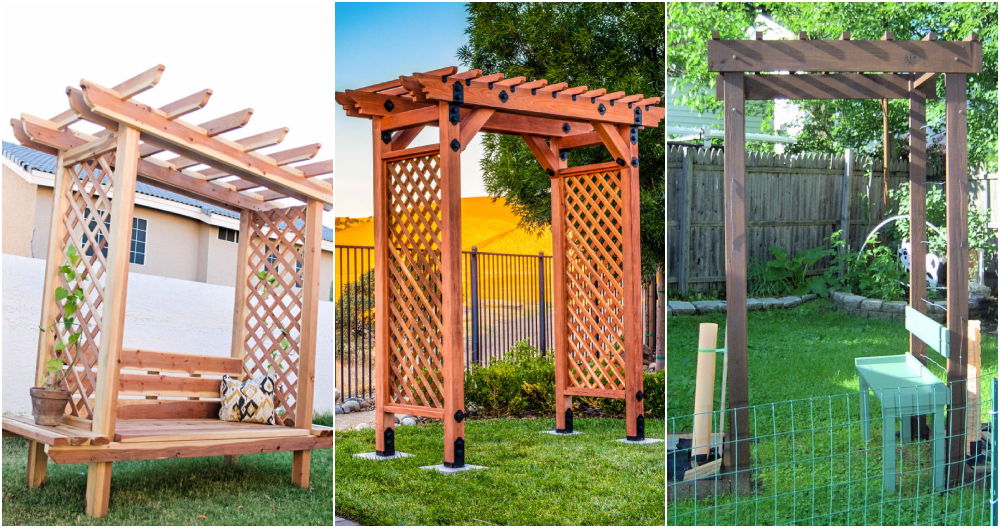
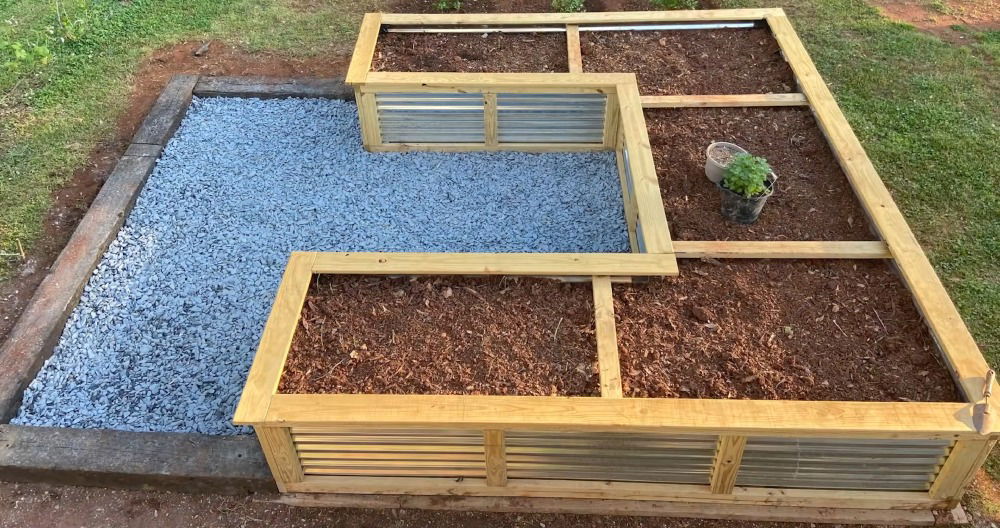
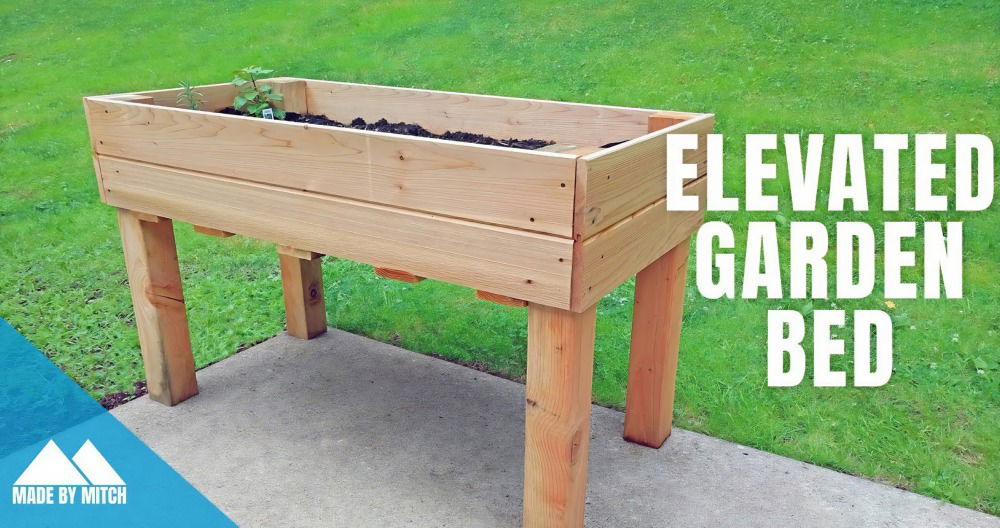
Building a simple DIY wood garden edging project can transform your garden. This guide will show you how to make a beautiful and functional border using wood. It's a straightforward and cost-effective way to add a polished look to your outdoor space. Crafting a wood garden border not only improves the garden's appearance but also helps keep mulch, soil, and plants well-contained.
Learning how to make a garden border with wood is easy and fulfilling. You'll need some basic tools and materials. The process involves measuring the area, cutting the wood to size, and securing it in place. With clear instructions, anyone can do it. By following this guide, you'll have your garden looking great in no time.
Ready to get started? Let's move on to the materials and step-by-step instructions to bring your wood garden edging project to life.
Materials and Their Importance
- Builders Line and Stakes: These will help in marking out straight edges. Easy to use and provides a guide to ensure your edging is straight and aligned.
- Half-Moon Edger: Essential for cutting through the turf cleanly. A sharp blade makes the job far easier.
- Spade: For removing cut sections of turf and assisting in digging where necessary.
- 4-by-1 Inch Pressure-Treated Wood: Ideal for edging; it's durable and resistant to rot.
- 2-by-2 Inch Posts (for Anchoring): Provides stability to the wooden edge.
- Screwdriver and Screws: For securing the wood to the posts.
- Level and Measuring Tape: Ensures your edging is even and consistent.
- Weed Suppressant Fabric (Optional): Helps in reducing weed growth along the new edge.
- Gravel (Optional): For aesthetic finishing touches and additional weed suppression.
Step by Step Instructions
Learn how to make DIY wood garden edging with our step-by-step guide. From preparation to finishing touches, get your garden looking perfect!
Preparation
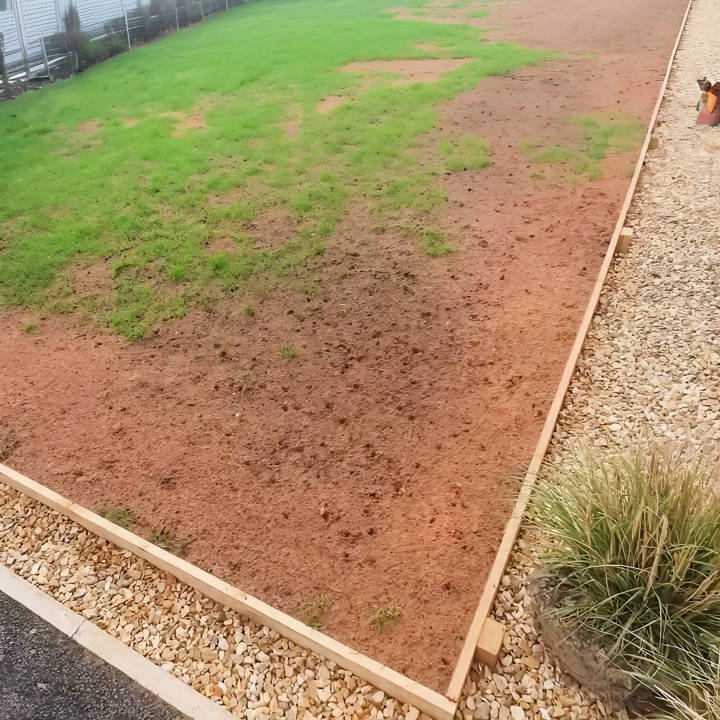
Start by deciding which areas of your lawn you want to edge. In my case, it was along the driveway where grass struggled to grow and looked unkempt. Once decided, use builders' line and stakes to mark out your edging line, ensuring it is straight.
Cutting and Removing Turf
Using a half-moon edger, follow the line you've marked out, pressing down firmly to cut through the turf. I found that wetting the ground a day before made this task easier. Lift the cut sections with a spade. It's astounding how much cleaner the area looks even after this initial step.
Installing the Wood Edge
Measure the length of your garden edge to determine how much 4-by-1 inch wood you'll need. Lay out the wood along your marked line to visualize the final look. For joining sections, ensure the joins are placed strategically to maintain strength and aesthetics.
Drive 2-by-2 inch posts into the ground at intervals along your edging line. The depth should be at least double the height of your edging wood for stability.
Securing the Wood
With the posts in place, secure the 4-by-1 wood to them using screws. A level is handy here to ensure everything is straight and even. Do a final check before securing all screws tightly.
Finishing Touches
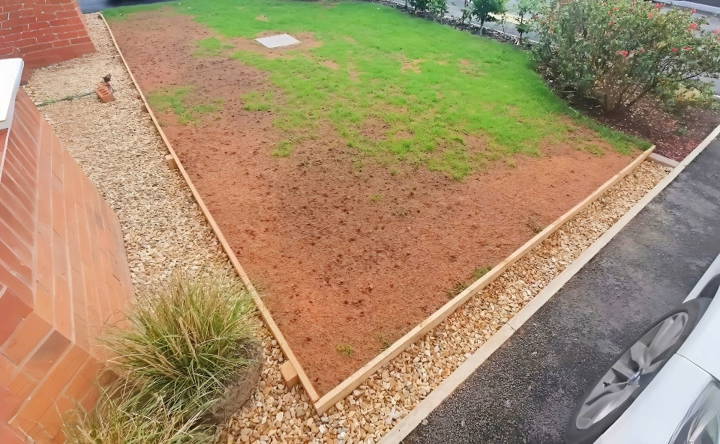
Optional steps include adding a layer of weed suppressant fabric along your new wooden edge, followed by a thin layer of gravel for a clean finish. This not only looks great but also helps in minimizing weed growth.
My lawn's transformation is remarkable. The edges now look sharp and professional. The wood edge enhances aesthetics and eases mowing and maintenance, letting me mow up to the edge without worrying about the flower beds or driveway.
Troubleshooting Common Issues
When it comes to DIY wood garden edging, you might encounter a few hiccups along the way. Here's a helpful guide to troubleshoot common issues:
- Wood Rot or Decay: Wood in contact with soil can rot over time. To prevent this, choose rot-resistant wood like cedar or apply a wood preservative. If rot sets in, replace the affected sections promptly.
- Edging Misalignment: For straight lines, use a string line as a guide. If your edging starts to wander, realign it by gently tapping it back into place with a rubber mallet.
- Loose Edging: If your edging isn't staying put, it could be due to insufficient anchoring. Make sure to drive your stakes deep enough into the ground and space them closely for better stability.
- Weeds Growing Through: To combat weeds, lay down a weed barrier fabric before installing your edging. If weeds appear, remove them by hand to avoid damaging the edging.
- Uneven Top Edges: For a uniform look, use a level when installing your edging. If unevenness occurs, trim the top edge with a saw to even it out.
- Insect Infestation: Keep an eye out for signs of insect damage. Treat the wood with an insect repellent if necessary, and replace any parts that have been significantly damaged.
- Expansion and Contraction: Wood expands and contracts with temperature changes. Leave small gaps between the pieces to accommodate this movement and prevent buckling.
Regular inspection and maintenance can prevent most of these issues from becoming major problems. With these tips, your wood garden edging should remain beautiful and functional for years to come.
Maintenance Tips for Wood Garden Edging
Keeping your wood garden edging in top shape is crucial for a neat and attractive garden. Here are some straightforward maintenance tips:
- Regular Checks: Inspect your edging regularly for signs of wear or damage. Look for cracks, splinters, or signs of rot, especially after extreme weather.
- Cleaning: Gently brush off soil, leaves, and debris. If needed, use a mild soap and water solution to clean the wood, but avoid harsh chemicals that can damage plants.
- Sealing and Treating: Apply a wood sealant or preservative annually to protect against moisture and pests. Choose eco-friendly options to keep your garden safe for plants and wildlife.
- Weed Control: Pull out any weeds that grow along the edges by hand. This prevents them from spreading and keeps your edging clear.
- Minor Repairs: Fix loose stakes or boards as soon as possible. Use galvanized nails or screws for longer-lasting repairs.
- Avoid Water Damage: Ensure that your garden's irrigation system isn't directly hitting the wood edging. Prolonged exposure to water can accelerate decay.
- Mulching: Apply mulch near the edging to help retain moisture for your plants and reduce weed growth.
By following these simple tips, you can extend the life of your wood garden edging and keep your garden looking its best.
FAQs About DIY Wood Garden Edging
Discover top faqs about DIY wood garden edging. Get tips, tools, and techniques to make the perfect garden border effortlessly.
The best types of wood for garden edging are those that are naturally resistant to decay, such as cedar and redwood. These woods have a natural resistance to moisture and insects, making them durable choices for outdoor use. Treated lumber is also a good option as it's been chemically treated to resist rot and pests.
To maintain your wood garden edging:
Inspect regularly for signs of rot or insect damage.
Clean the wood annually with a mild soap and water solution to remove dirt and grime.
Reapply a wood preservative or sealant every few years to protect against moisture and UV damage.
Keep the edging clear of excessive moisture by ensuring proper drainage in your garden.
Yes, you can create curved edging with wood. For gentle curves, flexible woods like bender board can be used. For more pronounced curves, you can cut notches into thicker wood planks to allow them to bend, or use shorter segments of wood angled to follow the curve. Always pre-plan your design and measure the curve before cutting your wood to ensure a smooth, consistent edge.
To ensure your wood garden edging stays firmly in place:
Dig a proper trench: The trench should be about half the depth of your wood pieces to provide stability.
Use stakes: Drive wooden stakes into the ground at intervals along the edging and screw the edging to these stakes for extra support.
Backfill correctly: After placing the wood in the trench, backfill with soil and tamp it down to secure the wood.
Optional: For added strength, you can pour a concrete footing in the trench before placing the wood.
Get creative with your wood garden edging by trying out these designs:
Zigzag pattern: Cut wood into shorter lengths and arrange them in a zigzag pattern for a fun, dynamic look.
Vertical stakes: Place taller stakes at intervals for a fence-like edging that can support climbing plants.
Layered look: Use different heights of wood to make a tiered effect, adding depth and interest to your garden beds.
Mosaic style: Combine different types of wood or stains to make a unique mosaic pattern along your garden edge.
Conclusion
Wrapping up, making your DIY wood garden edging can be a simple and enjoyable project that enhances your garden's appearance. Not only does it provide a neat look, but it's also a cost-effective way to define your garden spaces. By using readily available materials and following straightforward steps, you can give your garden a professional touch. Start your DIY wood garden edging project today and enjoy a beautifully organized garden space.


