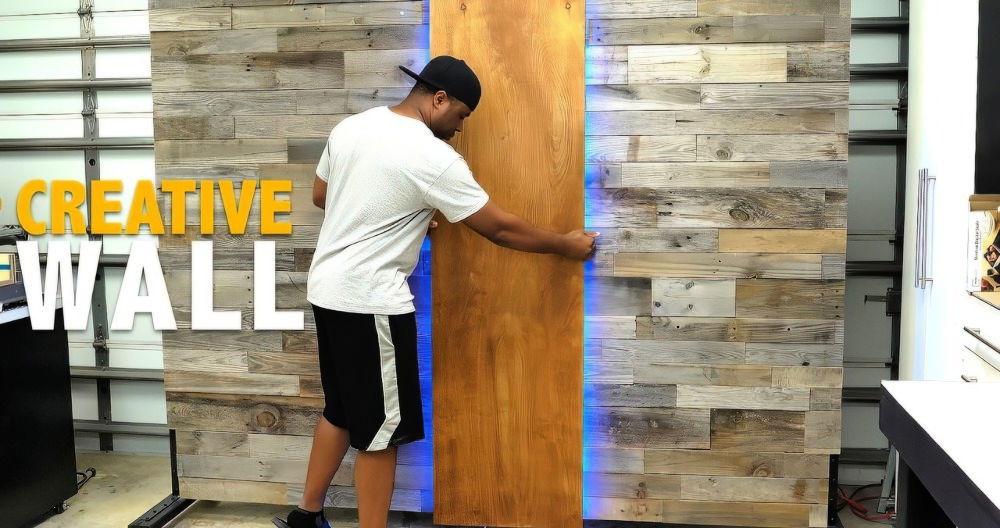
I remember deciding to build a DIY wood plank accent wall one weekend. It seemed like a big task but exciting. My living room was dull and needed a change. I went to the store and got some wood planks, nails, and a hammer. It felt great to carry those materials home, knowing I was going to change the look of my room myself.
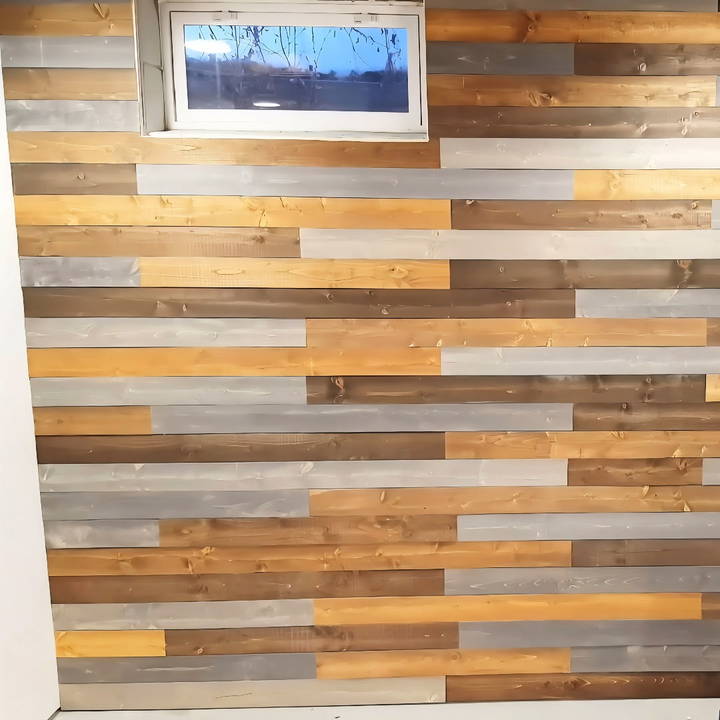
I measured the wall and cut the planks to fit. Then, I started to nail them to the wall, one by one. It took time, but I could see the room transforming with each plank. The accent wall made my living room look cozy and stylish. You can do this too!
This guide will help you build a DIY wood plank wall. Let's get started, and soon, you'll enjoy a fresh new look in your home.
Materials Needed and Their Purpose
- 2x4 Lumber: You'll need about 10 pieces, depending on your wall size. I chose them for their affordability and availability. They form the main structure of the plank wall.
- Ripping Blade & Band Saw (or a Table Saw): Essential for cutting the 2x4s into thin wood planks.
- Wood Stains (Classic Gray, Dark Walnut, Golden Oak): These add color and depth to your wood, enhancing the wall's overall aesthetic appeal.
- Sandpaper: To smooth out the wood planks before staining, ensuring an even application.
- Nails or Screws: For attaching the wood planks securely to the wall.
- Safety Equipment (Gloves, Goggles): Safety always comes first. Protect your hands and eyes from splinters and sawdust.
Step by Step Instructions
Learn how to make a stylish DIY plank wall with step-by-step instructions, from preparing and staining wood to attaching it for a stunning studio transformation.
Step 1: Preparing the Wood Planks
Starting off, I took the 2x4 lumber and ripped it into four wood planks using a band saw equipped with a ripping blade. This part of the process was surprisingly straightforward. The key is maintaining a steady feed rate while keeping your hands safely away from the blade. After cutting, I had an impressive pile of wood planks, albeit accompanied by an extensive cleanup due to the sawdust generated.
Step 2: Staining the Planks
Once the planks were cut, the exciting part of staining began. First, I moved all my planks to the garage, preparing them for staining. I decided on three different shades: classic gray, dark walnut, and golden oak, aiming for a mix of colors to add depth and character to the wall. Before applying the stain, a quick sanding ensured the wood was smooth, ready to absorb the stain evenly.
I started with classic gray, applying it to several planks, varying the darkness by controlling how much stain I wiped off after application. This technique allowed me to make planks with differing shades, adding to the wall's eclectic look. I repeated this process with the golden oak and dark walnut stains, ensuring each plank had its unique charm.
Step 3: Attaching the Planks to the Wall
With all planks stained and dried, I was set to start the most transformative step—mounting them on the wall. I began by securing the first row of planks along the bottom, using a quarter-inch board as a spacer from the floor to avoid direct contact with the concrete. Ensuring this first row was perfectly level was crucial, as it set the baseline for the rest of the wall.
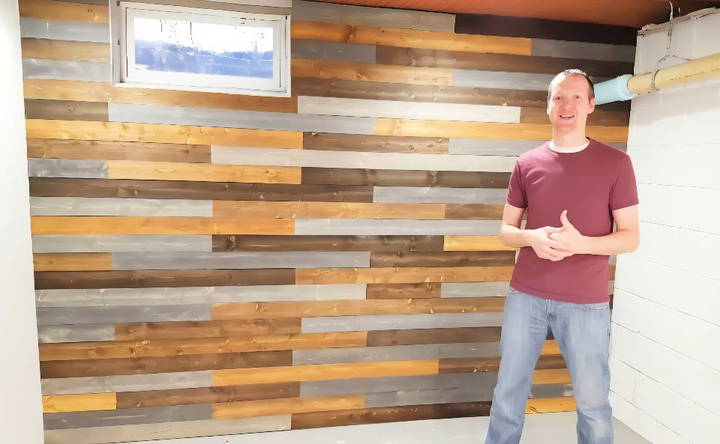
The process then moved along swiftly, with each plank being measured, cut to fit, and then nailed into place. Challenges arose when it was time to fit pieces around the window and plumbing, but a jigsaw made quick work of these adjustments. The aim was for precision, but perfection wasn't crucial, especially around areas that would later be covered with trim.
The Final Look: A Studio Transformation
The result was truly astonishing. What was once a bland, uninviting space had turned into a warm, inviting area with immense character. This DIY wood plank wall project not only added a unique feature to my home but also demonstrated that with a bit of creativity and effort, transforming any space is possible on a modest budget.
Accent Wall Design Ideas
Building an accent wall is a wonderful way to add personality and style to your home. It's a space where you can express your creativity and make a room truly yours. Here's how you can design an accent wall that stands out and brings joy to your space.
Choose Your Style
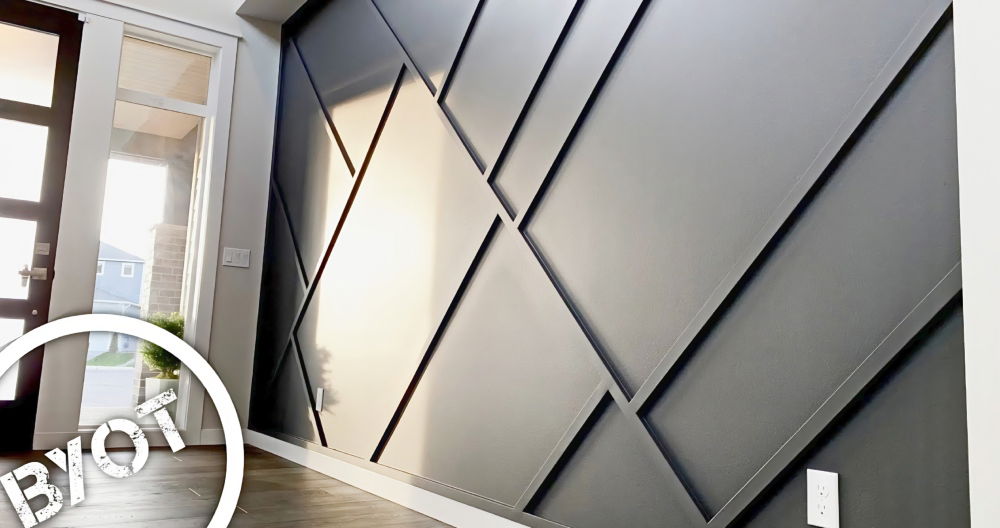
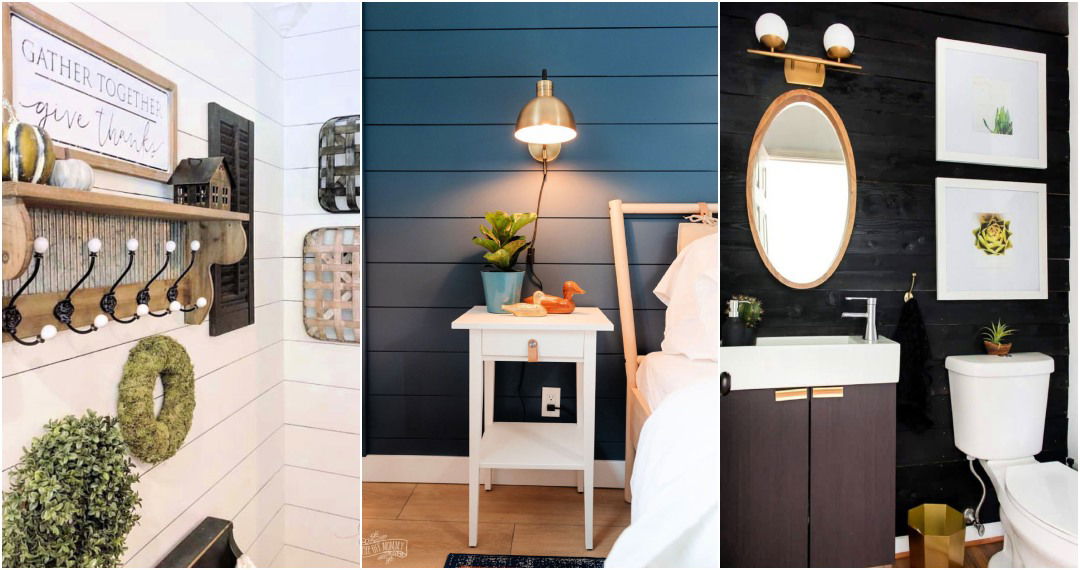
Think about what you love. Do you enjoy the warmth of nature or the sleek look of modern design? Your accent wall should reflect your taste. For a natural feel, consider using wood planks or a mural with a forest or beach scene. If modern is more your style, geometric patterns or a bold color might be the way to go.
Select Your Spot
Not every wall is suitable for becoming an accent wall. Look for a wall that's a natural focal point, like behind the bed in a bedroom or the wall where your TV is in the living room. This wall will draw the eye and set the tone for the room.
Pick Your Materials
There are many materials you can use for your accent wall. Wood planks offer a timeless look. Wallpaper comes in countless designs and patterns, giving you lots of flexibility. Paint is a simple and cost-effective option, and black paint can make a powerful statement.
Plan Your Design
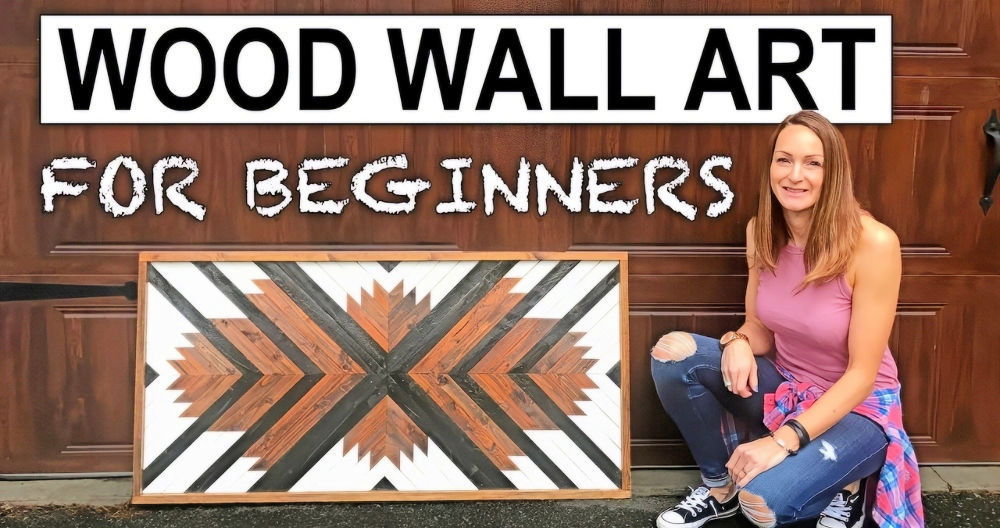
Once you've chosen your materials, plan out your design. If you're using wood, decide if you want the planks to run horizontally, vertically, or in a pattern. With wallpaper, consider how the design will flow across the wall. If painting, think about whether you want a solid color or something more artistic, like stripes or a stencil.
Prepare Your Wall
Before you start, make sure your wall is ready. Clean it, fill any holes, and sand down any rough spots. This will help your materials adhere better and give you a smoother finish.
Install with Care
Take your time with the installation. Measure twice and cut once. If you're using wood or wallpaper, ensure everything is aligned correctly before securing it. If you're painting, use painter's tape to get clean lines.
Add Finishing Touches
Once your materials are up, step back and look at your work. Add any finishing touches, like trim or additional paint details. This is your chance to perfect your design.
Enjoy Your Space
Your new accent wall is ready! Arrange your furniture, hang some art, and enjoy the fresh look of your room.
Your accent wall is all about you. It's a reflection of your style and what makes you happy. Have fun with it, and make a space you love to be in.
Maintenance and Care
Keeping your plank wall in top condition is key to ensuring it remains a beautiful and durable part of your home. Here's a straightforward guide to maintaining and caring for your plank wall:
Regular Cleaning
Dust and dirt can accumulate on your plank wall, so regular cleaning is essential. Use a soft, lint-free cloth to gently wipe the surface. For deeper cleans, a mild detergent mixed with warm water will do the trick. Remember to always dry the wall thoroughly after cleaning to prevent moisture damage.
Inspect for Damage
Over time, your planks may suffer from wear and tear. Regularly inspect for any signs of damage, such as cracks, warping, or splinters. If you find any issues, address them promptly to prevent further deterioration.
Avoid Harsh Chemicals
When cleaning, avoid using harsh chemicals that can strip the finish off your wood planks or cause discoloration. Stick to gentle, natural cleaners to keep your planks looking their best.
Protect from Moisture
Wood and moisture don't mix well. If your plank wall is in a moisture-prone area, like a bathroom, make sure it's properly sealed. A matte polyurethane sealer can protect the wood while maintaining its natural look.
Handle with Care
When moving furniture or other items around your plank wall, be careful not to scratch or dent the wood. Use felt pads on the backs of frames or decorations to prevent marks.
Touch-Ups
If your wall gets scratched or the paint starts to chip, a little touch-up can go a long way. Use matching paint or stain to cover any imperfections, and your wall will look as good as new.
Keep your plank wall fresh and new for years with these simple steps. Regular maintenance preserves its beauty, warmth, and character in your home.
FAQs About DIY Plank Wall
Explore comprehensive FAQs about DIY Plank Wall projects: tips, materials, installation steps, and finishing options for perfect results.
Before installing your plank wall, ensure the wall is clean and smooth. If you plan to paint the wall, do it before installing the planks as it’s easier to paint a flat surface. Measure the wall to determine how many planks you’ll need and consider any obstacles like outlets or switches. It’s helpful to lay out your pattern on the floor first to plan the look of your plank wall.
You can attach the planks to the wall using liquid nails or a similar adhesive for a strong hold. For additional support, use finishing nails at the top and bottom of each plank. If you’re using a hammer, a nail set can help you countersink the nails for a cleaner look. For an even placement, use a level with each plank to ensure they’re straight.
Yes, you can! While power tools like saws and nail guns can make the process faster, they’re not necessary. You can cut the wood planks with a hand saw and miter box, which is inexpensive and easy to use. For attaching the planks, a simple hammer and finishing nails will suffice.
Once all the planks are installed, use wood filler to cover any nail holes and caulk to fill in gaps between the planks and the wall. After the filler and caulk dry, sand the areas smooth. If you've painted the wall and planks beforehand, you may need to touch up the paint. Finally, step back and admire your new DIY plank wall.
For a professional-looking finish on your DIY plank wall, follow these steps:
Sand the edges of each plank if they are rough. This will prevent splinters and ensure a smooth, clean edge.
Paint or stain your planks before installation if you want a uniform color. This is easier than painting after they are on the wall.
Use spacers to keep your plank gaps consistent. Common household items like coins can work as spacers.
Stagger the seams of the planks across the wall to make a natural wood look.
After installation, fill nail holes with wood filler and sand them smooth once dry.
Apply caulk along the edges where the planks meet the wall to seal any gaps and make a seamless transition.
Conclusion and Tips for Success
I can tell you, building a DIY wood plank wall is very satisfying. It brings a new feel to any space. With simple steps, the task is easier than you think. Give it a go, and you'll see great results. Your home will thank you!


