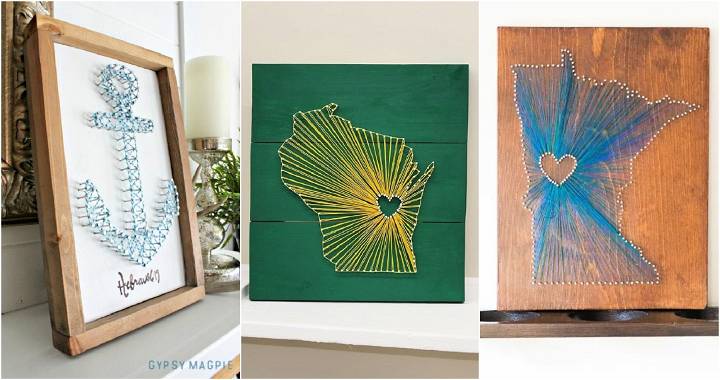
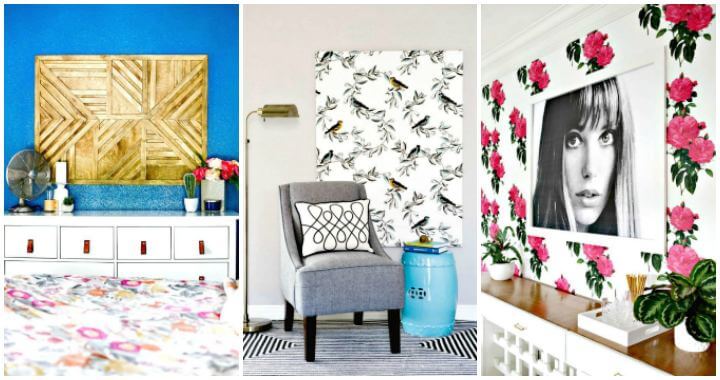
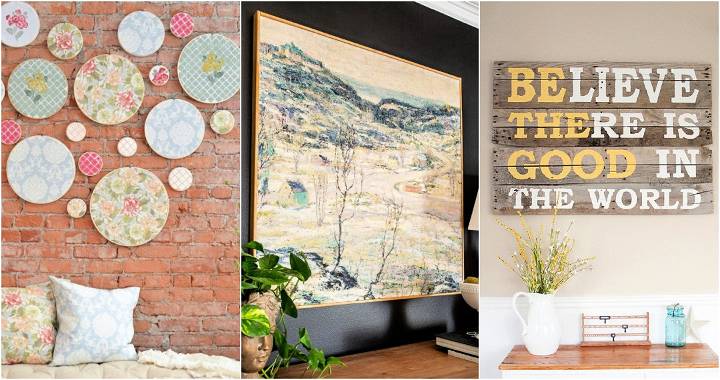
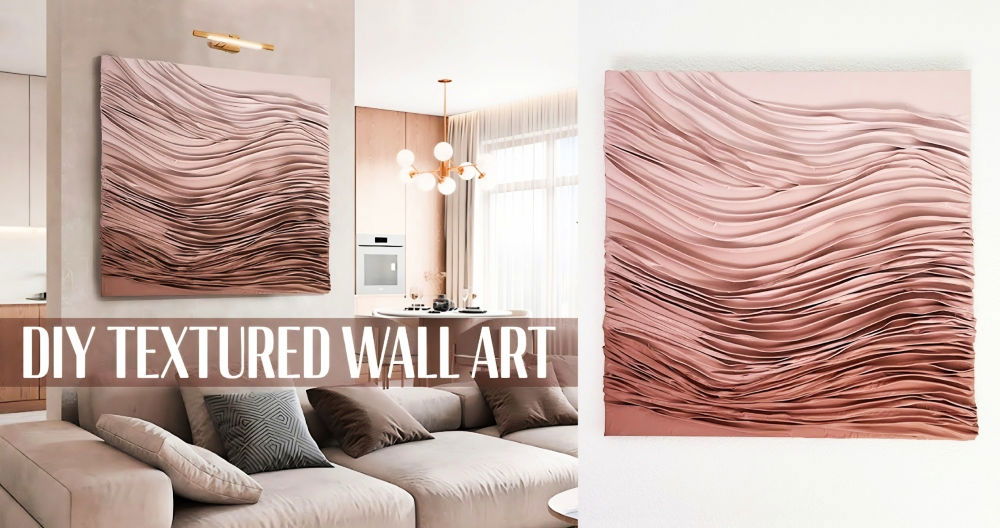
Discover the joy of making DIY wood wall art with simple steps that anyone can master. Dive into a world of creativity by making your own unique designs. From rustic to modern styles, DIY wood wall art enhances any space with a personal touch. Learn how to use tools and materials you likely already have at home.
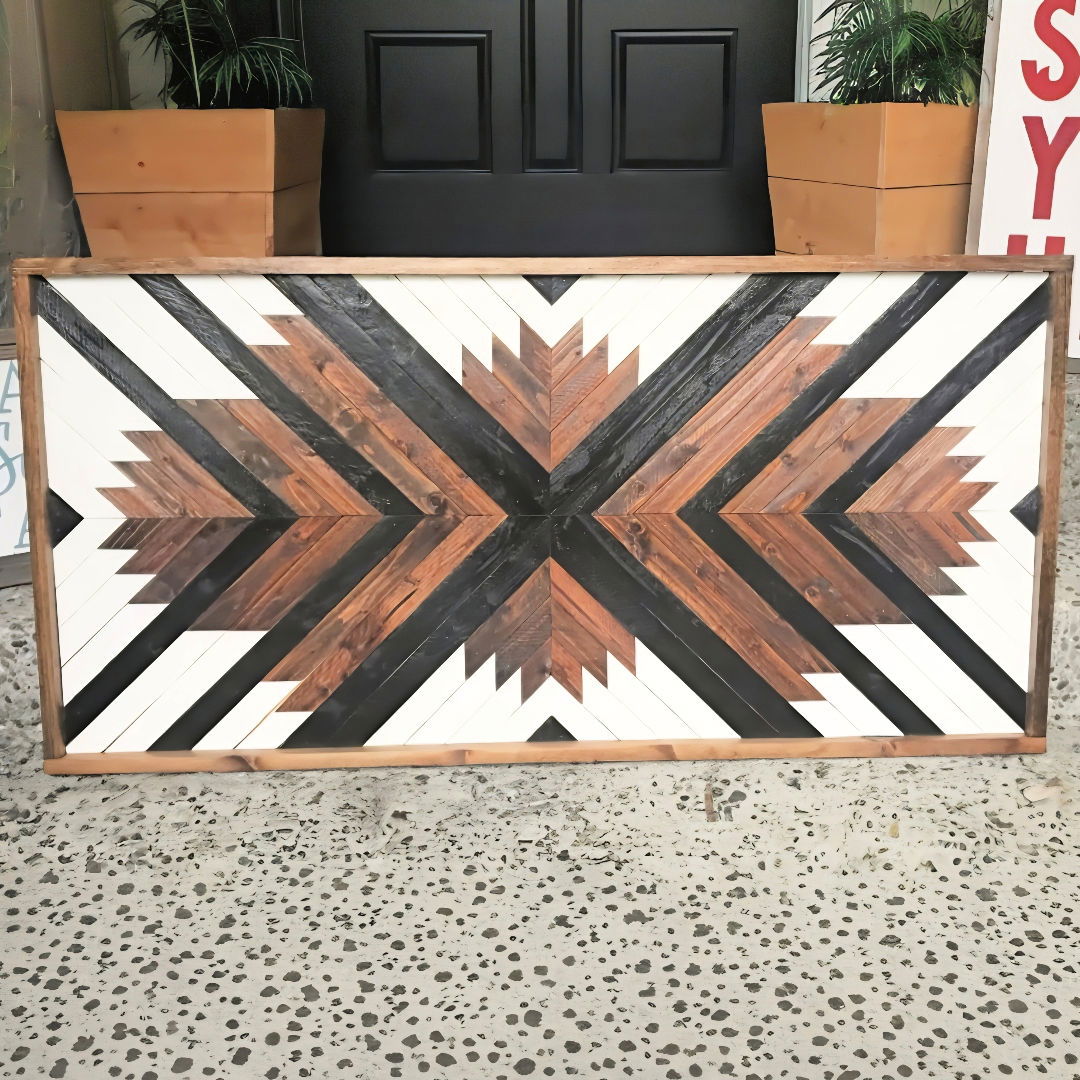
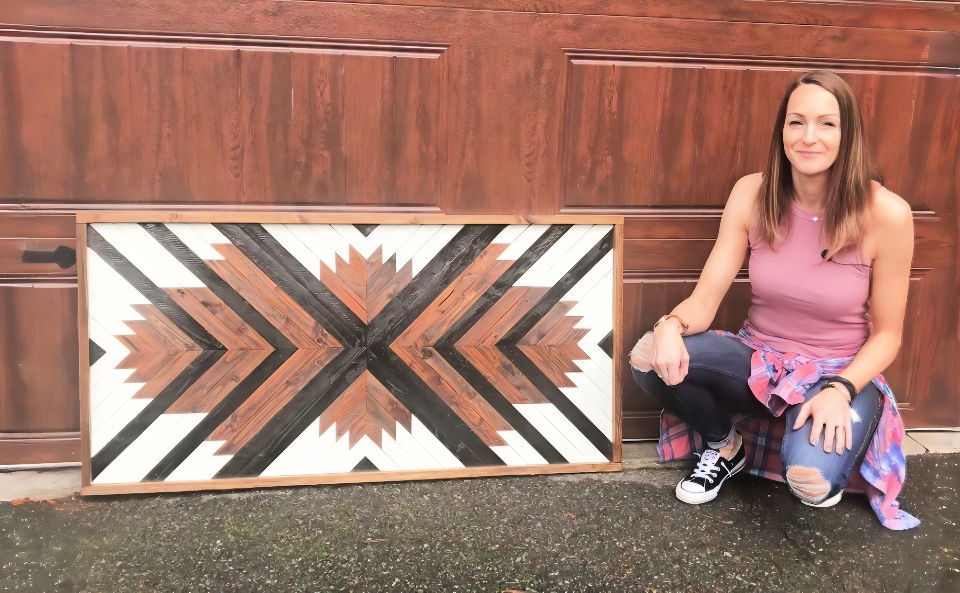
Building DIY geometric wood wall art brings an extra layer of sophistication to your walls. Patterns and shapes formed with carefully cut wood pieces can add texture and depth to your decor. This guide covers everything you need to start making striking wall art.
Ready to bring your vision to life? Explore the next section for detailed instructions and tips.
Materials and Tools: The Why Behind the What
- Half-inch Plywood (2ft x 4ft): The canvas for our art. Plywood is affordable and easy to work with, making it perfect for beginners.
- Lattice Bundle: Provides the texture and pattern. Lattice is lightweight and can be easily cut, making it ideal for decorative projects.
- Miter Saw: For precise cuts. As a beginner, having tools that help achieve accuracy is crucial, and a miter saw is perfect for this.
- Sandpaper (150 grit): To smooth rough edges. Wood can have splinters or rough patches that need smoothing out before you can start painting.
- Paint and Stain: To bring life and color. The choice of paint and stain affects the final look, so select shades that complement each other and your room.
- Brad Nailer: For assembly. It's a beginner-friendly tool for joining pieces without the need for advanced woodworking techniques.
- Skilsaw: To trim the art. A Skilsaw or any circular saw is essential for ensuring the edges of your art are clean and straight.
- Wood Filler, Wood Glue: For fixes and assembly. Not everything will go perfectly; these materials help mend mistakes or bond pieces securely.
Step by Step Instructions
Make stunning DIY wood wall art with our step-by-step guide, from planning and cutting to assembling and finishing. Perfect for home decor enthusiasts!
Step 1: Planning and Cutting
The first step in making wood wall art is to conceptualize your design. For me, sketching ideas on paper before moving to wood ensured I was satisfied with the layout. After settling on a design, I cut the plywood to size and divided it into sections using pencil marks—this acted as a guide for where to place my lattice pieces.
Cutting Lattice
Using my miter saw set to 45 degrees, I cut the lattice into pieces, knowing they'd overlap at the edges. Accuracy in cutting was paramount, so each piece fit perfectly within the design. This step can require patience, but it's worth it for the final look.
Step 2: Sanding and Painting
The next step involved smoothing the lattice pieces with 150-grit sandpaper. Sanding is crucial for removing any roughness, ensuring your art feels pleasant to touch and looks polished.
Painting Lessons Learned
Choosing paint was an adventure. I opted for chalk paint for its matte finish but learned it was not ideal for this project. The chalk dust settled into crevices, dulling other colors. A satin finish paint, I discovered, would have been a better choice for both aesthetics and easier cleaning.
Step 3: Assembling the Art
This part felt like bringing a puzzle to life. I laid out the painted lattice pieces according to my design, adjusting as needed to ensure everything fit just right. Gluing followed, then securing with nails from the brad nailer. Pieces may not align perfectly due to their imperfect nature, but that adds to the charm.
Step 4: Trimming and Finishing Touches
Trimming the excess lattice with a Skilsaw was a test of precision, ensuring the edges of my wood wall art were straight and clean. Using wood as a guide or track helped maintain accuracy. Once trimmed, I addressed any imperfections with wood filler and touch-up paint.
Step 5: The Frame
A frame lends a finished look to any piece of art. I used 1 by 2s, cutting them to fit around my plywood canvas and staining them to match. Attaching the frame with wood glue and nails gave the piece a cohesive look and added structure.
Protect and Hang
A light scrubbing helped eliminate any leftover chalk dust, and a spray-on shellac protected the paint and wood from wear. I chose a metal French cleat for hanging, ensuring the art was secure on the wall.
Customization Ideas for DIY Wood Wall Art
Building DIY wood wall art is not just about crafting a piece of decor; it's about expressing your individuality and making something that resonates with you personally. Here are some customization ideas to help you build a piece that's truly your own:
Choose a Theme That Speaks to You
Start by selecting a theme that has personal significance. Whether it's nature, geometric patterns, or abstract art, choose a design that reflects your style and interests.
Incorporate Personal Elements
Personalize your wood wall art by adding elements that are unique to you. This could be your initials, an important date, or coordinates of a special place.
Play with Colors and Stains
Wood stains and paints can dramatically change the look of your piece. Experiment with different shades to match your room's decor or to highlight certain aspects of your design.
Mix Materials
Don't be afraid to mix wood with other materials like metal, glass, or fabric. This can add texture and depth to your artwork.
Add Quotes or Messages
Engrave or paint your favorite quote, motto, or meaningful message onto your wood art. It's a great way to inspire yourself and others.
Build Interactive Art
Make your wood wall art interactive by adding elements that move or change, like spinning pieces or sections that can be rearranged.
Consider the Size and Placement
Think about where you'll place your art. A large statement piece might be perfect for a living room, while a series of smaller pieces could be ideal for a hallway.
Use Templates or Freehand
If you're not confident in your artistic skills, use templates or stencils to build your design. If you're more adventurous, try freehand drawing for a truly unique piece.
Experiment with Techniques
Try different woodworking techniques like carving, burning, or layering pieces of wood to add dimension and interest to your art.
Make It Functional
Your wood wall art can be more than just decorative. Consider adding hooks for keys, shelves for small plants, or a magnetic surface for notes.
Incorporate these ideas to build wood wall art that's beautiful and reflects you.
Troubleshooting Common Issues in DIY Wood Wall Art
When making DIY wood wall art, you might encounter a few hiccups along the way. Here's a guide to help you troubleshoot some common issues, ensuring your project turns out just as you envisioned:
Wood Splitting
- Cause: Wood often splits due to incorrect drilling or nailing.
- Solution: Pre-drill holes before inserting nails or screws. Choose the right size drill bit to avoid making the hole too large or too small.
Uneven Stain
- Cause: Stains can appear uneven if the wood isn't sanded properly or if the stain is applied inconsistently.
- Solution: Sand the wood thoroughly with fine-grit sandpaper. Apply stain with a soft cloth or brush in the direction of the grain.
Paint Bleeding
- Cause: Paint may bleed under the tape if it's not sealed properly.
- Solution: Use high-quality painter's tape. Press down firmly on the edges. Seal the edges with a clear sealant or the same color paint as the background.
Warped Wood
- Cause: Wood warps when exposed to moisture or uneven drying.
- Solution: Store wood in a dry, flat area before use. If warping occurs, place heavy objects on top to flatten, or use a planer to even out the surface.
Loose Joints
- Cause: Joints may become loose over time, especially if the wood wasn't cut precisely.
- Solution: Use wood glue and clamps to secure joints. Allow ample drying time for the strongest bond.
Dull Finish
- Cause: A dull finish can result from using old varnish or not allowing the finish to cure properly.
- Solution: Always use fresh finishing products. Apply in a well-ventilated area and allow plenty of time for the finish to cure.
Visible Glue
- Cause: Excess glue can squeeze out and become visible once dried.
- Solution: Wipe away excess glue immediately with a damp cloth. Use painter's tape to protect areas where you don't want glue.
Rough Edges
- Cause: Cutting tools may be dull, or the wood may splinter when cut.
- Solution: Keep your cutting tools sharp. Use a fine-toothed saw for cleaner cuts. Sand edges after cutting.
Measurement Mistakes
- Cause: Inaccurate measurements can lead to pieces that don't fit together properly.
- Solution: Double-check all measurements before cutting. Use a reliable measuring tape and take your time.
Difficulty Hanging
- Cause: The artwork may be too heavy or not have proper support.
- Solution: Ensure the wall can support the weight. Use appropriate hanging hardware like wall anchors or mounting brackets.
By knowing these common issues and fixes, you'll better tackle DIY wood wall art challenges.
FAQs About DIY Wood Wall Art
Discover answers to common questions about DIY Wood Wall Art. Learn tips, techniques, and materials for your next creative home project.
Preparing the wood is crucial for a polished final product. Here’s how to do it:
Clean the wood: Remove any dirt or debris.
Sand the wood: Smooth out rough edges and surfaces.
Stain or paint: Apply your chosen color or finish.
Seal the wood: Protect it with a clear sealant.
Absolutely! There are many simple projects that beginners can enjoy, such as:
Stencil art: Use stencils to paint designs onto wood.
String art: Build patterns with nails and string.
Collage: Combine different wood pieces into a mosaic.
Get inspired with these creative ideas:
Geometric patterns: Cut wood into shapes and arrange them into a modern design.
Rustic signs: Use reclaimed wood to make signs with quotes or messages.
World map: Paint or carve a map onto a wood background for a travel-themed piece.
Hanging your art safely is important. Here are some tips:
Use proper hardware: Depending on the weight, use wall anchors, screws, or picture hangers.
Locate studs: For heavier pieces, secure them to wall studs.
Consider adhesive strips: For lighter art, adhesive strips can be a damage-free option.
To build an eco-friendly wood wall art, consider the following tips:
Source responsibly: Use reclaimed or sustainably sourced wood.
Non-toxic finishes: Choose paints, stains, and sealants that are low-VOC or natural.
Recycle: Incorporate recycled materials into your art.
Energy efficiency: Use hand tools or energy-efficient power tools.
Upcycle: Transform old wooden items into art instead of buying new materials.
The Result
Wrapping up, making your own DIY wood wall art is a rewarding and enjoyable experience. Whether it's DIY geometric wood wall art or any other design, you're sure to build a unique piece that adds charm to your space. Remember to plan carefully, gather the right materials, and have fun with the project.


