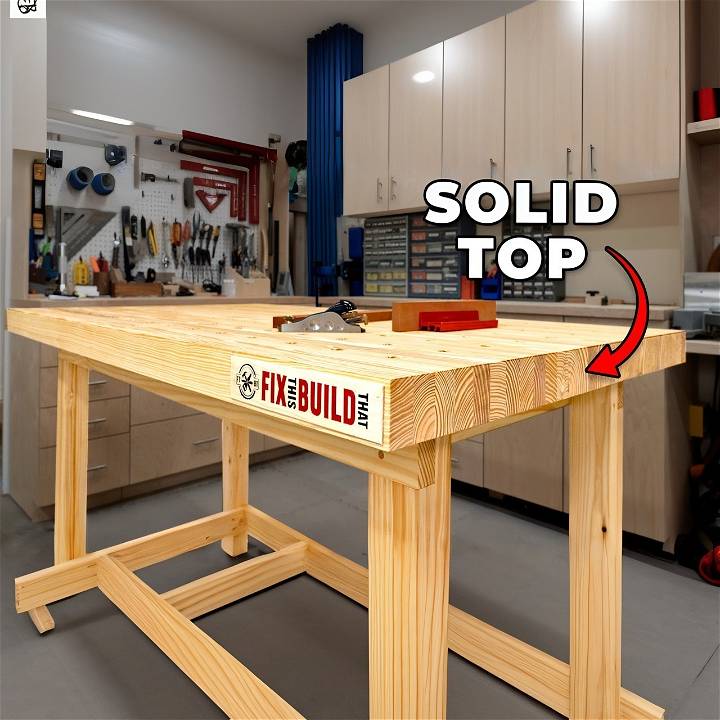
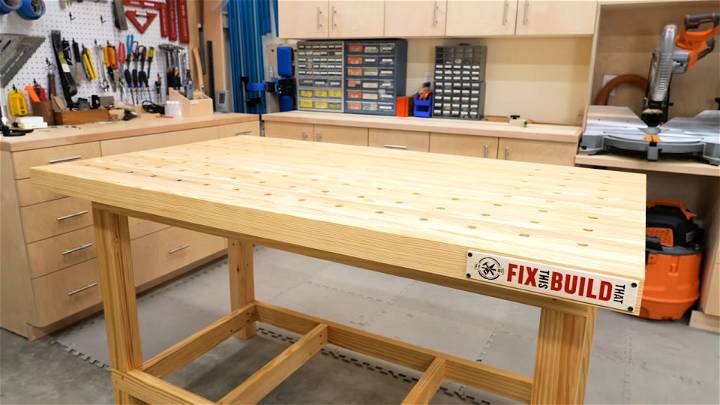
As a passionate DIY enthusiast, there's nothing more fulfilling than making something functional and durable out of simple materials. That's exactly what I set out to do when I decided my workshop needed a new workbench. The commercial workbench I was using was not cutting it for the cabinets I built. It was narrow, overpopulated with poorly spaced dog holes, and lacked the stability I needed for my projects. So, I embarked on a journey to build a sturdy DIY workbench using affordable wood, all under $150.

Choosing the Right Materials
The most significant factor in keeping costs low without compromising quality was the choice of wood. I opted for southern yellow pine, a construction-grade lumber known for its durability and cost-effectiveness. This choice would ensure a thick, solid top for my workbench. However, a word of caution: wider boards from this material can warp or twist once cut, so it was a gamble I was willing to take.
Why Southern Yellow Pine?
- Affordability: It's significantly cheaper than hardwood but still offers robustness for a workbench.
- Availability: Easily found at most home improvement stores, making it an accessible choice for many.
Step by Step Instructions
Building this workbench was a hands-on learning experience I was eager to share. Here's how I did it, step by step.
Step 1: Cutting the Wood
Initially, I cut the 12-foot boards of southern yellow pine in half. This was to manage the boards better since these pieces would form the top of the workbench. Sorting through lumber to find boards with the cleanest edges was vital, as these edges would be visible on the workbench top.
Step 2: Preparing the Boards
After cutting, I sorted the boards based on the presence of knots and defects. My goal was to position the cleanest boards in the most visible parts of the workbench to ensure not just functionality but also a decent appearance.
Step 3: Gluing the Boards
The gluing process was the most challenging yet critical part. I divided the boards into three separate sections for the top, ensuring each section could be planed individually. This step was crucial for maintaining a level surface across the entire workbench. However, the glue-up was a race against time, and the heavy boards made alignment difficult.
My Gluing Tips:
- Use Extend Set Time Glue: It gives you more leeway to work with the glue before it starts setting.
- Clamping: Make sure to clamp the boards as you glue them to prevent any shifting.
Step 4: Planing and Joining
Ensuring each glued section was of the same thickness and completely flat was imperative. This stage required significant effort, as running the heavy sections through the planner was no small feat. A mistake here could mean a wobbly workbench, something I was determined to avoid.
Step 5: The Base
For the base, I used the same wood, ensuring that the legs were sturdy by gluing two pieces together for each leg. The joinery between them would provide additional support for the workbench, making it robust enough to handle heavy-duty work.
Step 6: Finishing Touches
Drilling dog holes was one task I approached with caution. I desired precision as these holes would determine the workbench's versatility for clamping and securing materials. After testing various bits, I found the perfect one that ensured clean, precise holes without tear-out.
Integrated Storage Solutions for Your DIY Workbench
When setting up your DIY workbench, efficient storage solutions are essential. A well-organized workbench not only enhances productivity but also ensures that your tools and materials are easily accessible. Let's explore some practical storage ideas to incorporate into your workbench design:
1. Built-In Drawers and Shelves
- Drawers: Consider adding sturdy drawers directly beneath the workbench surface. These are perfect for storing small tools, measuring tapes, pencils, and other essentials. Opt for full-extension drawer slides to maximize accessibility.
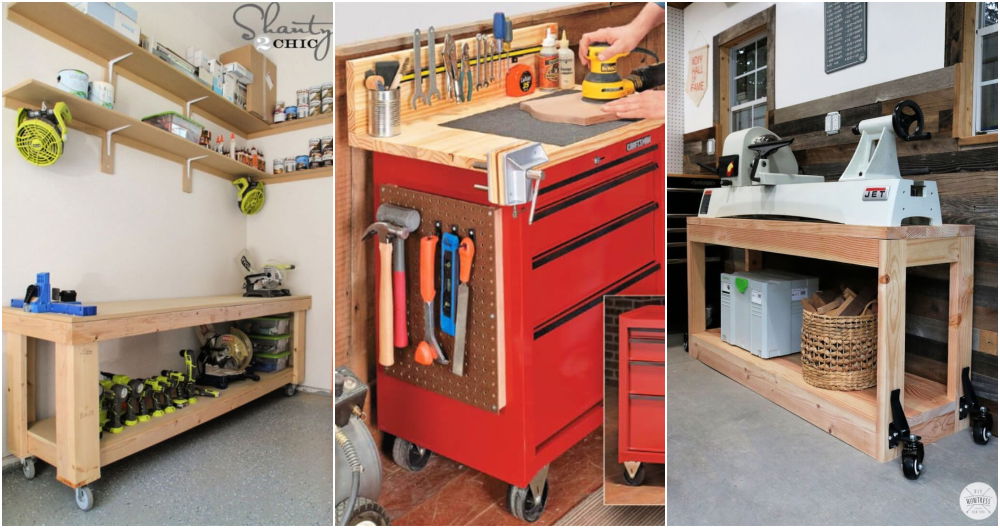
- Shelves: Install open shelves or closed cabinets on the sides or underneath the workbench. Use them to store larger items like power tools, paint cans, or safety gear. Adjustable shelves allow you to customize the space according to your needs.
2. Pegboards and Tool Racks
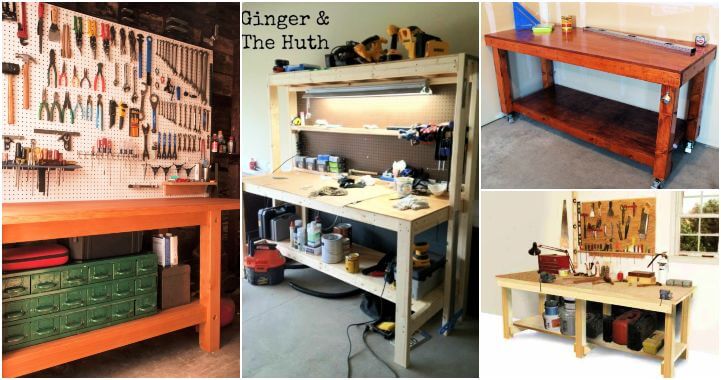
- Pegboards: Attach a pegboard to the wall behind your workbench. Pegboards are versatile and allow you to hang tools, wrenches, pliers, and even spools of wire. Use hooks, pegs, and baskets to keep everything organized.
- Tool Racks: Install specialized tool racks directly on the workbench. These can hold screwdrivers, hammers, chisels, and other frequently used hand tools. Magnetic strips are excellent for organizing metal tools.
3. Overhead Storage
- Ceiling Hooks: If you have limited floor space, utilize the ceiling above your workbench. Hang lightweight items like extension cords, clamps, or safety goggles from sturdy hooks. Keep them within reach but out of the way.
- Hanging Bins: Use plastic or metal bins suspended from the ceiling. These are great for storing hardware, nails, screws, and other small parts. Label each bin for easy identification.
4. Tool Trays and Caddies
- Magnetic Tool Trays: Attach magnetic trays to the sides of your workbench. These trays securely hold screws, nuts, and bolts while you work. No more searching for dropped fasteners!
- Portable Caddies: Keep a portable tool caddy nearby. Fill it with commonly used tools and carry it to different work areas. A caddy ensures that you have the essentials wherever you go.
5. Hidden Compartments
- Secret Drawers: Get creative by adding hidden compartments within your workbench. These can be concealed behind a false panel or within a hollowed-out leg. Use them for storing valuable tools or personal items.
- Flip-Top Lids: Design your workbench with flip-top lids that reveal additional storage space. These lids can serve as extra work surfaces or provide access to hidden compartments.
The key to effective storage is accessibility and organization. Regularly declutter your workbench to maintain a functional workspace.

DIY Workbench: Essential FAQs
A good workbench is crucial for any workshop. Whether you are experienced or a hobbyist, a quality workbench can improve your projects. Let's explore some common DIY workbench questions and give helpful answers:
1. What Materials Should I Use for Building a Workbench?
When choosing materials for your workbench, consider durability, cost, and availability. Here are some popular options:
- Hardwood: Solid hardwood (such as oak, maple, or beech) provides excellent strength and stability. It's ideal for the workbench top.
- Plywood: High-quality plywood is a budget-friendly choice for the workbench surface. Opt for at least 3/4-inch thickness.
- 2x4 Lumber: For the frame and legs, sturdy 2x4 lumber is reliable and easy to work with.
2. What Dimensions Should I Aim for in My Workbench?
- Height: A comfortable workbench height typically ranges from 34 to 38 inches (86 to 97 cm). Adjust based on your own height and preferences.
- Width and Length: Aim for a width of 24 to 36 inches (61 to 91 cm) and a length of 48 to 72 inches (122 to 183 cm). Customize based on available space and intended tasks.
3. How Can I Make My DIY Workbench More Organized?
- Drawers and Shelves: Incorporate built-in drawers and shelves beneath the workbench surface. Use them for storing tools, hardware, and small items.
- Pegboards: Install a pegboard on the wall behind the workbench. Hang frequently used tools for easy access.
- Overhead Storage: Utilize ceiling hooks or hanging bins for items like extension cords, clamps, and safety gear.
4. What About Workbench Lighting?
- Natural Light: Position your workbench near a window to benefit from natural light during the day.
- Task Lighting: Add a clamp-on LED light or a flexible gooseneck lamp to illuminate your work area. Proper lighting reduces eye strain.
5. Should I Include a Vise on My Workbench?
- Bench Vise: Yes! A bench vise is incredibly useful for holding workpieces securely. Choose a quality vise with a swiveling base and replaceable jaws.
Remember, your workbench should suit your specific needs. Feel free to customize it further based on your projects and preferences. Happy building!
Final Thoughts
Building a workbench from scratch has been an incredibly rewarding endeavor. Not only did I end up with a sturdy, functional workbench tailored to my specific needs, but I also did so on a budget, showing that you don't need to spend a fortune to enhance your workspace.
For anyone looking to embark on this journey, remember:
- Choose the Right Materials: Don't compromise on material quality. Aim for the best you can afford.
- Planning and Preparation: Take your time to plan and prepare. Mistakes can cost you more in the long run.
- Be Ready to Learn: Each step teaches you something. Be open to learning and adjusting your approach as needed.
By sharing my experience, I hope to inspire and guide others in making a space that works for them, emphasizing that with some effort and creativity, anyone can build something awesome.


