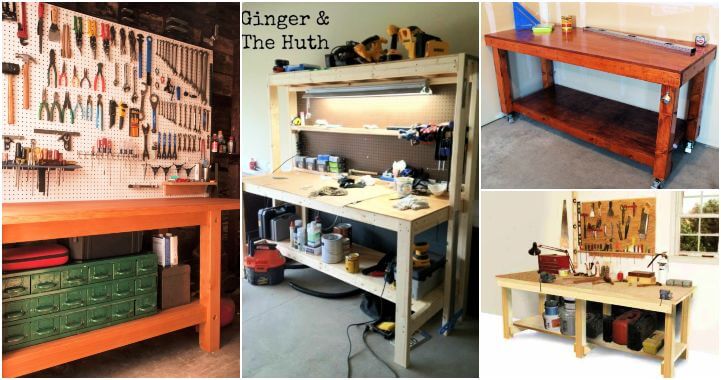
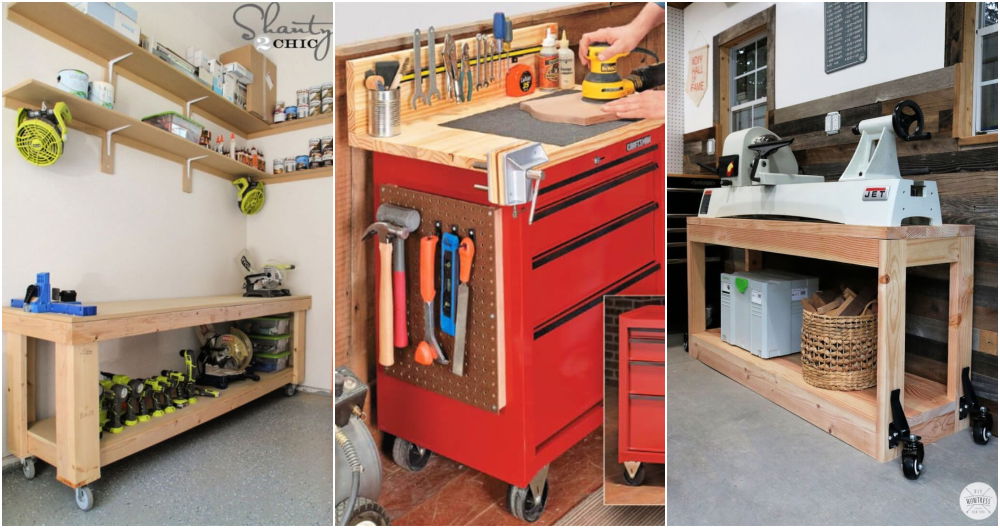
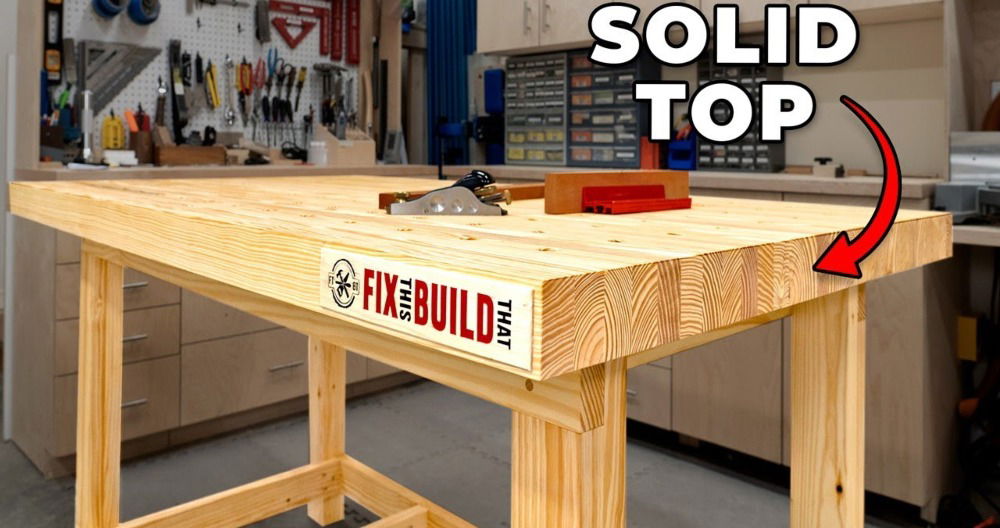
Building a DIY workbench with storage can truly transform your workspace. These workbenches are perfect for any garage or workshop, giving you a sturdy surface to work on and extra storage to keep your tools organized. By making your own workbench, you not only save money but also customize it according to your needs. This flexibility allows you to design a workbench that suits your specific projects and space.
Building a workbench might seem challenging, but with clear instructions and the right materials, the process is straightforward and rewarding.
Curious about starting your DIY workbench with storage project? Read on to discover the steps and materials needed to build your ideal workbench.
Planning and Materials
Discover the importance of each material in your projects. Learn why every material matters in planning and materials to boost efficiency.
Why Each Material Matters:
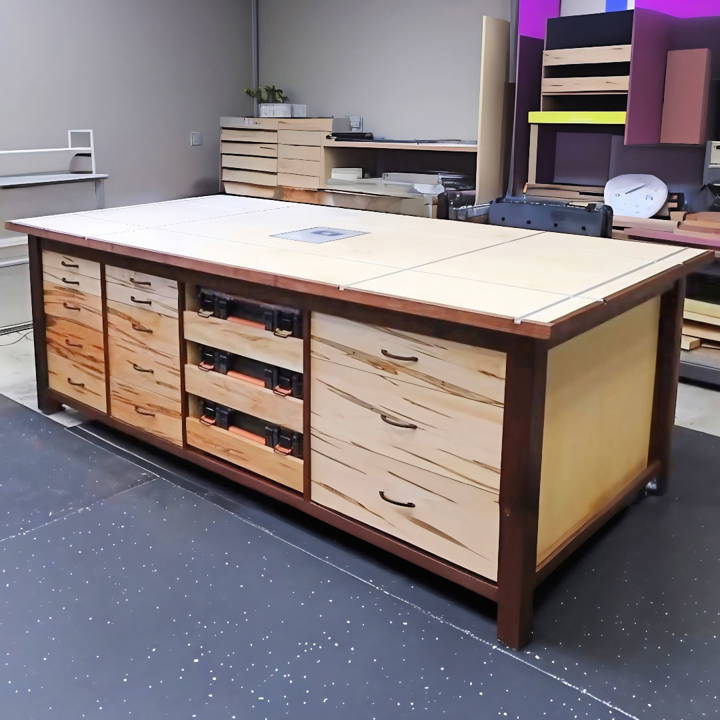
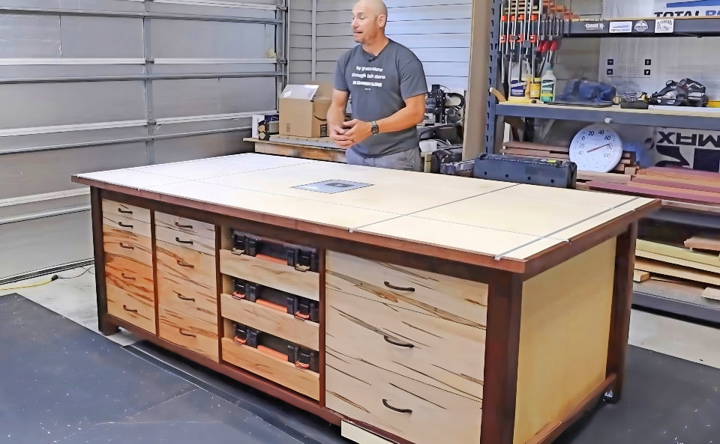
- Walnut and Ambrosia Maple: For durability and beauty. The Walnut was chosen for the legs and trim for its strength and stunning appearance. Ambrosia Maple, with its unique patterns, was used for drawer fronts, adding a touch of character to the workbench.
- Epoxy Resin: To embed personalized elements or decorative details into the workbench surface, offering a custom, professional look.
- Plywood: For the workbench surface and drawers. It's affordable, sturdy, and versatile.
- Ball-Bearing Drawer Slides: Ensures smooth operation of the drawers, enhancing the user experience.
- T-Track: This is for flexibility in clamping and securing workpieces on the benchtop.
- DowelMax Joinery System: Provides strong, reliable joinery that's crucial for a workbench that will see heavy use.
Step by Step Instructions
Learn how to build a DIY workbench with storage. Follow step-by-step instructions, from preparing wood to the final assembly, for a perfect project.
Preparing the Wood
- Legs and Frames: Start by milling the Walnut into 3x3 legs. This involves cutting, planing, and jointing the Walnut to ensure it's square and straight. For a workbench that would carry significant weight and endure various projects, this step was crucial for stability.
- Assembly: The DowelMax joinery system came in handy for assembling the frames and legs. This part of the process required meticulousness to ensure a square and stable foundation. Alternating the grain direction during the glue-up helped counteract wood movement, preserving the workbench's integrity over time.
Building Storage
- Drawers: With 16 drawers, utilizing ball-bearing slides was non-negotiable. These allowed the drawers to glide smoothly, making access to tools and materials effortless. The varied sizes catered to different storage needs, from screws to hand tools.
- Shelves and Compartments: The incorporation of shelves and a dedicated area for a dust extractor or a shop stool showcased the bench's versatility. It's not just a work surface but a comprehensive storage solution.
Finishing Touches
- Epoxy Embedding: A unique feature I admired and incorporated was embedding a personalized element into the workbench using epoxy. This added a signature touch to the bench, making it truly mine.
- T-Track Integration: Installing T-Tracks allowed for adjustable clamping points, enhancing the workbench's functionality. It's a game-changer for securing workpieces of various shapes and sizes.
The Final Assembly
- Attaching the Top: With the frame and storage units in place, the next step was to attach the plywood top. This was where the workbench started coming together, transforming from a skeleton into a functional piece of workshop furniture.
- Applying Finish: Choosing the right finish was pivotal. For the workbench top, I opted for a durable finish that would withstand wear and tear while accentuating the wood's natural beauty. The choice between Danish oil and Odie's oil came down to drying time and the desired aesthetic.
Lessons Learned and Tips
- Precision Matters: Every cut, every measurement needs to be precise. Small errors can accumulate, leading to a final product that doesn't square or fit together as intended.
- Quality Over Quantity: Investing in high-quality materials like Walnut and Ambrosia Maple and reliable hardware like ball-bearing slides paid off, both in the workbench's aesthetics and functionality.
- Patience is Key: Some steps, like the epoxy embedding and ensuring the legs were perfectly square, required patience. Rushing these could compromise the workbench's quality and appearance.
Customization Ideas for Your DIY Workbench
Customizing a DIY workbench with storage is essential to meet your specific needs. Here are some ideas for maximum efficiency and satisfaction:
- Adjustable Height: Consider installing legs that can be adjusted. This will allow you to work comfortably whether you're sitting or standing, and it can accommodate users of different heights.
- Modular Storage: Build a storage system that can be easily reconfigured. Use drawers, bins, and shelves that can be moved around to fit various tools and materials.
- Power Strip Integration: For those who use power tools, integrating a power strip directly into your workbench can provide convenient access to electricity without the clutter of extension cords.
- Pegboard Backsplash: A pegboard installed at the back of the workbench can hold small tools and accessories. It's a simple way to keep frequently used items within arm's reach.
- Fold-Down Work Surface: If space is limited, a fold-down work surface can provide extra room when needed and tuck away neatly when not in use.
- Lighting Solutions: Good lighting is crucial. Install adjustable lamps or LED strips under shelves to illuminate your workspace without making shadows.
- Tool Racks and Holders: Design custom racks and holders for your specific tools. This not only keeps your tools organized but also protects them from damage.
- Casters for Mobility: Adding casters to the bottom of your workbench can make it mobile, allowing you to move it to where it's most needed.
- Finish and Color: Personalize your workbench by choosing a finish or paint that reflects your style and enhances its durability.
- Ergonomic Enhancements: Add features like a footrest bar or a padded mat to reduce fatigue during long projects.
By incorporating these customization ideas, you'll build a workbench that's not only functional but also a pleasure to use.
Advanced Techniques for Your DIY Workbench
Elevating your DIY workbench with advanced techniques can transform it from a simple table into a powerhouse of productivity. Here are some sophisticated methods to consider:
- Integrated Dust Collection: Keep your workspace clean by incorporating a dust collection system. This can be as simple as attaching a vacuum hose to power tools or as complex as installing a central dust collection unit with pipes leading to each tool.
- Built-in Power Solutions: Install multiple electrical outlets along the workbench. This allows you to plug in various tools without relying on extension cords, which can be a tripping hazard.
- Advanced Clamping Systems: Upgrade your workbench with a variety of clamps and hold-downs. T-track systems and bench dogs offer flexibility and precision for securing workpieces.
- Tool-Activated Switches: For an extra level of convenience, install tool-activated switches that turn on dust collectors or lights when a power tool is switched on.
- Custom Tool Organizers: Design and build custom holders for your specific tools. This not only keeps them within reach but also protects them from damage.
- Height-Adjustable Assembly Table: If you often work with large or awkwardly shaped projects, consider adding a section of your workbench that can be raised or lowered to accommodate different tasks.
- Mobile Base: If your workshop requires flexibility, adding a sturdy mobile base to your workbench can make it easier to move around as needed.
- Sophisticated Finishes: Protect your workbench with durable finishes like polyurethane or epoxy. These not only resist stains and scratches but can also give your workbench a professional appearance.
- Lighting Upgrades: Good lighting is essential. Consider adjustable LED task lighting that can be moved and directed exactly where you need it.
Using these techniques, your workbench will shine in your workshop and showcase your skill. A functional workbench makes projects more enjoyable and efficient.
Troubleshooting Common Issues
When embarking on a DIY workbench project, you might encounter a few hiccups along the way. Here's a guide to help you troubleshoot some common issues:
- Stability Concerns: If your workbench wobbles, check that all joints are tight and that the floor is level. Adding diagonal braces can also improve stability.
- Wood Movement: Wood expands and contracts with changes in humidity. To accommodate this, ensure that your tabletop is not too tightly fixed to the base.
- Vice Installation: A common mistake is installing too many vices. Typically, one face vice and one tail vice should suffice. Ensure they are properly aligned and mounted securely.
- Benchtop Flatness: Don't worry excessively about a perfectly flat benchtop. Minor imperfections won't affect most tasks. However, if needed, you can plane the surface to level it out.
- Tool Storage: Avoid the temptation to store too many tools on the bench itself. This can lead to clutter. Instead, use wall storage or under-bench cabinets.
- Excessive Dog/Holdfast Holes: Too many holes can weaken the structure. Plan their placement carefully and only include what you need for your workholding strategy.
- Over-Complicated Designs: Keep it simple. A workbench with too many features can be less functional. Focus on what's essential for your workflow.
- Choosing the Right Materials: Select materials that are durable and within your budget. Hardwoods are long-lasting, while softwoods can be more cost-effective.
- Depth of the Workbench: Building your workbench too deep can make it hard to reach across. A depth of 24 to 30 inches is typically sufficient.
Keep these tips in mind, and fix issues as they come up. This ensures your DIY workbench is reliable and efficient.
FAQs About DIY Workbench with Storage
Discover answers to common FAQs about DIY workbenchs with storage. Learn builds, materials, and design tips for your custom workspace.
Stability is key for a workbench. Use thick plywood for the frame and MDF for the top and shelves to ensure a solid construction. Secure all joints with wood screws and glue. Additionally, make sure your workbench is level, and the legs are evenly cut.
Absolutely! The dimensions of your workbench can be tailored to fit your space. The standard dimensions provided in many plans are 33-1/2-in. H by 48-in. W by 20-3/4-in. D, but you can adjust the width, depth, and height according to your needs and the size of your workshop.
Your DIY workbench can include shelves, drawers, or even a tool tray. Shelves are great for larger items and equipment, while drawers can keep smaller tools and accessories organized. A tool tray can be added to the back or side of the workbench for easy access to frequently used tools.
To maintain your workbench, avoid excessive moisture exposure and clean up spills quickly to prevent damage to the wood. If the work surface becomes worn or damaged, it can be easily replaced if it’s not glued down. Regularly check and tighten any loose screws to ensure ongoing stability.
Adding lighting to your workbench can greatly improve visibility for detailed tasks. Consider installing LED strip lights under the top shelf of your workbench for direct, shadow-free illumination. Alternatively, adjustable desk lamps can be clamped to the sides of the workbench, allowing you to direct light where it's needed most.
Conclusion
Wrapping up, building a DIY workbench with storage is a rewarding project that boosts your workspace organization. It's a simple way to customize your workshop and keep tools handy. With the right materials and steps, your DIY workbench with storage will be both functional and personalized. Enjoy your new, efficient space!


