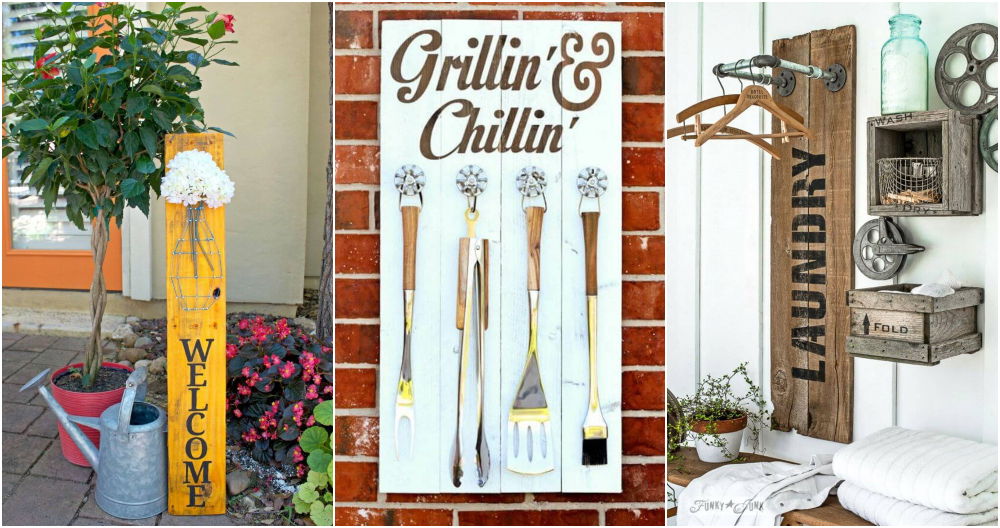
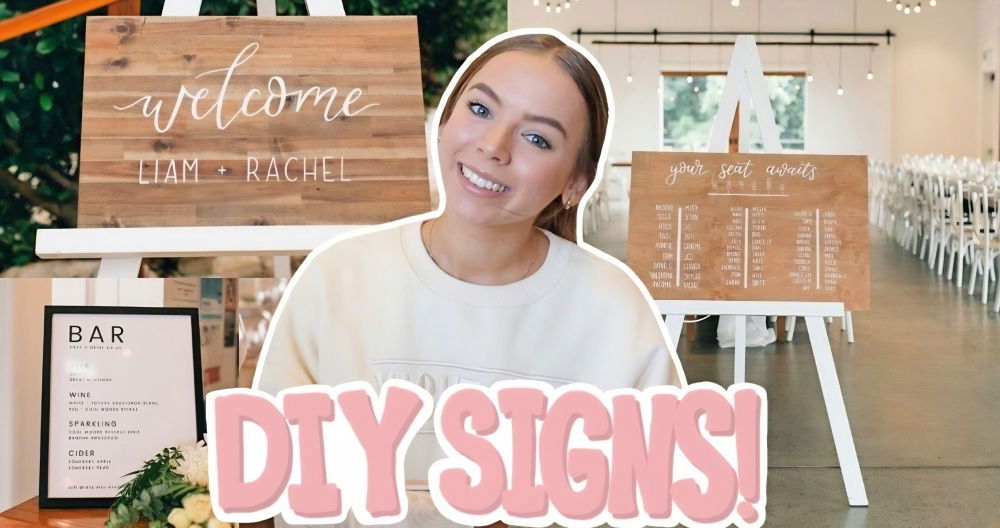
Building DIY yard signs can be surprisingly easy and fun. A few years ago, I decided to make a yard sign for a friend's birthday. I gathered some materials and followed simple steps, and the result was amazing. Making your own yard signs allows you to be creative and personalized.
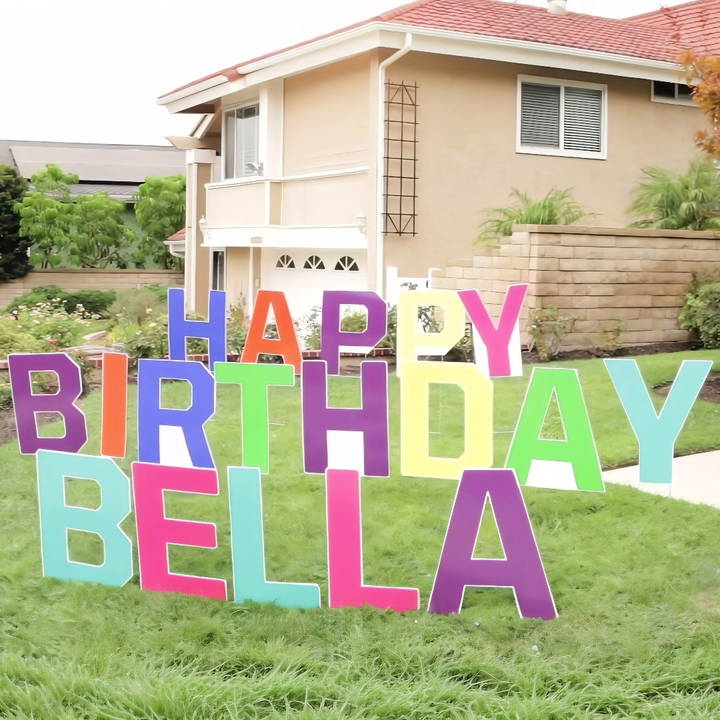
Through this guide, I'll show you how you can make your own yard signs. These tips will help you build signs for any occasion. Start today, and you'll surprise your friends and family with your artistic skills. This simple guide uses basic materials that you may already have.
Materials Needed and Their Purpose
Before I dive into the process, let's take a moment to understand what materials you'll need and why they're crucial for this project:
- Vinyl: The lettering for the sign will be cut out from this, ensuring a colorful and vibrant display.
- Corrugated Plastic: This serves as the base for your sign—durable, weather-proof, and easy to cut into the sizes you need.
- H Brackets: These metal stakes will hold your signs upright in the lawn, ensuring visibility and stability.
- A Long Ruler or Quilting Ruler: Essential for making straight, precise cuts on your corrugated plastic.
- Box Cutter: For cutting your corrugated plastic to the desired shape and size.
- Squeegee: This will help you smoothly apply vinyl onto the corrugated plastic, minimizing bubbles and wrinkles.
Step by Step Instructions
Build eye-catching DIY yard signs with our step-by-step instructions. Perfect for events, sales, and celebrations. Easy and affordable!
Step 1: Planning Your Design
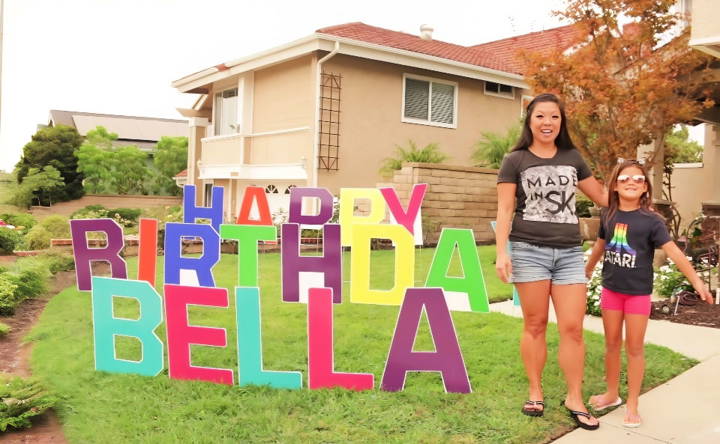
The very first step is to decide on the size and design of your sign. I wanted something grand and visible from the street, so I settled on letters about 23.5 inches tall, which was the maximum height achievable within the constraints of my Cricut machine's cutting mat.
Step 2: Cutting Your Vinyl
After planning, I cut the vinyl letters using my Cricut. Each letter's height was approximately 23.47 inches. It's essential to ensure you've got enough vinyl. Initially, I miscalculated the amount needed, so a tip from my experience: expect to use about four feet of vinyl per letter due to the letter's height and the necessity of cutting them in two halves for the larger ones.
Step 3: Preparing Corrugated Plastic
With the letters cut, the next task was preparing the corrugated plastic. Cutting it into shapes that matched the letters was crucial. I used a long ruler for accuracy and a box cutter for the cutting. Ensuring you have a straight edge when cutting makes the assembly process smoother and your final product more professional.
Step 4: Applying the Vinyl
This was the trickiest part for me initially. Laying down the vinyl without making bubbles required patience and a squeegee. The key was to lay the vinyl down slowly, using the squeegee to smooth out any bubbles as I went. This step significantly influences the final look of your sign, so take your time.
Step 5: Attaching H Brackets
After the vinyl was applied, attaching the H brackets was straightforward. I chose to use 24-inch height brackets to match the height of my letters. The brackets came with little notches that made attaching them to the corrugated plastic easy, assuming you have those notches at a consistent height across all your letters.
Step 6: Placement on the Lawn
The final step was to place the signs in the lawn. I did a dry run to position each letter correctly, ensuring that the phrase I was spelling out was centered and straight. Pushing the H brackets into the ground secured the signs, and suddenly, my DIY project was staring back at me in full, vibrant color.
Maintenance Tips for DIY Yard Signs
Maintaining your DIY yard signs is crucial to ensure they stay looking great and last as long as possible. Here are some helpful tips to keep your signs in top condition:
- Choose the Right Materials: Start with materials that can withstand outdoor conditions. For wooden signs, use treated lumber that resists rot and termites. For metal signs, opt for aluminum or coated steel that won't rust easily.
- Seal and Protect: Apply a clear sealant to your sign to protect it from moisture and UV rays. For wood, a polyurethane coat works well. For metal, consider a rust-inhibitor spray. Reapply the sealant every year or as needed.
- Regular Cleaning: Gently clean your signs with soapy water and a soft brush to remove dirt and grime. Avoid harsh chemicals or abrasive tools that can damage the sign's surface.
- Touch-Up Paint: If your sign has painted elements, keep some extra paint on hand for touch-ups. This will keep the colors vibrant and the sign looking fresh.
- Secure Installation: Make sure your sign is securely installed. If it's a stake sign, drive it deep enough into the ground to withstand wind. For wall-mounted signs, use appropriate hardware for your wall type.
- Inspect Regularly: Check your sign periodically for any signs of wear or damage, such as chipping paint or loose parts. Address these issues promptly to prevent further deterioration.
- Mind the Weather: If extreme weather is forecasted, consider temporarily removing your sign to prevent damage, especially if it's lightweight or particularly decorative.
By following these simple maintenance tips, you can enjoy your DIY yard signs for many seasons to come. Remember, a little care goes a long way in preserving your outdoor decor.
Safety Considerations for DIY Yard Signs
When making and displaying DIY yard signs, safety is a priority. Here's how to ensure your signs are safe for everyone:
- Location: Place your signs where they are easily visible but do not obstruct the view of pedestrians, cyclists, or drivers. Avoid placing them near curves, hills, or busy intersections where they might distract or block visibility.
- Installation: Securely install your signs. If they're freestanding, make sure they have a sturdy base. If you're hanging them, check that all fasteners are tight and the sign is stable.
- Materials: Use non-toxic materials and paints, especially if children or pets are around. Also, sharp edges or corners that could cause injury should be avoided.
- Lighting: If your sign is in a dimly lit area, consider adding reflective materials or lights so it's visible at night, but ensure the lights are not too bright or distracting.
- Weatherproofing: Make sure your sign can withstand local weather conditions. This might mean waterproofing or securing it against strong winds.
- Maintenance: Regularly check your sign for any damage or wear that could make it unsafe and repair it promptly.
By following these tips, you can enjoy your DIY yard signs while keeping safety in mind.
FAQs About DIY Yard Signs
Get quick answers to FAQs about DIY yard signs, covering materials, design tips, and installation. Build eye-catching yard signs yourself!
When designing your sign, remember:
Clarity is key: Use large, bold fonts and keep your message concise.
Contrast for visibility: Choose colors that stand out against the background.
Simplicity over complexity: A simple design ensures your message is clear.
Quality matters: Use high-resolution images to maintain a professional look.
Yes, you can! While a Cricut machine makes the process easier, you can also:
Hand-cut letters: Use a stencil for uniformity.
Paint directly: If you have a steady hand, you can paint your message directly onto the sign material.
To protect your sign from weather:
Use appropriate materials: Vinyl and corrugated plastic are great for outdoor conditions.
Apply a sealant: This is especially important for wooden signs to prevent decay.
Regular maintenance: Check your sign periodically and touch up paint or sealant as needed.
Yes, there are a few things to keep in mind:
Local regulations: Check your city's ordinances on sign placement and size.
Homeowners association rules: If you live in a community with an HOA, review their guidelines for yard signs.
Duration: Some areas have restrictions on how long you can display a sign, especially political ones.
The size of your yard sign will depend on the distance from which you want it to be readable. Here are some tips:
For close-up visibility (like pedestrian traffic), a smaller sign of about 12x18 inches should suffice.
For greater visibility (like roadside signs), consider larger dimensions, such as 24x36 inches or more.
Letter height: Each inch of letter height provides about 10 feet of readability distance. So, a 4-inch tall letter would be readable from about 40 feet away.
Final Thoughts
Give DIY yard signs a try. This guide is designed to help you build something special. Start making your yard signs today and enjoy the process. You'll also get to show off your creativity. These tips are here to help you every step of the way!


