If you're a crocheter or knitter, you know the struggle of keeping your yarn tidy, especially when working on projects outside your crafting space. A DIY yarn holder could be your perfect solution—a simple, portable way to keep your yarn organized and tangle-free on the go. In this guide, we'll walk through a step-by-step process to make your own DIY yarn holder using affordable, household materials like cardboard, floral wire, and duct tape.
Whether you're crafting on the couch, in the car, or at a cozy café, this easy-to-follow project will provide a sturdy and functional yarn holder for any crafting adventure.
What Is a Yarn Holder?
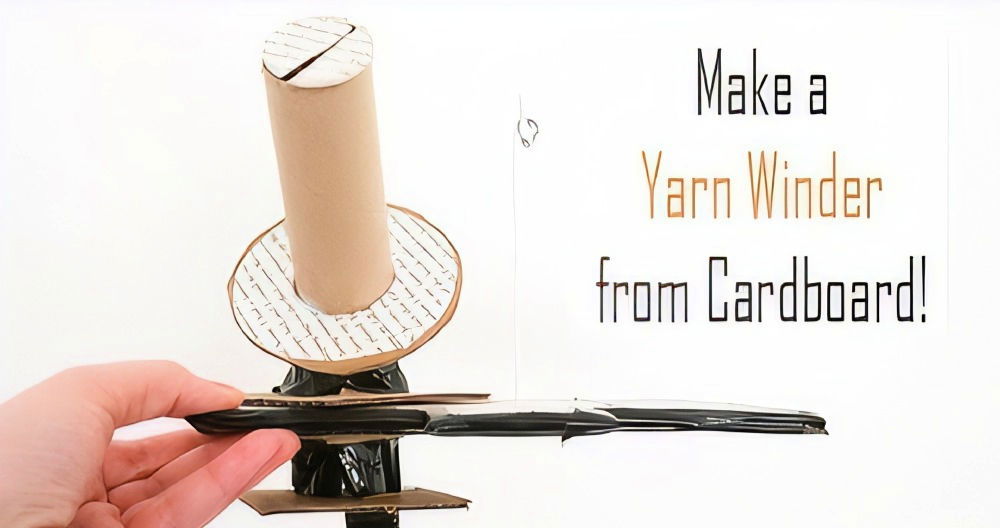
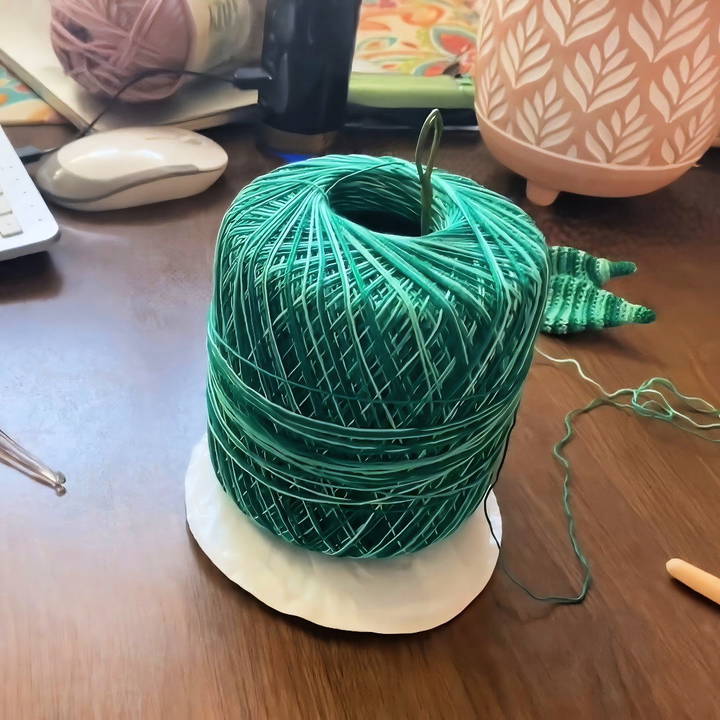
A yarn holder keeps your yarn ball or skein steady while you work, preventing it from rolling away, tangling, or getting dirty. Commercial yarn holders often come in various designs—some are weighted bases, others are boxes, and some are even made to clip onto bags or belts for portability. This DIY version is a lightweight, portable solution you can attach to your belt loop or bag, letting you crochet or knit almost anywhere without the mess.
Benefits of Making Your Own Yarn Holder
- Cost-effective: No need for expensive supplies. Most materials may already be in your home.
- Customizable: Adjust the size, shape, or design to suit your crafting needs.
- Eco-friendly: Reuse and repurpose materials like cardboard and floral wire, reducing waste.
- Convenient: Make it portable for easy crafting wherever you go.
Materials Needed for Your DIY Yarn Holder
Gathering materials is the first step. Here's what you'll need:
- Cardboard: A sturdy piece to form the base of your yarn holder.
- Floral Wire: Strong but flexible enough to hold the yarn steady. (You can also substitute with any bendable wire you have available.)
- Duct Tape: Provides reinforcement and smooth edges, preventing fraying or wire poking through.
- Crochet Hook: Used to build an initial hole and potentially for decorative crochet elements.
- Scissors: For cutting cardboard, wire, and duct tape.
- Optional - Keychain Hook: For portability, allows you to clip the yarn holder to your belt loop, bag, or bike shorts.
Step by Step Instructions
Learn how to make a DIY yarn holder with our step-by-step guide, featuring easy customization tips. Perfect for organizing and streamlining your crafting!
Step 1: Preparing the Cardboard Base
Choose a piece of sturdy cardboard that's roughly the size of a small notepad. This will form the base that supports the yarn. Follow these steps:
- Cut to Size: Cut the cardboard into a size that comfortably fits your hand. Aim for a rectangular or square shape.
- Poke a Hole: Using your crochet hook or another sharp tool, poke a small hole near the top edge of the cardboard. This hole will allow the floral wire to pass through, anchoring it to the cardboard base.
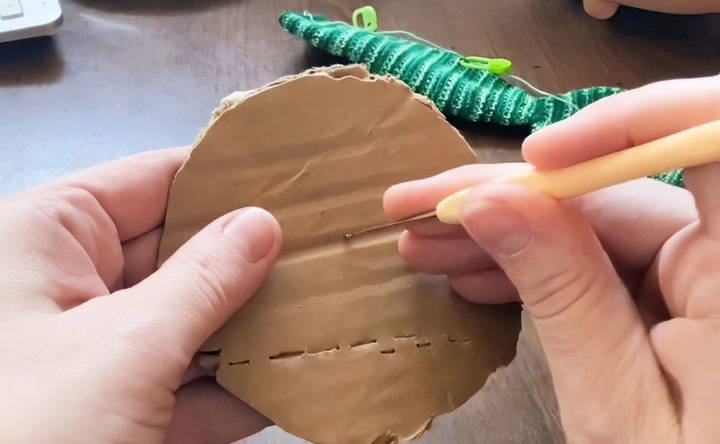
Tip: Make the hole just large enough for the wire to fit snugly to avoid any loosening over time.
Step 2: Making the Wire Holder
Now that you have a base, it's time to shape the floral wire to hold the yarn.
- Shape the Wire: Cut a piece of floral wire that's approximately 12 inches long. This length should be sufficient to build a small loop or cradle for the yarn.
- Insert the Wire: Thread one end of the wire through the hole in the cardboard, pulling it through until it reaches the opposite side.
- Bend the Wire into Position: Shape the wire into a hook or loop that will cradle the skein or ball of yarn. Make sure the wire is snugly wrapped to secure the yarn but loose enough to let it rotate as you pull on it.
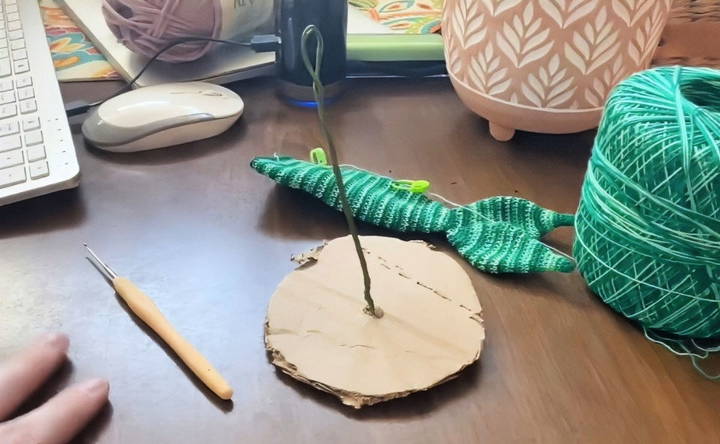
Note: Ensure the wire doesn't have any sharp edges that might snag on the yarn.
Step 3: Reinforcing the Holder with Duct Tape
Once the wire is in place, it's time to add duct tape to reinforce the cardboard base.
- Cover the Base: Cut strips of duct tape and layer them over the entire cardboard surface, including any edges. This strengthens the base, making it durable and preventing the cardboard from fraying.
- Secure the Wire: Wrap duct tape around any exposed areas of the floral wire. This prevents accidental poking and adds a smooth, finished look to the yarn holder.
- Trim Excess Tape: If the duct tape overlaps or extends beyond the cardboard, trim it carefully to keep the holder neat and compact.
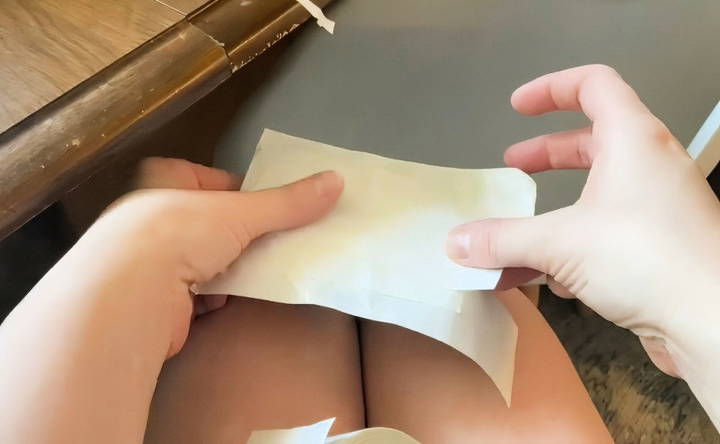
Pro Tip: Choose a fun color or patterned duct tape for a personalized touch!
Step 4: Adding a Keychain Attachment (Optional)
To make your yarn holder even more portable, add a keychain attachment. This feature lets you clip it onto your belt, bag, or any surface you prefer.
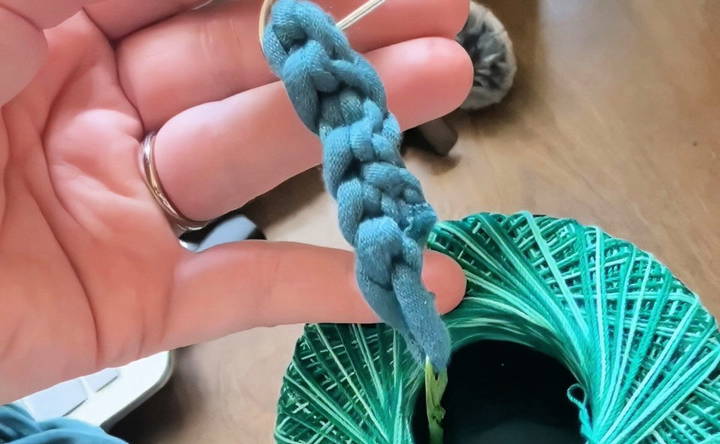
- Make a Small Crochet Chain: Use your crochet hook and a bit of yarn to build a short chain (around 4-5 inches).
- Attach to Holder: Loop the chain through the wire loop on the cardboard, adding a small keychain hook at the end.
- Clip and Go: With the keychain attachment, you can now carry your yarn holder hands-free, making it ideal for crafting on the move.
Step 5: Testing and Final Touches
Once the construction is complete, give your yarn holder a test run to ensure it functions as desired.
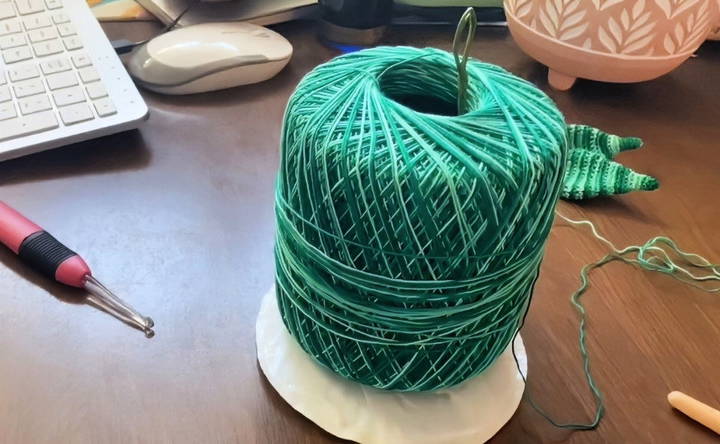
- Load the Yarn: Place a skein or ball of yarn in the wire cradle. Pull gently to check if the yarn rotates freely without slipping off.
- Adjust Wire if Needed: If the yarn slips, adjust the wire loop for a snugger fit. Conversely, if the yarn doesn't rotate smoothly, loosen the loop slightly.
- Final Check: Ensure all tape edges are smoothed down, and the holder feels comfortable to hold or wear.
Additional Tips for Customizing Your Yarn Holder
While this DIY yarn holder is functional and easy to make, you may want to explore ways to personalize or improve its design:
- Use Stronger Material: If you find cardboard too flimsy, consider substituting it with a small wooden or plastic base.
- Add Multiple Wire Loops: For larger projects, you might want multiple loops to hold different colors of yarn.
- Paint or Decorate the Base: If you want a more polished look, paint the cardboard before adding duct tape or apply decorative stickers.
- Replace Floral Wire with Hooks: For a sturdier build, use pre-made hooks instead of floral wire, available at most hardware or craft stores.
Pros and Cons of the DIY Yarn Holder
Discover the pros and cons of the DIY yarn holder. Enhance your knitting experience while understanding potential challenges in maintenance and use.
Pros
- Affordable: Uses materials you likely already have.
- Quick Assembly: Can be made in under an hour.
- Customizable: Adaptable to your specific crafting needs.
Cons
- Limited Durability: Cardboard may wear down over time, particularly if used outdoors.
- Basic Design: May lack the aesthetic appeal of commercial yarn holders.
- Not Suitable for Heavy Yarns: Works best for lightweight yarns or small skeins due to the wire's strength.
Final Thoughts
Making your own DIY yarn holder is a fun, easy, and affordable way to make your crafting experience more enjoyable and portable. With just a few basic materials, you can build a functional tool tailored to your needs. While it might not have the polish of a store-bought holder, this DIY project is a practical solution for crafters looking to organize their supplies on a budget. Plus, it's customizable—whether you add colors, designs, or even extra loops, this yarn holder can be as unique as your creations.
So gather your materials, follow the steps, and enjoy the freedom of crafting wherever you go with this DIY yarn holder!
FAQs About the DIY Yarn Holder
Discover frequently asked questions about the DIY yarn holder - your guide to making and using effective yarn storage solutions.
Yes! You can substitute floral wire with any flexible wire or even a pipe cleaner for lightweight yarns. Just ensure the material is sturdy enough to hold the yarn without bending under pressure.
You can use masking or electrical tape, but duct tape is preferred due to its strength and variety of designs. Just be sure any substitute tape provides enough durability.
Certainly! For larger projects with multiple yarn colors, add additional wire loops to accommodate each skein or ball.
Yes, the DIY yarn holder is lightweight and compact, making it perfect for crafting on the go. However, be mindful of the durability of the cardboard base if you're traveling extensively.


