Learning how to repair drywall can save you time and money, and it's a skill you'll find handy throughout your home's life. With 12 ways to patch a hole in drywall, this guide provides clear, step-by-step instructions that are easy to follow. From small dents and dings to larger holes, we'll show you the tools and materials you'll need, ensuring you can tackle the job confidently.
Why take on drywall repair yourself? It's not only about cost savings; it's about gaining the skills to maintain and improve your living space. As we break down the process into manageable steps, from fixing popped nail heads to the California Patch Method, you'll discover the satisfaction of DIY home improvement. Ready to learn more and make those unsightly holes disappear? Let's dive into the detailed guide that will transform the way you handle drywall repair.

Why Repair Drywall Yourself?
Repairing drywall by yourself might seem daunting at first. However, with the right guidance and a bit of patience, it's a task you can confidently tackle. Here's why it's worth considering:
- Cost-Effective: Professional repair services can be expensive. By doing it yourself, you save on labor costs, making it a more budget-friendly option.
- Quick Solutions: Sometimes, waiting for a professional might not be practical, especially for minor damages. Learning to do it yourself means you can address the issue as soon as it arises.
- Skill Building: Acquiring drywall repair skills not only boosts your confidence but also adds to your DIY repertoire. This knowledge can be valuable for future home maintenance tasks.
- Personal Satisfaction: There's a unique sense of accomplishment that comes from fixing things in your home on your own. It can turn into a rewarding hobby or a way to unwind.
To Start, You'll Need:
- Patience: Drywall repair is not hard, but it does require careful attention to detail.
- The Right Tools: Most repairs only need basic tools, like a drywall knife, sandpaper, and joint compound.
- A Learning Attitude: Mistakes might happen, but they are part of the learning process. Each attempt will improve your skill.
By choosing to repair drywall yourself, you embrace both a challenge and an opportunity to enhance your home with your own hands. Remember, every expert was once a beginner. With each patch and paint, you're not just fixing walls – you're building your capabilities.
How to Repair Drywall - Step by Step
Repairing drywall might seem like a task best left to professionals, but with the right tools and a bit of guidance, it’s something you can tackle on your own. From small dings and dents to larger holes, this step-by-step guide will walk you through the process of fixing your walls, ensuring a smooth and seamless repair.
Tools and Materials You Will Need
- Lightweight spackle or joint compound
- Drywall knife
- Sandpaper or a sanding block
- Drywall saw
- Drywall screws
- Furring strips (for larger holes)
- Joint tape
- Primer and paint
- Patch kit (for doorknob-sized holes)
- Corner bead (for dinged corners)
Step 1: Fix Small Dents and Dings
Small blemishes are the easiest to fix. Use a putty knife to scrape away any loose debris. Apply lightweight spackle over the hole and let it dry. If the hole isn’t completely filled, apply more spackle and smooth it with your drywall knife. Once dry, sand the area until smooth.
Step 2: Repair Popped Nail Heads
If you notice a nail protruding from the wall, place a drywall screw about 1-1/2 inches above or below the popped nail to secure the drywall. Then, drive the popped nail back in, cover it with spackle, and sand the area smooth.
Step 3: Patch Holes from Doorknobs
For damage caused by a doorknob, a small patch kit works wonders. Stick the patch over the hole and then use a drywall knife to apply lightweight joint compound in a crisscross pattern over the patch, feathering the edges to blend with the wall. Allow it to dry. If necessary, apply another coat of compound.
Step 4: The California Patch Method
This method is ideal for holes six inches or smaller. Cut a new piece of drywall about two inches larger than the hole. Then, score and snap off the loose gypsum, keeping the paper backing intact. Place this over the hole, trace the outline, and cut the wall to fit the patch. Apply joint compound to the back of the paper backing, press it into place, and cover with compound.
Step 5: Fix Larger Holes
For holes larger than six inches, cut a piece of drywall that's slightly larger than the hole. Trace the patch over the hole and cut the wall to match. Insert furring strips inside the hole on two sides and secure them with screws. Place the patch, secure it to the furring strips, and apply joint tape and compound.
Step 6: Repair Dinged Corners
If the corner of your wall is damaged, cut the exposed corner bead with a hacksaw and the drywall with a utility knife. Remove the damaged section and replace it with a new piece of corner bead, securing it in place. Apply joint compound along the corner, ensuring a smooth finish.
Step 7: Finishing Touches
Once all repairs have dried, lightly sand the areas to ensure they are smooth. Apply primer and then paint to match your wall. If you’re repairing a textured wall, sand lightly to blend the repair. For added texture, mix the joint compound with water, dip a stiff brush into the mixture, and flick it onto the wall. Alternatively, use a texture spray can for a quicker solution.
Sanding and Painting
After the joint compound has fully dried, lightly sand the repaired areas to ensure a smooth finish. Prime the repairs to seal the compound, providing a suitable surface for painting. Paint over the primer with a color that matches your wall to make the repair virtually invisible.
Video Tutorial
For a step-by-step video tutorial on repairing drywall, watch this helpful video.
It pairs well with this written guide, bringing techniques to life visually and making the repair process even clearer.
By following these steps, your walls should look as good as new in no time. Remember, patience is key to achieving a perfect finish.
Frequently Asked Questions About Drywall Repair
Discover answers to common questions on drywall repair techniques, costs, and DIY tips. Learn how to fix cracks, holes, and damage efficiently.
What materials do I need for basic drywall repair?
For most basic repairs, you'll need:
- Joint compound or lightweight spackle
- A drywall knife or putty knife
- Sandpaper or a sanding block
- Primer and paint to match your wall
How do I fix a small hole in the drywall?
- Clear any loose debris from the hole.
- Fill the hole with a spackle using a putty knife.
- Allow it to dry, then apply a second coat if necessary.
- Sand the area smooth.
- Prime and paint to match the wall.
Can I fix a large hole in the drywall myself?
Yes, you can fix a large hole by:
- Cutting a piece of drywall slightly larger than the hole.
- Tracing and cutting the wall to match the new piece.
- Install furring strips inside the hole and attach the patch.
- Applying joint tape around the edges.
- Covering with joint compound, sanding, and then painting.
How do I repair a dent or ding in drywall?
- Use a putty knife to apply a lightweight spackle over the dent.
- Let it dry completely.
- Sand the area smooth.
- Apply primer and paint.
What is the best way to match the paint after repairing drywall?
To best match your paint:
- Use leftover paint if you have it.
- If not, take a small chip of the painted wall to a paint store for color matching.
- Always prime the repaired area before painting to ensure an even finish.
How can I avoid visible seams after drywall repair?
To avoid visible seams:
- Use joint tape over cracks or joints.
- Apply joint compound in thin layers, allowing each to dry before applying the next.
- Sand the area smooth before priming and painting.
What should I do if the drywall repair texture doesn't match?
For textured walls after the repair:
- Dilute the joint compound with water and apply with a brush or sponge for a similar texture.
- Use a texture spray can for a more uniform application.
- Practice on a scrap piece of drywall first to get the technique right.
How long does it take for the joint compound to dry?
Drying times can vary based on humidity, temperature, and the thickness of the application, but generally:
- Lightweight compound: 24 hours
- Regular compound: Up to 48 hours
For quick fixes, consider using a quick-setting compound.
Can I repair water-damaged drywall?
Yes, but first, address the source of the moisture. Then, cut out the damaged section and replace it with new drywall, following the steps for repairing larger holes.
Repairing drywall might seem challenging at first, but with the right tools and techniques, you can easily fix the most common issues yourself. Whether it's a tiny ding or a large hole, these FAQs cover the essentials to help you get started on your DIY journey.
How To Repair Drywall (12 Ways to Patch a Hole in Drywall)
Learn how to repair drywall with these 12 effective methods for patching holes in drywall. From small blemishes to larger damages, we've got you covered!
1. How to Repair Drywall - Step by Step
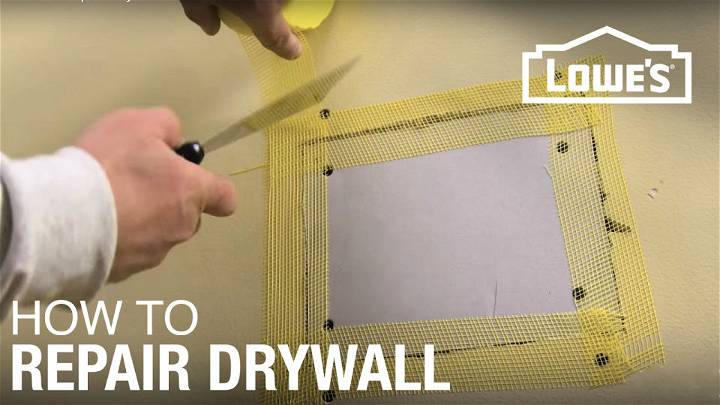
Ready to make your walls look pristine again? Fixing small holes, dents, and even larger gaps in drywall is simpler than you might think. From using spackle for minor repairs to the California patch technique for bigger holes, we've covered all the bases. Don't forget the finishing touches for textured walls to ensure a seamless repair. For more detailed guidance, check out this helpful video and bring your walls back to life!
2. Secret For Quick Drywall Repair
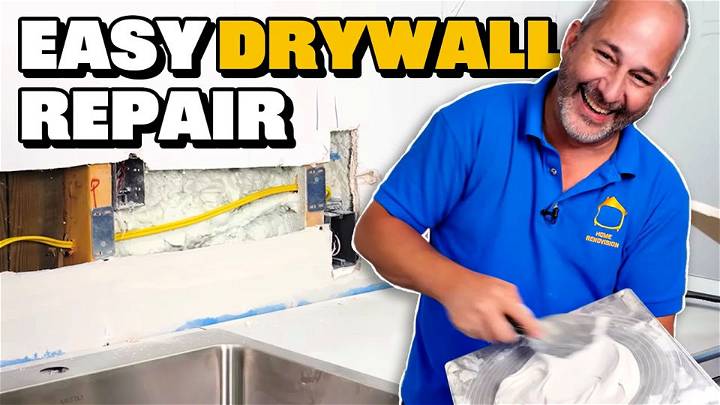
Looking to master quick drywall repairs? Watch this tutorial for easy and effective techniques. Learn how to cut the hole to match your drywall piece perfectly, use mesh tape with quick-set mud for faster drying, and get tips for a smooth finish ready for tiling. Ideal for fast-paced projects needing quick turnaround. Simple, clear guidance for any home renovation enthusiast. Whether fixing a small hole or prepping for a backsplash, streamline your DIY drywall repairs with these pro tips.
3. How to Repair Drywall and Fix a Large Hole in the Plaster Wall
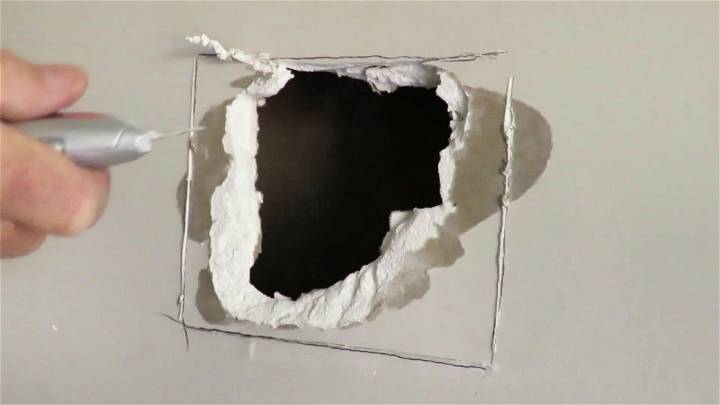
Discover a straightforward method for repairing large holes in drywall and plaster walls with Garry Purcell's easy-to-follow tutorial. Learn the essential tools and steps needed to restore your walls to pristine condition without unnecessary complications. Whether it's for a rental property or your own home, Garry's guidance simplifies what might seem like a daunting task. For a detailed walkthrough, check out his tutorial on YouTube: Watch the video now. Perfect for DIYers seeking efficient and reliable wall repair methods.
4. How to Quickly Patch a Hole in Drywall
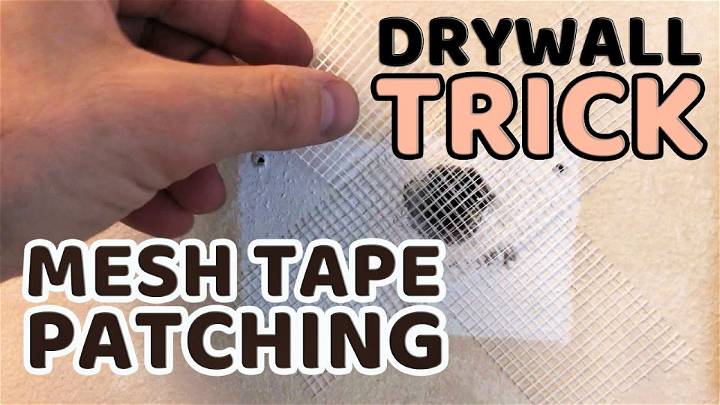
Discover a simple solution for patching holes in drywall using the mesh tape trick. This video guide breaks down the process into manageable steps, ensuring a durable and inconspicuous repair. Ideal for fixing anything from small cracks to one-inch holes, this method emphasizes minimal disruption and seamless blending with existing wall textures. Learn how to apply mesh tape internally for added strength, perfect for areas requiring extra support or anchor reinforcement. Follow along for practical, easy-to-implement tips, and achieve professional-looking results with ease.
5. How to Fix Small Holes in Drywall
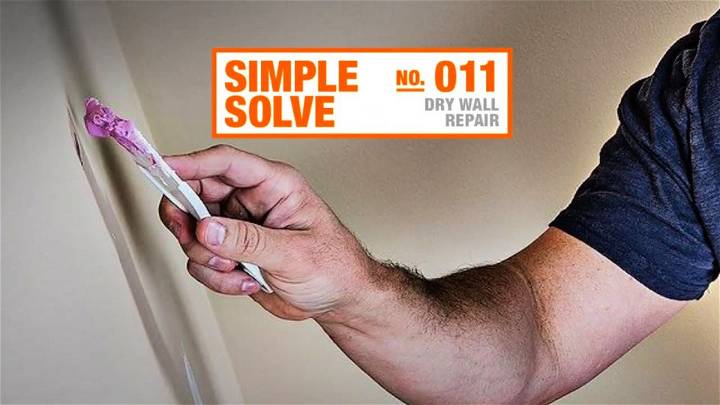
Discover a simple way to repair small holes in drywall with The Home Depot Canada's guide. With a practical step-by-step process, you can make your walls look as good as new. Ideal for fixing the marks left by nails and screws, this method ensures a smooth, even surface without the need for a major repaint. Perfect for homeowners seeking a quick and efficient solution.
6. How to Patch and Repair Drywall
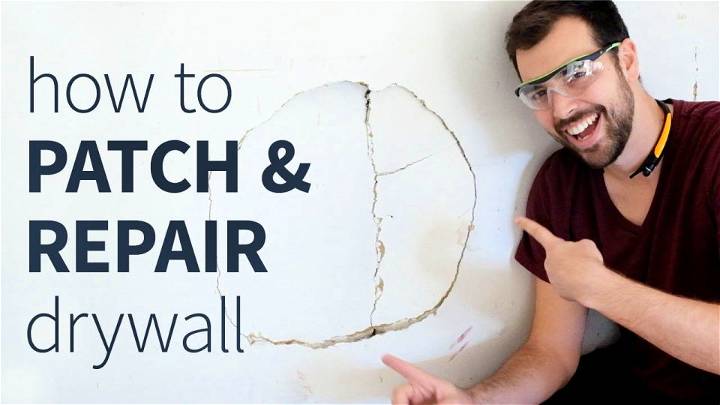
Embarking on a DIY journey to patch and repair drywall? Evan and Katelyn's tutorial will guide you through each step, ensuring a smooth finish. From dealing with small nail holes using spackle to handling larger damaged areas with drywall patches and joint compound, this guide simplifies the process. Perfect for anyone eager to refresh their walls, it also covers sanding and painting tips for that pristine look. Ready to transform your space? Let's dive in and make those walls flawless again!
7. Easy to Repair Drywall
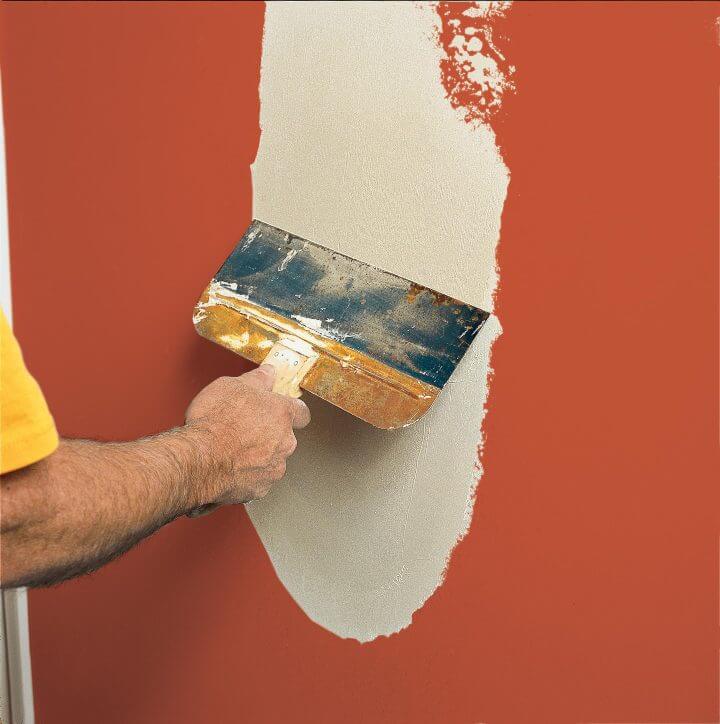
For a seamless fix on your walls, mastering how to patch a drywall hole is essential. Tom Silva from This Old House provides a straightforward guide, suitable for various hole sizes. No special tools are required—just some drywall scraps, joint compound, and a bit of patience. Remember, cut your patch to fit the hole for a perfect match. Apply joint compound in thin layers for an artful finish. Whether dealing with small or large openings, these tips ensure a polished look, blending seamlessly with your wall.
8. How to Repair Drywall
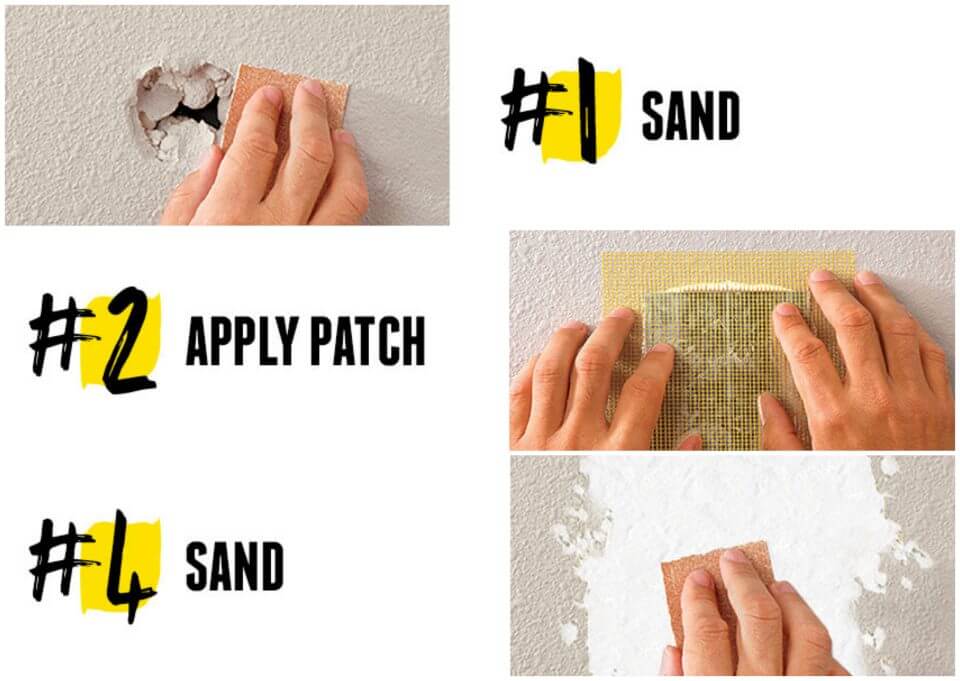
Discover an easy guide to fixing drywall holes with precision at Homax®. Begin by sanding the area for a clean surface. Then, secure a Homax® Wall Patch over the hole for a smooth base. Apply spackle, feathering out the edges, and let it dry. If needed, match the wall's texture using Homax® solutions, and finish with a coat of paint for a seamless repair. Simple steps for a flawless finish.
9. How to Patch a Hole in Drywall
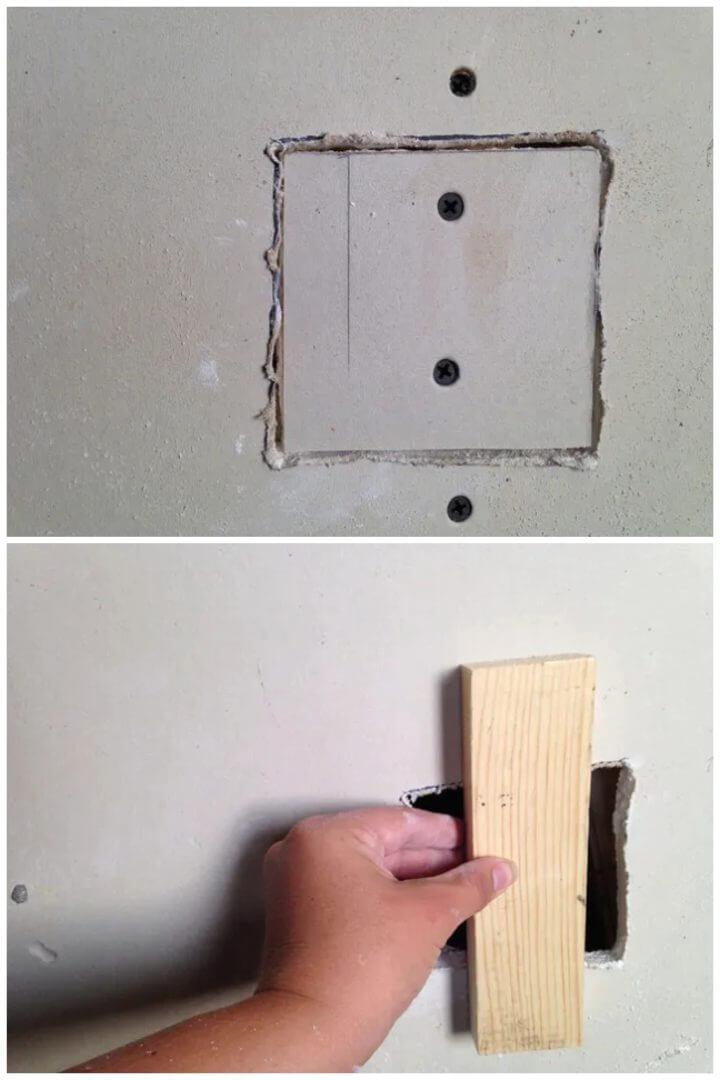
Patching a hole in drywall may seem daunting, but with the correct approach, it's quite manageable. From selecting the right tools like drywall knives and screws to mastering the art of securing wallboard and applying joint compound, the process is detailed and methodical.
For a comprehensive guide on fixing up to 6-7" diameter drywall holes, including the nuances of cutting, securing, taping, and finishing, refer to this insightful tutorial on Lifehacker. The guide not only simplifies each step but also underscores the importance of patience and precision, ensuring your wall looks as good as new.
10. DIY Fix a Hole in Drywall
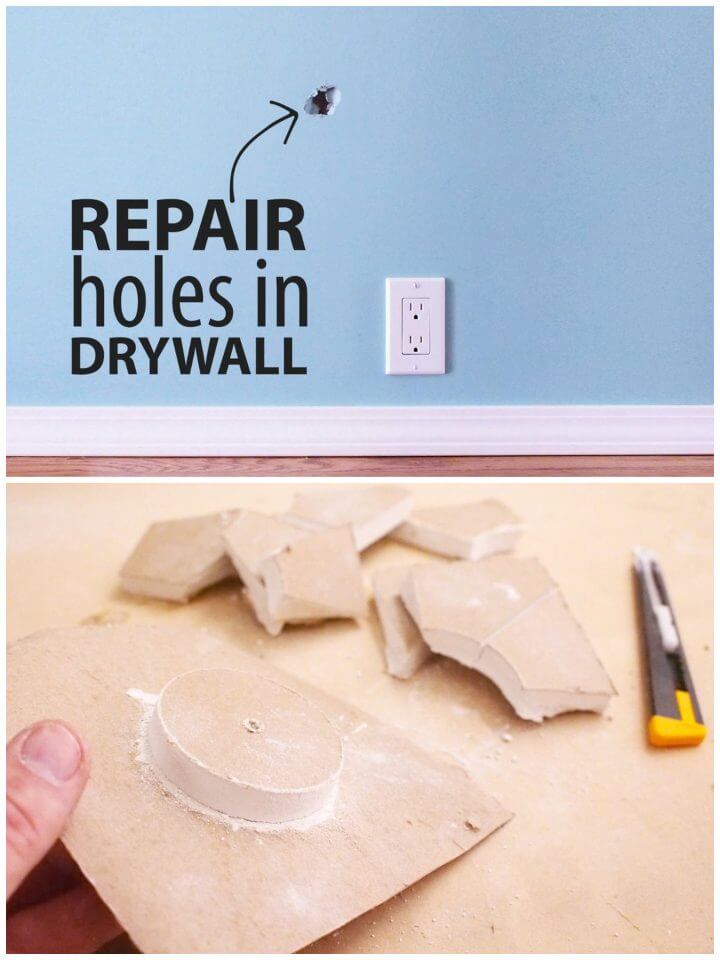
Discover a straightforward guide on how to fix a hole in drywall - a common household issue that can arise from various accidents. This methodical approach lays out each step needed, from preparing the essential tools and supplies to executing the repair with precision. Ideal for novices, this tutorial ensures a seamless patch-up, leaving your walls looking impeccably smooth. Embrace this practical solution for a well-mended home.
11. How to Repair Large Sections Of Drywall
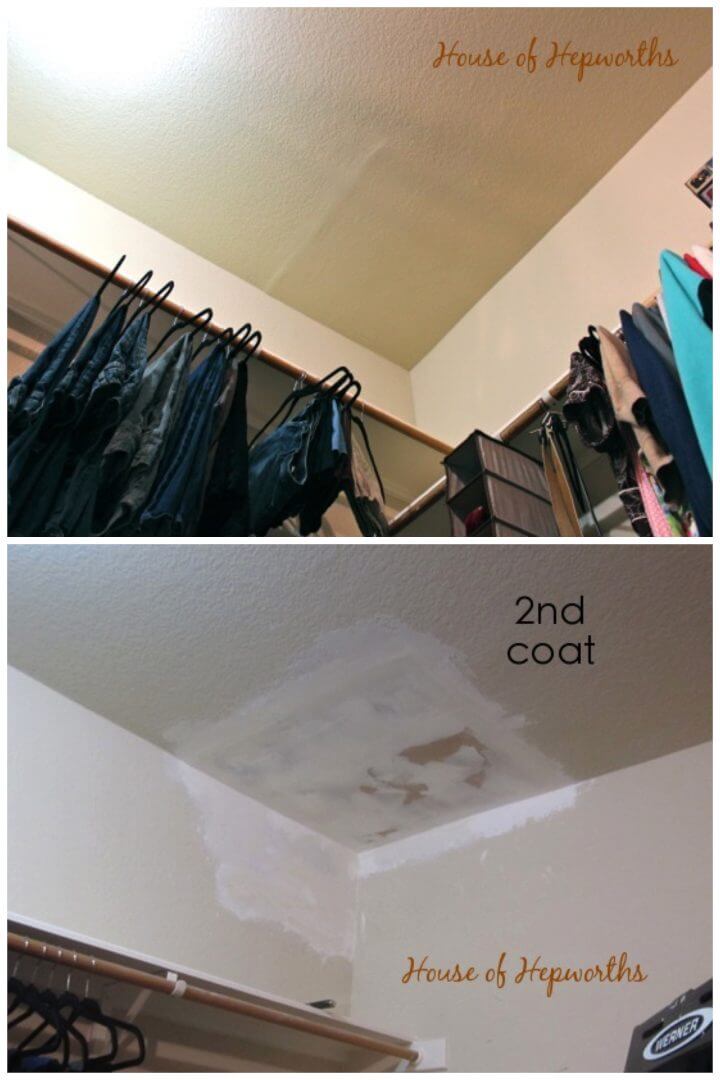
Mastering drywall repair can transform your home maintenance skills. At House of Hepworths, you can discover an engaging guide on fixing large drywall sections seamlessly. From selecting the right tools to applying the final texture, every step is explained in an easy-to-follow manner. This helpful, hands-on approach not only empowers you with knowledge but also instills confidence to tackle common home repairs. Perfect for those who prefer do-it-yourself solutions.
12. Repair Torn Drywall Paper
Struggling with torn drywall paper after removing wallpaper or tile? Fear not! A solution is at hand with Zinsser Gardz sealer. Learn the step-by-step method to effortlessly repair torn drywall paper, ensuring a seamless finish that's ready for painting.
Whether fixing up after a DIY project or preparing a wall, this guide provides all the essential tips and materials you'll need. Say goodbye to fuzzy, damaged drywall surfaces and hello to smooth, primed walls. Discover the full guide at The Handyman's Daughter.
15 Easy DIY Light Box Ideas for Inexpensive Photography
Conclusion:
In conclusion, mastering how to repair drywall is an essential skill that can save you time and money while also keeping your home looking its best. From fixing small dents and dings to patching large holes using methods like the California Patch, this guide offers 12 ways to address various types of damage.
By following the step-by-step instructions and utilizing the right tools and materials, you can achieve professional-looking results. Remember to give the finishing touches, such as sanding and painting, serious attention to ensure a seamless blend with the surrounding area. Armed with this knowledge, tackling drywall repairs can be a straightforward and rewarding DIY project.


