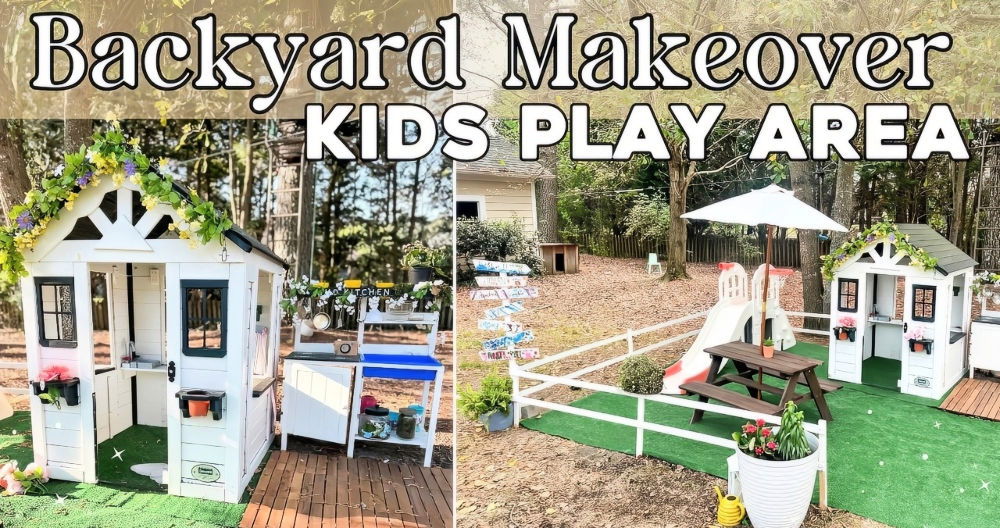
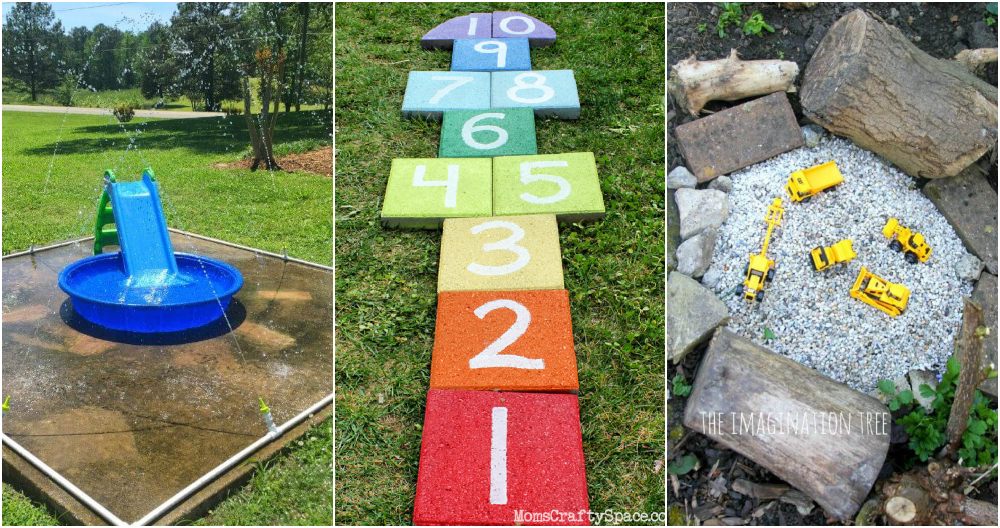
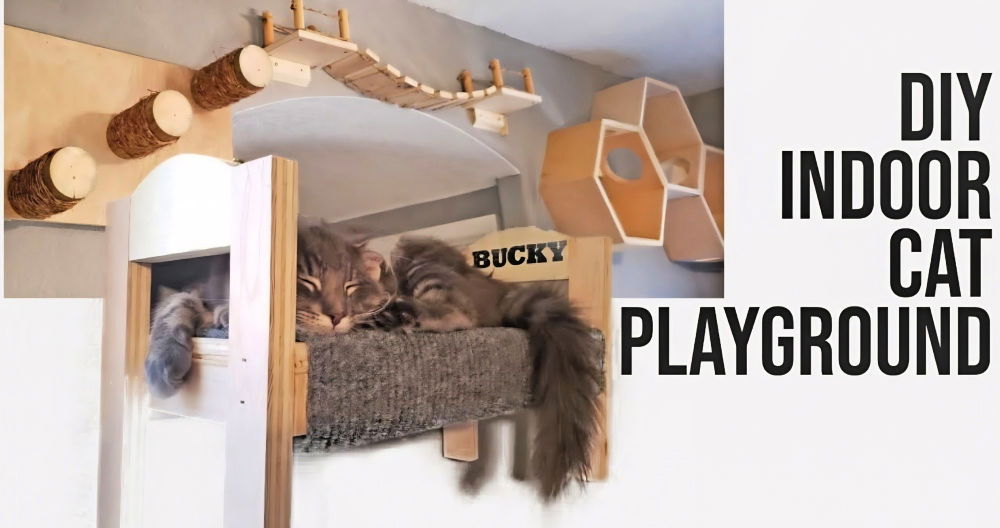
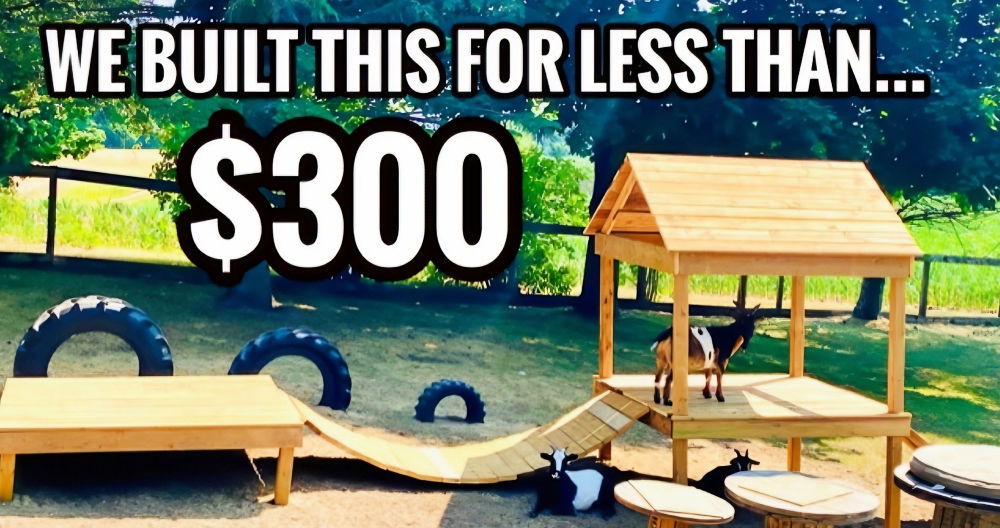
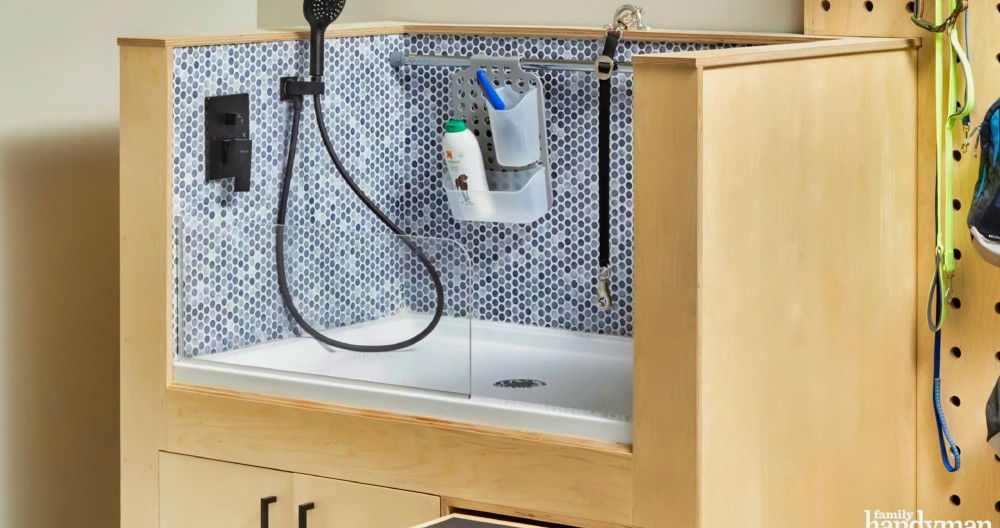
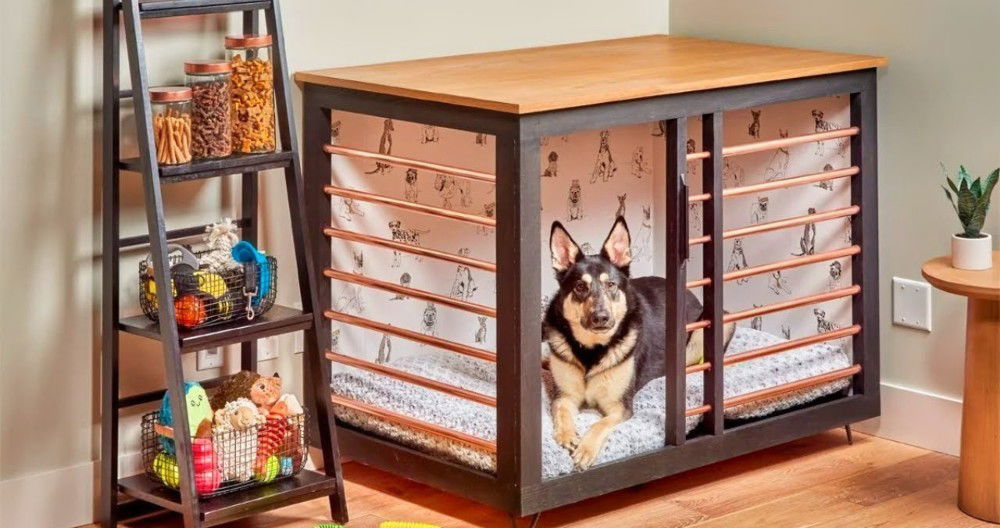
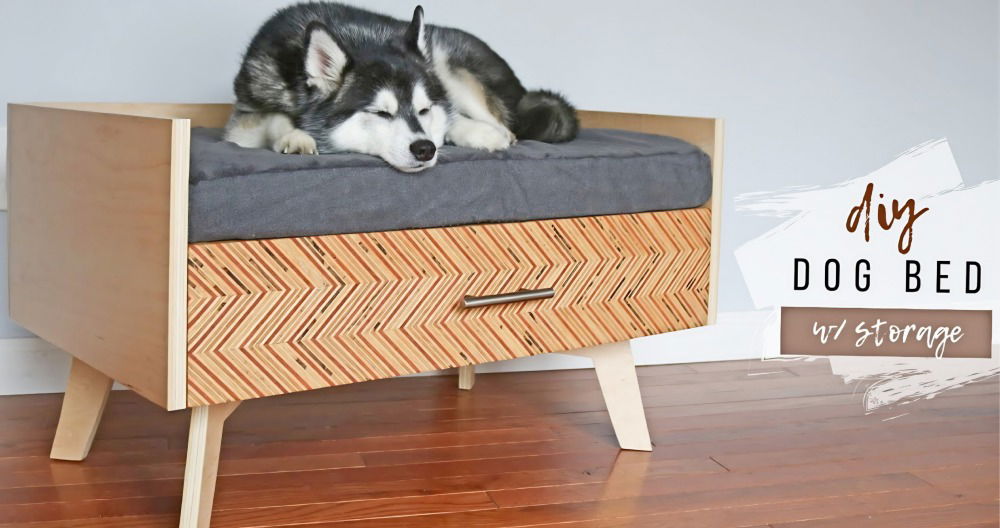
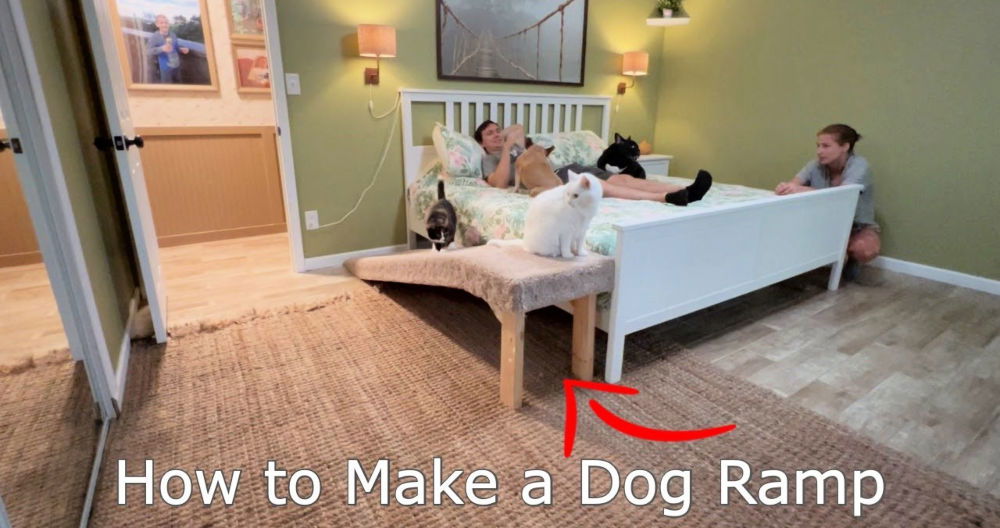
Building a playground for your dog is a fantastic way to provide them with a dedicated space for exercise, play, and exploration right at home. This project doesn't just keep your furry friends entertained but also enhances their physical and mental well-being. Inspired by Ashleigh Lauren's DIY endeavor, this guide takes you through the process of building a customizable, sturdy, and easy-to-build DIY dog playground. Follow along to design a safe and engaging space for your pets to play and lounge.
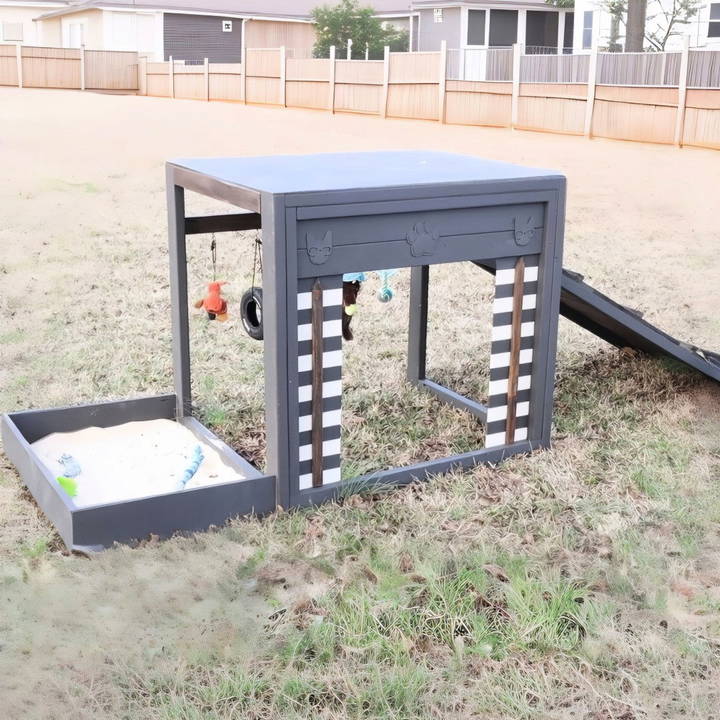
Materials Needed
To ensure a durable structure, here's a list of recommended materials and tools you'll need:
Wood Materials
- 2x4s – 2 pieces for structure support
- 2x3s – 4 pieces for the frame and ramp
- 1x6 – 1 piece for the dig station's front piece
- 1x4s – 7 pieces for ramp support and decorative elements
- 2x2s – 2 pieces for side support and structural stability
- 1x2s – 2 pieces for additional frame support
- Plywood (1/5 inch thick, 8 feet long) – for the platform
Hardwarel & Other Supplies
- Kreg Jig Kit: to build strong joints
- Clamps (Right Angle and Face): to hold wood pieces in place
- Pocket Screws (2.5 inches and 1.5 inches): For secure connections
- Brad Nails (1.5 inches): for securing smaller pieces
- Wood Glue: to reinforce joints and attachments
- Paint: for weatherproofing and aesthetics (outdoor paint in colors like black, moth gray, etc.)
- Stain and Spar Urethane: to protect against weather exposure
- Sandpaper (220 grit): to smooth surfaces
- Tape (Frog Tape): for masking and building decorative stripes
Tools Required
- Drill
- Sander
- Nail Gun
- Miter Saw
- Jigsaw (for rounded cuts)
Step by Step Instructions
Build an engaging DIY dog playground with our step-by-step guide. From planning to personalization, ensure a fun, safe space for your pet.
Step 1: Plan the Playground and Measure Your Dog
Start by determining the size and layout of your dog playground based on your available space and your dog's measurements.
- Measure Your Dog: Take measurements of your dog from the base of their legs to the top of their head. For smaller dogs, you can adjust measurements as needed.
- Design Layout: Sketch a rough plan of your playground. Include areas for a ramp, platform, and dig station.
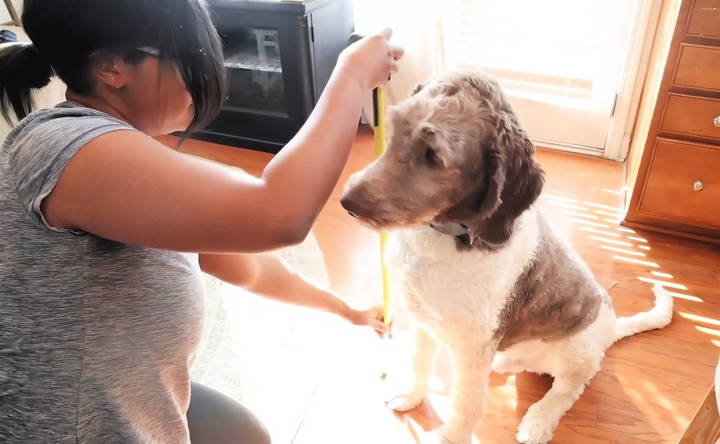
This preliminary planning helps ensure that your dog will be able to use the playground comfortably and safely.
Step 2: Cut the Wood Pieces
Following your measurements, cut your wood pieces as per the following approximate measurements:
- 2x4s: Cut down to 39 inches for main frame support.
- 2x3s: Cut two pieces to 28 7/16 inches for the ramp and platform support.
- 1x6 and 1x4s: These pieces will be used for the front of the dig station and for ramp steps. Cut accordingly based on the design.
Using a miter saw, cut all wood pieces accurately to ensure a snug fit during assembly.
Step 3: Assemble the Frame
- Use the Kreg Jig Kit to build pocket holes in each piece, which will allow for strong, concealed joints.
- Attach the 2x4 leg pieces and side pieces using pocket screws.
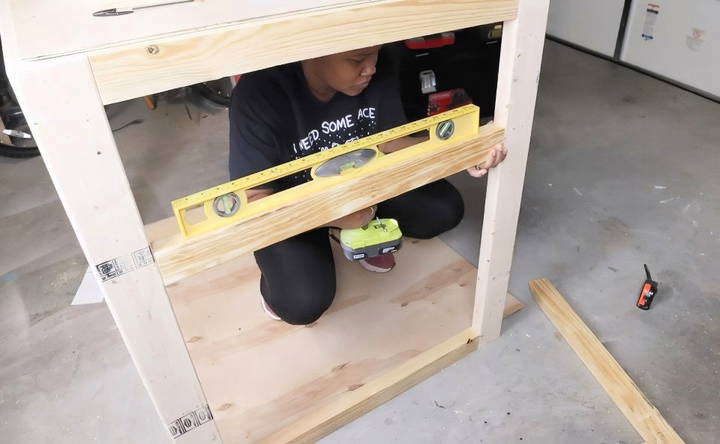
- Add 2x3s across the frame for additional structural support.
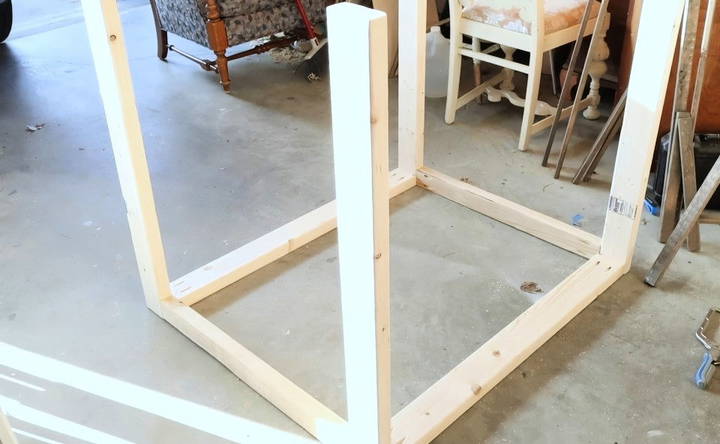
Clamps can be helpful to hold pieces steady as you drill and screw the sections together.
Step 4: Build the Ramp
A ramp is a fantastic addition to help your dog access elevated areas, and it's relatively simple to construct.
- Cut the 2x3s for the ramp structure.
- Adjust your miter saw to a 30-degree angle for beveled cuts, which build a more secure and visually pleasing ramp.
- Attach 1x4s across the surface of the ramp to provide traction. This also helps prevent your dog from slipping as they climb.
Step 5: Construct the Dig Station
Dogs love digging, so a dig station is a great way to keep their natural instincts in check while preserving your yard.
- Measure and Cut a piece of 1x6 wood for the front of the dig station.
- Attach side pieces from the cut 1x4s, using a Kreg Jig Kit for pocket hole joinery.
- Once assembled, fill this area with play sand for a safe and enjoyable digging zone. For easy cleanup, consider placing a tarp or lining beneath the sand.
Step 6: Add Details and Decorative Elements
Adding aesthetic details can make the playground even more attractive and engaging for your dog.
- Semi-Circle Cutout: For the front of the playground, cut out a semi-circle. Build a template on paper, trace it onto the wood, and use a jigsaw to carefully cut along the outline.
- Sand the Edges: Use 220-grit sandpaper to smooth out rough edges.
- Paint and Stain: Apply a dark walnut stain to parts of the structure like the ramp. Choose an outdoor paint, such as onyx or moth gray, for other areas to protect the wood from outdoor elements.
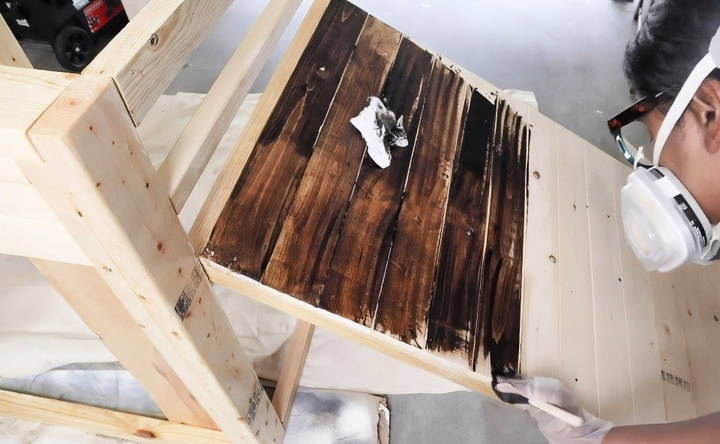
Step 7: Apply Protective Finishes
To ensure your dog playground withstands the elements, apply a protective coating.
- Spar Urethane: This weather-resistant sealant will protect untreated wood.
- Paint and Stripes: For added style, build stripes on certain areas using frog tape and moth gray paint for a fun design that adds character.
Allow the paint and sealant to fully dry before allowing your dog on the structure.
Step 8: Final Assembly and Custom Touches
Now that the basic playground structure is complete, it's time to add final touches and toys.
- Secure the Ramp: Attach the ramp securely to the main platform using pocket screws.
- Add Anti-Slip Tape: Apply this tape to the ramp to provide better grip for your dog.
- Attach Toy Holders: Add eye loops on the back of the structure and use nylon rope, paracord, or chains to hang dog toys. This encourages interactive play, with toys like ropes or balls that your dog can tug on.
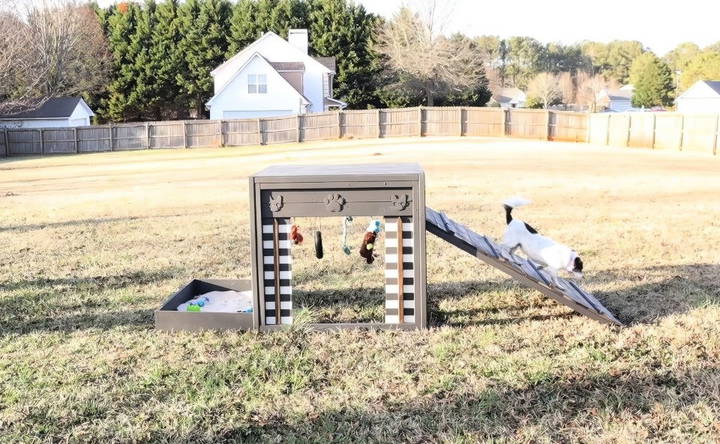
Tips for Personalizing Your Dog Playground
- Add Colorful Paint: Use bright or contrasting colors to make the playground more visually stimulating for both you and your dog.
- Incorporate Treat Hideaways: The dig station can double as a treat-finding game by burying small treats in the sand.
- Customizable Features: Add a shaded section or a water splash area if you live in a warm climate to keep your dog cool.
Safety Tips
To make sure your dog enjoys the playground safely:
- Check for Sharp Edges: Ensure all wood is sanded smooth, especially around cutout areas.
- Avoid Toxic Paint: Use pet-safe, outdoor-grade paint and stains.
- Monitor Playtime: Keep an eye on your dog during their first few uses to ensure they're comfortable and safe on the equipment.
- Inspect Regularly: With outdoor exposure, parts of the playground may need maintenance or replacement over time.
Conclusion
Building a DIY dog playground is a rewarding project that allows you to provide your dog with an enriching and stimulating outdoor environment. From ramps and dig stations to toy hangers and colorful designs, the playground is fully customizable to suit your dog's needs and your creative vision. With a bit of planning, measuring, and assembling, you can build a playground that enhances your dog's quality of life and strengthens the bond you share.
So, gather your tools and materials, and let the fun begin! Your dog will surely appreciate this thoughtful addition to their play space, and you'll enjoy watching them explore and enjoy their new playground.
FAQs About DIY Dog Playground
Discover everything about DIY dog playground setups, including tips, safety guidelines, and essential equipment for building the perfect play space.
For larger dogs, increase the dimensions of the platform and make the ramp wider and sturdier. Using additional support beams or thicker wood can also ensure it holds more weight. You may also consider adding non-slip grip tape on the ramp to help your dog safely ascend and descend.
If you lack certain tools like a miter saw or Kreg jig, you can visit a local hardware store where they may offer cutting services. Alternatively, you could use simpler hand tools like a handsaw, though this may be more time-consuming and require extra effort for accuracy.
Yes. To make it weather-resistant, apply spar urethane or outdoor-grade paint to protect the wood from moisture and sunlight. Use exterior-grade wood glue for additional durability, and avoid untreated wood as it may warp or degrade over time.
Yes, with adjustments, this playground can work well for smaller dogs or even cats. For small pets, lower the ramp height and build more accessible platforms. Adding toys suited for smaller animals will also make the space engaging and comfortable for them.
Costs can vary based on materials, but you may spend around $100 to $200 for basic wood, screws, paint, and protective finishes. If you already own some of the tools, this can lower expenses significantly. Adjust the budget according to materials and design.
Ensure each wood joint is secured with pocket screws and reinforced with wood glue. Check all bolts, screws, and nails regularly to ensure the structure remains stable. If it wobbles, add extra bracing or stabilize it by anchoring it into the ground.
Absolutely! This playground design is customizable. Adjust the dimensions, colors, and features to match your space and pet's needs. You can add extra elements like shaded areas, chew-proof coverings, or even a small water feature for warmer climates.


