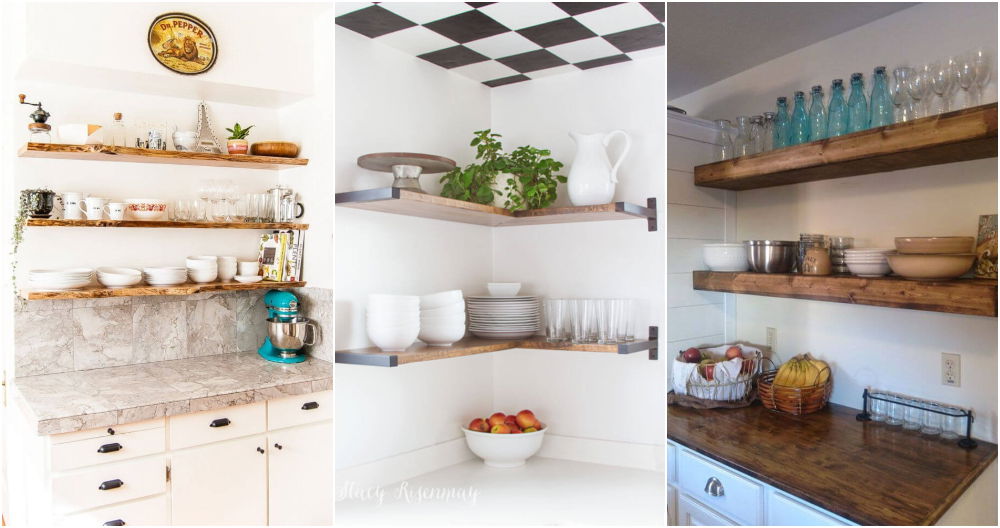
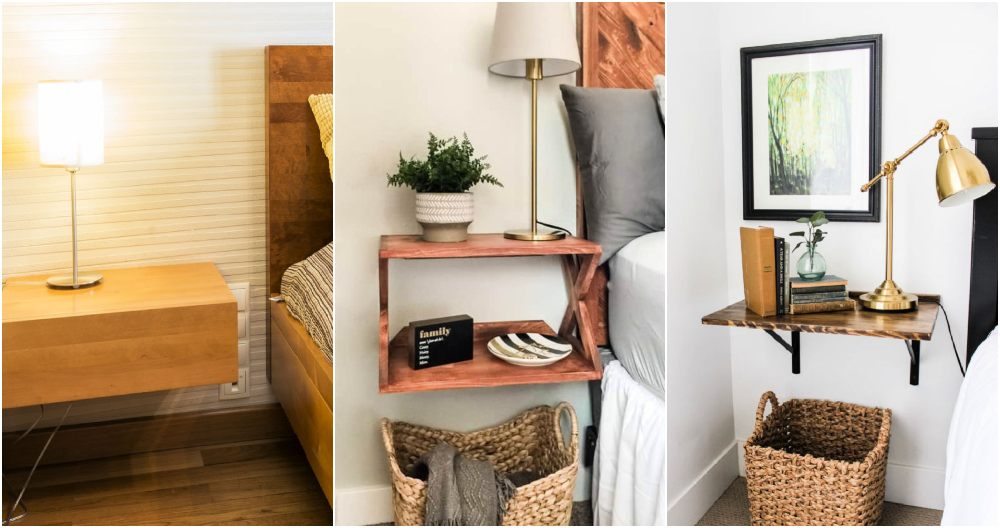
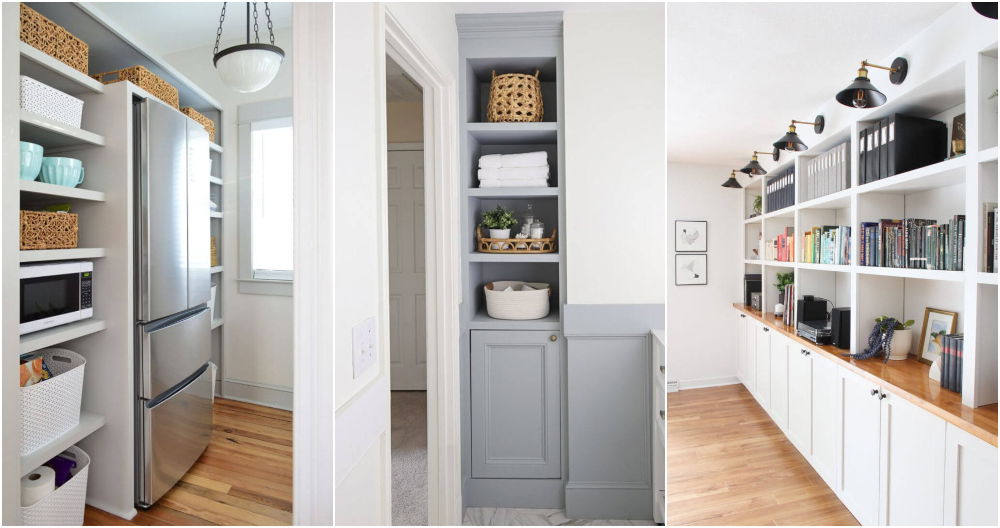
As someone who loves tackling home improvement projects, the idea of adding floating shelves to my living room sparked excitement and a bit of nervousness. After scouring the internet for ideas, I stumbled upon a concept that seemed almost too good to be true – DIY floating shelves without brackets! Intrigued and determined, I embarked on what turned out to be a surprisingly straightforward project.
Materials Needed and Their Purpose
- 2-inch by 8-inch by 8-foot Lumber: This serves as the main body of the shelves. I opted for this size to create shelves that were not too bulky but still had enough depth for my needs.
- 36-inch Oak Dowel: The dowels act as internal supports, making the shelves sturdy without external brackets.
- Tools: A circular saw for cutting the lumber to size, a drill with a half-inch bit for the dowels, and a sander to smooth everything out.
Each material and tool played a crucial role in ensuring the shelves were not only aesthetically pleasing but also functional and durable.
Step-by-Step Guide
Learn how to build floating shelves on a budget with simple DIY tips and tricks. Build stylish storage solutions without breaking the bank.
1. Measuring and Cutting the Lumber
First, I measured and marked the lumber into three equal parts, considering a small chip on one corner to be removed. Each shelf ended up being just shy of 31 inches. With the help of a speed square, I kept my cuts straight, ensuring each piece was uniform.
2. Preparing the Dowels:
I cut the oak dowel into nine 4-inch pieces, three per shelf. Precision was key here to ensure that they would fit snugly into the holes drilled into the lumber.
3. Drilling Holes for Dowels:
I marked three locations on each piece of lumber for the dowels – one in the middle and two inches from each end. After marking the center point of each line, I drilled holes using a drill bit wrapped in tape to set the depth.
4. Sanding and Finishing:
Before assembling, I sanded down all the pieces to give them a smooth finish. This step was crucial for the appearance and to prevent any splinters.
5. Assembling the Shelves:
I aligned the holes and inserted the dowels, making sure they were tight. A hammer helped secure the dowels in place. Interestingly, I found that I didn’t need wood glue as the fit was tight enough.
6. Staining the Wood:
To match my living room's d* écor, I opted for a stain that added warmth to the wood. Applying pre-stain conditioner ensured an even coat, avoiding blotchiness.
7. Mounting the Shelves:
The most critical part was ensuring the shelves were level and securely fastened to the wall. Finding studs in the wall was key to supporting the weight of the shelves and whatever items they would hold.
Key Insights
- Precision Is Non-Negotiable: From cutting the lumber and dowels to drilling the holes, accuracy ensures that all pieces fit together perfectly.
- Patience Pays Off: Taking my time, especially during measuring, cutting, and finishing, made a significant difference in the quality of the final product.
- The Right Tools Matter: While it’s possible to complete this project with basic tools, having the right ones, like a circular saw and a reliable drill, made the process smoother and faster.
The Outcome
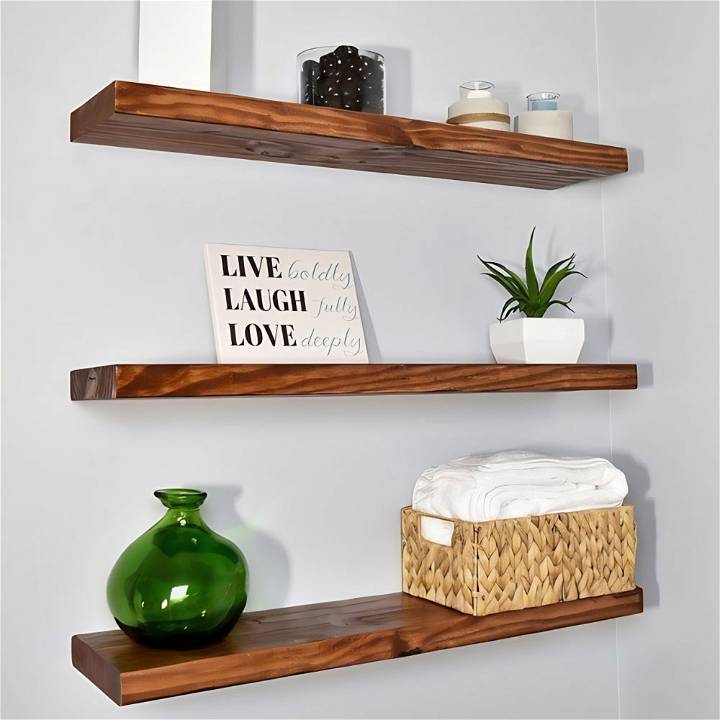
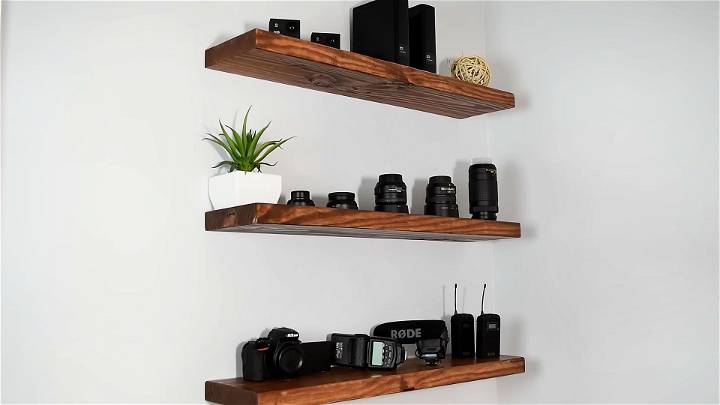
The shelves turned out better than I expected. They added the perfect touch of warmth and functionality to my living room, offering a space for books, vases, and other decorative items. The satisfaction of creating something both beautiful and practical with my own hands was unparalleled.
Tips for Fellow DIY Enthusiasts
- Don’t Rush the Process: Enjoy each step. It’s not just about the final product, but also about the learning and experience gained.
- Customize to Your Space: Feel free to adjust the dimensions and finishes according to your preferences and the needs of your space.
- Stay Safe: Always prioritize safety, especially when working with power tools. Wear protective gear and work in a well-ventilated space.
This project solidified my love for DIY and proved that with the right approach, creating stylish, bracketless floating shelves is not only achievable but also enjoyable. Whether you’re a seasoned DIYer or a curious beginner, I encourage you to try this project. Bring your unique vision to life, one shelf at a time.
Troubleshooting Common Issues with DIY Floating Shelves
When embarking on a DIY project to create floating shelves, it’s common to encounter a few hiccups along the way. Here’s a helpful guide to troubleshoot some of the most common issues you might face.
Uneven Shelves
- Problem: Your shelf isn’t level, and objects are sliding off.
- Solution: First, check your wall for evenness using a spirit level. If the wall is even, adjust the shelf brackets; they may need realignment. If the wall is uneven, you might need to use shims behind the brackets to achieve a level shelf.
Difficulty Finding Wall Studs
- Problem: You can’t seem to locate the studs in your wall, which is essential for securely anchoring the shelves.
- Solution: Use a reliable stud finder to locate the studs. If you’re still having trouble, tap on the wall lightly with a hammer; a solid sound usually indicates a stud. Alternatively, you can use heavy-duty wall anchors designed for use without studs.
Weak Shelf Support
- Problem: The shelf feels wobbly or like it might not hold weight well.
- Solution: Ensure that you’re using the correct type of bracket and anchor for your wall type. For drywall, toggle bolts or heavy-duty anchors are best. For solid walls, use appropriate wall plugs and screws.
Visible Support Brackets
- Problem: The brackets are visible, and you prefer a cleaner look.
- Solution: Consider using floating shelf brackets designed to be hidden inside the shelf itself. These create the illusion of a ‘floating’ shelf with no visible means of support.
Damaged Wall Surface
- Problem: The wall surface gets damaged during installation.
- Solution: Go slow and steady when drilling or hammering into the wall. If damage occurs, spackle and touch-up paint can help conceal minor blemishes.
FAQs About DIY Floating Shelves
When it comes to DIY floating shelves, there are always questions that pop up frequently. Here’s a section dedicated to answering those queries in a simple and straightforward manner.
Choosing the Right Materials
What type of wood is best for floating shelves?
For a balance of strength and aesthetics, hardwoods like oak or walnut are excellent choices. However, if you’re on a budget, softwoods like pine can work well too.
Can I use reclaimed wood for floating shelves?
Absolutely! Reclaimed wood adds character and is eco-friendly. Just ensure it’s free of pests and properly treated.
Selecting Tools and Hardware
What tools do I need to install floating shelves?
You’ll need a drill, a level, screws, wall anchors, and a stud finder. A saw might be necessary if you’re cutting wood to size.
Are special brackets required for floating shelves?
Yes, floating shelf brackets are designed to be hidden and provide support. They come in various sizes, so choose ones that fit your shelf dimensions.
Installation Tips
How do I ensure my shelves are level?
Use a spirit level when installing the brackets. Adjust as needed before securing the shelf.
Can floating shelves hold heavy items?
They can, but it depends on the wall material, the type of brackets used, and how well they’re installed. Always check the weight capacity before loading the shelves.
Maintenance
How do I care for my wooden floating shelves?
Dust regularly and clean with a damp cloth. Avoid harsh chemicals and use wood polish to maintain the finish.
Customization
Can I paint my floating shelves?
Yes, you can paint them. Sand the surface lightly, apply a primer, and then the paint. Let it dry completely before installation.
Conclusion:
In conclusion, building floating shelves is a straightforward DIY project that can add both functionality and style to your space. With the right materials and tools, you can easily build floating shelves to enhance your home decor.


