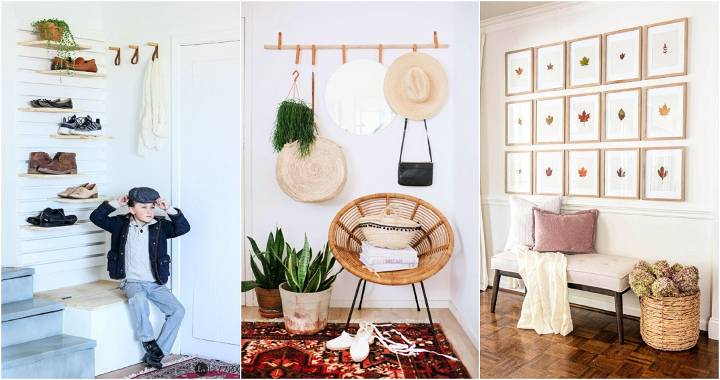
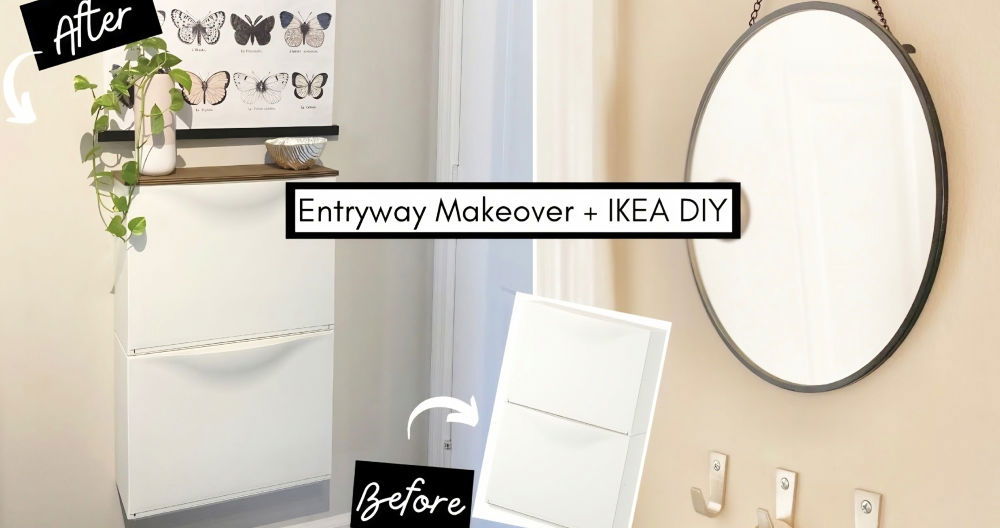
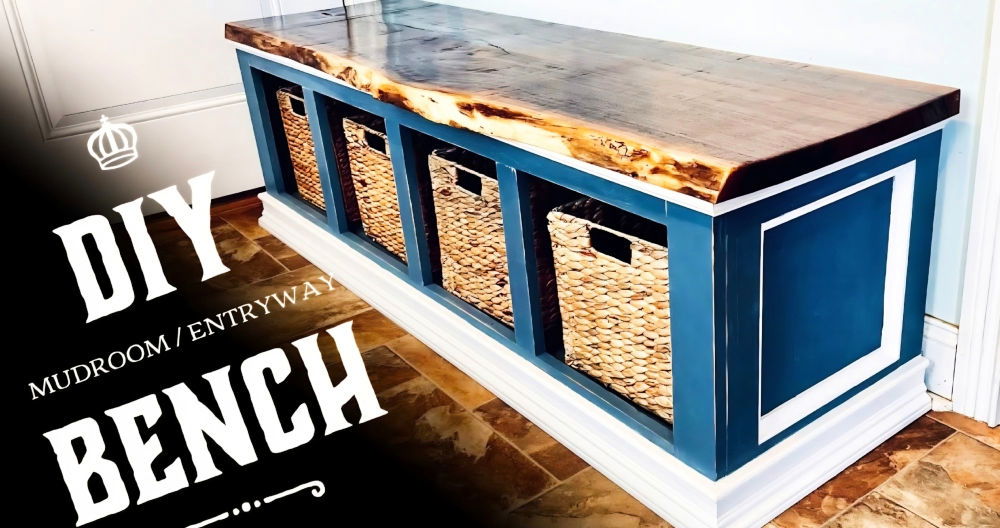
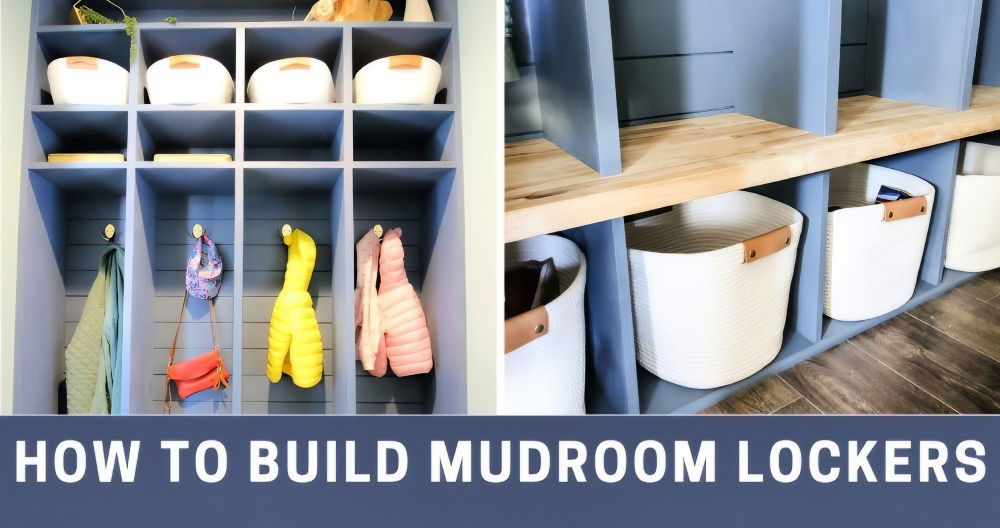
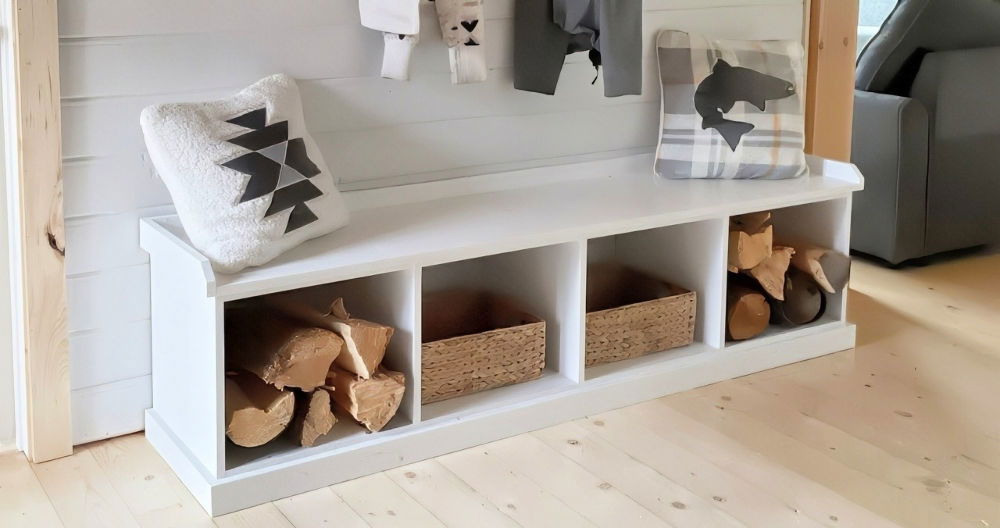
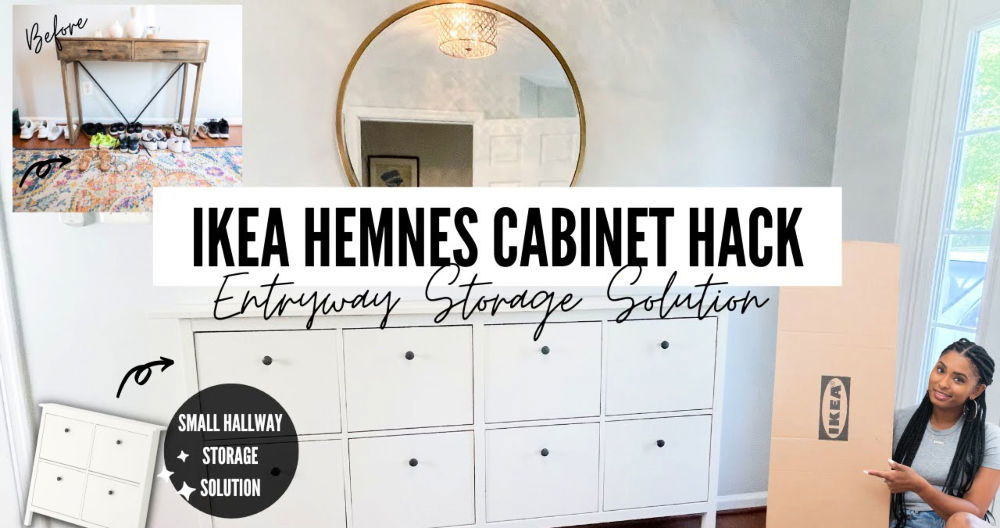
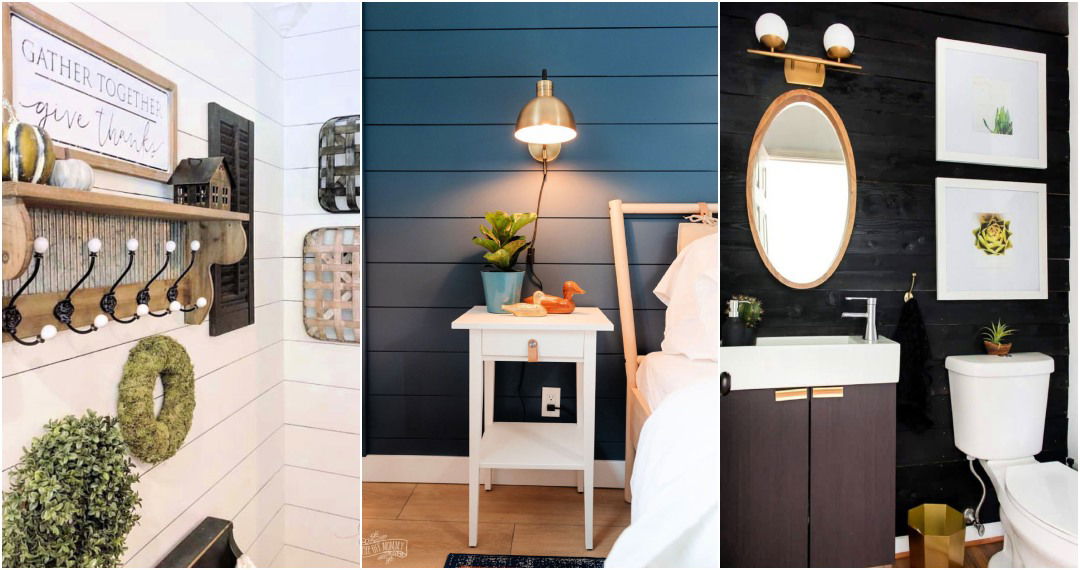
Building a stunning DIY entryway accent wall can enhance the first impression of your home while adding functionality. This guide outlines how to transform a standard builder-grade hallway into a welcoming, efficient space with a floating bench, custom cabinets, and a striking accent wall.
Follow this step-by-step tutorial to elevate your entryway into a stylish and practical area that suits your lifestyle.
Step by Step Instructions
Explore step-by-step instructions for building an elegant entryway accent wall with custom cabinets and a floating bench. Transform your space!
1. Planning Your Entryway Remodel
Plan your entryway remodel by assessing space, defining design goals, and gathering materials for a stylish transformation.
Assessing the Space
- Evaluate the current state of your entryway and identify its limitations.
- Take measurements and note architectural quirks, like uneven walls or existing moldings.
Design Goals
- Decide on key elements: storage, seating, and visual appeal.
- Sketch the layout to visualize the placement of cabinets, the floating bench, and the accent wall design.
Gathering Materials
- Common tools: saw, drill, sander, Kreg Jig, and hammer.
- Materials for this project:
- Cabinets: Plywood, wood filler, stain, and polyurethane.
- Bench: 2x4s and common boards.
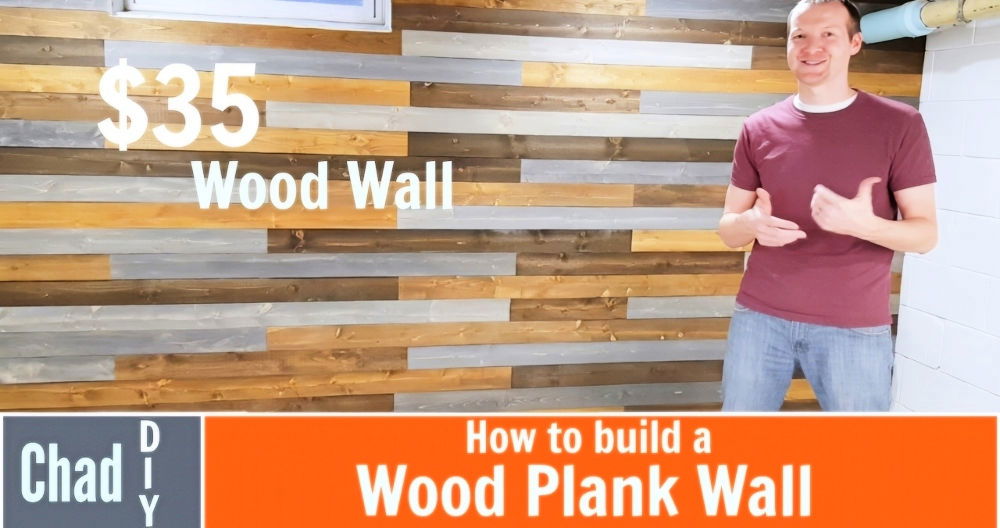
- Accent Wall: Pre-finished wood strips, Loctite adhesive, and nails.
- Paint: Choose complementary colors for walls and accent features.
2. Building the Custom Cabinets
Learn to build custom cabinets with our step-by-step guide covering framing, finishing, installation, and adjustable shelves.
Constructinlg the Frame
- Use ¾-inch plywood for durability.
- Cut pieces to size, accounting for uneven walls (e.g., adjust angles using a table saw if necessary).
- Assemble the frame using pocket screws for a seamless 90-degree connection.
Finishing the Cabinet
- Fill exposed plywood edges with wood filler or edge banding for a polished appearance.
- Sand thoroughly and clean the surface before staining.
- Apply a pre-stain conditioner followed by a wood stain (e.g., walnut) for an even finish.
- Seal with satin polyurethane for durability.
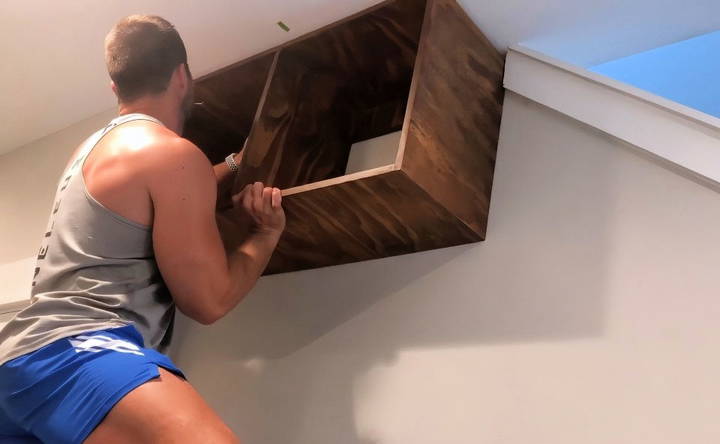
Installation
- Locate wall studs and mark positions for mounting.
- Attach the cabinet securely with screws, ensuring it's flush against the wall.
Adding Adjustable Shelves
- Use a Kreg Cabinet Jig to drill evenly spaced holes for shelf pins.
- Cut shelves to size and test their fit before final installation.
3. Crafting the Floating Bench
Learn the essentials of crafting a floating bench: build the base structure, add the surface, and securely fasten it for lasting stability.
Creating the Base Structure
- Construct the frame with 2x4s, ensuring it is level and securely attached to wall studs.
- Reinforce the structure with additional supports for stability.
Adding the Bench Surface
- Use common boards for the bench top. Attach two boards together with wood glue to form a single, solid surface.
- Stain and finish the boards to match the cabinets for a cohesive look.
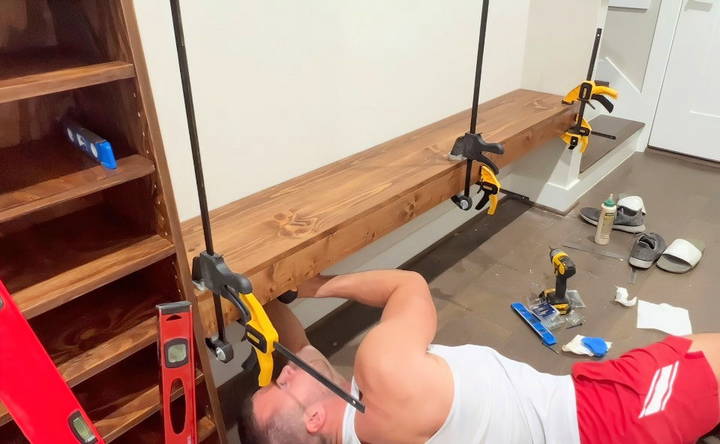
Securing the Bench
- Attach the bench top to the frame using wood glue and clamps.
- For hard-to-clamp areas, use brackets to hold the boards in place while the glue dries.
4. Designing the Accent Wall
Designing the accent wall involves selecting layouts, installing accent strips, and adding finishing touches for a stunning interior transformation.
Selecting the Layout
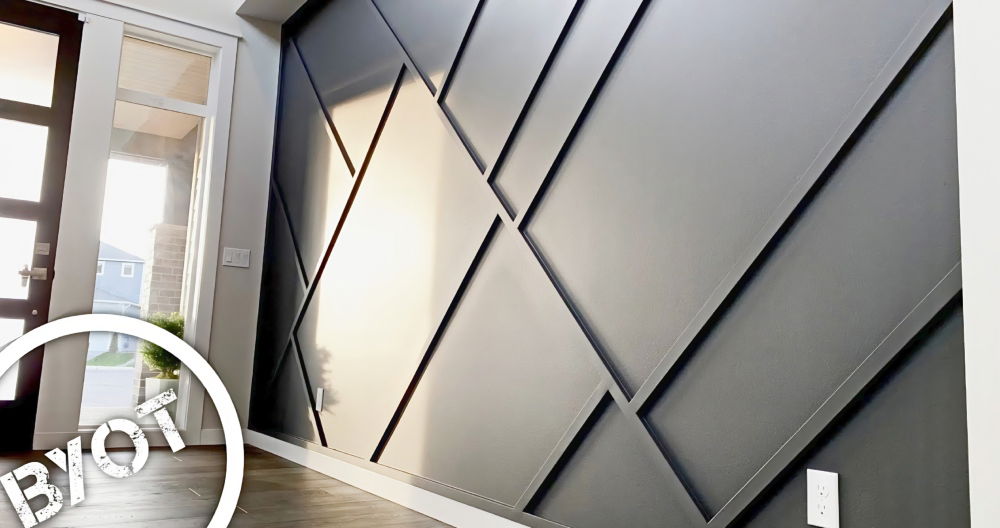
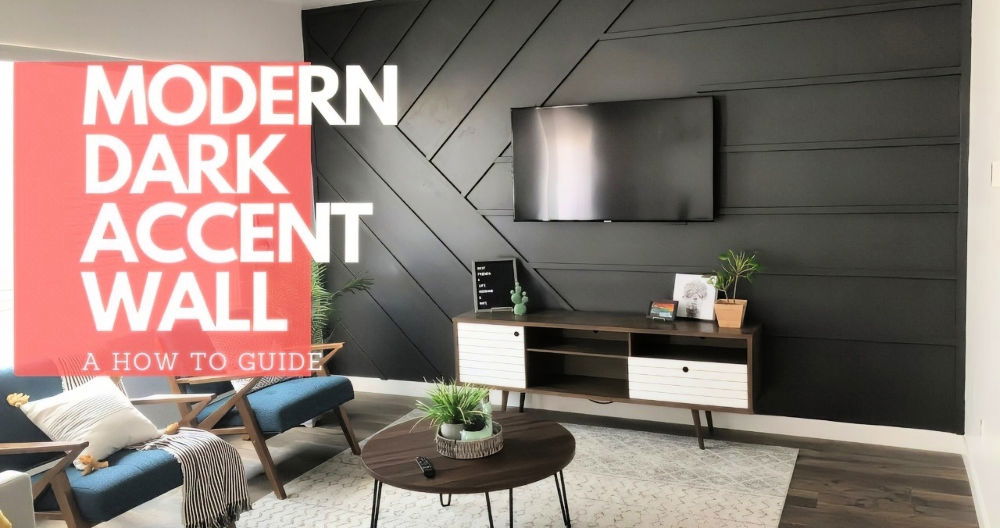
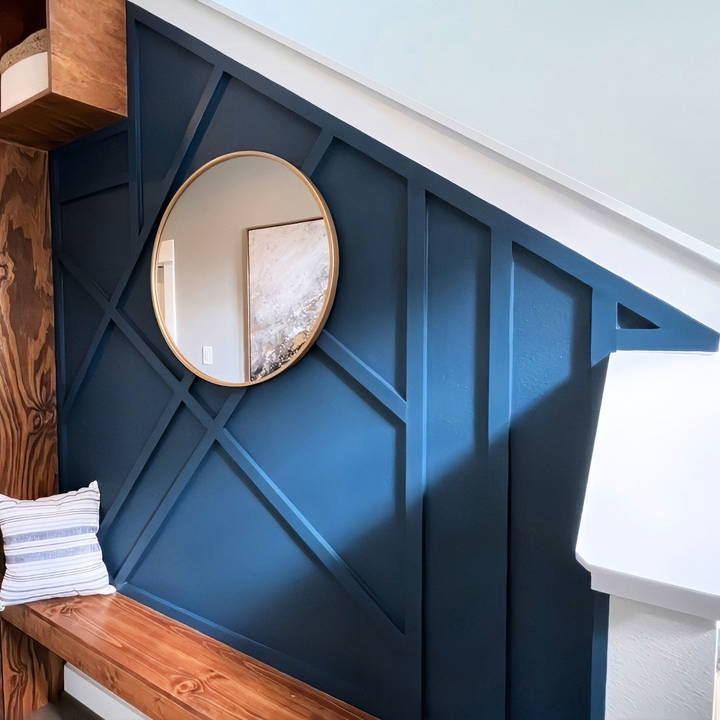
- Choose a pattern for the accent wall (e.g., diagonal, vertical, or geometric designs).
- Sketch the design beforehand to guide placement.
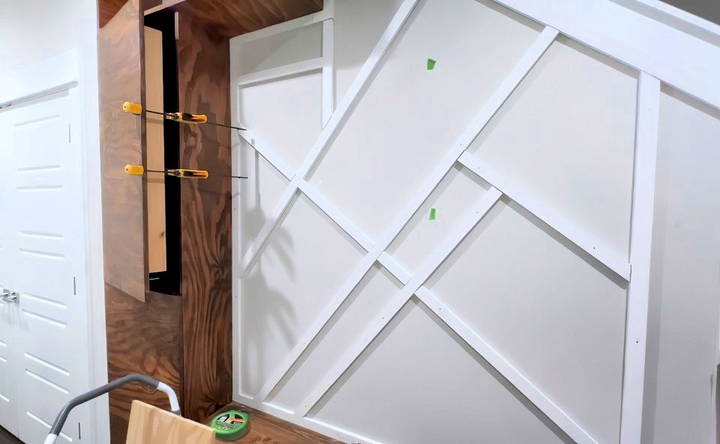
Installing Accent Strips
- Measure and cut pre-finished wood strips to size.
- Attach the strips to the wall using adhesive and nails for added stability.
- Work systematically, starting with the outer border and moving inward.
Finishing Touches
- Fill gaps and nail holes with spackle for a seamless appearance.
- Sand the surface for a smooth finish.
- Apply caulking along the edges for a polished look.
5. Painting the Walls
Transform your space by mastering painting the walls with tips on choosing colors and applying paint for a stunning finish.
Choosing Colors
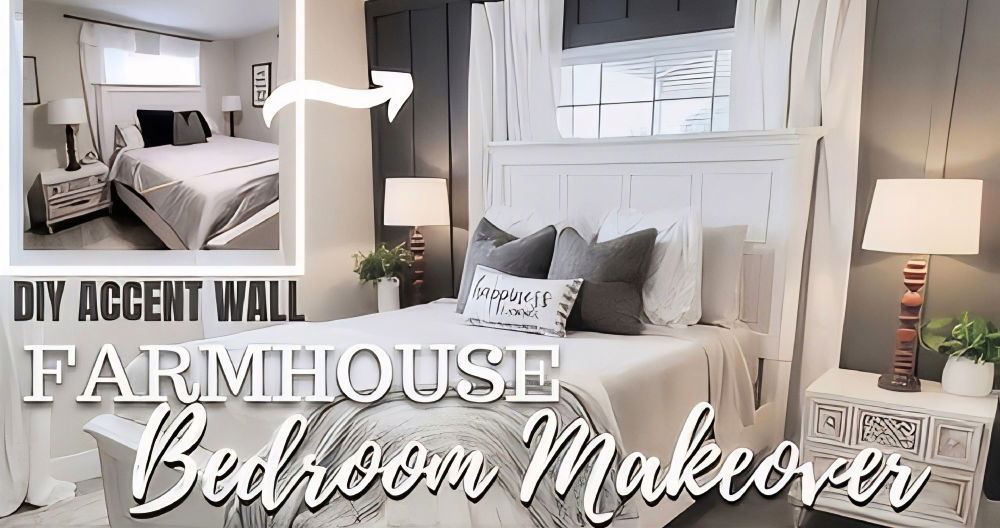
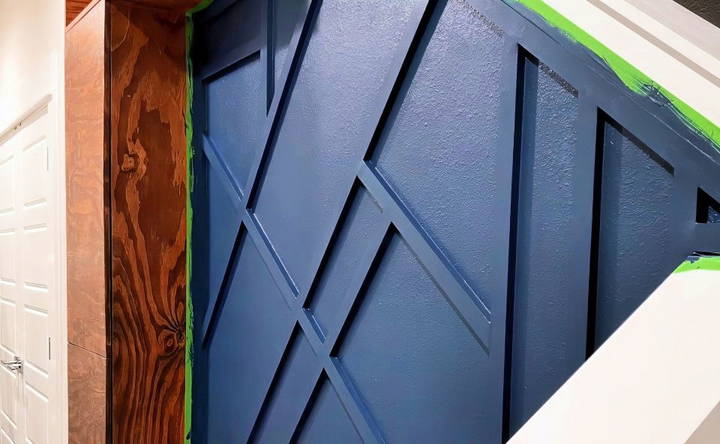
- Select a neutral color for the main walls (e.g., light gray) and a bold color for the accent wall (e.g., deep blue or black).
Applying Paint
- Use painter's tape to protect the edges and ensure clean lines.
- Apply multiple coats for an even, vibrant finish.
6. Adding Final Details
Complete your project with adding final details, featuring essential cabinet hardware, stylish wall decor, and practical functional additions.
Cabinet Hardware
- Install oversized gold handles or other hardware that complements your entryway decor.
- Use a cabinet jig for precise placement.
Wall Decor
- Hang a mirror or artwork above the accent wall for added depth and style.
- Use spacers to ensure flush mounting, especially with protruding accent strips.
Functional Additions
- Add baskets, hooks, or decorative elements to personalize the space.
Tips for Success
- Plan Ahead: Take accurate measurements and sketch designs before starting the project.
- Work Smart: Use tools like cabinet jigs and spacers to ensure professional results.
- Be Patient: Allow adequate drying time for glue, stain, and paint to achieve the best finish.
- Adapt as Needed: Address challenges like uneven walls with creative solutions, such as adjusting angles or using washers for leveling.
Transforming Your Entryway: The End Result
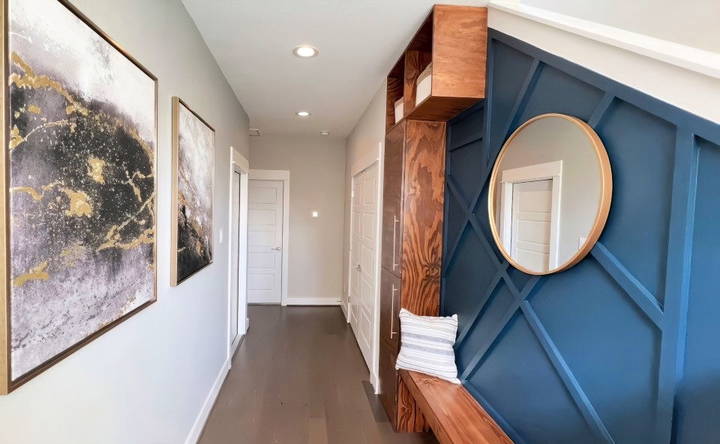
This DIY entryway remodel builds a multifunctional space with hidden storage, comfortable seating, and a stunning focal point. The combination of custom cabinets, a floating bench, and a striking accent wall not only enhances the aesthetics but also increases the functionality of your home.
Invest time and effort into your design, and you'll be rewarded with a space that reflects your style while welcoming guests with warmth and organization. Whether you're an experienced DIYer or a beginner, this project is a manageable yet impactful way to upgrade your home. Happy building!
FAQs About DIY Entryway Accent Wall
Discover answers to common questions about building a DIY entryway accent wall. Enhance your space with expert tips and ideas.
The accent wall was painted with "Sailor Boy" from Behr Dynasty, a deep blue color available at Home Depot. The main walls were painted in a light gray, maintaining a neutral and complementary look.
Apply the wood filler evenly across the exposed edges, then let it dry completely. Sand it smooth with fine-grit sandpaper, ensuring the surface is flush and ready for staining or painting.
Yes, the shelves are adjustable and supported by pegs fitted into pre-drilled holes. For additional stability, ensure the shelf boards are made from sturdy materials and properly fitted.
You can use strong adhesive, like Loctite, to attach the wood strips to the wall. Secure each strip temporarily with small hand-driven nails until the adhesive sets completely.
For uneven walls, use a table saw to adjust angles on wood pieces to fit perfectly. Alternatively, small gaps can be filled with caulk for a seamless appearance.
Yes, you can paint the wood instead of staining it for a different finish. Use primer beforehand for even coverage, followed by a durable topcoat to protect the surface.
A cabinet jig, such as the one used for handles, ensures precise and consistent alignment when drilling holes for hardware installation.
The cabinet compartments can double as hidden storage for pet items. Ensure doors are easy to open and ventilation is adequate if used for items like bedding.
Handling uneven surfaces and ensuring all components fit seamlessly can be tricky. Take careful measurements, test fit frequently, and adapt designs as needed.


