When it comes to cosplay—especially making armor and props—EVA foam stands out as one of the most popular and accessible materials. Its versatility, affordability, and ease of use make it a favorite among beginners and experienced cosplayers. In this comprehensive guide, we'll cover everything you need to know about EVA foam, including the different types of foam, essential tools, and crafting techniques. We'll also provide tips for achieving professional-quality results on your next cosplay project.
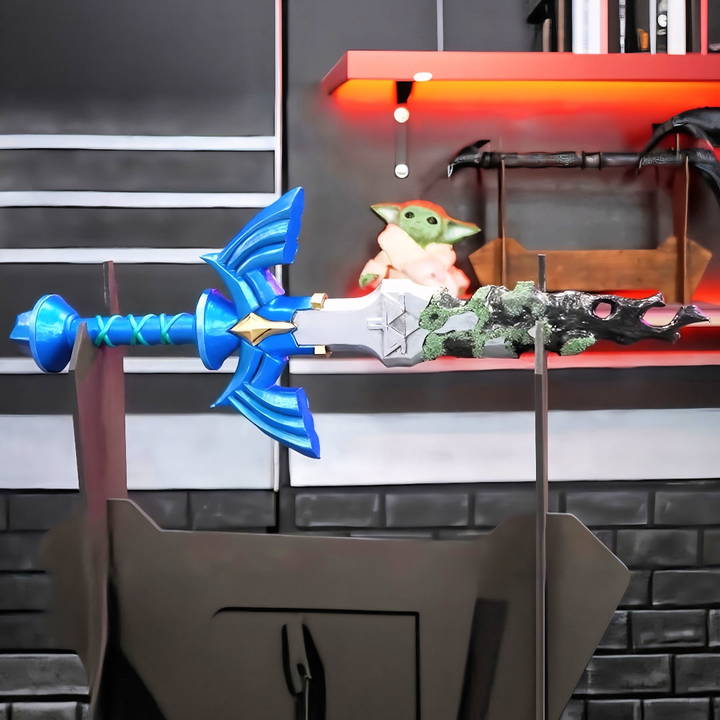
What Is Eva Foam?
EVA (Ethylene Vinyl Acetate) foam is a type of closed-cell foam commonly used in various crafts, including cosplay. It's known for being lightweight, flexible, and durable, making it ideal for building wearable armor and detailed props. EVA foam is soft enough to bend into various shapes, yet sturdy enough to hold up under the wear and tear of conventions and cosplay events.
EVA foam is typically found in sheets, available in different thicknesses and densities, which we will explore in more detail below.
Types of EVA Foam
EVA foam comes in several thicknesses and densities, each suitable for different cosplay applications. Understanding the different types will help you choose the right material for your specific project.
1. Thickness of EVA Foam
EVA foam sheets are available in multiple thicknesses, and each one serves a different purpose:
- 2mm EVA Foam: This is the thinnest option and is best used for adding small details to armor and props. It's not recommended for making the main structure of armor, as it's too thin to provide any significant durability or structure. Think of this thickness as more of a decorative layer.
- 5mm and 7mm EVA Foam: These thicknesses are the most commonly used for making armor pieces. The 5mm foam is flexible but sturdy enough to make armor plates, helmets, and shields. 7mm offers a bit more durability and is often used for larger pieces that need to maintain their shape, like chest armor.
- 10mm EVA Foam: This thicker foam is used for bulkier parts of your cosplay, such as large shoulder pauldrons, weapon handles, or areas where you need more structural integrity. It's easier to work with than stacking thinner foam sheets for larger projects.
2. Density of EVA Foam
EVA foam also comes in different densities, which affects its flexibility, texture, and overall feel. The density you choose will depend on the project's requirements:
- Low-Density Foam (Black Foam): This foam is soft and bendable, making it perfect for making organic shapes like horns, curved armor, or other flowing designs. Its flexibility allows for easy manipulation, though it lacks the sturdiness of higher-density foams.
- High-Density Foam (Gray Foam): This is the most commonly used foam for armor and prop-making. It holds its shape better than low-density foam and is sturdy enough for most standard armor designs. It's perfect for flat surfaces or armor that doesn't require a lot of flexibility.
- Ultra-High-Density Foam (Dark Gray Foam): This foam is very rigid and is ideal for making smaller, detailed props that need to withstand more impact or stress, such as swords, daggers, or intricate weaponry. It's more difficult to bend but provides exceptional durability.
Essential Tools for Working with EVA Foam
To work effectively with EVA foam, you'll need a few essential tools. These will make the process easier, help you achieve cleaner results, and ensure that your cosplay pieces are durable and polished.
Cutting Tools
- Box Cutters: These are the go-to tool for cutting EVA foam. They are excellent for making large, straight cuts in thicker foam. It's important to keep your blades sharp, as dull blades will leave jagged edges and make the foam harder to work with.
- X-Acto Knives: These precision knives are perfect for cutting smaller, more detailed pieces. Like with box cutters, ensure the blades are sharp to avoid rough edges.
- Spare Blades or Knife Sharpeners: Always keep spare blades or a sharpener on hand. Dull blades can ruin your project, leaving rough or uneven edges.
Heat Gun
A heat gun is one of the most important tools when working with EVA foam. It softens the foam, making it easier to shape and mold into complex designs. When heated, the foam becomes more pliable and can be curved or bent into different forms. Additionally, heat sealing with a heat gun helps to close the foam's cells, preparing it for priming and painting.
- Pro Tip: Avoid using a hairdryer in place of a heat gun, as it doesn't produce enough heat to effectively shape the foam.
Dremel and Sanding Tools
A Dremel is a rotary tool used to sand and shape EVA foam after cutting. This is particularly useful for making smooth edges or bevels, and it can even be used to add texture. Sandpaper can also be used to refine edges, though it will take longer than using a Dremel.
When using a Dremel or sanding EVA foam, always wear a mask to avoid inhaling foam dust, which can be harmful.
Glue
- Contact Cement: This is the most commonly used adhesive for EVA foam. It's incredibly strong and ideal for joining large pieces together. Apply it to both sides you want to bond, wait a few minutes for it to become tacky, and then press the pieces firmly together.
- Super Glue: For small details or quick fixes, super glue can be useful. However, it's not recommended for larger seams as it can be messy and doesn't provide the same level of strength as contact cement.
- Hot Glue: While not typically recommended for gluing foam pieces together due to unsightly seams, hot glue can be useful for internal seams or adding specific textures. It can also be used for strapping armor pieces.
Step by Step Instructions
Learn easy EVA foam crafting with step-by-step instructions for all DIY projects. Ideal for beginners and experts seeking creative inspiration.
Techniques for Working with EVA Foam
Mastering a few essential techniques will help you get the most out of EVA foam and make high-quality, professional-looking cosplay pieces.
1. Cutting Foam
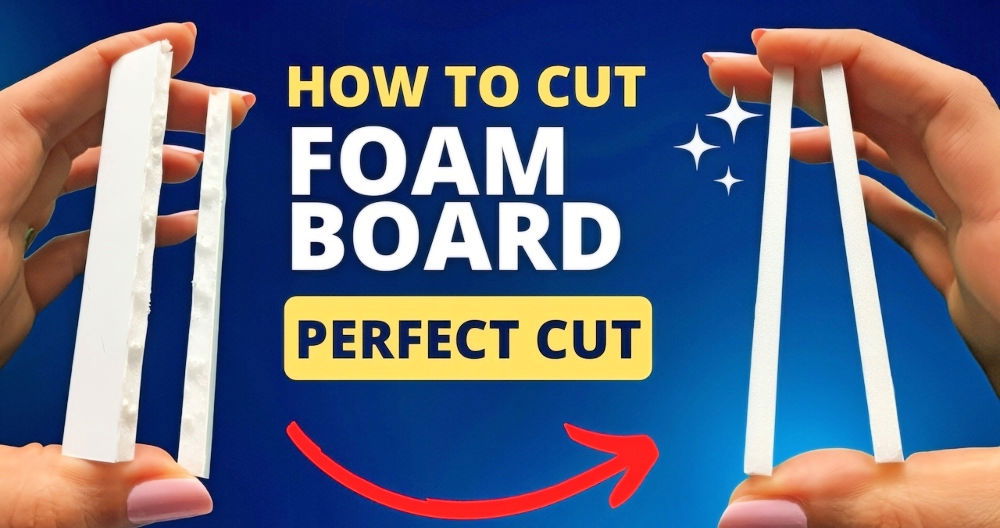
Cutting EVA foam requires precision and practice. The key is to keep your cuts clean and straight. When using a knife, apply enough pressure to cut through the foam in one pass. If you only partially cut through and try to tear the foam apart, it will leave rough edges that are difficult to clean up later.
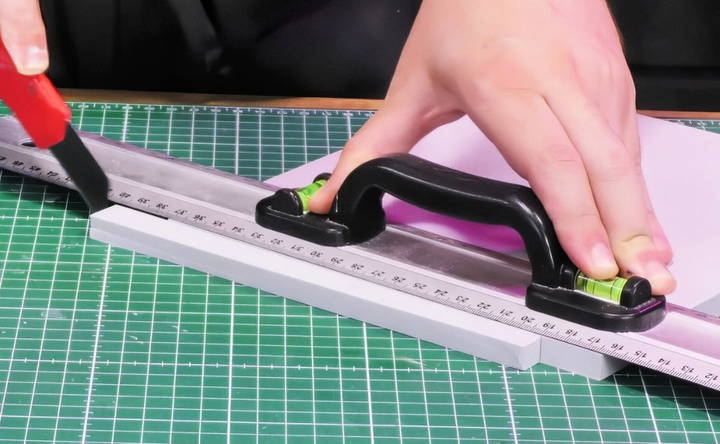
If you do end up with uneven cuts, a Dremel or sandpaper can smooth them out.
2. Heat Shaping
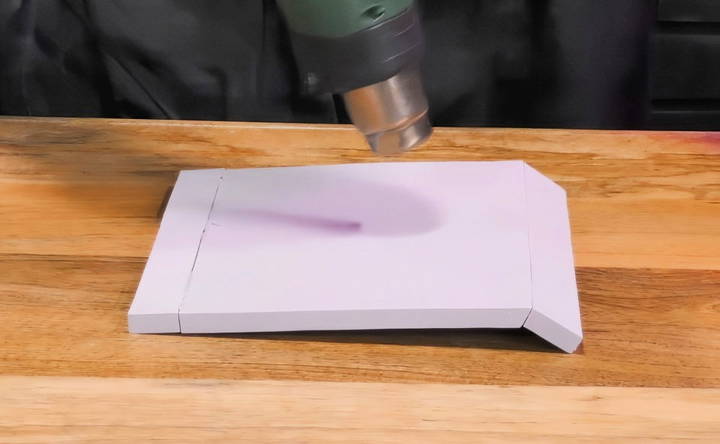
As mentioned earlier, a heat gun is crucial for shaping EVA foam. Heat the foam evenly by moving the gun back and forth. Once it's soft, bend or mold the foam into the desired shape. Hold it in place until it cools and hardens. Be sure to over-shape slightly, as the foam may bounce back a bit once it cools.
3. Priming EVA Foam
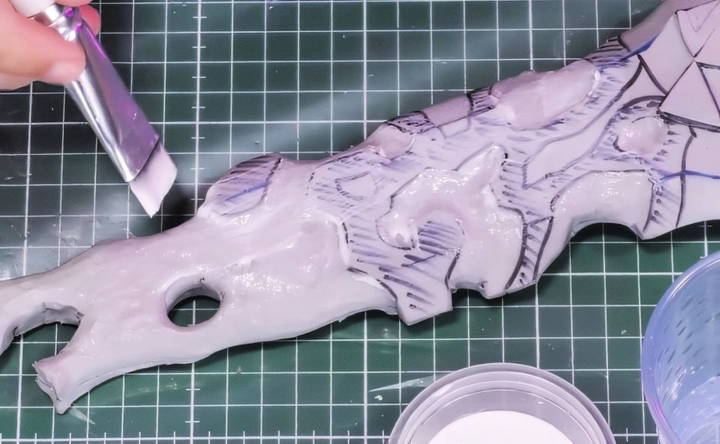
Before painting, EVA foam needs to be primed. If you skip this step, the foam will absorb most of the paint, leaving your armor or prop looking unfinished. Priming seals the foam and makes a smooth surface for the paint to adhere to.
Common primers include Flex Bond and Plasti Dip, which both provide a protective coating. Simply brush or spray the primer onto the foam, allow it to dry, and then proceed with painting.
4. Texturing
Creating textures on EVA foam is a great way to add realism and detail to your cosplay. For example, you can heat the foam and press various materials like aluminum foil into it to make scales, leather, or other intricate designs.
Another method is to use a Dremel or wood burner to carve designs into the foam. This technique is perfect for adding lines, engravings, or other fine details to your armor or props.
Painting EVA Foam
Once your foam has been primed and textured, you can move on to painting. Acrylic paints work well on primed foam, and you can use a variety of techniques, from airbrushing to dry brushing, to achieve the desired look.
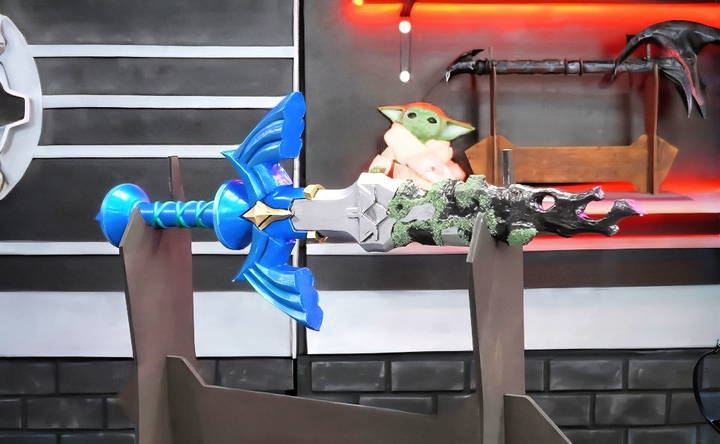
When painting, keep in mind that multiple thin layers of paint are better than one thick coat. This will give you a smoother, more professional finish. Seal the paint with a clear coat or sealer to protect it from wear and tear.
Advanced Techniques
If you want to take your EVA foam crafting to the next level, consider these more advanced techniques:
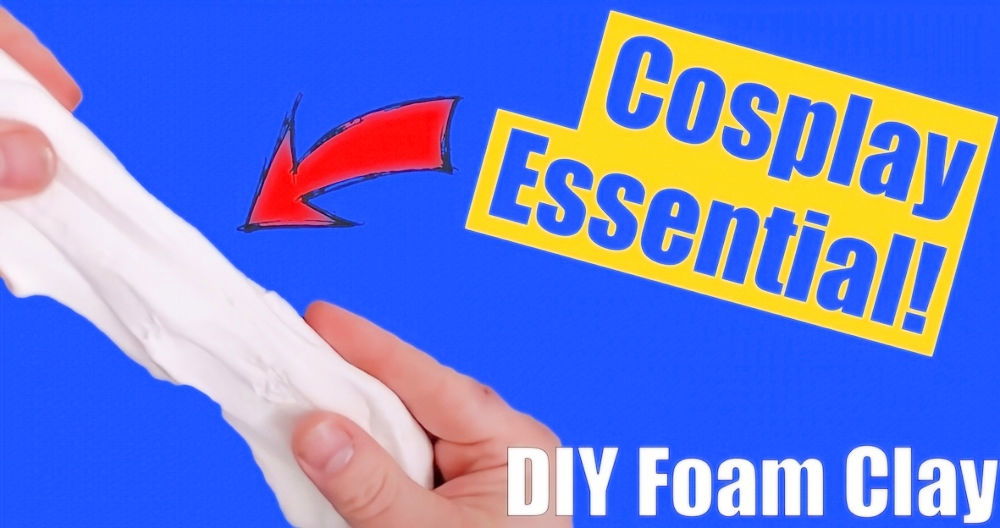
- Foam Clay: This is a malleable clay-like material that sticks to EVA foam. You can use it to sculpt intricate details that are difficult to achieve with foam sheets alone. Once it dries, it hardens into a foam-like texture.
- Fiberglass Cores: When making long props like swords or staffs, EVA foam alone may not be strong enough. Adding a fiberglass rod or PVC pipe as a core provides structural support and prevents your prop from bending or breaking.
- Laser Cutting: For extremely precise cuts, especially if you need to make multiples of the same piece, laser cutting EVA foam is an option. It makes perfect edges and can speed up the crafting process.
Conclusion
EVA foam is a fantastic material for anyone looking to make armor and props for cosplay. Its flexibility, affordability, and versatility make it a staple in the cosplay community. By understanding the different types of foam, essential tools, and key techniques, you can bring your cosplay designs to life with professional-quality results. Whether you're a beginner or an experienced cosplayer, mastering EVA foam will allow you to make stunning costumes that turn heads at every convention. So, grab your foam, heat gun, and tools, and start crafting your next masterpiece!
FAQs About EVA Foam
Discover essential FAQs about EVA foam, its uses, benefits, and tips for effective application. Get informed about this versatile material today!
For intricate details, 2mm EVA foam is the best option. It’s thin and flexible, ideal for adding small accents on top of thicker armor pieces. However, avoid using it for the main structure of your armor, as it’s not sturdy enough to provide support.
While it’s possible to use a hairdryer, it’s not recommended. Hairdryers do not produce enough heat to properly shape or seal EVA foam. A heat gun is the most effective and efficient tool for this job.
The most common adhesive for EVA foam is contact cement. It provides a strong, durable bond when applied to both surfaces. Super glue is also useful for small details, but avoid using it for seams. Hot glue can be used internally but may leave visible seams on the surface.
Yes, you can, but heat sealing the foam provides a better result. It closes the foam’s cells, allowing the primer and paint to adhere more smoothly and preventing the foam from soaking up the paint.
Make sure to use sharp knives, such as box cutters or X-Acto blades. Dull blades will create rough, uneven edges. Press firmly to cut through the foam in a single pass, and always keep your blade straight for clean cuts.
Using an iron is not recommended. It can damage the foam and may not heat it evenly. For the best results, use a heat gun, which is specifically designed for shaping and sealing EVA foam.
Always wear a mask while sanding EVA foam, and consider using a vacuum cleaner to reduce dust. If possible, sand outdoors or in a designated space to keep dust from spreading.
You can attach straps to EVA foam by cutting slits into the foam, filling them with hot glue, and pressing in the straps. This method ensures that the straps stay firmly attached to the armor.
Acrylic paint works well for painting EVA foam, especially when it’s primed properly. Chalk paint may also give a nice finish, but test it beforehand to see if it meets your expectations. Always seal the paint to ensure durability.
For long or large props, such as swords, it's important to add a core, like a fiberglass rod or PVC pipe, to provide structure and prevent the foam from bending or becoming floppy.


