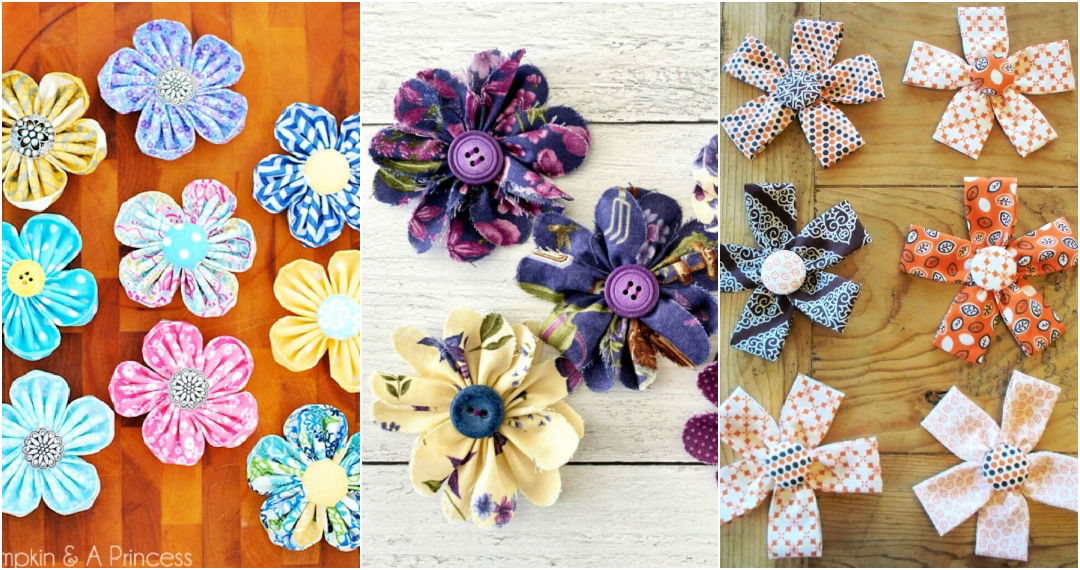
Making fabric flowers can be a fun and satisfying hobby. I remember the first time I tried it. My fabric scraps were gathering dust, and I wanted to make something useful out of them. Following a simple step-by-step guide, I managed to make beautiful, pretty fabric flowers for decorating my room and gifts.
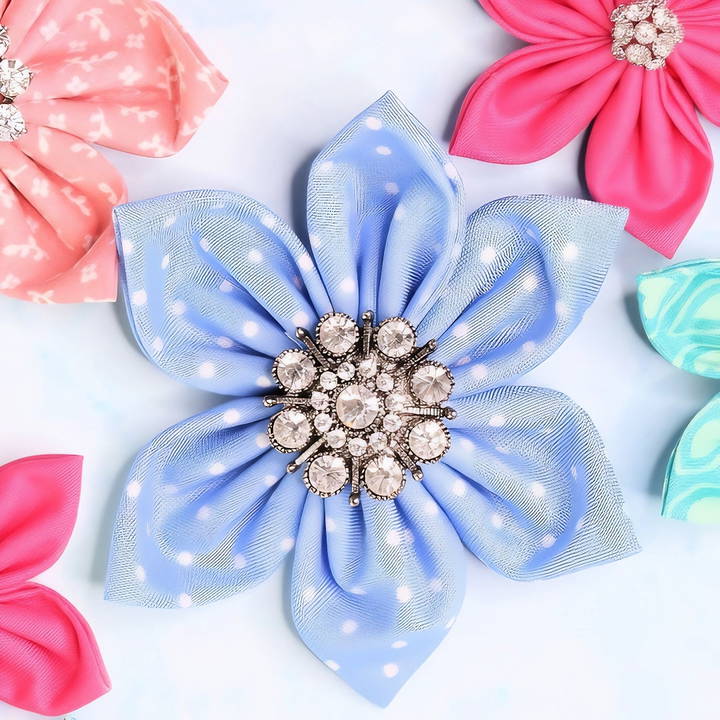
By experimenting with different fabrics and techniques, I improved my skills and collection of fabric flowers. Seeing the colorful and varied blooms around the house made me smile. I'm sharing these tips with you to spark your own creative journey.
You don't need any complicated tools or materials; just follow these easy steps, and fabric flowers will brighten up your space too.
Historical and Cultural Significance
Fabric flowers have a rich history that intertwines with the cultural fabric of societies around the world. They are more than just decorative items; they carry deep meanings and have been part of human expression for millennia.
Ancient Roots and Symbolism
The journey of fabric flowers begins in ancient civilizations, where they were not only aesthetic additions but also held symbolic significance. In Ancient Egypt, the lotus flower was revered as a symbol of creation and life, often depicted in art and used in religious ceremonies. It represented rebirth and was a prominent design in the floral art of the time.
Floral Fabrics in Fashion
Moving through history, floral patterns became a staple in fashion. In Asia, particularly in Japan and China, flowers like the chrysanthemum and peony were heavily featured in textiles, symbolizing royalty and wealth. These motifs were not just for beauty; they conveyed messages and status, with each flower having its own language of symbolism.
The Language of Flowers
This language of flowers was prevalent across different cultures and time periods, allowing for a diverse range of patterns and meanings. In Europe, during the 17th and 18th centuries, floral patterns in fashion saw a significant rise, with new dyeing techniques and global trade bringing a variety of colors and fabrics into the limelight.
Modern Interpretations
Today, fabric flowers continue to be a popular element in crafts and fashion. They are a nod to the past, a way to carry forward the traditions and meanings that have been associated with them for generations. Whether it's a simple fabric rose or an intricate lotus design, each creation is a piece of history brought to life.
Fabric flowers are more than crafts; they tell stories and express culture. They showcase human creativity and a timeless love for beauty.
Materials You'll Need:
- Cotton Fabric Circles: I used quilting cotton as suggested, and it was indeed the best choice due to its easy handling and vibrant colors. You'll need six circles for each flower. For larger flowers, cut the circles to a 4" (10cm) diameter, and for smaller flowers, a 3" (7.5cm) diameter works perfect.
- Hot Glue Gun: An essential tool in crafting, it ensures the flower's components are securely attached.
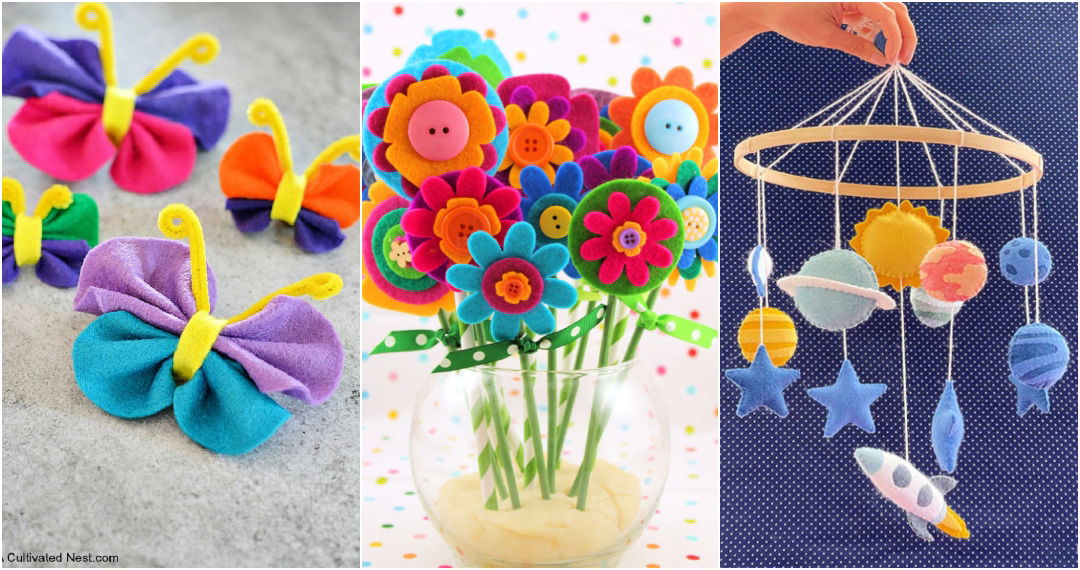
- Buttons or Beads: These will serve as the flower's center, adding a decorative touch.
- Circle of Felt or Fabric: With a 1" (2.5cm) diameter, used for the back of the flower to provide a clean finish and an anchor point for any attachments.
- Lined Alligator Clip (Optional): If you wish to turn your fabric flower into a hair accessory, this is needed.
Step by Step Instructions
Make beautiful DIY fabric flowers with our easy step-by-step instructions. Learn how to cut fabric, make petals, assemble, and finish your flower.
Step 1: Cut Your Fabric
Start by cutting your fabric circles. Accuracy isn't crucial since the edges will fray slightly and add to the flower's charm. However, ensure they are as close to a perfect circle as possible for a uniform look.
Step 2: Make Petal Layers
Take one fabric circle and fold it into half, then into quarters. Hot glue the tip of the quartered circle to secure its shape. This forms a single petal. Repeat this step for all six circles. Remember, the fabric cools quickly, so work with care but efficiently.
Step 3: Assemble the Flower
Once your petals are ready, start assembling the flower by gluing the petals together at their base. Arrange them in a circle, ensuring their points meet in the center. This is where your fabric flower starts to take shape.
Step 4: Add the Centerpiece
For the flower's center, choose a button or bead that complements or contrasts beautifully with your fabric color. Apply a dot of hot glue to the back of your chosen embellishment and press it firmly into the center of the flower, covering the tips of the petals where they meet.
Step 5: Finishing Touches
Cut a 1" (2.5cm) diameter circle out of felt or another piece of fabric. Glue this to the back of your flower. This not only gives your flower a neat finish but also serves as a base if you choose to attach a lined alligator clip to turn your flower into a wearable accessory.
Additional Tips for Success:
- Fabric Choice: Experiment with different fabrics to see how they affect the flower's final look. Satin or velvet can add a luxurious feel, while cotton offers a cheerful and casual appearance.
- Size Variation: Don't be afraid to vary the size of your flowers. Smaller flowers can be perfect for delicate accessories, while larger blooms can make a statement piece.
- Cluster Arrangements: Once you're comfortable with making individual flowers, try grouping them in various colors and sizes for a gorgeous bouquet effect, ideal for centerpieces or elaborate hairpieces.
Personalization Ideas
Personalizing fabric flowers is a wonderful way to add a unique touch to your crafts. Here are some ideas to inspire your creativity and help you make each flower truly your own:
Choose Your Colors
Start by selecting colors that speak to you. Whether you prefer soft pastels or vibrant hues, the colors of your fabric flowers can set the mood for your project. Think about where you'll display them or who they're for, and choose colors that match the setting or personality.
Mix Textures
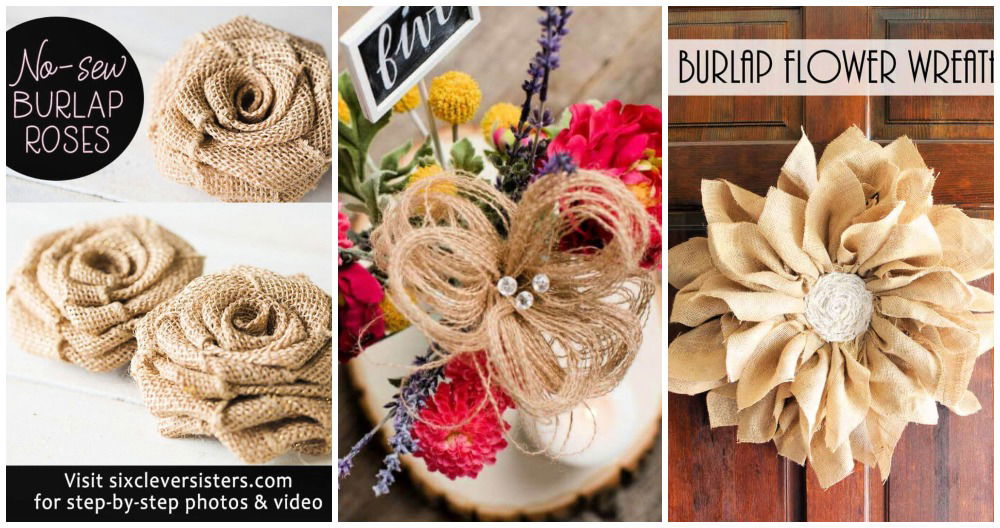
Combine different textures to give your flowers depth and interest. Use silky fabrics for a smooth, elegant look, or go for rougher textures like burlap for a rustic feel. Mixing textures can make your flowers more visually appealing and tactile.
Add Embellishments
Embellishments like beads, sequins, or buttons can transform a simple flower into a dazzling piece. Sew them into the center of the flower or scatter them across the petals for a bit of sparkle.
Incorporate Natural Elements
For a touch of nature, incorporate elements like twigs or dried leaves into your design. These can serve as stems or be worked into the petals for an organic look.
Experiment with Shapes
Don't be afraid to experiment with petal shapes. Try elongated petals for a whimsical effect or sharp, angular shapes for a modern twist. Each shape can change the character of your flower.
Personalize with Prints
Use fabric with prints that have personal meaning. It could be a pattern from a memorable dress or a print that reminds you of a special place. This adds a layer of sentimentality to your flowers.
Make Themed Flowers
Themed fabric flowers can be a fun way to celebrate occasions. Make red and green poinsettias for Christmas or bright sunflowers for summer. Think about the season or event and craft accordingly.
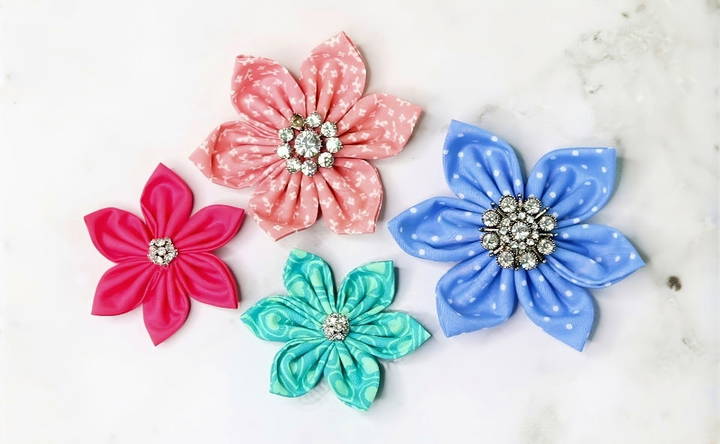
Use these personalization tips to make fabric flowers that reflect your style and stories. The key is to have fun and let your creativity shine.
Troubleshooting Common Issues
When crafting DIY fabric flowers, you might encounter a few hiccups along the way. Here's a helpful guide to troubleshoot common issues, ensuring your floral creations turn out beautifully.
Petals Not Holding Shape
- Solution: Stiffen the fabric. You can use a homemade mixture of equal parts glue and water or a commercial fabric stiffener. Apply it to the fabric before cutting out the petals. Once dry, shape the petals as desired.
Fraying Edges
- Solution: Seal the edges. Use a fray check liquid or clear nail polish along the edges of the petals. For a more natural look, lightly singe the edges with a flame, but be careful not to burn the fabric.
Flowers Look Flat
- Solution: Add dimension. Layer multiple sizes of petals, or use a ball tool on a foam pad to cup the petals and give them a curved shape. You can also scrunch the fabric slightly while it's wet to make a ruffled effect.
Color Fading
- Solution: Protect the color. If you're using dyed fabric, set the color with a vinegar soak before crafting. For added protection, spray the finished flowers with a UV-resistant clear coat.
Assembly Difficulties
- Solution: Simplify the process. Use floral tape to secure the petals to the stem, starting from the base and working your way up. If the petals are slipping, a dab of hot glue can hold them in place.
Lack of Realism
- Solution: Observe real flowers. Study the shape, color gradients, and how the petals overlap. Incorporate these details into your fabric flowers for a more realistic appearance.
Fix these common issues to improve your technique, making beautiful, durable, and lifelike fabric flowers.
Maintenance and Care
Taking care of fabric flowers is essential to ensure they remain vibrant and beautiful for a long time. Here's a straightforward guide to maintaining your fabric floral creations:
Keep Them Clean
Dust can accumulate on fabric flowers over time. To clean them, gently dust them off with a soft brush or use a hairdryer on a cool, low setting to blow the dust away. For deeper cleaning, a damp cloth can be used to wipe the petals.
Avoid Direct Sunlight
Prolonged exposure to sunlight can cause the colors of your fabric flowers to fade. Place them in areas where they will not receive direct sunlight for most of the day, or use UV-protective sprays if they need to be in bright spaces.
Safe Storage
If you need to store your fabric flowers, wrap them in tissue paper and place them in a box to prevent crushing. Store the box in a cool, dry place to avoid humidity, which can lead to mold or mildew.
Handling With Care
When moving your fabric flowers, handle them gently to avoid bending or breaking the petals and stems. If they do get bent, you can often reshape them with your fingers.
Refreshing the Shape
Over time, petals may lose their shape. You can refresh them by lightly steaming the petals with a steamer or the steam from a kettle. After steaming, reshape the petals with your fingers.
Keep Away from Water
While a little water won't necessarily harm fabric flowers, it's best to keep them dry. Water can cause certain fabrics to stain or lose their shape, so it's better to avoid it.
Follow these simple care steps to keep your fabric flowers as fresh and appealing as when you made them.
FAQs About DIY Fabric Flowers
Get answers to the most common questions about DIY fabric flowers. Discover tips, materials, and techniques to make stunning fabric blooms.
To give your fabric flowers a unique flair, consider:
Mixing different textures and colors of fabric
Adding beads, buttons, or jewels to the center
Experimenting with layering techniques or petal shapes
Using fabric dye or paint for custom colors
Incorporating stitching patterns or embroidery for added detail
Absolutely! Here are some eco-friendly practices:
Use recycled materials like old clothing or linens
Opt for natural fibers like cotton or linen
Avoid using glue and stick to sewing to keep it biodegradable
Repurpose leftover fabric scraps from other projects
Share or donate unused fabric to community centers or schools
Yes, fabric flowers are perfect for special occasions:
Make boutonnieres or corsages for weddings
Design decorative centerpieces for parties
Craft hair accessories for proms or dances
Make gift toppers for a personal touch on presents
Assemble a bouquet as a lasting keepsake
When crafting fabric flowers, try to avoid:
Cutting the fabric without measuring—accuracy is key
Choosing fabric that’s too thick or stiff to fold easily
Overcomplicating the design—simplicity can be stunning
Neglecting to secure stitches which may cause the flower to unravel
Forgetting to trim any frayed edges for a polished look
The choice of fabric can greatly influence the look and feel of your DIY flowers. Here are some tips:
Cotton is versatile and easy to handle, making it great for beginners.
Silk or chiffon offers a delicate, elegant appearance but may require more skill to sew.
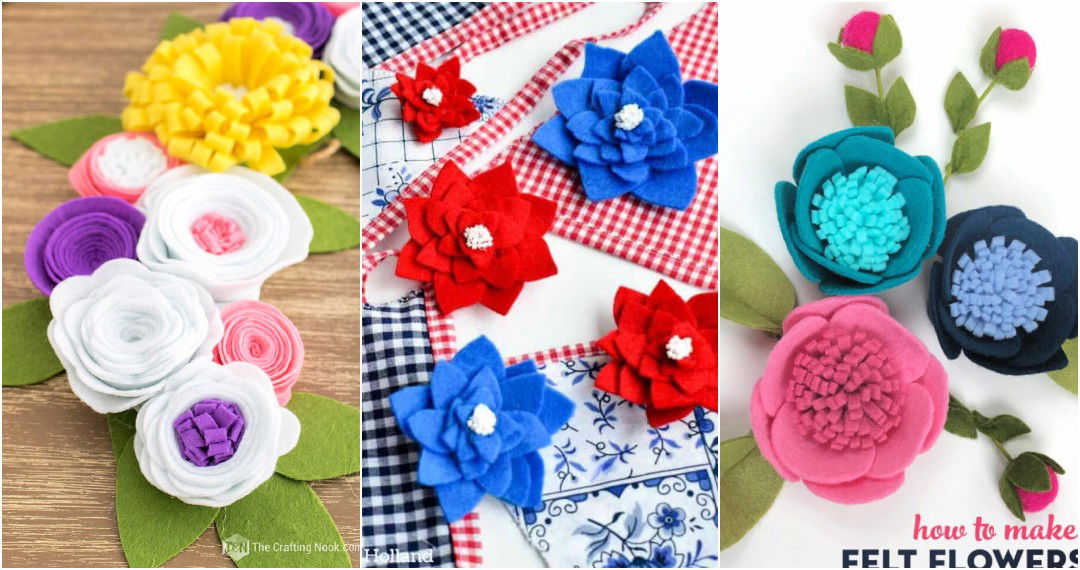
Felt is sturdy and doesn't fray, ideal for making more structured flowers.
Upcycled fabrics from old clothes or linens are eco-friendly and add a unique touch.
Conclusion
This helpful guide will surely provide you with everything you need to know. Dive right in and start making your own beautiful fabric flowers today!


