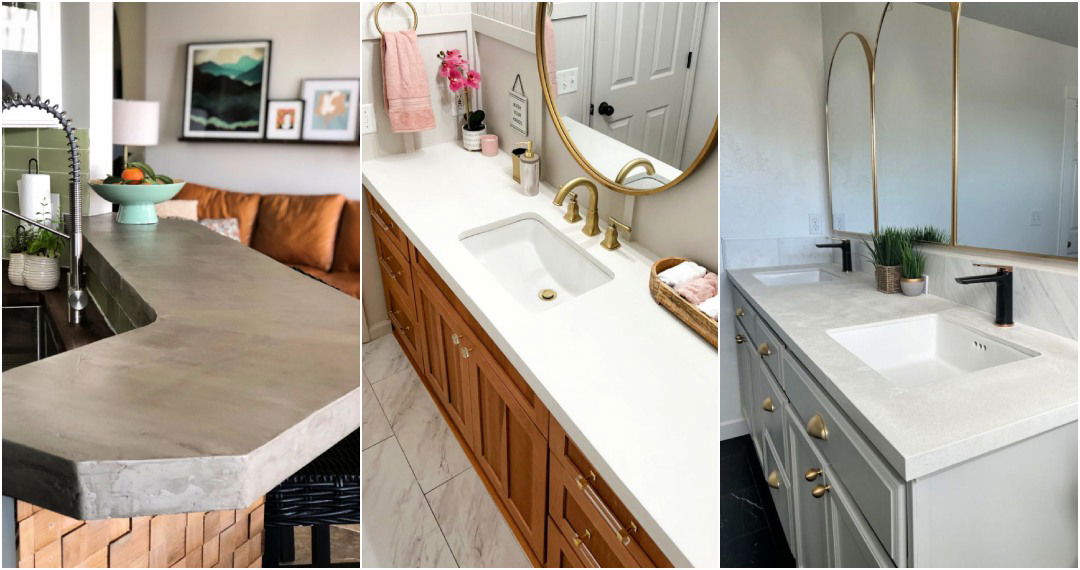
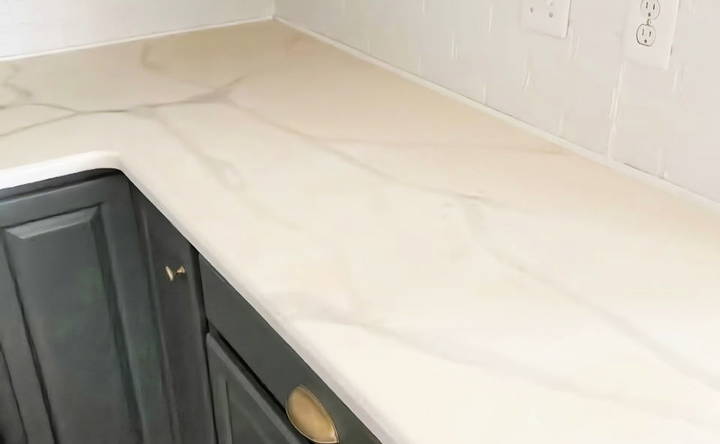
Transform your kitchen with stunning faux marble countertops using our straightforward, step-by-step DIY tutorial. If you've been dreaming of painted marble countertops, this method is budget-friendly and simple. All you need are some basic supplies, and a little patience to achieve the elegant look of real marble without spending a fortune. Follow our clear instructions to update the heart of your home efficiently.
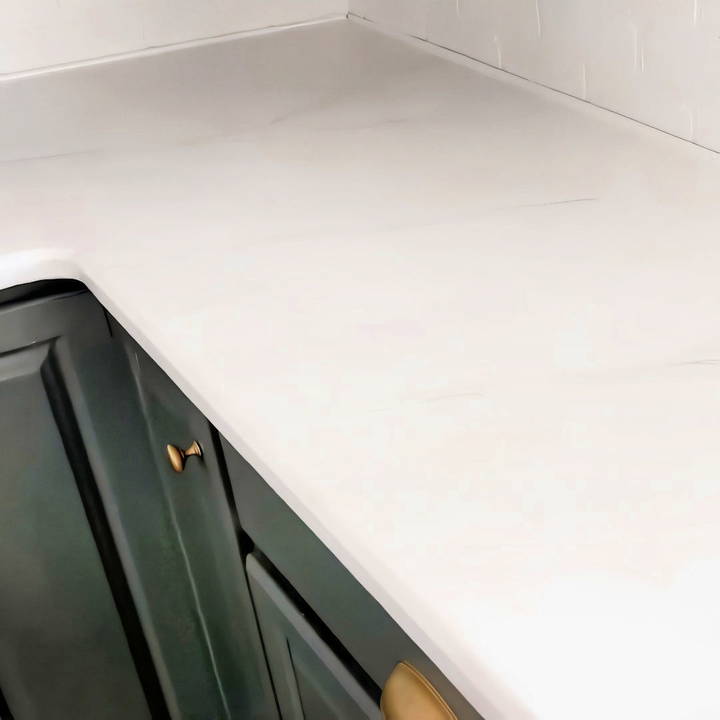
Getting started with DIY faux marble countertops is easier than you might think. We guide you through each stage, from preparing the surface to applying the final, beautiful finish. Our easy-to-follow tutorial ensures you get a professional look, even if it's your first time working on such a project.
Continue reading to discover detailed steps and helpful tips for achieving a flawless finish.
Materials You Will Need
Before diving into the project, it's crucial to gather all the materials. Here's why each is essential:
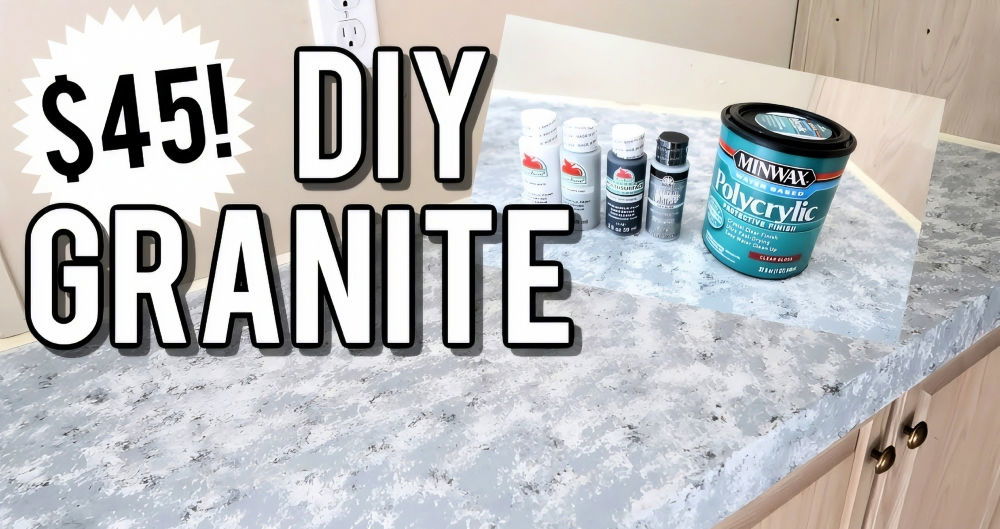
- Valspar Bistro White Paint: Serves as the base coat.
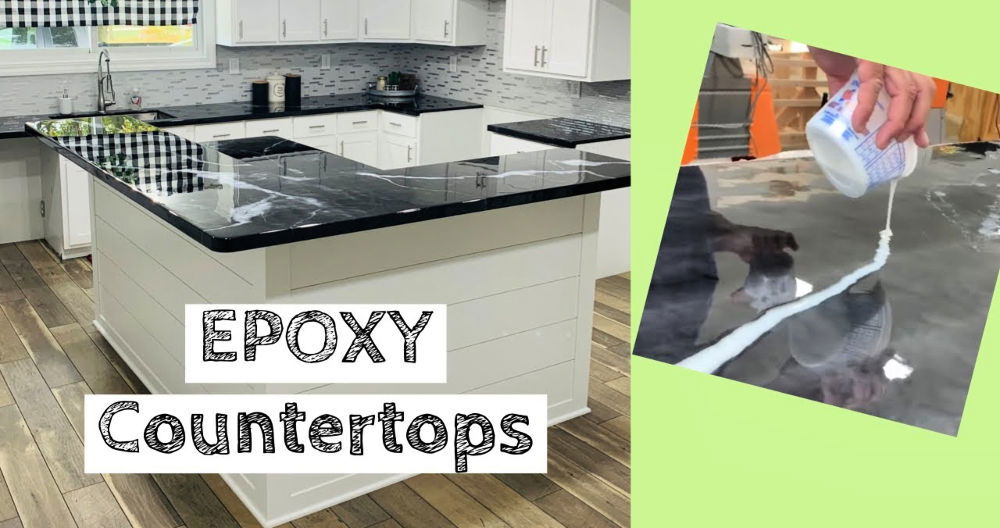
- Polycrylic Finish: Used instead of epoxy because it doesn't yellow over time.
- Sea Sponge and Rag: For making texture and dimension.
- Small Paint Brush or Duck Feather: Used to add veins.
- 220 Grit Sandblock: For light sanding between steps.
- Paint Tray: To mix paints and glaze.
- Minwax Matte Polycrylic: To seal the final look.
- Optional Tools: Plastic bags can be used as an alternative for blotting.
Everything together should cost less than $100, making this a very budget-friendly project.
Step by Step Instructions
Learn the step-by-step process to make gorgeous faux marble countertops, from prepping the base coat to sealing with polycrylic for a beautiful finish.
1. Prepping the Base Coat
First, I applied a second coat of Valspar Bistro White as the base. You could leave it as it is—a nice, crisp white—if that suits your taste, but I opted for a faux marble look.
Why it's Important:
- Ensures an even, solid foundation for the faux marble effect.
2. Building Texture
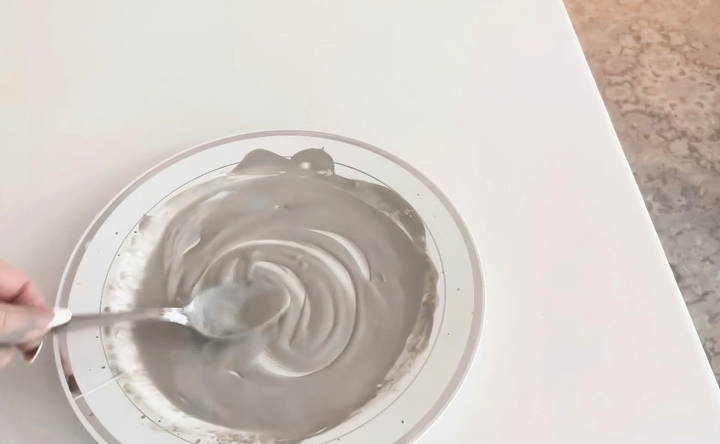
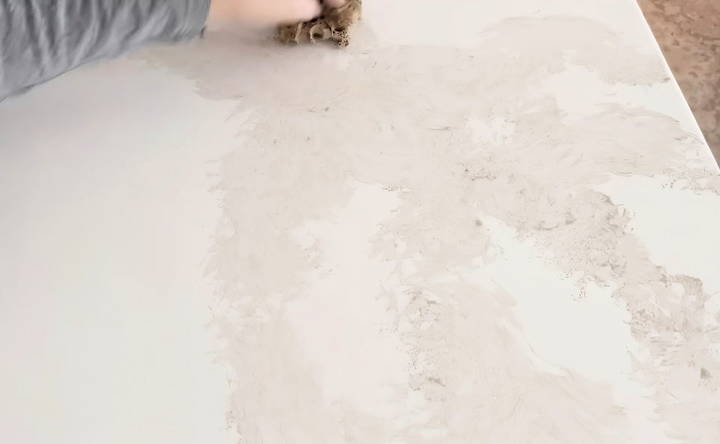
Mix one part of paint (your choice), one part of glaze, and three or four parts water to get a watery consistency. Use a sea sponge to stamp this mixture onto the countertop.
Tips for Texture:
- Blotting Technique: Do not let the paint dry. Quickly blot it with a dry rag to build texture.
- Working in Sections: Always work in small sections to ensure the paint doesn't dry before you get to it.
3. Adding Veins
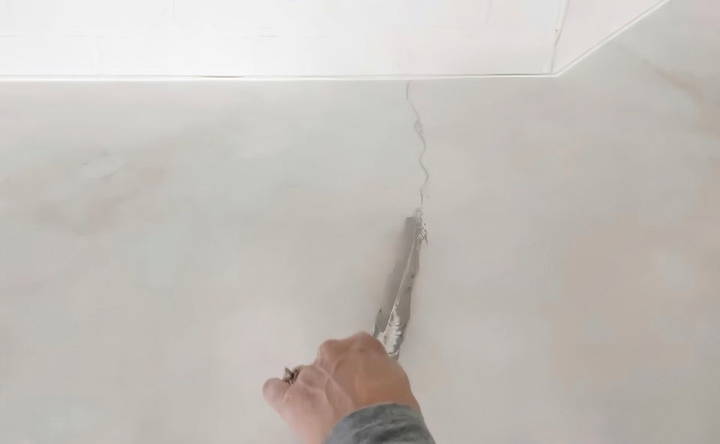
This is the fun part. For this, I used a duck feather dipped in a mixture of one part paint, one part glaze, and a few parts water. Move the feather up and down at an angle—this makes the veins appear more natural.
Important Notes:
- Avoid Straight Lines: Straight lines across or down look unnatural.
- Feathered Look: Use a chip brush to stamp the veins lightly, making a cloudy effect.
4. Darker Veins for Dimension
Now for some added depth, I buildd a darker paint mixture and added a few dark veins randomly across the countertop.
Pro Tip:
- Random Placement: Disperse the darker veins sparingly to break up any uniformity.
5. Final Touch-Up
Mix one part Bistro White with three to four parts water and paint over everything lightly. Blot it with a rag again to achieve the desired dimension.
Why Do This:
- Marble Realism: This layer ensures the veining and texture blend seamlessly, mimicking real marble.
6. Light Sanding
After everything has dried, lightly sand the surface with a 220-grit sandblock. This helps to smooth out any uneven texture and prepares the surface for sealing.
7. Sealing with Polycrylic
The last step is to seal your hard work with Minwax Matte Polycrylic. I used a synthetic brush to apply it in thin strokes. Once the first layer dries (about two hours), lightly sand again and add another layer.
Sealing Tips:
- Prevent Streaks: Always apply in thin layers and feather the edges to avoid streaking.
- Multiple Coats: More coats mean fewer streaks and a more durable surface.
Maintenance and Care
Maintaining your faux marble countertops is key to ensuring they look beautiful and last long. Here's a straightforward guide to keeping them in top condition:
Daily Cleaning
- Wipe Spills Immediately: To prevent stains, promptly clean any spills, especially acidic substances like coffee, wine, or tomato sauce.
- Use Gentle Cleaners: A soft cloth or sponge with warm, soapy water is perfect for daily cleaning. Avoid abrasive cleaners that can scratch the surface.
Dealing with Stains
- Baking Soda Paste: For stubborn stains, apply a paste of baking soda and water, let it sit for a few minutes, then gently wipe away.
- Non-Abrasive Gel: A non-abrasive gel cleaner can be used for tougher stains. Follow the product instructions for the best results.
Scratch Prevention
- Use Cutting Boards: Always use a cutting board to protect the surface from cuts and scratches.
- Avoid Heavy Objects: Don't place heavy pots or appliances directly on your countertops, as they can cause cracks or chips.
Polishing
- Regular Polish: To enhance faux marble's shine, use a polish formulated for it. Apply as directed, usually once every few months.
Heat Protection
- Use Trivets: High temperatures can damage the surface. Always use trivets or hot pads under hot dishes.
Long-Term Care
- Sealant Application: Some faux marble may benefit from a sealant. Check with the manufacturer if this is recommended for your countertops.
Avoid Harsh Chemicals
- No Harsh Chemicals: Harsh chemicals can etch the surface. Stick to mild, pH-neutral cleaners.
By following these simple steps, you'll keep your faux marble countertops looking as good as new.
FAQs About Faux Marble Countertops
Discover answers to your FAQs about faux marble countertops. Learn about cost, maintenance, durability, and installation. Get informed today!
Faux marble countertops are engineered surfaces designed to mimic the appearance of natural marble. They are made from a blend of materials such as plastic, resins, and polymers, which can include marble dust, to build a cost-effective and aesthetically consistent alternative to real marble.
Affordability and ease of maintenance are the primary benefits of faux marble countertops. They are significantly less expensive than natural marble and are lightweight, making them easier to install. Additionally, they are easy to clean with just a damp cloth and offer a uniform appearance without the variations found in natural stone.
Yes, there are some drawbacks. Faux marble is not as durable as natural marble and can be prone to scratches, chips, and dullness over time. It’s important to consider these factors when deciding if faux marble is the right choice for your home.
While it is possible to install faux marble countertops yourself, it requires careful measurement, surface preparation, cutting, and sealing. If you're not experienced with DIY home projects, it might be best to seek professional help to ensure a proper installation.
Maintaining faux marble countertops is relatively simple. Regular cleaning with a damp cloth and avoiding abrasive cleaners will help keep your countertops looking new. It's also recommended to use cutting boards and trivets to protect the surface from potential damage.
Final Thoughts and Reflections
After completing this faux marble countertops project, I can confidently say I prefer the polycrylic method over epoxy. It's less daunting and eliminates the risk of yellowing, especially with lighter colors. Our kitchen now has a fresh, bright look without the hefty price tag. If you're cautious about painting your countertops, I urge you to give it a try. This budget-friendly method can quickly transform your space.


