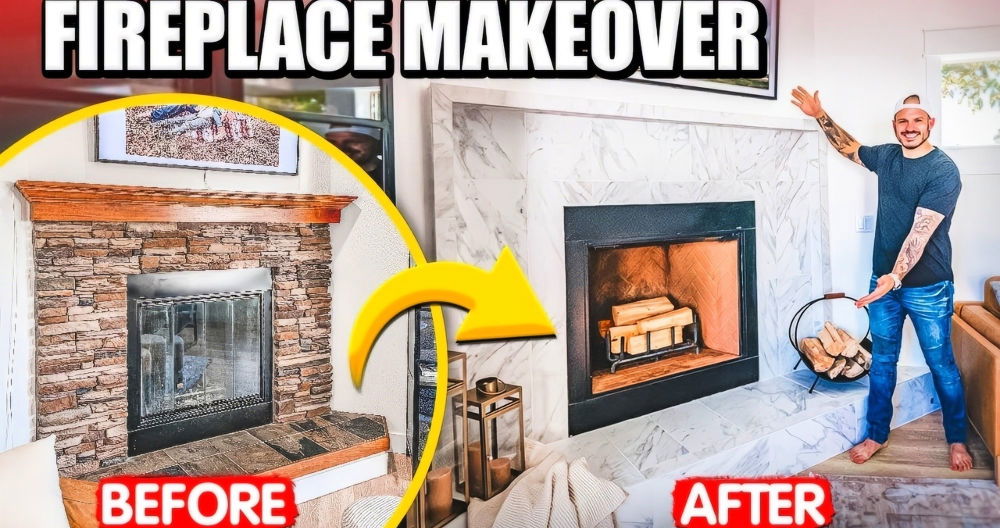
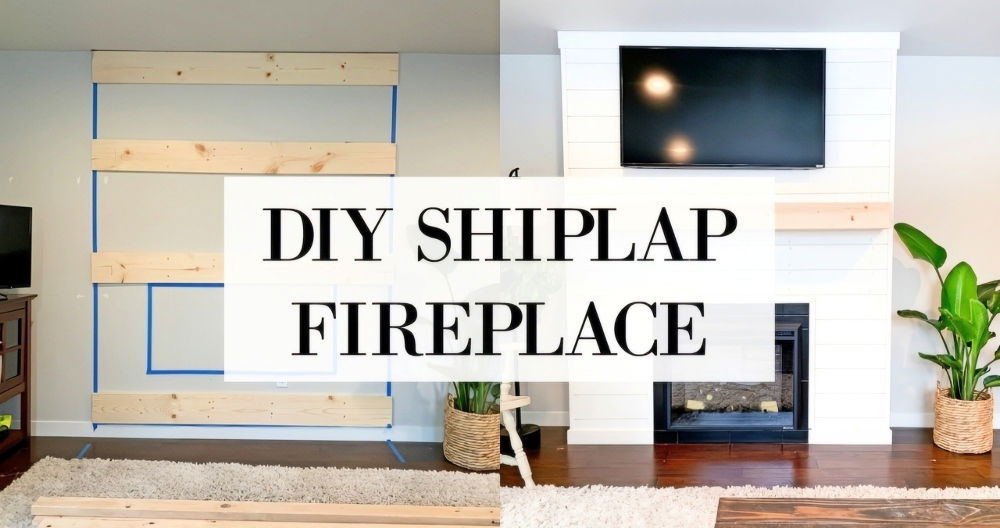
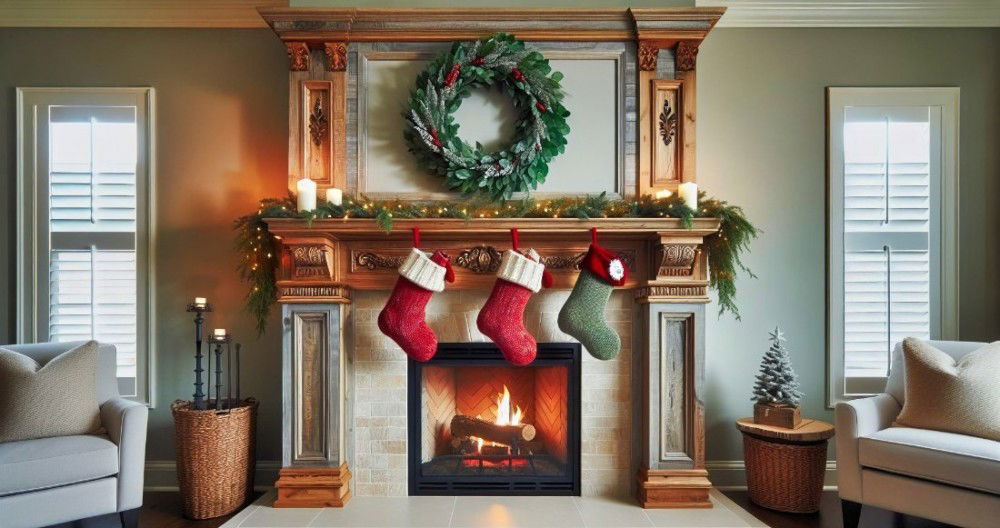
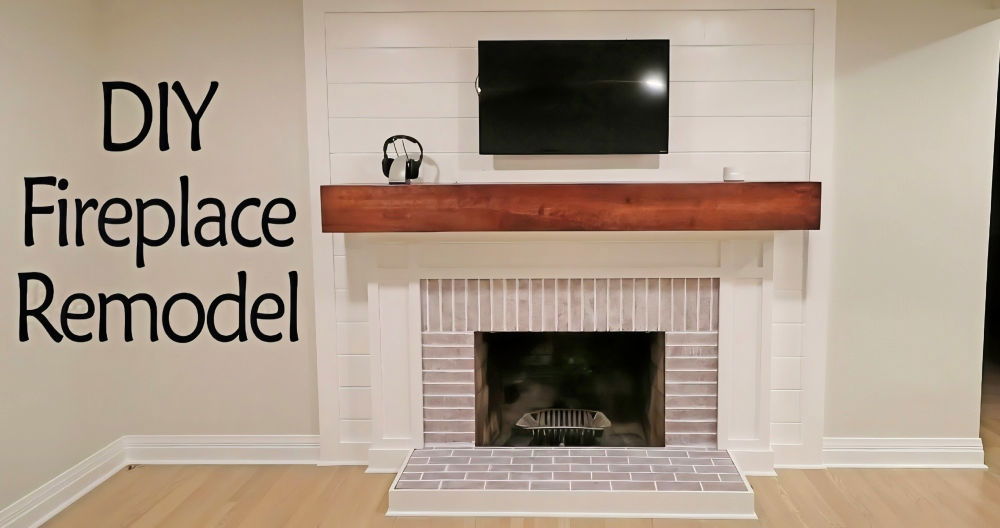
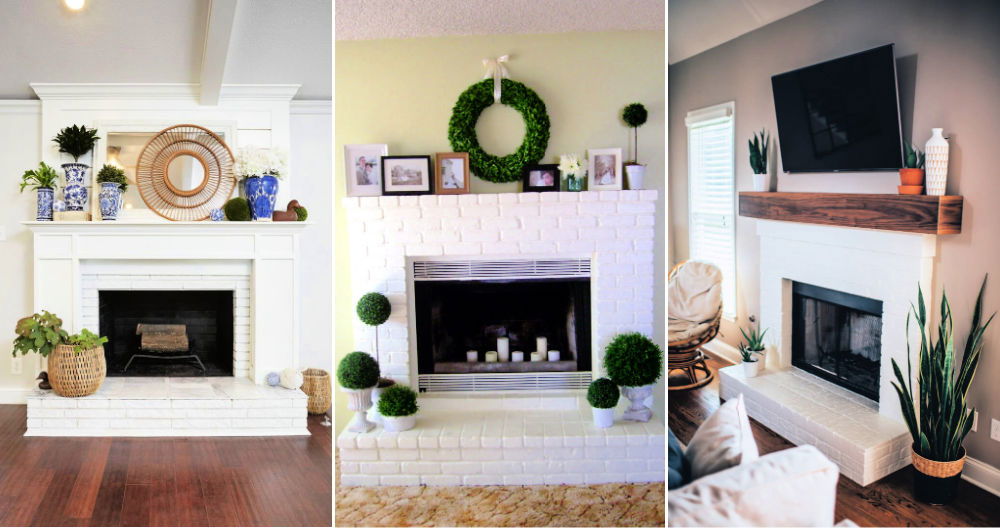
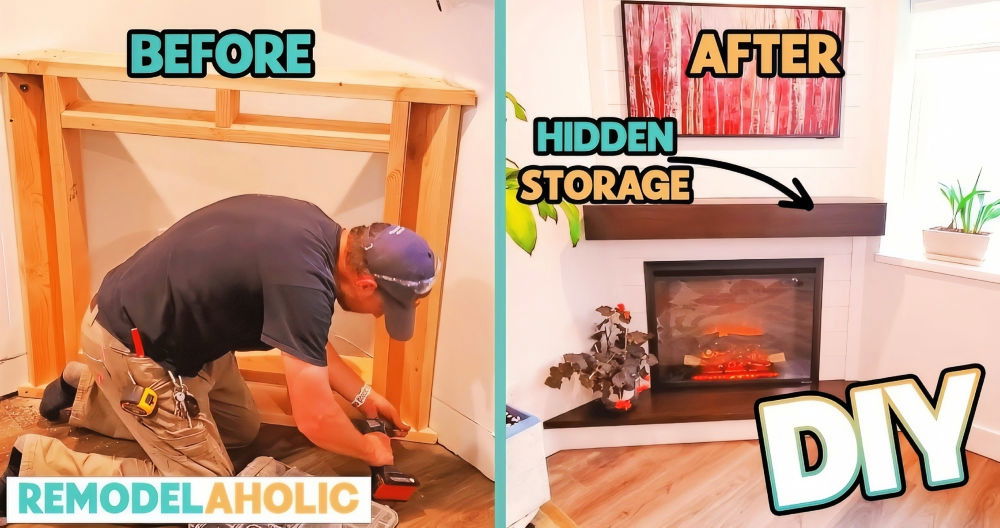
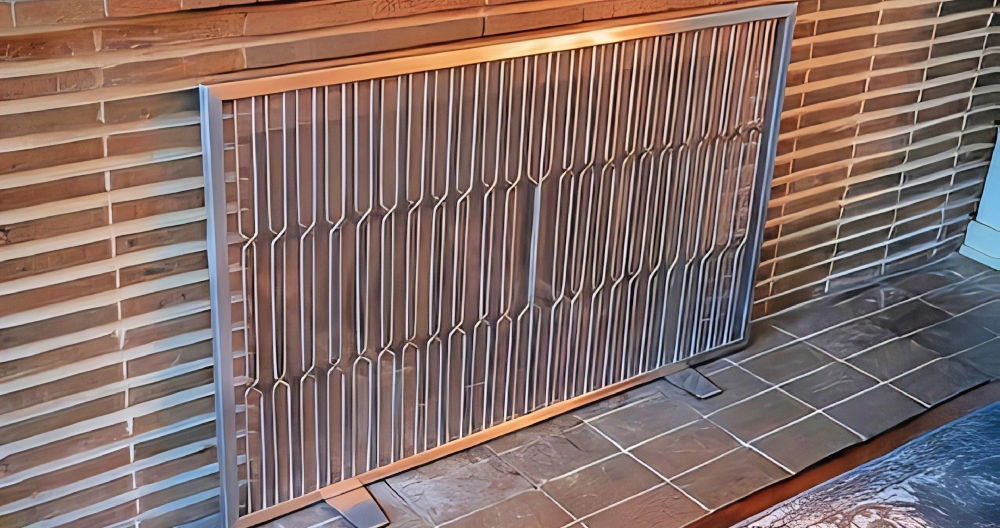
I noticed our living room needed a refresh. The fireplace makeover idea intrigued me. The old fireplace looked dull, and I wanted something modern. So, I took on the challenge of a modern fireplace makeover. It was my first big home project, but I was determined to learn and build something beautiful for our home.
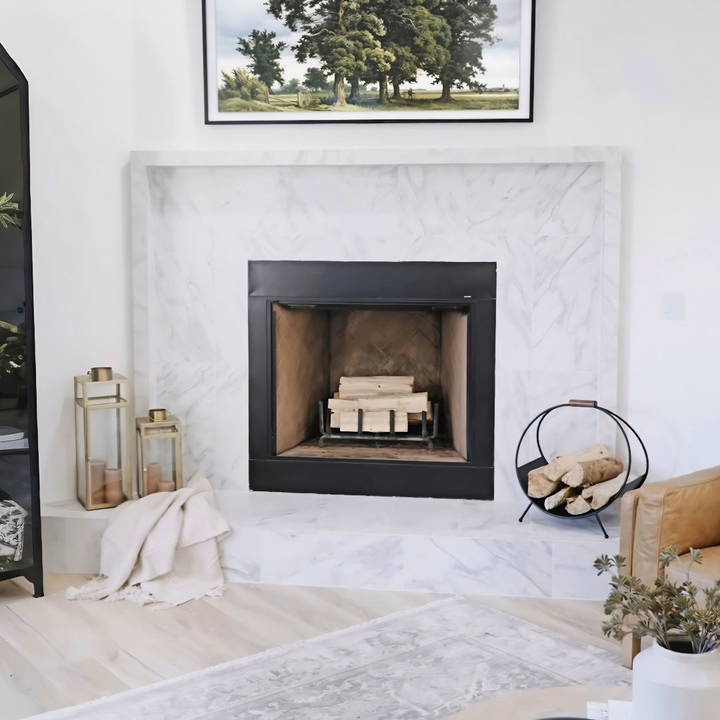
With some guidance and determination, I began the transformation. I followed a step-by-step visual guide to ensure I did everything correctly. The journey was incredible, and seeing the before and after fireplace remodel was deeply satisfying. Now, with a revamped, cozy fireplace, our living room feels brand new. This experience taught me so much, and I'm thrilled with the results.
If you want to transform your fireplace, too, these steps can help you start your DIY journey. You can achieve an amazing result just like I did!
Materials Needed:
- Porcelain Tiles: I selected arabescato gold matte porcelain tiles for their light, marble-like appearance. They're durable and perfect for achieving that luxurious look without breaking the bank.
- Cement Board: Essential as a tile substrate, I chose it for its stability and compatibility with my chosen tiles. It provides a solid, moisture-resistant foundation.
- Thinset Mortar: This adhesive is critical for attaching tiles to cement boards. Its strength ensures the tiles stay in place.
- Grout: Opting for an off-white color complemented the tiles and subtly defined their layout, enhancing the overall design.
- Tile Spacers: These small but mighty tools ensure even spacing between tiles for a professional finish.
- Tiling Tools: A notched trowel, mixing paddle, buckets, and a tile cutter were indispensable for precise and efficient tile application.
Preparations: Out with the Old
The first and perhaps most daunting step was removing the existing stone. Wearing protective gear, I carefully dismantled the stones and cleared the area. It was a moment of no return that marked the beginning of the transformation journey.
Step by Step Instructions
Transform your fireplace with our step-by-step guide on fireplace makeover. From framing to grouting, achieve a stunning new look. A must-read for DIY enthusiasts!
Step 1: Frame Modification
My aim was to build a more contemporary, squared-off fireplace profile. Using lumber, I built a new frame around the existing fireplace structure. This step required precision and patience, as the new frame would dictate the final shape and style of the fireplace.
Step 2: Installing the Cement Board
Cutting the cement board to fit the new frame was the next step. I secured the boards with special screws, ensuring a sturdy surface for tiling. Here, my lesson learned was to use the half-inch boards for their added strength and stability against the wall, an oversight in my initial purchase.
Step 3: Tile Selection and Preparation
Choosing the right tiles involved balancing aesthetics, budget, and durability. The arabescato gold matte porcelain I settled on met all criteria, offering a luxurious look without the cost of real marble. Measuring and cutting the tiles required a steady hand and eye for detail, especially for the pieces that needed to fit around corners and edges.
Step 4: Tile Installation
Mixing thinset to the consistency of sour cream, I applied it using a quarter-inch notched trowel. "Back buttering" each tile before setting it in place, ensuring a secure bond. Tile spacers helped maintain uniform gaps between tiles for an even layout.
Step 5: Grouting
After allowing the thinset to cure, I moved on to grouting. Choosing an off-white color complemented the tiles without overpowering them. Applying grout required focus to fill each joint fully and then time to clean the tile surfaces meticulously.
Troubleshooting Common Issues
When undertaking a DIY fireplace makeover, you might encounter a few hiccups along the way. Here's a helpful guide to troubleshoot common issues:
Paint Not Adhering to Brick
- Solution: Ensure the brick surface is clean and dry. Use a wire brush to remove any debris and a degreaser for soot. Apply a primer designed for masonry before painting.
Uneven Mortar Lines
- Solution: Practice your tuckpointing technique on a spare brick or hidden area. Use a pointing trowel for precision, and remove excess mortar with a damp sponge.
Mantel Installation Issues
- Solution: Check that your hardware is suitable for the weight of the mantel. Use a stud finder to locate secure mounting points. If in doubt, consult a professional.
Tile Cracking
- Solution: Cracked tiles can be caused by heat expansion or improper installation. Use heat-resistant adhesive and grout, and leave space for expansion at the edges.
Smoky Fireplace
- Solution: A smoky fireplace could indicate blockage or poor ventilation. Ensure the chimney is clean and the damper is fully open when in use.
Difficulty Cutting Stone Veneer
- Solution: Use a wet saw with a diamond blade for precise cuts. Measure twice, cut once, and always wear safety goggles.
Fireplace Doors Not Fitting
- Solution: Measure your fireplace opening accurately before purchasing doors. Adjustable mounting brackets can offer a solution if they still don't fit.
Inconsistent Stain on Wood
- Solution: Apply a pre-stain wood conditioner to ensure even absorption. Test the stain on a scrap piece to gauge the final color.
Residue After Removing Tiles
- Solution: Use a putty knife or chisel to scrape off residue gently. For stubborn adhesive, apply a solvent that's safe for your type of fireplace.
Drafty Fireplace
- Solution: Check for gaps around the flue or doors. Use weatherstripping or insulation to seal leaks and improve efficiency.
Safety first: Wear protective gear, ensure good ventilation, and seek professional help for complex issues. With patience, you'll achieve a great fireplace makeover.
Safety Precautions
When embarking on a DIY fireplace makeover, it's crucial to prioritize safety. Here are some key safety precautions to keep in mind:
Wear Protective Gear:
- Always wear safety glasses to protect your eyes from dust and debris.
- Use gloves to shield your hands while handling rough materials or tools.
- Consider a dust mask or respirator if you're working with fine particles.
Prepare Your Workspace:
- Keep your work area well-ventilated, especially if you're using paint or adhesives.
- Clear the space of any flammable materials before beginning your project.
Handle Tools with Care:
- Read the manuals for any power tools and understand their proper use.
- Inspect tools before use to ensure they are in good working condition.
Be Mindful of Fire Risks:
- Avoid using highly flammable materials near the fireplace opening.
- Ensure there's a fire extinguisher nearby in case of emergencies.
Electrical Safety:
- Turn off any electrical circuits if you're working near outlets or wiring.
- Use a circuit tester to confirm that the power is off before starting work.
Lifting Techniques:
- Lift heavy objects with your legs, not your back, to avoid injury.
- Ask for help or use a dolly to move large or awkward items.
Chemical Safety:
- Store chemicals and paints away from heat sources and out of reach of children.
- Dispose of any hazardous materials according to local regulations.
Fireplace Testing:
- Test your fireplace with a small fire first to ensure proper ventilation and function.
- Monitor the first few fires to check for any issues with smoke or odors.
Follow these safety precautions to prevent accidents and ensure a successful DIY project. Taking time to be safe benefits your makeover and well-being.
FAQs About DIY Fireplace Makeover
Discover expert answers to frequently asked questions about DIY fireplace makeovers for a stunning, modern home transformation.
A fireplace makeover can refresh the look of your living space, increase your home's value, and improve the efficiency of your fireplace. It's a cost-effective way to update an outdated feature without the need for professional renovation services.
Popular ideas include painting over old brick, using adhesive sticker tiles for a quick facelift, applying a German schmear technique for a rustic look, or installing a new mantel for a more substantial change. You can also consider tiling over the existing surface for a modern update.
The time it takes can vary widely depending on the complexity of the project. Simple updates like painting or applying sticker tiles can be done in a weekend, while more involved renovations like tiling or building a new mantel may take several days to complete.
Yes, many fireplace makeovers can be DIY projects. With the right tools and a bit of know-how, you can paint, tile, or even build a new mantel yourself. However, ensure you follow safety guidelines and local building codes.
The cost can range from very minimal for simple paint jobs to several hundred dollars for more extensive renovations like tiling or adding a new mantel. The total cost will depend on the materials you choose and whether you need to purchase any special tools.
In Conclusion
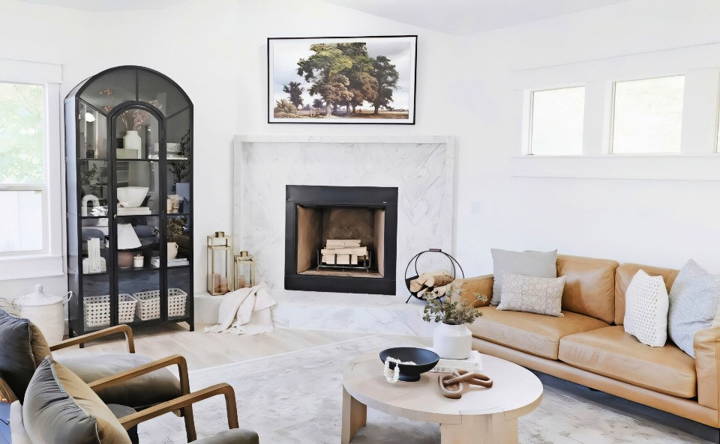
The transformation of my stone fireplace into a sleek and modern focal point was a challenging yet incredibly rewarding DIY fireplace makeover project. It not only enhanced the aesthetic of my family room but also added value to my home. My advice to fellow DIY enthusiasts is to research thoroughly, plan meticulously, and approach each step with patience and care.


