When you're working on a DIY project like building a free little library or any other outdoor structure, it's easy to overlook one of the most critical aspects: choosing the right materials. In my experience, one of the most common issues is accidentally using interior-grade plywood for an exterior project. If you've found yourself in this situation, don't worry—there are ways to salvage the project without starting from scratch. Let’s dive into some practical solutions to protect interior plywood from the elements and extend its life outdoors.
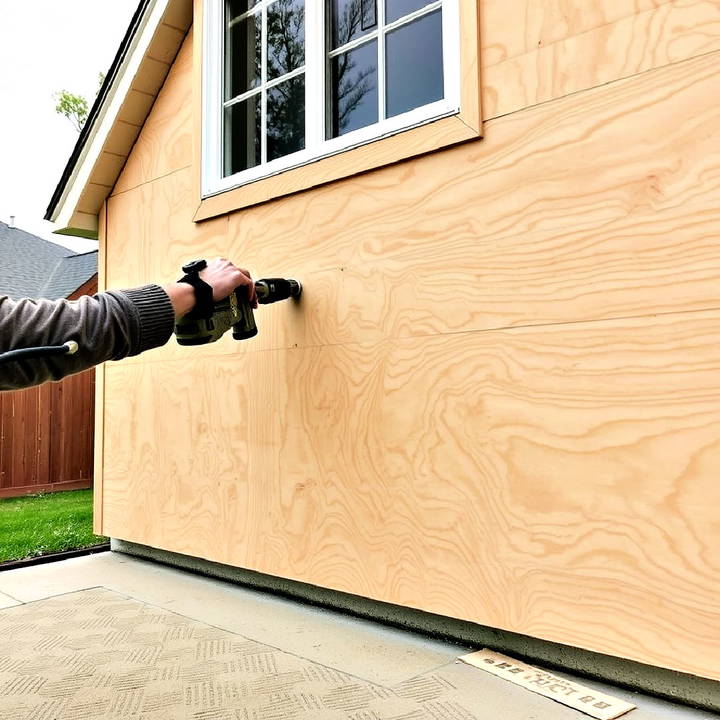
Understanding the Problem: Why Interior Plywood Struggles Outdoors
Interior plywood isn't designed to withstand moisture, sunlight, and temperature fluctuations the way exterior-grade plywood is. The adhesives used in interior plywood are not waterproof, which means that when exposed to water, the layers (or plies) can start to separate or delaminate. This is the primary issue we need to address to make interior plywood suitable for outdoor use.
Step 1: Sealing the Plywood Properly
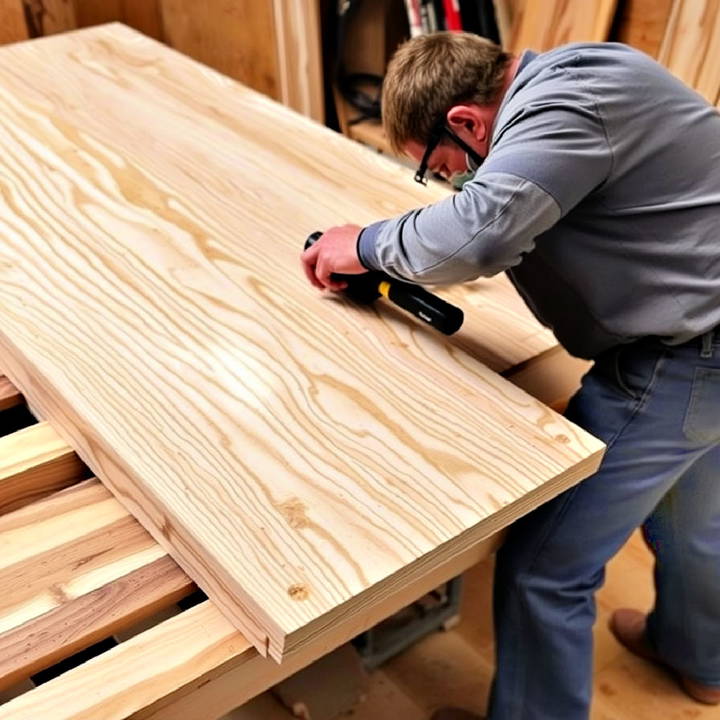
To prevent moisture from penetrating the plywood, it’s crucial to seal it well. A high-quality exterior primer and paint can provide a decent level of protection.
- Choose a High-Quality Primer: Start by selecting a primer designed for outdoor use. Priming the wood is essential as it helps to seal the pores and provides a good base for the paint to adhere to. Make sure to coat all sides, especially the edges, as they are more susceptible to water infiltration.
- Apply Multiple Coats of Paint: After priming, apply several coats of exterior-grade paint. This step is crucial because more paint creates a thicker barrier against the elements. Some DIYers even suggest turning the project into a "paint-encrusted shrine" to maximize protection—so don’t be shy about laying it on thick.
- Seal with Polyurethane or Acrylic: For additional protection, add a clear coat of polyurethane or acrylic. This layer will add a glossy finish and enhance water resistance. The key is to ensure that every nook and cranny, especially any exposed edges, is thoroughly covered.
Step 2: Consider Additional Protective Coatings
Beyond primer and paint, there are other options to further waterproof the plywood.
- Weather-Sealing Coats: Polyurethane and acrylic coatings are great, but some suggest using a clear weather-sealing coat designed specifically for wood. Products like marine-grade varnish (also known as yacht varnish) are excellent choices as they are built to withstand harsh conditions at sea.
- Fiberglass Sheathing: For an even more robust solution, consider applying a layer of fiberglass over the plywood. This method involves laying fiberglass cloth over the surface and then applying a resin to harden it. It creates an incredibly tough and water-resistant shell around the plywood. However, be aware that water and humidity can still seep in over time, leading to eventual delamination, but it will prolong the lifespan considerably.
Step 3: Improving the Design to Minimize Exposure
While sealing the wood is crucial, you can also help prolong its life by minimizing its direct exposure to the elements.
- Create an Overhanging Roof: Designing your structure with a roof that extends out can help divert rain away from the plywood body. For example, if you’re building a free little library, consider a pyramid-style roof that extends in all directions. This design will provide much-needed shade and water runoff.
- Use Shingles or Other Roofing Materials: Many who maintain outdoor structures suggest adding shingles or another type of roofing material over the painted plywood roof. This extra layer protects the plywood from rain and UV rays. It’s particularly useful in regions with harsh weather, such as intense sun or heavy snowfall.
- Regular Maintenance: Even with the best materials and methods, outdoor plywood requires regular maintenance. Plan to inspect the project annually, touching up paint or adding a new coat of sealant as needed. This proactive approach will help catch any issues before they become major problems.
Step 4: Accepting the Inevitable and Planning for the Future
Despite your best efforts, using interior plywood outdoors is always a bit of a gamble. The reality is that it may still deteriorate faster than exterior-grade plywood. One user humorously pointed out that after a few years, you might have to replace it. However, by then, you’ll have gained experience and could plan a more durable design using the correct materials.
Key Takeaways: How to Make the Most of Your Interior Plywood Outdoors
- Seal Thoroughly: Use high-quality primer, exterior paint, and additional sealing coats like polyurethane or marine varnish.
- Enhance Protection with Coatings: Consider using fiberglass or other waterproofing solutions to add an extra layer of defense against the elements.
- Improve the Design: Make strategic design choices, such as adding overhangs or using shingles, to protect the plywood from direct exposure.
- Regular Maintenance is Essential: Commit to annual check-ups to touch up any areas that may have worn down or become exposed.
- Be Prepared for Replacement: Understand that despite all efforts, the longevity of interior plywood outdoors is limited. Use this experience to plan for a more durable project in the future.
By following these steps, you can extend the life of your interior plywood for outdoor use significantly. Remember, DIY projects are as much about the journey and learning as they are about the finished product. Happy building!
FAQ: Fixing Interior Plywood for Exterior Use
Learn how to use interior plywood for exterior projects. Get expert tips on waterproofing and protecting your plywood for lasting durability.
Interior plywood is not designed to handle moisture and extreme weather conditions. The adhesives used in interior plywood can break down when exposed to water, leading to delamination where the layers begin to separate. This significantly reduces the durability and lifespan of any project exposed to outdoor elements without proper treatment.
Paint can offer some level of protection, but it's not foolproof. While multiple coats of high-quality exterior paint will help seal the plywood, it won't fully waterproof it. Water can still seep in through cracks or unfinished edges, leading to damage over time. Therefore, it's important to combine paint with other protective measures like primers and sealants.
An exterior-grade primer is essential when sealing interior plywood for outdoor use. Look for primers specifically designed to resist moisture and block stains. These primers create a more durable barrier, helping the paint adhere better and offering additional protection against water penetration.
Yes, sealing the edges of plywood is crucial as they are more prone to water damage. After applying primer and paint, you can use a clear waterproofing sealant or a thicker epoxy resin specifically designed for sealing wood edges. These products penetrate deeply into the wood, providing a strong seal that prevents water infiltration.
Yes, adding a coat of polyurethane or acrylic can enhance the water resistance of painted plywood. These clear coatings act as an additional barrier against moisture, UV rays, and general wear and tear. It’s recommended to apply several layers, allowing each one to dry thoroughly before adding the next.
Yes, there are alternative methods such as using fiberglass sheathing or marine-grade varnish. Fiberglass involves applying a layer of fiberglass cloth and resin over the plywood, creating a hard, waterproof shell. Marine varnish, often referred to as yacht varnish, is another excellent choice. It’s specifically formulated to withstand harsh marine environments, providing durable protection against moisture and UV damage.
Design modifications can significantly extend the life of interior plywood used outdoors. Consider adding an overhanging roof to protect the plywood from direct rain exposure. Using materials like shingles or metal roofing on top of the plywood can also provide additional protection. An overhang or eaves can help keep the walls dry, reducing the risk of water damage.
Yes, adding shingles or other roofing materials is highly effective. Shingles provide an extra layer of protection from rain and UV rays, particularly for roofs. In areas with harsh weather conditions—like intense sun or heavy snow—this can significantly improve the durability of your project and prevent the plywood from delaminating.
Regular maintenance is key to prolonging the lifespan of interior plywood used outdoors. Plan to inspect the structure at least once a year. Look for signs of peeling paint, cracks, or exposed edges. Touch up paint, reseal edges, and apply additional waterproofing coatings as needed to prevent moisture from causing damage.
While it’s possible to significantly extend the life of interior plywood outdoors through thorough sealing and design improvements, it's challenging to guarantee complete prevention of delamination. Moisture and UV exposure will eventually wear down even the best-protected plywood. Be prepared for the possibility of having to replace or repair parts of the project after several years, depending on the exposure and maintenance.
If budget and time allow, replacing interior plywood with exterior-grade plywood is the most reliable long-term solution. Exterior-grade plywood is specifically designed to withstand outdoor conditions, using waterproof adhesives and more durable wood species. This reduces the need for extensive sealing and maintenance while ensuring a longer-lasting project.


