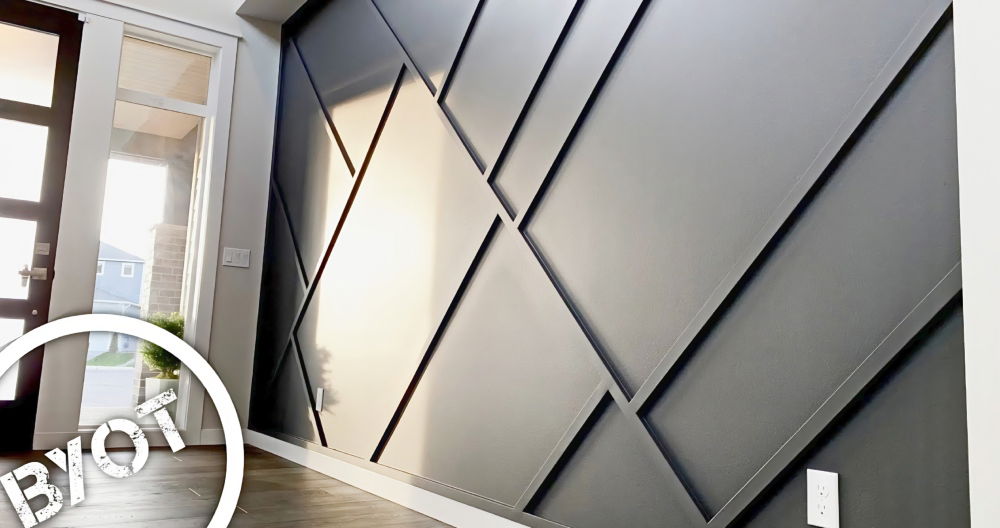
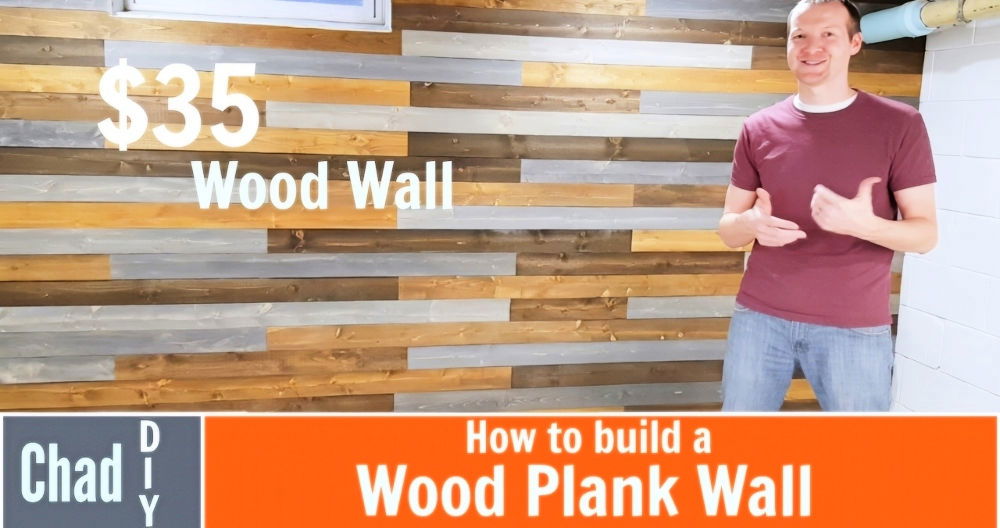
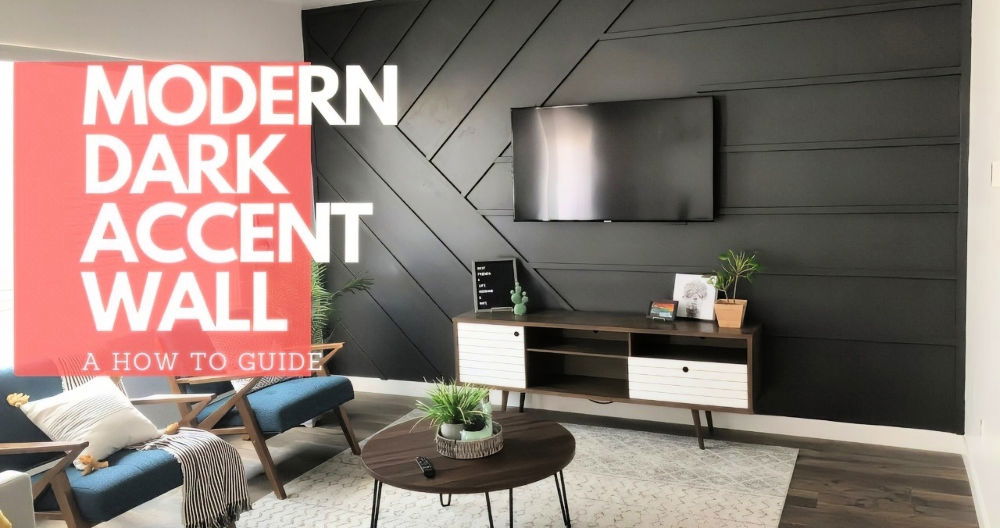
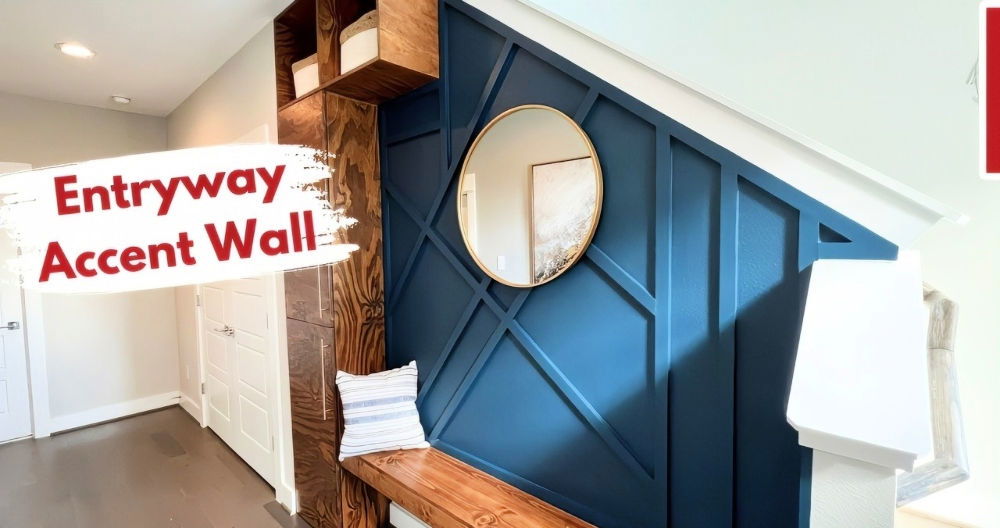
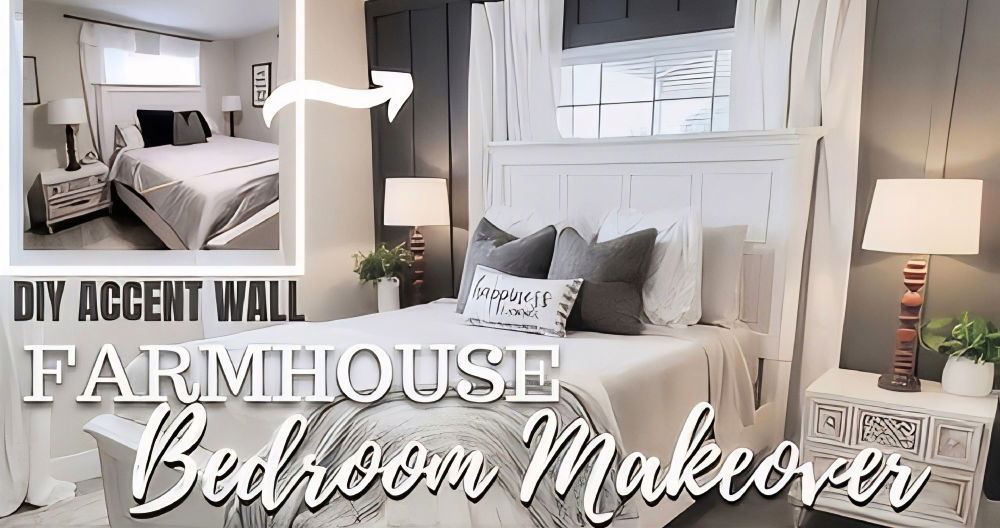
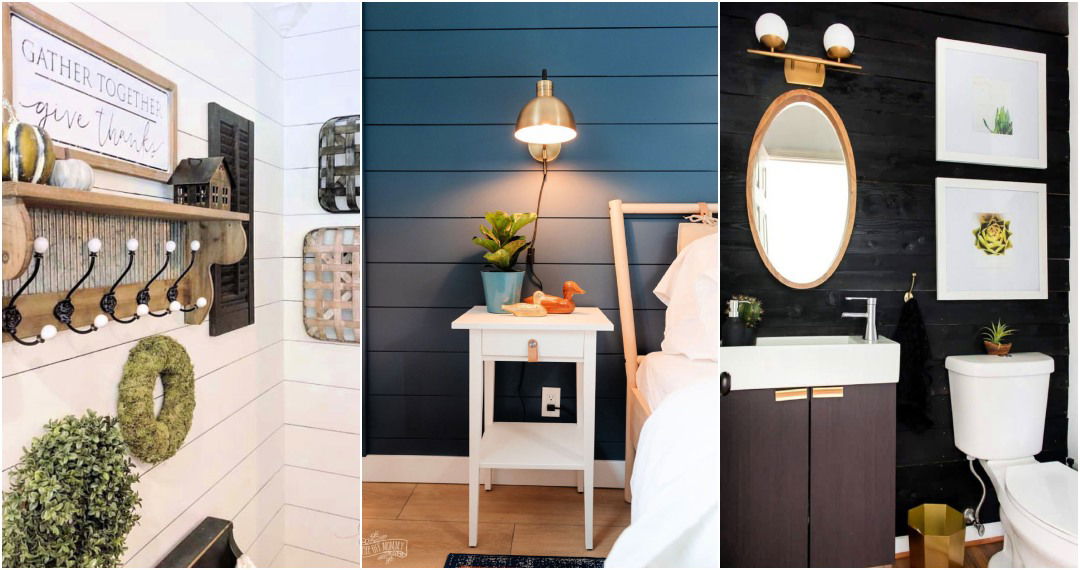
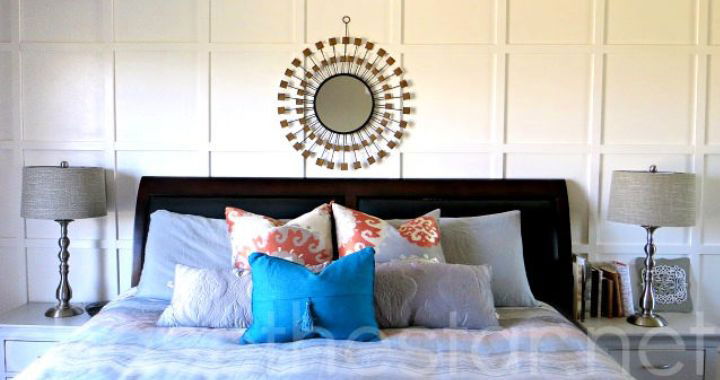
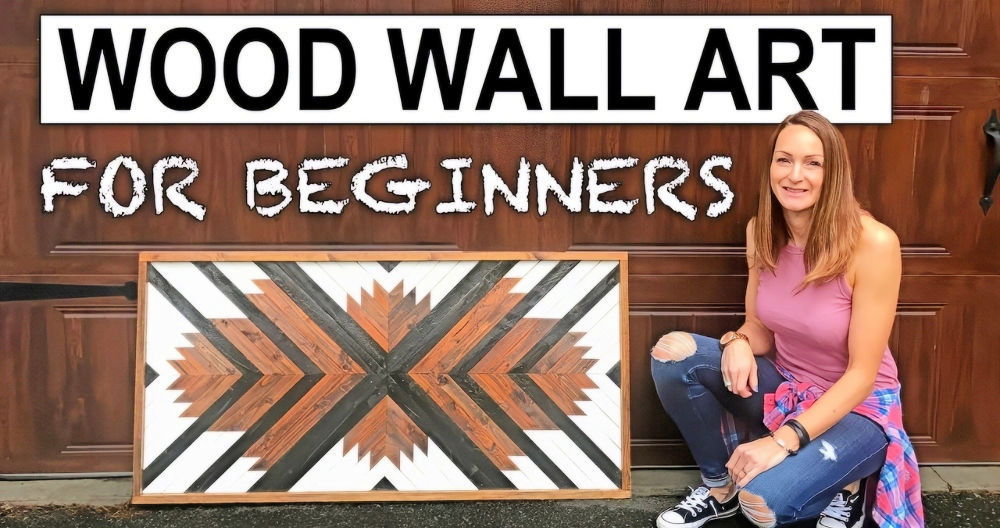
Making a geometric accent wall is a fantastic way to elevate your interior design, adding a unique and modern touch to any room. This guide will show you how to build a geometric accent wall step by step, with tips to ensure professional-looking results, even for first-timers.
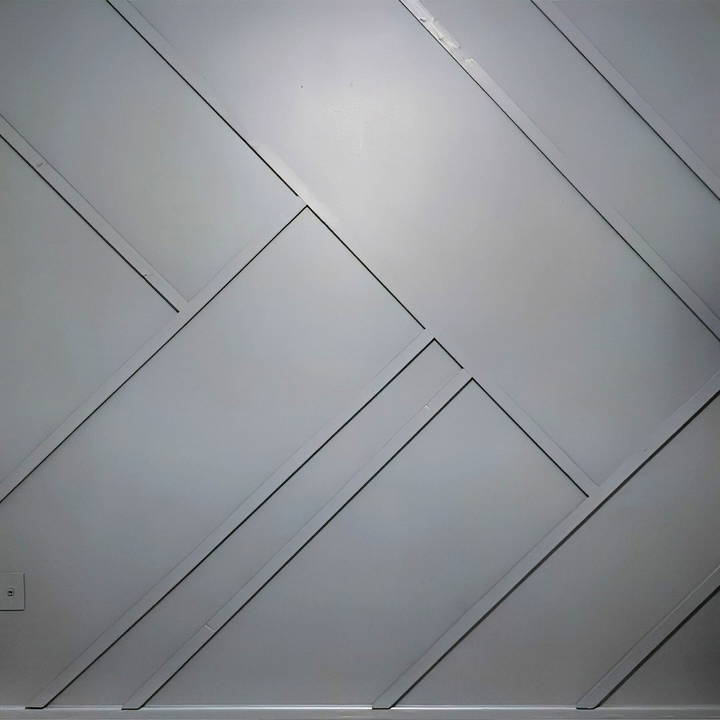
Why Choose a Geometric Accent Wall?
Geometric accent walls are not only visually striking but also highly customizable. They offer endless design possibilities, allowing you to express your creativity while enhancing the aesthetic appeal of your space. Whether you want bold, angular patterns or soft, intricate designs, a geometric accent wall can transform a plain room into a show-stopping centerpiece.
Materials and Tools You'll Need
Before diving into the project, gather the following materials and tools. Preparation is key to ensuring a smooth process.
Materials:
- 1” x 2” Pine Boards: Choose between natural or primed pine boards. Ensure each board is straight. PVC boards are an alternative but tend to be more expensive.
- Paint: Select a color that complements your room's décor.
- Dap Spackle: For filling nail holes.
- Alex Plus Caulk: Ideal for sealing seams between the boards and the wall.
Tools:
- Measuring Tape
- Brad Nail Gun: An 18-gauge nailer is ideal for this project.
- Miter Saw: For precise angled cuts.
- Carpenter's Square: Ensures perfect angles.
- Level
- Pencil
- Stud Finder
- Sandpaper (220 Grit): For smoothing filled areas.
- Caulk Gun
Step by Step Instructions
Transform your space with our step-by-step guide for a geometric accent wall, from prepping to painting and final touches.
Step 1: Prepping the Boards and Wall
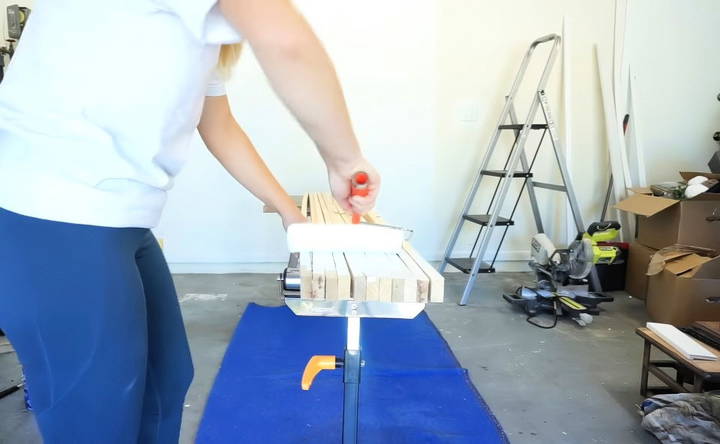
- Painting the Boards: Start by painting your 1” x 2” boards. Painting them beforehand ensures a clean finish without smudging your wall during installation. Use a roller to coat all four sides of each board and let them dry thoroughly.
- Preparing the Wall: Paint the wall the same color as your boards. This step builds a seamless look and hides any gaps. Allow the wall to dry completely before proceeding.
Step 2: Planning the Layout
A geometric accent wall thrives on precision. Begin by sketching your desired design on paper or using design software. This blueprint will guide you during the installation.
- Marking the Wall: Use a stud finder to locate studs and mark them with a pencil or painter's tape.
- Ensure your design accommodates the studs to secure the boards firmly.
- Adding a Border: Frame the wall using the 1” x 2” boards to build a border along the top, sides, and bottom (if replacing the baseboard). This provides a clean edge for your design.
Step 3: Cutting and Installing Boards
Learn how to cut and install boards with our step-by-step guide on cutting boards to size, installing the first board, and adding subsequent boards.
Cutting Boards to Size
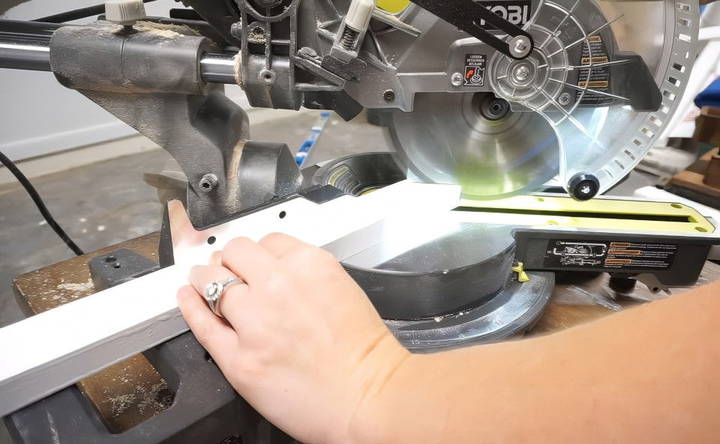
Most cuts will either be at 45° or 90°. Use your miter saw to achieve precise angles:
- For angled connections, cut both ends of the board at 45°, ensuring they fit flush.
- For perpendicular connections, cut one end at 90°.
Installing the First Board
- Start with a diagonal board. Cut both ends at 45° angles to fit neatly between the top and side borders.
- Nail the board into place using the brad nail gun. Ensure one nail hits a stud for stability.
Adding Subsequent Boards
- Alternate between 45° and 90° cuts depending on the board's position in the design.
- Use a carpenter's square to confirm perfect angles at intersections.
- Ensure even spacing between boards for a consistent pattern.
Step 4: Refining the Design
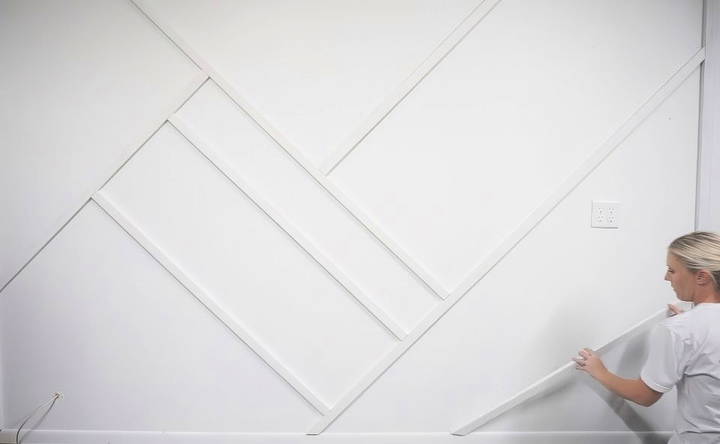
After installing the initial boards, step back to evaluate the overall layout. Adjust as needed to achieve your desired look. This is where your creativity can shine—there's no rigid template to follow. Whether you prefer symmetrical patterns or abstract designs, this step allows you to personalize your accent wall.
Step 5: Filling, Caulking, and Smoothing
Master filling, caulking, and smoothing with our guide on filling nail holes and caulking seams for a flawless finish.
Filling Nail Holes
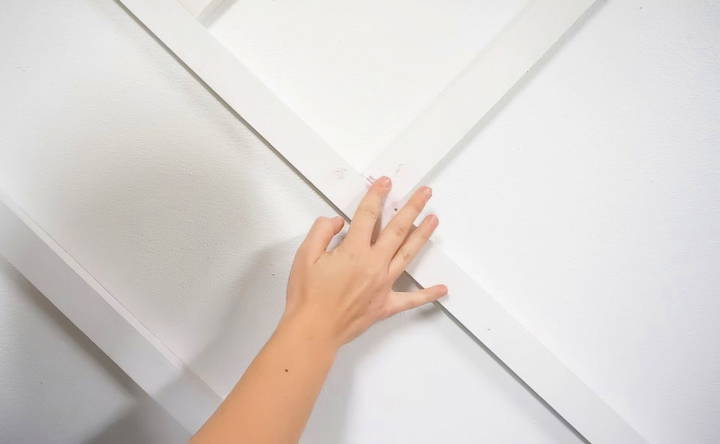
- Use dap spackle to fill nail holes.
- Apply with your finger, pressing it into each hole.
- Once dry (spackle changes color from pink to white), sand the spots with 220-grit sandpaper.
Caulking Seams
- Apply Alex Plus caulk along the seams where the boards meet the wall.
- Smooth the caulk with your finger, wiping away excess for a clean finish.
Step 6: Painting and Touch-Ups
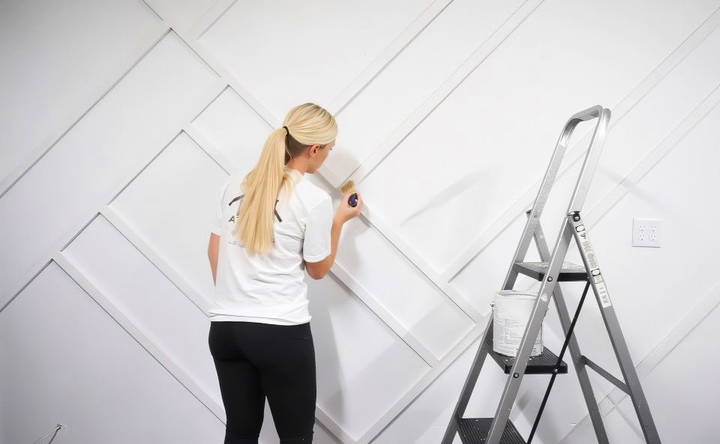
The final step involves painting over the spackled and caulked areas to match the board color. Inspect the wall for any imperfections and make touch-ups as needed. This ensures a flawless, professional appearance.
Tips for Success
- Double-Check Measurements: Measure twice before cutting to avoid errors.
- Ensure Level Installation: Use a level to keep your boards straight.
- Experiment with Spacing: Play around with board spacing to build dynamic designs.
- Take Breaks: Step back periodically to review your progress and avoid fatigue.
Design Inspiration
One of the best aspects of a geometric accent wall is its versatility. Here are a few ideas to inspire your project:
- Symmetrical Patterns: Perfect for a minimalist, modern look.
- Randomized Layouts: Ideal for adding character and uniqueness to a space.
- Color Contrasts: Use two or more colors to make your design pop.
Example Layouts
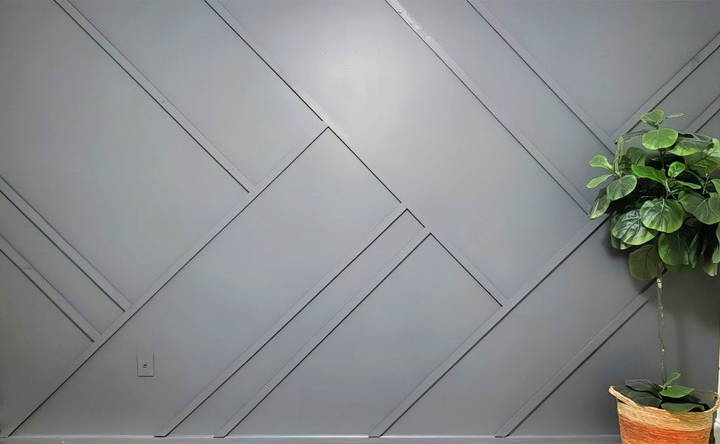
- A diagonal, grid-like design for a sleek, contemporary vibe.
- Abstract shapes for a playful, artistic touch.
The Final Result
A completed geometric accent wall serves as an eye-catching feature that transforms any room. The beauty of this project lies in its adaptability—you can design something simple or elaborate depending on your style and skill level.
Conclusion
Building a geometric accent wall is a rewarding DIY project that combines creativity with craftsmanship. By following these detailed steps and tips, you'll be well on your way to transforming your space with a stunning geometric design. Take your time, have fun, and enjoy the process of making your home truly yours.
FAQs About Geometric Accent Wall
Explore common questions and expert answers on designing a stunning geometric accent wall for your home.
Absolutely! With the right tools and a step-by-step approach, even DIY novices can achieve excellent results.
Costs depend on the size of the wall and the materials used. On average, expect to spend $100–$200 for a medium-sized wall.
Yes! Pine boards are recommended for their affordability and ease of use, but PVC or hardwood options work too.
Using a satin finish is recommended for both the wall and the 1” x 2” boards, as it provides a slight sheen without being overly reflective. For baseboards or trims, a semi-gloss finish is better, as it’s easier to clean and more durable.
If changing the wall color, paint the wall first. Pre-paint the boards as well to save time. After installation, touch up any areas where spackle or caulk was applied.
Use paintable caulk and apply it as usual. Allow it to dry thoroughly, then paint over it with the chosen wall color to ensure a seamless finish.
Yes, alternatives like PVC boards offer durability but are more expensive. MDF boards are a cheaper option, though they may not hold up as well in humid environments.
A miter saw ensures accurate angled cuts, while a carpenter’s square helps align boards at perfect 90° angles. A level is crucial for straight installations.
Use dap spackle for nail holes and Alex Plus caulk for seams between the boards and wall. Sand the spackled areas smooth before painting and ensure the caulk is evenly applied and fully dried.
Yes, but consider using removable adhesive boards instead of nailing directly into the wall to prevent damage. Consult your lease agreement or landlord for additional guidance.
Look for local carpenters or professionals on community Facebook groups or platforms like Etsy. Recommendations from local groups can often lead to trusted professionals.
Yes, but ensure you use durable materials like PVC or sealed pine boards and opt for finishes that are easy to clean, such as semi-gloss.
Sketch your ideas on paper or use digital design tools to visualize the patterns. Play with board placement on the wall using painter's tape before securing them permanently.


