Gold mining with a homemade DIY sluice box can transform your experience, providing the satisfaction of making your own equipment and saving on costs. With a little know-how, elbow grease, and the right tools, you can craft a sluice box that performs efficiently in a river or creek bed. Here, you'll find all the key steps, helpful tips, and important details to build and operate a sluice box effectively.
Step by Step Instructions
Learn how to make a DIY sluice box and optimize performance with step-by-step instructions, from setup to troubleshooting and environmental tips.
1. Choosing the Right Location for Sluice Box Testing
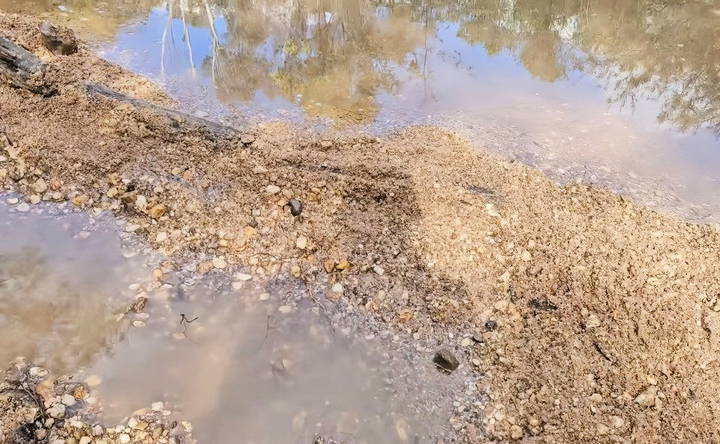
When selecting a spot to test your sluice box, opt for a river or creek with a gentle yet steady flow. An even water flow across your sluice box is essential to ensure proper gold separation without washing away valuable material. Build a small berm or dam upstream from your sluice to control the water flow. Keep in mind that sandy or gravelly areas can cause underflow, making it difficult to retain all the materials you're processing. Placing logs and rocks around your sluice setup helps make a stable water flow that maximizes your results.
2. Sluice Box Construction Materials and Tools
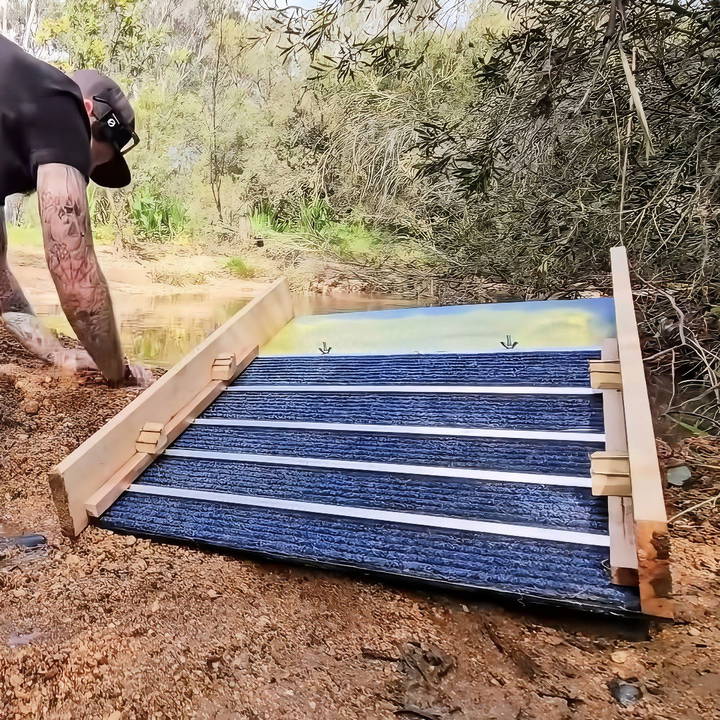
Constructing a sluice box doesn't require expensive materials. Common items like wood, PVC pipes, and metal mesh make effective DIY components. Additionally, you can use low-profile matting within the sluice to help trap fine gold particles. Opt for lightweight materials where possible to keep your sluice easy to transport. Tools such as saws, drills, and measuring tapes are crucial for precise assembly. Once built, verify that all parts fit tightly together to prevent leaks that could let gold escape during the process.
3. Setting Up Your DIY Sluice Box
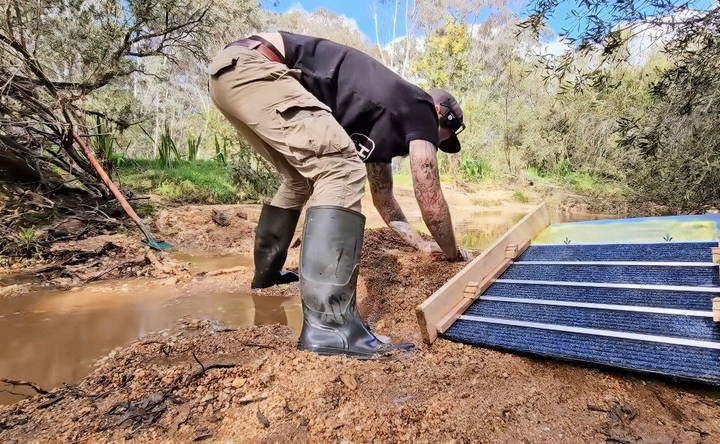
Placement is key when setting up a sluice box. Position the sluice so that water flows at an angle through it—about 5–10 degrees is optimal for most setups. Secure it by adding rocks on either side or weighing down the edges. By making a slight downward incline, you'll ensure the water pushes material through the sluice without flooding it. Monitor the flow rate to confirm that it's slow enough for the matting to trap fine gold, especially if the water looks like it's moving quickly.
4. Processing Material and Classifying Dirt
Effective gold prospecting with a sluice box begins with proper material classification. Use a quarter-inch mesh to sift out larger rocks, which won't hold gold but will interfere with fine material processing. The classification process also improves sluice efficiency, allowing you to run more material without clogging. This step is especially critical if you're working in a high-volume area, as it maximizes your gold yield by reducing unnecessary bulk.
5. Feeding the Sluice Box for Optimal Performance
A steady, controlled feed is vital to avoid overwhelming the sluice. Scoop dirt onto the sluice slowly, allowing each section to work through the material. Observe how the gravel and sediment move through; if materials aren't shifting, your water flow may be too low. Conversely, if sediment flows through too quickly, you may be losing fine gold. Fine-tuning this balance lets you catch more particles and speeds up the overall process.
6. Identifying Quality Flow and “Laminar Flow”
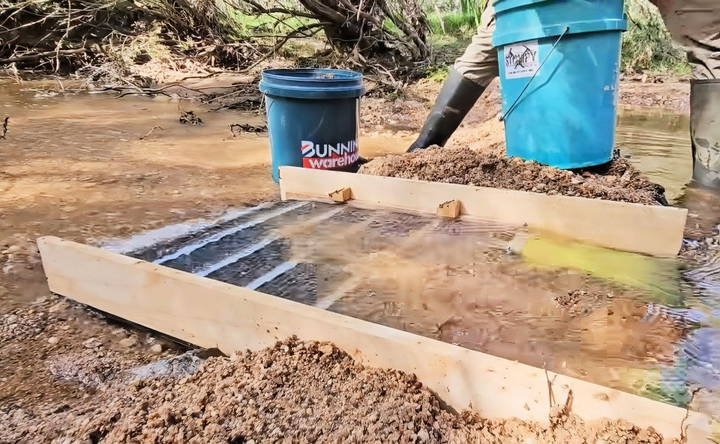
Laminar flow, a smooth and steady water movement through the sluice box, is essential for effective gold collection. Turbulent water makes uneven settling, pushing gold out with other particles. By achieving laminar flow, gold particles can settle and stick within the riffles and matting. Adjusting the water flow or adding barriers can help smooth out the water's path through the sluice. This flow also allows you to process material faster without compromising your gold yield.
7. Signs Your Sluice Box is Working Properly
As you work, look for indicators of gold in the sluice. Fine particles often settle at the start of the sluice, so visible gold flecks in the initial riffles indicate that the box is doing its job. You may need to adjust your setup if you see material passing through without settling. Keeping an eye on how materials distribute along the sluice lets you gauge if your adjustments—whether to water flow, angle, or material feed rate—are working.
8. Maintaining Your Sluice Box in the Field
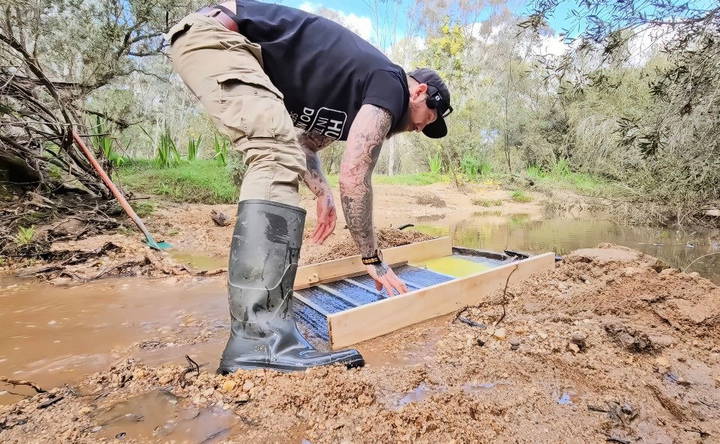
Regular maintenance while prospecting helps maintain the sluice's performance. Keep an eye out for gravel build-up, and clear out any blockages that may prevent smooth water flow. If you see too much fine sediment building up, adjust the angle or remove debris that could be affecting flow. Minor adjustments throughout the day ensure that the box remains effective and that gold recovery remains high.
9. Cleaning Out the Sluice Box
Once you've processed your material, it's time for cleanup. Carefully remove the sluice from the water and gently wash out the riffles, where gold and black sand concentrate. Avoid doing a full cleanout at the site, as you might lose fine gold in the process. Instead, rinse the sluice just enough to remove light sand and dirt, making the at-home cleanup more efficient. This approach prevents heavy materials from slipping out and makes it easier to collect the remaining concentrate.
10. Processing Concentrates at Home
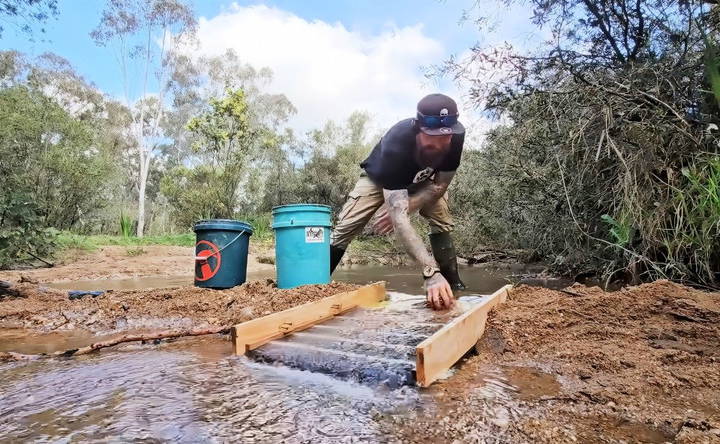
With your concentrate gathered, the final cleanout happens at home, where you can use tools like a Miller table or pan to separate gold from black sand. At this stage, take your time to ensure you extract as much fine gold as possible. Repeat the process if needed, especially if you notice large amounts of black sand. The concentrated material often hides finer particles of gold, making patience during this step crucial.
11. Troubleshooting Common Sluice Box Issues
Issues with water flow, sediment movement, and material retention are common in sluice boxes, but they're easy to fix. For instance, if water flow is too slow or fast, adjust the angle of the box or rearrange rocks that might be redirecting flow. Gravel-heavy material often clogs the sluice, so use a classifier beforehand to ensure smooth processing. Regularly checking for these issues while prospecting can improve your gold yield and reduce frustration.
12. Understanding Gold Yield and Potential Profits
The effectiveness of your DIY sluice box becomes apparent once you weigh your gold at home. Even if each bucket yields a small amount, the cumulative total can add up, especially in areas with high gold density like Reedy Creek. The satisfaction of uncovering even small flakes adds up over time, making the sluice box a rewarding tool in any prospector's arsenal.
13. Encouragement for First-Time DIY Builders
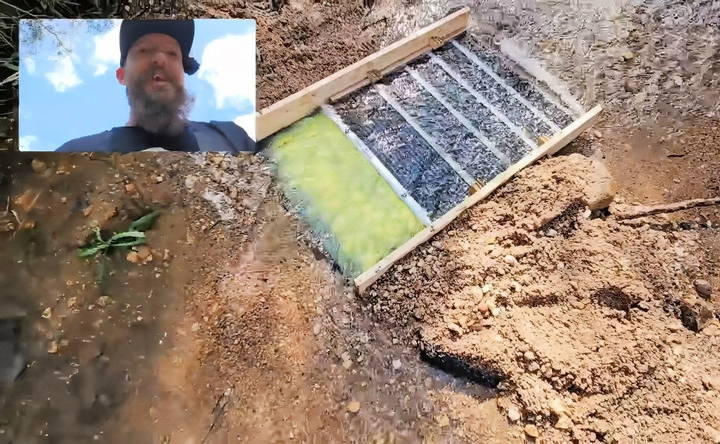
Making your own sluice box may seem daunting, but don't let fear hold you back. A homemade sluice box is an excellent way to learn and apply DIY skills, as well as an enjoyable part of the gold prospecting experience. Embrace trial and error, and remember that building your box teaches you about the gold recovery process itself. Success in gold mining often comes with patience and a willingness to adjust; your DIY sluice box is a testament to your resourcefulness and dedication.
14. Safety Tips for Field Work
Safety is paramount when prospecting. Wear durable boots with good traction for wet, rocky areas, and consider gloves to protect your hands while handling rough materials. Keep an eye on weather conditions, as sudden rain can make hazardous conditions in riverbeds. Always let someone know where you'll be working, and take extra care when building barriers or structures in the water to avoid slips or accidents.
15. Environmental Considerations in Gold Prospecting
Respect for natural sites ensures these areas remain open for prospecting. Minimize disturbances in the waterway and avoid digging too deeply into riverbanks, which can disrupt ecosystems. Use biodegradable materials where possible, and always clean up your work area before leaving. Responsible prospecting helps preserve these locations, allowing future prospectors to enjoy the same opportunities.
Conclusion:
By following these steps, you'll be well-prepared to construct and operate a sluice box that's effective, durable, and environmentally conscious. With the right approach, your DIY sluice box can help you find small but valuable pieces of gold and give you a satisfying hands-on experience in prospecting. Whether you're a hobbyist or more serious about gold mining, these tips will help you make the most of your DIY sluice box and enjoy the thrill of panning for gold.
FAQs About DIY Sluice Boxes
Discover answers to common questions about DIY sluice boxes, including materials, design tips, and maintenance for efficient gold prospecting.
Low-profile rubber matting is ideal for trapping fine gold as it makes a surface where small particles can settle without being washed away. Some prospectors recommend matting designed with small riffles that help capture gold particles while allowing sand and silt to pass through. To enhance results, clean the matting between uses to prevent clogging, ensuring maximum gold recovery with each session.
Efficient sluice box operation is characterized by a smooth, laminar water flow and visible gold deposits near the first riffles. If gravel or sediment flows too quickly, reduce the water speed to allow gold particles to settle. Conversely, if materials accumulate excessively without moving, adjust the angle of your sluice to increase flow. A balanced flow ensures better gold retention and prevents valuable material loss.
Rules for sluice boxes vary by location, so check local regulations before using one in public waterways. In areas where sluice boxes are allowed, such as Reedy Creek in Australia, some restrictions still apply, like avoiding excessive silt discharge. Following guidelines helps preserve these sites for future prospectors and avoids potential fines or legal issues.
During droughts or low-water levels, consider alternative methods like dry panning or using a high-powered magnet to sift through sands for metallic materials. A portable pump system can help redirect water through the sluice, simulating a steady stream. Another option is to focus on high-silt areas where small pockets of water might still be found, allowing you to work despite low water availability.
Post-field maintenance includes thoroughly rinsing the sluice to remove accumulated sediments and checking matting for trapped materials. Dry the matting, then gently tap it to dislodge any remaining particles. Some prospectors recommend drying the sluice completely before storage to prevent corrosion on metal components and mold on rubber materials.
Yes, sluice boxes can capture gemstones alongside gold, especially if you use wider riffles and matting that allow heavier gemstones to settle. To increase the chance of capturing gemstones, use a sluice angle that facilitates slower material flow, giving these heavier items a chance to settle within the sluice box. For best results, inspect the collected materials carefully during cleanup.
For transporting paydirt over long distances, a motorized wheelbarrow or sturdy backpack can reduce strain. Another helpful tool is an aluminum yoke, which distributes weight evenly across your shoulders, making it easier to carry heavy buckets. Some prospectors also suggest using smaller buckets or a handcart to reduce load size and improve portability across challenging terrain.
To minimize gold loss, avoid a complete sluice cleanout on-site. Instead, rinse off light sand and mud, leaving the heavier black sand and gold concentrate for home processing. This approach reduces the risk of washing fine gold away in the field. For the final cleanout, use a gold pan or Miller table, which enables more precise separation of gold from other materials.
Yes, but it's recommended to classify material before adding it to the sluice box, using a screen or mesh to remove rocks larger than a quarter-inch. This pre-sorting ensures that large rocks don't obstruct water flow, improving the efficiency of your sluice. Using a separate classifier helps streamline the sluicing process, allowing you to focus on smaller, gold-bearing material.


