I remember my first time making my own homemade plant fertilizer. It felt so good to use kitchen scraps to feed my plants. I collected eggshells, coffee grounds, and banana peels. I was amazed at how easy it was. The plants seemed to love the natural fertilizer I made. They became greener and stronger in a couple of weeks.
This homemade method is not only cost-effective but also eco-friendly. The nutrients from the natural ingredients go straight to the plant roots, making them healthier. Plus, it reduces waste, making it a win-win for both your garden and the environment.
I'm sharing these simple tips so you can get started with your own homemade fertilizer and help your plants grow beautifully.
Step by Step Instructions
Learn how to make homemade plant fertilizer with our step-by-step guide. Gather materials, harvest weeds, and prepare, strain, and store your organic fertilizer.
Step 1: Gathering Your Materials
Discover the essentials for your project in gathering your materials: why you need each material. Ensure success with the right supplies and knowledge.
Why You Need Each Material:
- A Bucket: Acts as a container for your ingredients to decompose and transform into nutrient-rich liquid fertilizer.
- Garden Weeds (Dandelions, Stinging Nettle, and Comfrey): These plants are abundant in essential nutrients that support the growth and health of other plants in your garden.
- Water: Helps break down the plant material and leach out the valuable nutrients.
- A Stick or Trowel: To stir the mixture and promote even decomposition.
- Gloves (Especially for Handling Stinging Nettle): To protect your hands from the nettle's sting and keep them clean during the process.
Step 2: Harvesting Your "Weeds"
The protagonists of my organic fertilizer are often considered garden nuisances: dandelions, stinging nettle, and comfrey. However, their value in making a potent garden tonic is unparalleled. Dandelions, rich in macronutrients and micronutrients, make an excellent base. Stinging nettle, surpassing dandelions in nutrient content, and comfrey, known for its quick growth, add depth and variety to the nutrient mix.
Collecting Tips:
- Harvest dandelions from areas you intend to clear out for other plants.
- Wear gloves and carefully pluck the stinging nettle to avoid its bite.
- Trim overgrown comfrey, focusing on the most vigorous parts of the plant.
Step 3: Preparing Your Fertilizer Mix
- Fill your bucket with the collected weeds. I used roughly equal parts of each plant but adjusted based on availability. There's no need for precise measurements; nature isn't picky.
- Add water until the plant matter is fully submerged. Tap water is fine; don't worry about the chlorine as it will dissipate over time.
- Stir the mixture with a stick or trowel. This isn't an exact science, but a general swirling to ensure everything gets a chance to interact with the water.
Step 4: The Waiting Game
Now, patience is key. Cover your bucket to deter pests and let it sit for about three weeks. During this period:
- Periodically stir the mixture to expose all the plant materials to water.
- Expect a significant smell; the process is anaerobic, meaning it occurs without oxygen, and the decomposition is responsible for the odor.
Step 5: Straining Your Fertilizer
After three weeks, your mixture will have transformed into a dark, nutrient-rich liquid with decomposed plant remnants. Here's how to refine it:
- Remove large solids, tossing them into your compost heap.
- Strain the liquid through a sieve or similar tool to remove the finer solids. I used two buckets, one with holes drilled at the bottom to serve as a makeshift sieve.
Step 6: Storing and Using Your Organic Fertilizer
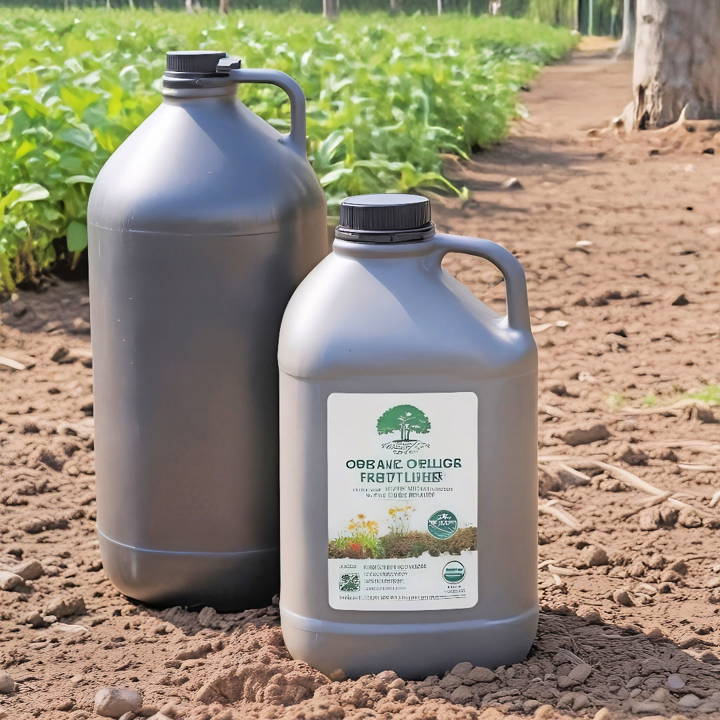
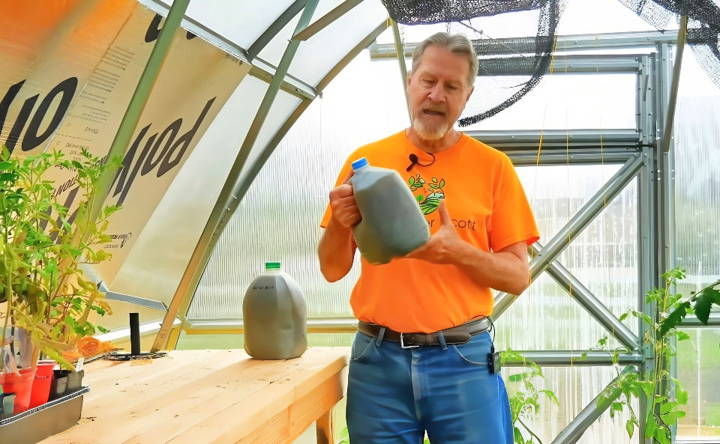
Transfer the strained liquid into gallon jugs for easy storage and application. Before use, dilute the concentrate to avoid overwhelming your plants with nutrients. A 10% fertilizer solution works well, meaning you mix one part of your homemade concentrate with nine parts water.
When to Apply
I've found it best to use this fertilizer at two critical growth stages:
- Early Growth: When plants emerge and start developing, they appreciate the nutrient boost.
- Flowering and Fruiting: To support the energy-intensive process of producing flowers and fruits.
However, avoid over-fertilizing. Plants in nutrient-rich soil or those receiving regular amendments might not need extra feeding.
Benefits of Homemade Fertilizers for Your Garden
Homemade fertilizers are a fantastic way to nourish your plants and improve your garden's health. They offer a range of benefits that make them a popular choice for both beginner and experienced gardeners:
- Cost-Effective: Homemade fertilizers are often made with common kitchen scraps and ingredients found around the house, making them a budget-friendly option compared to store-bought fertilizers.
- Environmentally Friendly: By using organic materials and avoiding harsh chemicals, homemade fertilizers are gentle on the environment. They help improve soil health, reduce waste, and support beneficial microorganisms.
- Customizable to Your Plants' Needs: Unlike commercial fertilizers, you can easily adjust the ingredients in your homemade fertilizers to meet the specific needs of different plants. This allows for targeted nutrition and optimal growth.
- Improves Soil Health: Homemade fertilizers, especially those rich in organic matter, improve soil structure, increase water retention, and provide essential nutrients for healthy plant growth.
- Reduced Risk of Over-Fertilization: It's easier to control the nutrient levels in homemade fertilizers, minimizing the risk of over-fertilizing your plants, which can lead to damage or even death.
- Promotes Beneficial Microorganisms: Many homemade fertilizers introduce beneficial microbes to the soil, which help break down organic matter, fight off harmful pathogens, and improve overall plant health.
- Safe for Your Family and Pets: By using natural ingredients and avoiding toxic chemicals, homemade fertilizers are a safer option for your family, pets, and the environment.
- Increased Yield and Quality: Healthy plants that receive balanced nutrition from homemade fertilizers tend to produce more abundant and higher quality yields.
- Fun and Rewarding: Making your own fertilizers can be a fun and rewarding experience, connecting you to your garden and giving you a sense of accomplishment.
Homemade fertilizers benefit your garden, wallet, and the environment by being sustainable, customizable, and effective.
Fertilizer Customization
Making the perfect homemade fertilizer for your garden isn't a one-size-fits-all process. It's about finding the right mix that fits the unique needs of your soil and plants. Here's how you can customize your fertilizer to give your garden exactly what it needs to thrive.
Know Your Soil
Start with a soil test. This will tell you what nutrients your soil has and what it's lacking. You can get a kit at your local garden store or send a sample to a lab. Once you know what you're working with, you can start to tailor your fertilizer.
NPK Ratios
The three big nutrients for plants are nitrogen (N), phosphorus (P), and potassium (K). They're often listed on fertilizer packages as a ratio (like 10-10-10). Depending on what your soil test says, you might need more of one than the others. For example, leafy greens love nitrogen, while root crops like carrots and potatoes are all about phosphorus.
Micro-Magic
It's not just about NPK. Plants need a bunch of other nutrients in smaller amounts, like calcium, magnesium, and sulfur. These are called micronutrients. You can add these to your mix by using things like Epsom salts for magnesium or bone meal for calcium.
Compost: The All-Rounder
Compost is great because it's full of nutrients and it improves soil structure. If you're making your own, you can tweak what you put into it. More green materials, like vegetable scraps, add nitrogen. Brown materials, like dry leaves, add carbon.
Liquid Love
Liquid fertilizers, like compost tea, are a quick way to give your plants a boost. They're easy to make and can be customized just like solid fertilizers. Just steep your compost in water, and you've got a nutrient-rich tea for your plants.
Timing is Everything
Plants need different nutrients at different stages of their growth. Seedlings need more phosphorus to get started, while mature plants might need more nitrogen. By customizing your fertilizer, you can give your plants what they need when they need it.
By following these steps, you can make a customized fertilizer that's just right for your garden. It's a little bit of science and a lot of love, but the result is a happy, healthy garden that's tailored just for you.
Troubleshooting Common Issues with Homemade Fertilizers
When you're mixing up your own batch of garden goodness, sometimes things don't go quite as planned. Don't worry, it happens to the best of us! Here's a handy guide to help you solve some common snags you might hit with homemade fertilizers:
Plants Looking a Bit Down?
If your greens are turning yellow or looking wilted, it might be a sign you've gone a bit overboard with the fertilizer. Too much of a good thing can burn your plant's roots and cause damage. The fix? Give your plants a good watering to dilute the concentration of nutrients in the soil.
What's That Smell?
Got a nose-wrinkling stench coming from your liquid fertilizer? It could be anaerobic decomposition at work. This happens when there's not enough oxygen in the mix. Try stirring your compost more frequently to add air to the equation or switch to a compost aerator to keep things smelling fresh.
Not Seeing the Growth You Expected?
If your plants are still looking hungry, they might not be getting the right balance of nutrients. Adjusting the NPK ratio—that's, nitrogen (N), phosphorus (P), and potassium (K)—in your mixture can make a world of difference. Think of it like tweaking a recipe until it's just right for your leafy friends.
Clogged Up?
When using liquid fertilizers, sometimes the sprayer can get clogged. A fine mesh strainer can save the day by filtering out the chunky bits that are causing the blockage.
The Right Mix
Remember, the nutrient profile of your compost can vary based on what you put into it. Kitchen scraps might give you a nitrogen-rich mix, while yard waste could be lower in nutrients. Tailor your compost recipe to what your plants crave for a happy garden.
By keeping an eye on these common issues and knowing how to fix them, you'll be well on your way to a flourishing garden with the help of your homemade fertilizers.
FAQs About Homemade Fertilizer
Discover answers to common queries about homemade fertilizer, including ingredients, benefits, and DIY tips in our comprehensive faqs guide.
Homemade fertilizer is a natural alternative to store-bought fertilizers, made from common household waste and natural materials. It’s beneficial because it’s cost-effective, environmentally friendly, and can be tailored to your plants’ specific needs. Using homemade fertilizer reduces chemical use, promotes waste recycling, and improves soil health.
The best time to apply homemade fertilizer is during the growing season when plants are actively growing and can make the most of the added nutrients. Early morning or late afternoon is ideal to avoid the intense midday sun, which can sometimes cause the fertilizer to burn the plants. Always water your plants after applying fertilizer to help it soak into the soil.
Yes, homemade fertilizers can effectively replace store-bought ones, especially if you're aiming for organic gardening. They provide a wide range of nutrients and can be just as effective if used correctly. However, it's important to understand your soil and plants' needs to make a balanced mix that will support healthy growth.
Yes, homemade fertilizers can be used for a wide variety of plants, including vegetables, fruits, flowers, and even indoor plants. The key is to understand the specific nutrient requirements of your plants and adjust the composition of your homemade fertilizer accordingly. For instance, nitrogen-rich fertilizers are great for leafy greens, while phosphorus-rich fertilizers can help with flowering and fruiting.
Homemade fertilizers, especially those made from organic materials, should be stored in a cool, dry place away from direct sunlight. If you're using compost or manure-based fertilizers, make sure they're fully decomposed before storage. Liquid fertilizers can be kept in sealed containers and diluted with water before use. Always label your containers with the contents and date of creation.
Closing Thoughts
Using these easy methods for making homemade plant fertilizer will not only save you money but also make a healthier and greener garden. Give it a try and see your plants thrive!


