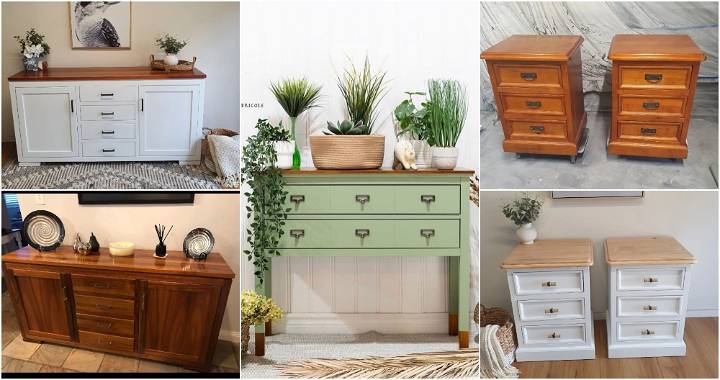
I always enjoy making my own homemade furniture polish. It saves money and is better for the environment. I remember the first time I tried a DIY furniture polish recipe. My old coffee table was looking dull, and I wanted a natural shine without harsh chemicals. After trying the recipe, my table looked amazing and smelled fresh.
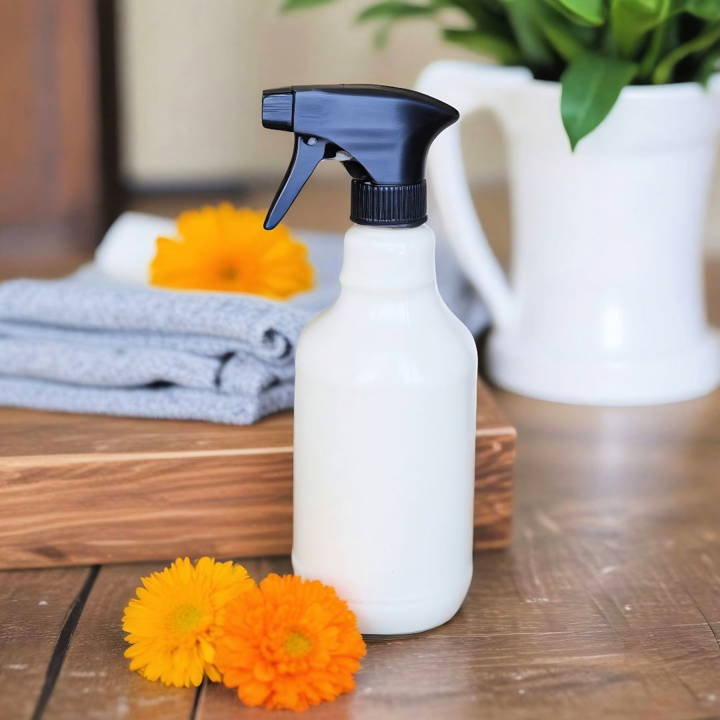
Making your own DIY wood cleaner is simple and fun. I used lemon juice, olive oil, and a few drops of essential oil. Mixing these ingredients together was quick, and the results were impressive. My wooden furniture gleamed, and the house had a lovely scent.
I'm helping with this guide so you can make your furniture shine like new with natural and safe ingredients.
Introduction to Furniture Care
Taking care of your furniture is essential to maintain its beauty and extend its life. Whether it's a cherished heirloom or a new purchase, each piece requires attention and care. In this section, we'll explore the basics of furniture care, focusing on the use of homemade furniture polish.
- Why Care for Furniture? Furniture is not just functional; it often holds sentimental value and contributes to the aesthetics of our homes. Regular maintenance can prevent damage, such as scratches, stains, and dullness, ensuring that each piece remains a source of pride and joy.
- Benefits of Homemade Polish Homemade furniture polish offers several advantages over store-bought alternatives. It's usually made from natural ingredients, which are gentler on furniture and safer for your family and pets. Additionally, it's environmentally friendly and can be cost-effective.
- Regular Maintenance Consistent care is key to keeping your furniture in top condition. Dusting and polishing should be part of your regular cleaning routine. This not only enhances the appearance of your furniture but also provides a protective layer that wards off wear and tear.
- Homemade Polish Recipes: You can make effective furniture polish using ingredients like olive oil, vinegar, and lemon juice. These substances are known for their cleaning and conditioning properties. We'll provide you with simple recipes that are easy to follow and safe for various types of wood.
- Caring for Different Materials Different materials require different care approaches. We'll guide you through the best practices for wood, metal, glass, and upholstered furniture. Understanding these differences ensures that you use the right method for each item.
Embracing furniture care principles helps extend its lifespan. Homemade polishes benefit both health and the environment.
Materials Needed
- Olive Oil: Acts as a natural wood conditioner. Olive oil penetrates the wood, restoring moisture to prevent drying and cracking.
- White Vinegar: Cleans the wood, removing grime and residues without damaging the surface.
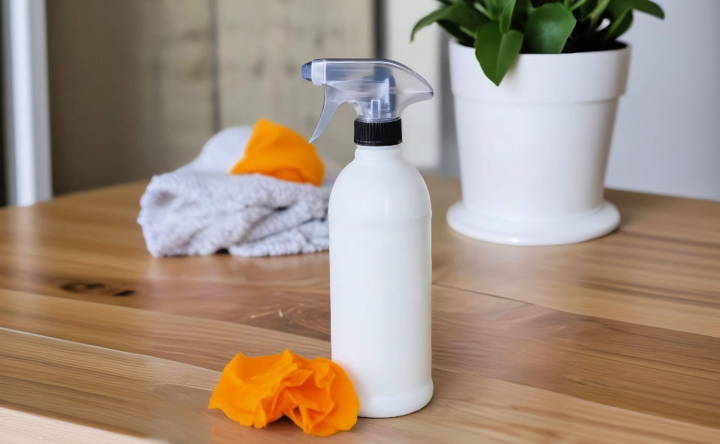
- Small Spray Bottle: Provides an easy application method and ensures an even distribution of the polish.
Make sure each material is on hand before starting. The simplicity of these ingredients also makes this DIY polish recipe both accessible and affordable.
Step by Step Instructions
Learn how to make homemade furniture polish with easy step-by-step instructions. Economical and eco-friendly DIY polish for a sparkling clean.
Step 1: Gather Your Materials
Start by collecting the olive oil, white vinegar, and a small spray bottle. You'll only need a few tablespoons of each liquid, so there's no need for large quantities. The simplicity of these ingredients makes it easy to get started.
Step 2: Mix Your Ingredients
Pour three tablespoons of white vinegar into your spray bottle first. The acidity of the vinegar will help clean the wood, cutting through any buildup of dust or grease without harming the wood's finish. Next, add one tablespoon of olive oil to the mix. Olive oil is a fantastic natural conditioner, which nourishes the wood and brings out its natural shine.
Step 3: Shake the Mixture
After adding both the vinegar and olive oil to the spray bottle, tightly secure the lid and give it a rigorous shake. This helps to combine the ingredients thoroughly. You'll want to ensure the mixture is well-blended for the best results.
Step 4: Apply the Polish
Spray a light coating of the polish onto the wood surface you're treating. There's no need to drench the furniture; a fine mist will do. The beauty of this DIY polish is its gentle effectiveness, so a little goes a long way.
Step 5: Wipe and Buff
Immediately after spraying, use a paper towel or a soft, clean cloth to wipe the surface. Work in the direction of the wood grain for the best results. As you wipe, you'll not only spread the polish evenly but also buff the wood to a beautiful shine. The olive oil nourishes the wood, while the vinegar ensures it's clean and free of residue.
Additional Tips
- Make Small Batches: Olive oil can go rancid over time, so it's wise to make small amounts of this polish to use as needed. This way, you ensure the freshness and effectiveness of your homemade product.
- Patch Test: Before applying the polish over a large area, do a small patch test. This is particularly important for antique or untreated woods.
- Frequency of Use: Depending on the climate and the usage of your furniture, you might need to polish more or less frequently. A good rule of thumb is to observe the wood's appearance and condition.
Customization Tips
Different woods and finishes react uniquely to ingredients. Customizing your homemade polish ensures the best care. Here are tips to tailor your polish to your furniture's needs.
- Know Your Wood Understanding the type of wood you're working with is crucial. For example, hardwoods like oak and maple may require a heavier oil-based polish, while softer woods like pine can benefit from lighter solutions.
- Test First: Always test your polish on a small, inconspicuous area of the furniture first. This step helps ensure that the polish does not damage or discolor the wood.
- Seasonal Scents Add a personal touch to your polish by incorporating seasonal scents. Essential oils like cinnamon for fall, pine for winter, citrus for spring, and floral scents for summer can enhance the sensory experience.
- Extra Protection For furniture that gets heavy usage consider adding a bit more beeswax to your polish. This will provide an extra layer of protection against scratches and spills.
- Shine Factor: If you prefer a high-gloss finish, increase the ratio of oil in your polish. For a matte finish, use more vinegar or lemon juice.
- Allergy-Safe: If you or your family members have allergies, be mindful of the ingredients you choose. Avoid using nuts-based oils and opt for hypoallergenic options like jojoba oil.
- Vegan Options For a vegan polish, substitute beeswax with candelilla wax or soy wax. These plant-based waxes offer similar protective qualities without using animal products.
- Eco-Friendly Choices Consider the environmental impact of your ingredients. Choose organic, sustainably sourced oils and waxes to minimize your ecological footprint.
Make homemade furniture polish to suit your furniture's needs and reflect your values. Experiment to find the best recipe for your home.
Troubleshooting Common Issues with Homemade Furniture Polish
When using homemade furniture polish, you might encounter a few common issues. This section will guide you through troubleshooting these problems, ensuring that your furniture remains in excellent condition.
Streaky Finish
If your polish leaves streaks:
- Make sure you're using a soft, lint-free cloth for application.
- Reduce the amount of oil in your mixture and increase the vinegar or lemon juice proportion for a streak-free shine.
Dull Appearance
For furniture that looks dull after polishing:
- Apply a thin layer of polish and buff vigorously to enhance the natural shine of the wood.
- Consider adding a small amount of beeswax to your recipe for a richer finish.
Sticky Residue
To deal with a sticky residue:
- Wipe the surface with a clean, damp cloth to remove excess polish.
- Adjust your recipe to use less oil and more of the cleaning agent (vinegar or lemon juice).
Uneven Absorption
If the polish is not absorbing evenly:
- Ensure the furniture surface is clean and free of dust before applying the polish.
- Apply the polish in small sections, working it into the wood grain.
Allergic Reactions
In case of an allergic reaction:
- Review the ingredients list for potential allergens.
- Replace any nut-based oils with hypoallergenic options like mineral oil or jojoba oil.
Polish Separation
If your polish separates over time:
- Shake or stir the polish thoroughly before each use.
- Emulsify your polish by adding a natural wax, which can help stabilize the mixture.
Mold Growth
To prevent mold growth in your polish:
- Store your polish in a cool, dry place and use it within a few weeks.
- Add a few drops of tea tree oil, which has natural antifungal properties, to the recipe.
Address these common issues to ensure your homemade furniture polish works effectively and safely. Key to successful care is regular maintenance and noticing how your furniture responds to treatments.
Safety and Precautions
When making and using homemade furniture polish, safety is paramount. Here are some precautions to keep in mind:
Ingredient Safety
- Always label your homemade polish with the ingredients used.
- Keep out of reach of children and pets.
Application Safety
- Wear gloves when applying polish to protect your skin.
- Ensure good ventilation to avoid inhaling fumes.
Allergy Awareness
- Be aware of any allergies and avoid using irritants.
- Patch test a small area before full application.
Storage Safety
- Store your polish in a cool, dark place to prevent spoilage.
- Discard any polish that changes in smell or color.
Follow these safety tips to protect yourself, your family, and your furniture with homemade polish. The aim is safe and effective care.
FAQs About Homemade Furniture Polish
Discover answers to common questions on homemade furniture polish. Learn benefits, ingredients, and DIY tips for a glossy, natural shine.
Homemade furniture polish can clean, protect, and shine your wood furnishings without the harsh chemicals found in commercial products. It’s also cost-effective, as it’s made with ingredients commonly found at home, and doesn’t leave behind a residue that attracts dust.
While homemade polish is generally safe for most wood types, it’s important to test it on a small, inconspicuous area first. Avoid using it on unfinished or particularly delicate wood surfaces.
You can use it each time you dust, as it doesn’t build up like commercial polishes. However, for best results and to avoid over-saturation, a bi-weekly or monthly application is recommended.
Use a lint-free cloth, such as an old t-shirt or microfiber cloth, to apply the polish. Spray onto the cloth and wipe the furniture following the wood grain. For a deeper clean, spray directly onto the wood and buff to a shine.
Yes, one of the advantages of homemade furniture polish is that it's made from natural ingredients like olive oil and vinegar, which are non-toxic and safe to use around children and pets. Always ensure that any small containers or bottles are kept out of reach to prevent accidental ingestion.
Conclusion:
Give homemade furniture polish a try. It's easy and effective. You're sure to enjoy the fresh, natural shine.


