Mod Podge is a popular decoupage medium, used in a variety of crafting projects to glue, seal, and finish surfaces. While the store-bought versions of Mod Podge are excellent for professional results, many crafters wonder if they can make their own DIY version. In this comprehensive guide, we'll cover everything you need to know about making homemade DIY Mod Podge, including its cost-effectiveness, the step-by-step recipe, and comparisons with the store-bought version. Whether you are an occasional crafter or someone who works on decoupage frequently, this guide will help you decide which Mod Podge option is best for your projects.
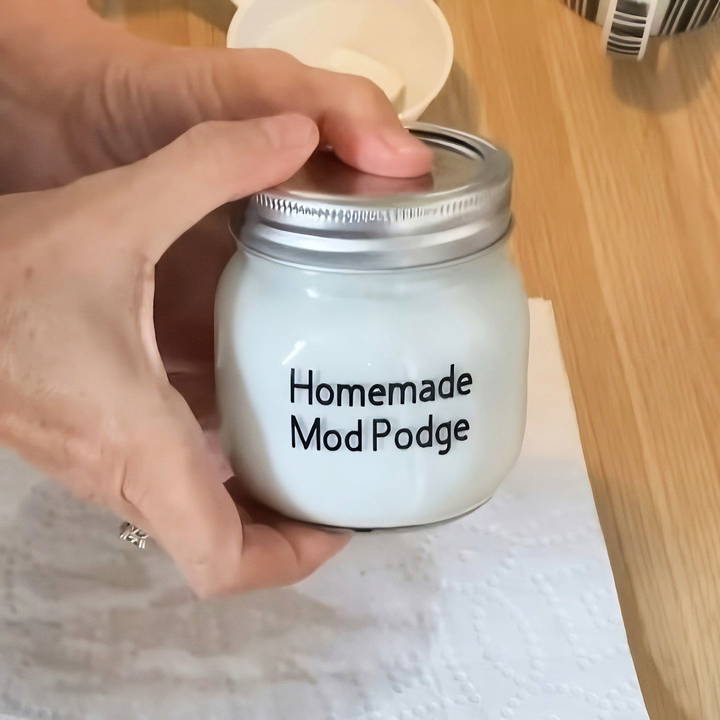
What is Mod Podge?
Mod Podge is essentially a water-based sealer, glue, and finish, most commonly used in decoupage projects. It works to adhere paper, fabric, and other porous materials to surfaces, and once dry, it can make a durable finish. Store-bought Mod Podge comes in various finishes, including matte, glossy, and satin. It's praised for its versatility and ease of use in craft projects.
However, with regular use, buying store-bought Mod Podge can become costly, especially for large or numerous projects. This is where Homemade Mod Podge can offer an affordable alternative.
Why Make DIY Mod Podge?
There are several reasons you might consider making your own Mod Podge at home:
- Cost-Effectiveness: Store-bought Mod Podge can get expensive, especially for larger projects. Homemade versions are made from easily available materials that are much cheaper.
- Customizability: When making your own Mod Podge, you can adjust the recipe to make different finishes, such as matte or glossy, by tweaking the ingredients.
- Accessibility: Sometimes you may need Mod Podge urgently and don't have time to run to the store. Having a DIY recipe handy ensures you can always whip up a batch quickly.
Materials Needed for DIY Mod Podge
Making Mod Podge at home is surprisingly easy and requires only a few basic materials, most of which you might already have in your house:
- Elmer's School Glue (or any PVA glue): This is the core ingredient for the adhesive part of the Mod Podge.
- Water: To thin the glue to a consistency suitable for decoupage.
- Polycrylic Sealer: Optional, but necessary if you want to make a glossy or satin finish.
- Airtight Containers: To store your homemade Mod Podge. Ensure they seal well to prevent the mixture from drying out.
- Measuring Cups and Spoons: For accurate measurement of ingredients.
Step by Step Instructions
Learn how to make a DIY Mod Podge with step-by-step instructions for basic, glossy, or matte finishes, plus tips for storage and usage.
1. Basic DIY Mod Podge Recipe
The most basic form of homemade Mod Podge is simply a mixture of glue and water. Here's how you can make it:
Ingredients:
- 1 cup of Elmer's School Glue (or any other white school glue)
- 1/2 cup of water
Instructions:
- Pour the glue into a mixing bowl or container.
- Add the water to the glue.
- Mix thoroughly until the water and glue are fully combined.
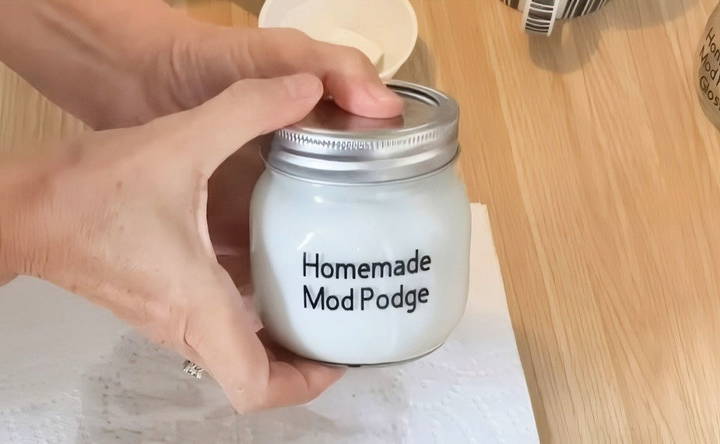
- Store the mixture in an airtight container.
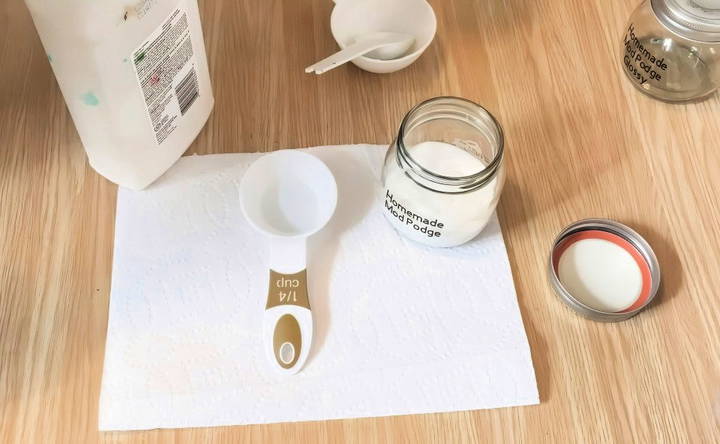
That's it! You've just made a basic homemade Mod Podge. This mixture will work well for most paper-based decoupage projects. You can adjust the consistency by adding more water if it's too thick or more glue if it feels too thin.
2. Adding a Glossy or Matte Finish
One of the advantages of store-bought Mod Podge is the variety of finishes it offers. If you're looking for more than just a flat finish with your homemade version, you can add a glossy or matte finish using polycrylic sealer.
Ingredients for Glossy/Matte Mod Podge:
- 1 cup of Elmer's School Glue
- 1/2 cup of water
- 2 tablespoons of polycrylic sealer (for satin or glossy finish)
Instructions:
- Follow the same steps as the basic recipe for mixing glue and water.
- Add two tablespoons of polycrylic sealer to the mixture.
- Mix thoroughly to ensure the polycrylic blends well with the glue and water.
- Store in an airtight container.
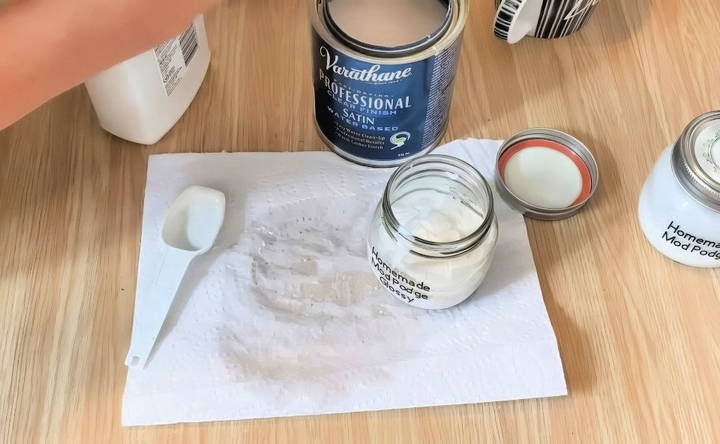
This variation of Mod Podge will give your projects a sheen, depending on the type of polycrylic sealer you use. A glossy sealer will produce a high-shine finish, while a satin sealer will give a subtle, soft sheen.
3. Testing the DIY Mod Podge
Explore DIY mod podge with our step-by-step guide to decoupage a tin can. perfect for craft enthusiasts seeking creative projects.
Example Project: Decoupaging a Tin Can
One simple project to test your homemade Mod Podge is decoupaging a tin can. Here's how you can do it:
- Start with a clean, empty tin can. Spray paint it white or another base color of your choice.
- Tear pieces of decorative paper or tissue paper into small, uneven shapes.
- Using your homemade Mod Podge, brush a thin layer onto the can.
- Stick the pieces of paper onto the can, smoothing them out as you go to avoid wrinkles.
- Once the surface is covered, brush another layer of Mod Podge over the top to seal the paper.
- Let it dry completely. The homemade Mod Podge will dry clear, leaving the paper design visible and the surface sealed.
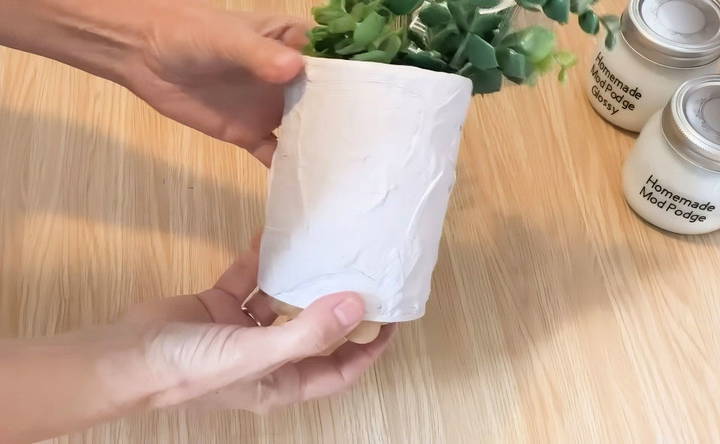
This project shows how effective homemade Mod Podge can be, offering the same adhesion and sealing qualities as the store-bought version for a fraction of the cost.
4. How Does DIY Mod Podge Compare to Store-Bought?
While homemade Mod Podge is a fantastic, affordable alternative for casual crafters, it does have its limitations compared to the store-bought variety.
Advantages of Homemade Mod Podge:
- Cost: The materials used in DIY Mod-Podge, especially glue, are much cheaper than buying multiple bottles of store-bought Mod-Podge.
- Availability: You can make it quickly with items you might already have at home, making it great for last-minute projects.
- Satisfactory Results: For most decoupage projects, especially those involving paper, fabric, or light materials, DIY Mod Podge works just fine.
Disadvantages of Homemade Mod Podge:
- Consistency: Store-bought Mod Podge is specially formulated for optimal performance, so the consistency is perfect for a wide variety of projects. With homemade Mod Podge, slight variations in glue or water ratio can affect the performance.
- Durability: Store-bought Mod Podge is designed to make a more durable finish, making it better for long-lasting or heavy-duty projects.
- Special Techniques: For more advanced crafting techniques, such as reverse graphic transfer, the store-bought version works far better. The homemade version does not work well for these purposes.
Verdict:
For simple, cost-effective decoupage projects or those involving kids, homemade Mod Podge is an excellent choice. However, for professional crafters or those looking for a higher-quality, more durable finish, investing in a bottle of store-bought Mod Podge may be worth it.
Tips for Storing and Using DIY Mod Podge
- Storage: Always store your homemade Mod Podge in an airtight container to prevent it from drying out. A small plastic container with a tight seal works best.
- Adjusting Consistency: If your Mod Podge thickens over time, simply add a little water and stir to restore its original consistency.
- Label Your Jars: If you make different variations (glossy, matte, basic), label your containers to avoid confusion.
Conclusion
Homemade Mod Podge is a simple, budget-friendly solution for many crafting needs. It works well for most casual projects, especially when you're trying to save money or need a quick alternative. However, when quality and durability matter, especially for advanced techniques, the store-bought Mod Podge remains the gold standard.
Now that you know how to make your own DIY Mod Podge, give it a try on your next decoupage project! Whether you're decoupaging furniture, decorating jars, or making mixed media art, this homemade glue and sealer will be an indispensable tool in your craft supplies.
FAQs About DIY Mod Podge
Explore our FAQs about DIY mod podge and get answers to common questions about making and using this versatile crafting adhesive.
Homemade Mod Podge is effective for basic decoupage and sealing light projects. However, it doesn’t provide the same level of durability and finish as the store-bought version, especially for more detailed or professional work.
No, homemade Mod Podge does not work for reverse graphic transfer. If you need to transfer images, it's better to use the store-bought version as it’s specifically formulated for that purpose.
Polyacrylic is water-based, dries clear, and resists yellowing, making it ideal for craft projects. Polyurethane can also work but is oil-based, which can yellow over time.
Yes, you can use homemade Mod Podge on fabric. It works well for fabric decoupage, though for more advanced projects, using fabric-specific Mod Podge is recommended.
Using a polyacrylic sealer on top of your project can help prevent stickiness. Homemade Mod Podge may remain slightly sticky if used as a final top coat.
Unfortunately, homemade Mod Podge is not waterproof or dishwasher safe. For items that need to withstand moisture, it's best to use the store-bought dishwasher-safe Mod Podge.
Both homemade Mod Podge and school glue mixtures may yellow as they age. To reduce this risk, using a higher quality glue or adding distilled water may help.
Store homemade Mod Podge in an airtight container to prevent it from drying out. It will last for a long time if sealed properly.
No, homemade Mod Podge is not waterproof. It provides a good seal for indoor projects but will not hold up against water or outdoor elements.
Yes, wood glue can be used to make Mod Podge, though it may have a thicker consistency. School glue is typically preferred for decoupage.


