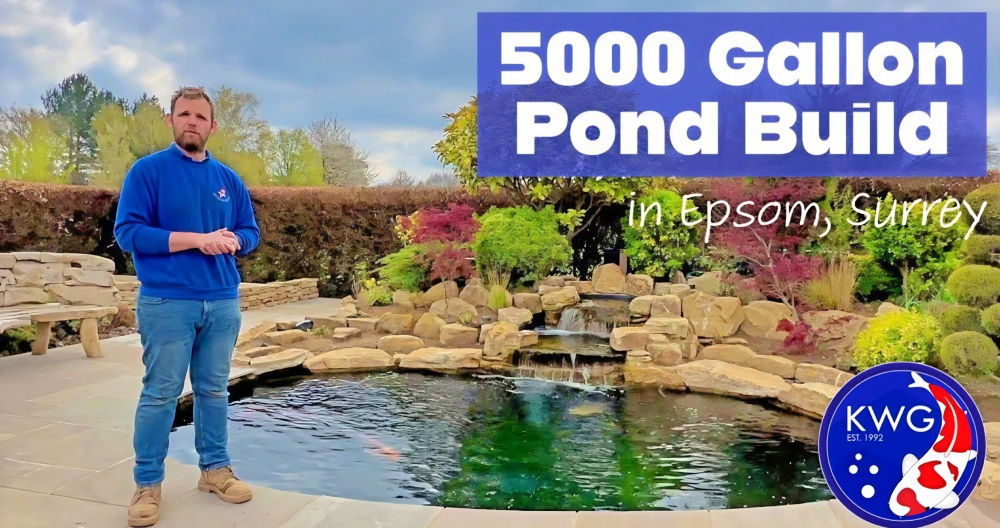
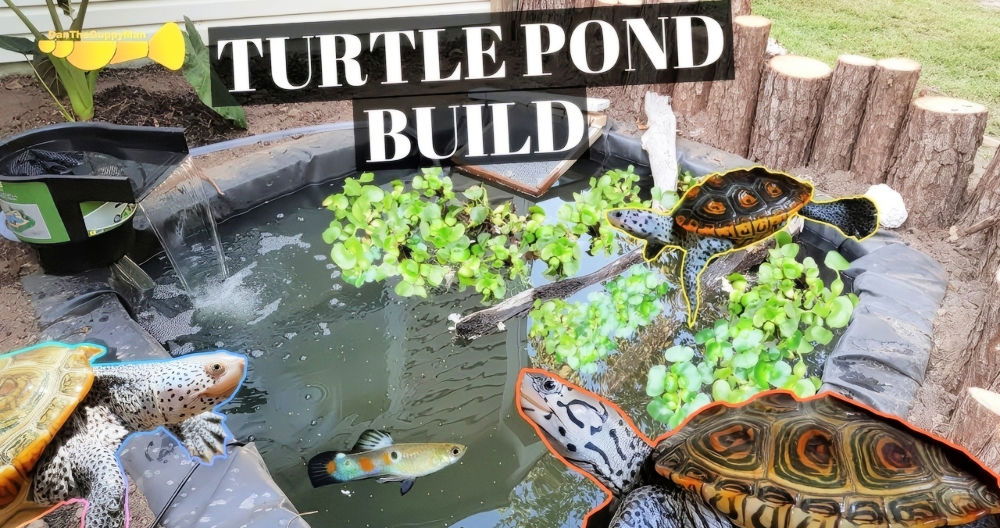
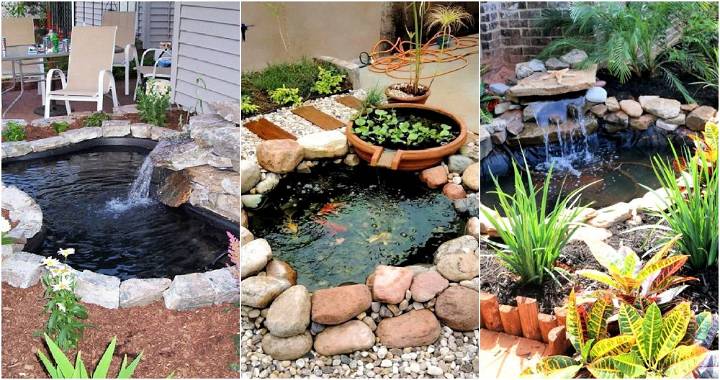
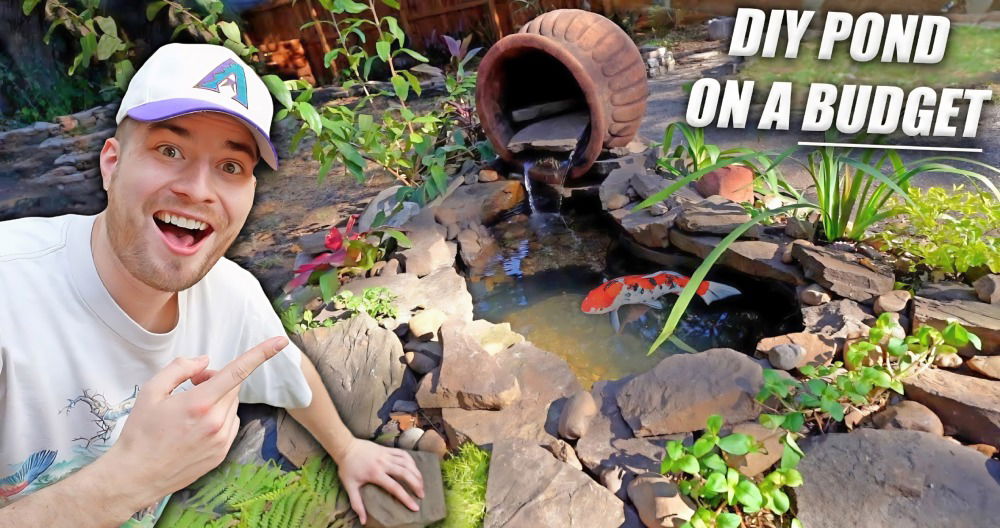
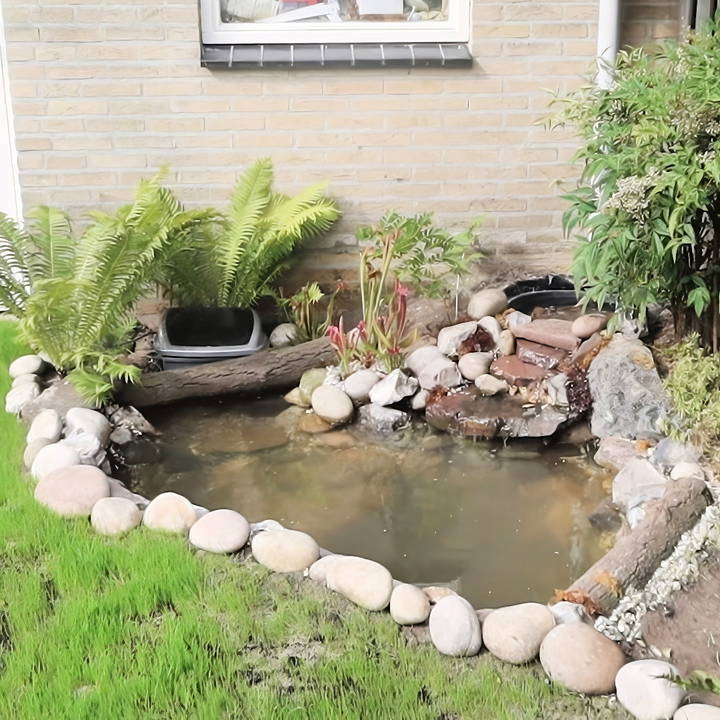
Transform your outdoor space when you make your own homemade pond waterfall using affordable materials. Building a naturalistic pond with a waterfall in my backyard was a project that transformed not just a corner of my garden but also offered me endless hours of relaxation and satisfaction. If you have a similar vision of bringing nature's magic right to your home, this guide is designed for you. By the end, you'll know how to build a beautiful pond full of life. Let's jump right into the process!
Step by Step Instructions
Learn how to build a DIY pond waterfall with our step-by-step guide. From planning to finishing touches, transform your backyard with ease!
Planning Your Pond: Understanding the Steps Ahead
Before starting any digging, planning is critical. You'll decide the pond size, pick a location, and gather all needed materials. This crucial first step paves the way for a smooth, enjoyable building experience. By taking this step seriously, you avoid many potential pitfalls.
1. Selecting the Right Spot
The location you choose for your pond directly affects its success. I picked a wasted corner of my backyard because it had enough sunlight but wasn't too exposed, reducing algae growth and keeping water temperature balanced. Make sure the spot you choose has a power source nearby for the pump and filter.
2. Sketching the Design
A simple sketch helps visualize your pond. Consider the depth—my pond has an 80 cm deep section and a 40 cm deep section. These varying depths cater to different aquatic plants and creatures. Also, sketch your waterfall and where you want it positioned.
Preparing the Area: Clearing and Digging
Once the plan was in place, it was time to prepare the area. Removing any existing structures, such as tiles or debris, was the first step. I ensured the site was clear and marked out the pond shape with stakes and string.
1. Clearing the Site
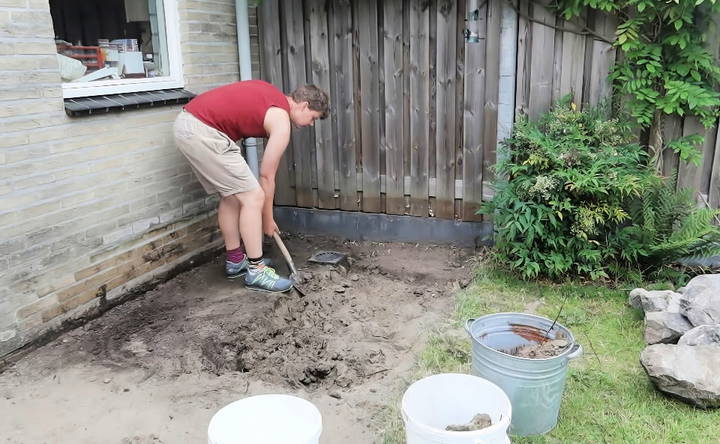
Removing tiles was tedious but satisfying. It's crucial to have a clear area free of obstructions before you dig. You might find hidden surprises like drains or weed blockers—as I did—which you'll need to either remove or work around.
2. The Digging Process
Armed with a shovel, I started digging early in the morning. The topsoil was mostly sand, which was easy enough, but I soon hit clay, making the job more laborious. Expect to spend several hours (I spent about five) digging to your desired shape and depth.
Building a Solid Foundation: Geotextile and Liner
Ensuring the longevity and durability of your pond starts with a strong foundation. Using geotextile fabric and a suitable liner protects the pond from leaks and earth pressure while forming a stable base.
1. Lining with Geotextile Fabric
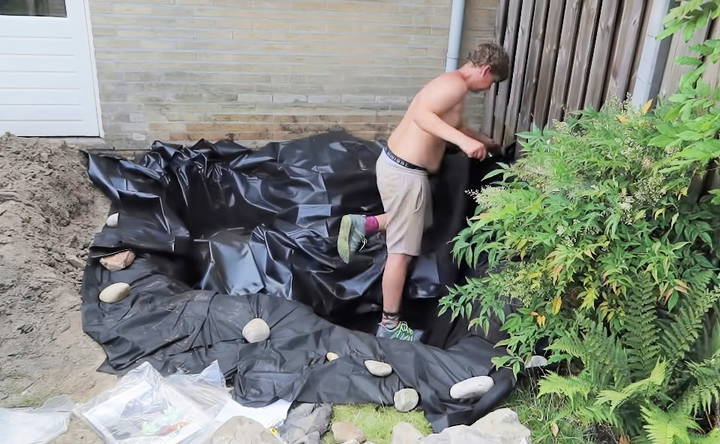
This fabric goes directly into the hole you've dug to protect the liner from stones and potential punctures. It also provides extra padding, making a smooth base. I used 1-meter wide geotextile, which wrapped nicely around the contours.
2. Adding the Pond Liner
The liner lies directly on top of the fabric and acts as the main barrier holding water in the pond. I debated whether the rough or smooth side should face up and opted to go with whichever side naturally unrolled. Make sure the liner extends beyond the pond edges to allow for settling and adjustments.
Structuring the Pond: Rocks and Stability
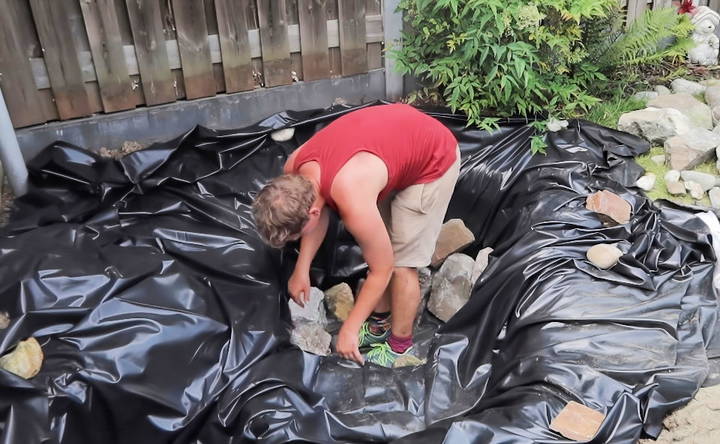
Placing rocks inside the pond not only builds a natural look but also adds stability and structure to the area. I selected rocks of varying sizes and shapes, ensuring they were stable and secure.
1. Arranging the Rocks
Begin with the largest rocks at the bottom and progressively move to smaller ones as you build upward. This reverse pyramid structure improves stability. Pay attention to balance, especially for rocks that will support others above them.
2. Weathering the Elements
Rain tested my work shortly after the rock placement, highlighting the need for stability in construction. I was relieved to find that despite the rain, everything remained in place. Scooping out rainwater was, however, necessary before continuing.
Constructing Key Components: Intake Bay and Waterfall
With the main structure of the pond settled, I embarked on building functional components like the intake bay and the waterfall. These parts ensure water circulation and filtration.
1. Crafting the Intake Bay
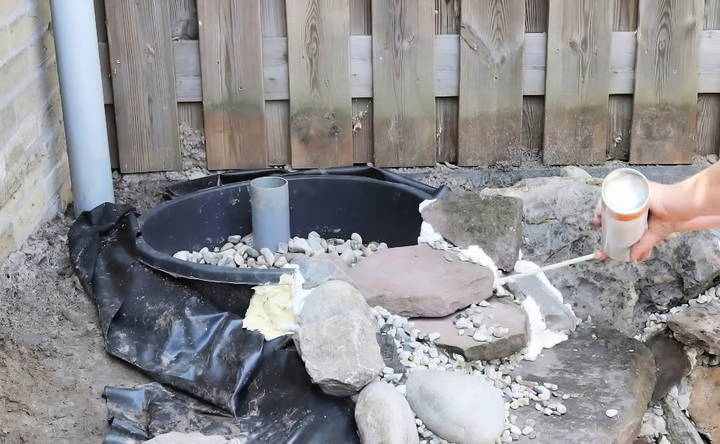
Using a trash can, I drilled holes and inserted pieces of hose to direct water flow. Topped with gravel and river rocks, this setup filters debris effectively. It's positioned to allow easy water intake and filtration before water reaches the pump.
2. Designing the Waterfall
A stock tub equipped with a bulkhead and hose adapter becomes the waterfall base. Large and medium-sized rocks help shape a natural descent for water to flow over, making a beautiful, soothing effect.
Final Touches: Soil, Plants, and Maintenance
With the harder work complete, it was time to focus on the aesthetic and maintenance aspects that bring the pond to life and keep it healthy.
1. Finishing with Soil and Plants
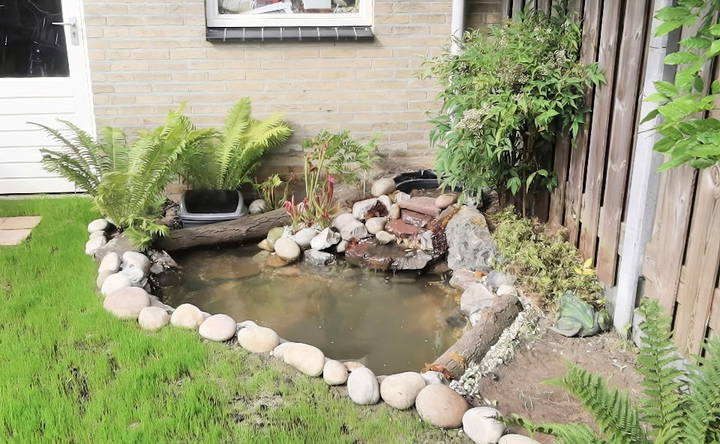
Soil around the pond's edge prevents overflow and offers a bed for planting. I selected coniferous plants that thrive in wet conditions and used decorative rocks to hide the visible liner, culminating in a naturalistic look.
2. Maintenance and Upkeep
Regular maintenance will keep your pond looking great and functioning well. Keeping the intake bay clear and adjusting rock covers periodically helps. Adding beneficial bacteria and freshwater mussels can also aid in maintaining water clarity.
Seasonal Care Tips
Caring for your pond waterfall throughout the year ensures it remains beautiful and functional. Here are some seasonal care tips to help you maintain your water feature:
Spring
- Clean the Pond: Remove debris, such as leaves and twigs. Clean the pond liner and rocks. Check for any damage that winter may have caused.
- Inspect Equipment: Check the pump and filter for any issues. Clean or replace the filter if necessary. Ensure all electrical connections are secure and safe.
- Plant Care: Trim dead or damaged parts of aquatic plants. Add new plants to enhance the pond's appearance.
Summer
- Monitor Water Levels: Check water levels regularly, as evaporation is higher in summer. Top up the pond with fresh water as needed.
- Control Algae: Use barley straw or algae control products to prevent algae growth. Remove any visible algae manually.
- Maintain Equipment: Clean the pump and filter regularly to ensure they are working efficiently. Check for any blockages in the water flow.
Autumn
- Remove Falling Leaves: Use a net to catch falling leaves before they sink to the bottom. Regularly remove leaves and debris from the pond.
- Prepare Plants: Trim back plants and remove any that are dying. Move delicate plants indoors if necessary.
- Inspect Equipment: Check the pump and filter for any signs of wear. Clean and store any equipment that won't be used over winter.
Winter
- Prevent Freezing: Use a pond heater or de-icer to keep a small area of the pond from freezing. Ensure the pump is running to keep water circulating.
- Reduce Feeding: Fish metabolism slows in cold weather, so reduce feeding. Stop feeding altogether if the water temperature drops below 10°C (50°F).
- Protect Equipment: Remove and store the pump if you live in an area with harsh winters. Cover the pond with a net to keep out debris.
Follow these tips to keep your pond waterfall pristine year-round. This will enhance its beauty and ensure a healthy habitat for aquatic life.
Troubleshooting Guide
Building a pond waterfall can be a rewarding project, but sometimes issues arise. Here's a guide to help you troubleshoot common problems and keep your waterfall running smoothly.
Water Loss
- Check for Leaks: Inspect the pond liner for any holes or tears. Look around the edges of the pond and waterfall for wet spots, which can indicate a leak.
- Monitor Water Levels: Evaporation can cause water loss, especially in hot weather. Top up the pond regularly. Ensure the waterfall is not splashing excessively outside the pond.
Pump Issues
- Pump Not Working: Check if the pump is plugged in and receiving power. Clean the pump to remove any debris that might be blocking it.
- Low Water Flow: Ensure the pump is the correct size for your waterfall. Check for blockages in the pump or tubing.
Algae Growth
- Control Algae: Use barley straw or algae control products to prevent algae growth. Remove any visible algae manually.
- Balance the Ecosystem: Add aquatic plants to help absorb excess nutrients. Avoid overfeeding fish, as excess food can contribute to algae growth.
Water Quality
- Cloudy Water: Use a pond clarifier to clear up the water. Check the filter and clean or replace it if necessary.
- Unpleasant Odors: Ensure the water is circulating properly to prevent stagnation. Remove any decaying plant material or debris from the pond.
Structural Issues
- Settling Rocks: Check for rocks that have shifted or settled, which can cause leaks. Reposition rocks and secure them to prevent movement.
- Erosion: Use landscaping fabric or rocks to prevent soil erosion around the pond and waterfall. Ensure the waterfall is designed to direct water back into the pond.
Electrical Problems
- Safety First: Always use a GFCI (Ground Fault Circuit Interrupter) outlet for your pump. Check all electrical connections for wear and tear.
- Regular Maintenance: Inspect the pump and electrical components regularly. Replace any damaged parts immediately to prevent hazards.
Use this guide to fix pond waterfall issues and maintain its beauty and function. Regular upkeep and quick fixes ensure smooth operation and great appearance.
FAQs About Homemade Pond Waterfalls
Discover answers to your FAQs about homemade pond waterfalls, including design tips, maintenance advice, and installation steps.
Choosing the right location is crucial for a successful pond waterfall:
Sunlight: Pick a spot that gets at least six hours of sunlight daily. This helps aquatic plants thrive.
Avoid trees: Falling leaves can clog the pond and increase maintenance.
Slope: A natural slope can make building the waterfall easier.
Visibility: Place it where you can enjoy the view and sound of the water.
Maintaining your pond waterfall involves regular tasks:
Clean the pump: Check and clean the pump regularly to ensure proper water flow.
Remove debris: Skim leaves and debris from the pond surface.
Check water levels: Refill the pond as needed to maintain the water level.
Control algae: Use natural methods or treatments to prevent algae growth.
Inspect the liner: Check for leaks or damage and repair as necessary.
A pond waterfall offers several benefits:
Aesthetic appeal: Enhances the beauty of your garden.
Relaxation: The sound of flowing water creates a calming atmosphere.
Wildlife attraction: Attracts birds, butterflies, and other wildlife.
Improved water quality: Circulates and aerates the water, promoting a healthy ecosystem.
Personal satisfaction: Provides a rewarding DIY project and a sense of accomplishment.
Preventing leaks is essential for maintaining your pond waterfall:
Use a high-quality liner: Ensure you use a durable pond liner that fits well.
Proper installation: Lay the liner smoothly without wrinkles and secure it properly.
Seal gaps: Use waterfall foam to seal gaps between rocks and direct water flow.
Regular inspection: Check for any signs of wear or damage and repair immediately.
Edge protection: Ensure the edges of the liner are well-protected and not exposed to sharp objects.
Yes, you can add fish to your pond with a waterfall. Here are some tips:
Choose suitable fish: Koi and goldfish are popular choices for pond waterfalls.
Acclimate the fish: Gradually introduce fish to the pond to help them adjust.
Provide shelter: Add plants and rocks to build hiding spots for the fish.
Maintain water quality: Regularly check and maintain the water's pH, temperature, and cleanliness.
Monitor fish health: Keep an eye on the fish for any signs of illness or stress.
Wrapping Up
In essence, building a naturalistic pond with a waterfall involves careful planning, physical work, and ongoing care. This project turned an unused part of my backyard into a serene retreat, complete with the calming sound of flowing water and the lively buzz of nature. As you embark on this adventure, remember to enjoy every step—from the digging to the planting—and anticipate the joy it brings each day.
Do let me know how your project goes or any unique touches you add. Enjoy your slice of nature!


