A wobbling ceiling fan is not only noisy but can also become unsafe if left unattended. Fortunately, balancing a ceiling fan is a straightforward task that you can accomplish with a few tools and some patience. This guide provides the steps you need to balance your ceiling fan effectively, ensuring it runs smoothly and safely.
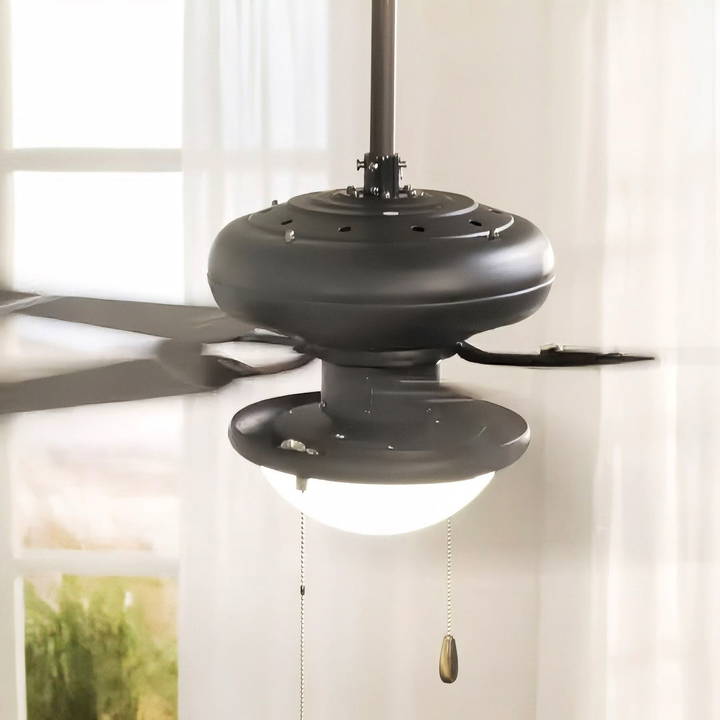
Why Ceiling Fans Wobble
Before we dive into the steps, it's essential to understand why a ceiling fan might wobble in the first place. Here are some of the most common causes:
- Loose screws and connections: Over time, the screws and connections that hold the fan components together can become loose due to regular use and vibration.
- Blade imbalance: Even minor differences in weight between fan blades can cause wobbling, especially at higher speeds.
- Height discrepancies: If the fan blades are not at an even distance from the ceiling, it may lead to imbalance.
- Mounting issues: Improper installation or a weak ceiling box may fail to securely hold the fan, contributing to wobbling.
With these factors in mind, here's a step-by-step guide to balancing your ceiling fan.
Step by Step Instructions
Learn how to balance a ceiling fan with easy step-by-step instructions. Ensure smooth operation by tightening screws, cleaning blades, and more.
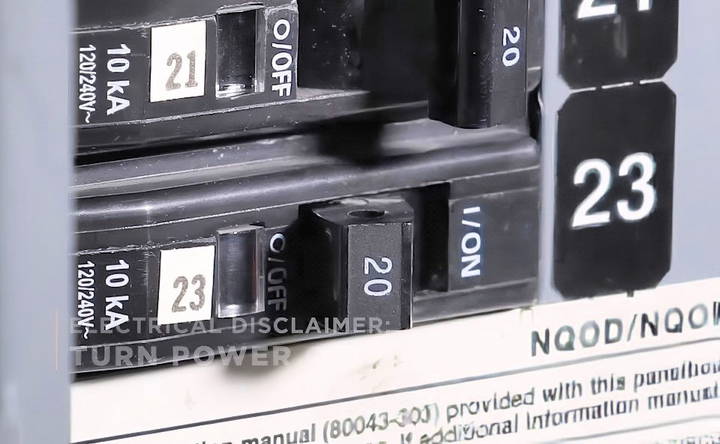
Step 1: Turn Off the Power
- Safety first: Always make sure the fan is turned off before you begin any work. Ideally, switch off the power at the circuit breaker to ensure that there's no risk of accidental activation. This is essential as you'll be handling moving parts and working close to the fan's wiring.
Step 2: Tighten Fan Screws and Connections
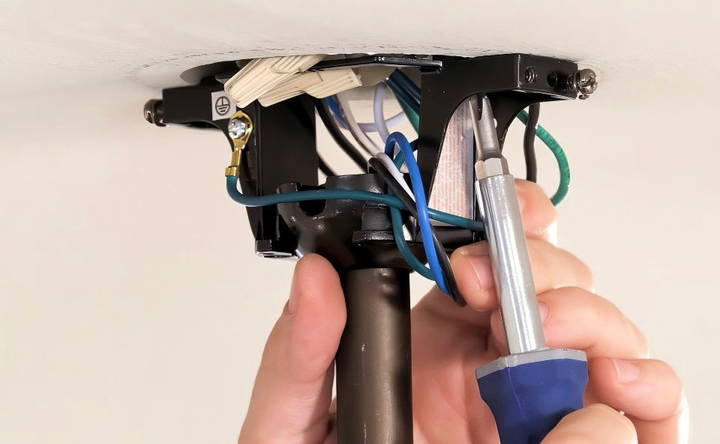
The first and easiest step to reduce fan wobble is to tighten all screws and connections:
- Remove the canopy cover: Loosen the screws holding the fan's canopy cover (the housing close to the ceiling). Pull down the cover to expose the mounting bracket.
- Tighten mounting bracket screws: Use a screwdriver to tighten any loose screws in the mounting bracket. This is the part that connects the fan to the ceiling, so it needs to be secure.
- Check the downrod connections: The downrod is the metal pole that connects the fan motor to the mounting bracket. Ensure that any screws or connections holding the downrod in place are tight.
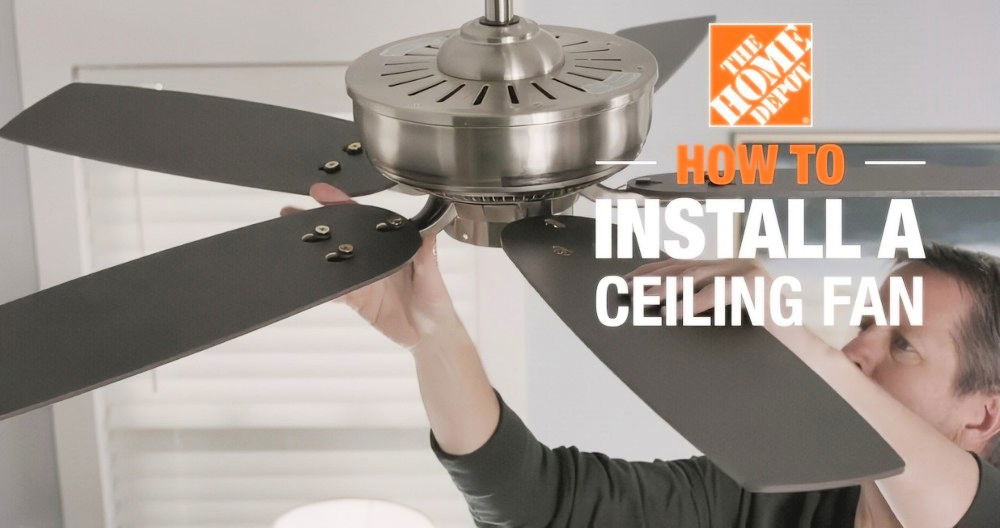
- Inspect the blade holder screws: Each fan blade is attached to the motor via blade holders. Check the screws holding the blade holders and tighten them if needed.
Step 3: Measure Blade Height Consistency
Uneven blade height can be a common cause of wobbling, and correcting this can be a quick fix.
- Use a measuring tape: Measure the distance from the ceiling to the bottom edge of each fan blade. Record the measurements to check for consistency.
- Adjust if necessary: All blades should be the same distance from the ceiling. If one blade is lower or higher, tighten the screws on the blade holder to ensure they are even.
Step 4: Clean the Fan Blades
Dust buildup on fan blades can add uneven weight and cause imbalance. While you're working on the fan, it's a good opportunity to give the blades a thorough cleaning.
- Use a damp cloth: Wipe down each blade gently, ensuring you remove all dust and dirt.
- Dry completely: Make sure the blades are dry before turning the fan on again, as moisture can affect the balance temporarily.
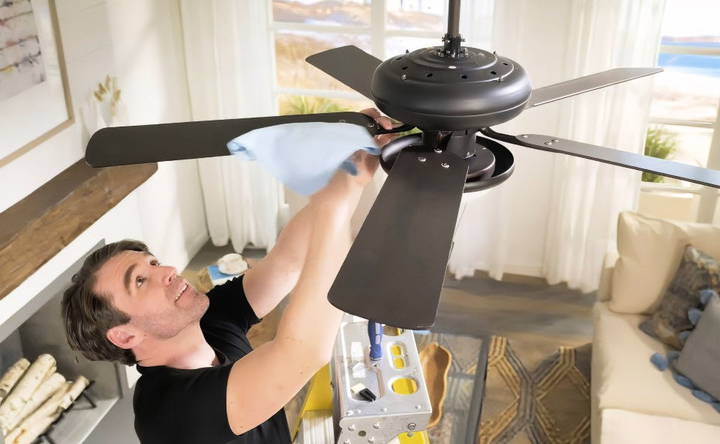
Step 5: Test the Fan
After tightening all screws and ensuring that the blades are level and clean, turn the power back on and test the fan.
- Start with a low speed: Observe if there is any wobbling at low speed. If the fan runs smoothly, increase the speed gradually.
- Check for improvement: If the wobbling persists, it may be time to move on to the next step: using a balancing kit.
Step 6: Use a Fan Balancing Kit
Most ceiling fans come with a fan balancing kit, which includes a clip and balancing weights. If you don't have one, these kits are affordable and available at most home improvement stores. Here's how to use the kit:
- Attach the clip to a blade: Place the plastic clip on the back edge of one blade, about halfway between the blade holder and the tip.
- Turn on the fan: Set the fan to its highest speed and observe if there's an improvement. If the wobble decreases, you've likely found an unbalanced blade.
- Move the clip as needed: Adjust the clip along the length of the blade to determine where it has the most positive effect on reducing the wobble.
- Test each blade: If the first blade doesn't solve the problem, repeat the process on each of the remaining blades until you identify the unbalanced one.
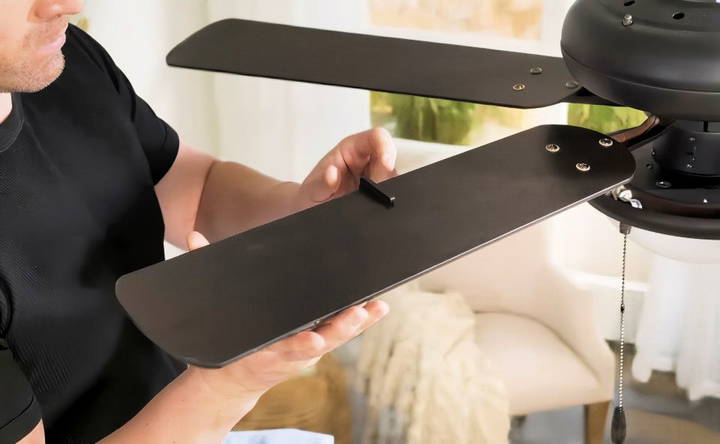
Step 7: Apply Balancing Weights
Once you have identified the blade that needs balancing, it's time to attach the weights:
- Align with the clip: Place a balancing weight on the blade, positioned exactly where the clip had the best effect.
- Remove the clip: After securing the weight, remove the plastic clip.
- Test the fan again: Turn the fan on to confirm that the wobble has stopped or significantly reduced. If needed, you can add more weights or adjust their placement to achieve better balance.
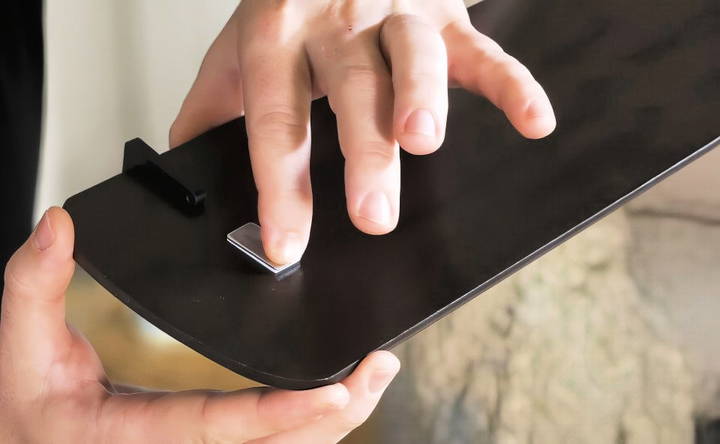
Step 8: Troubleshoot Further if Necessary
If your ceiling fan still wobbles after following the steps above, it might be time to investigate more complex issues:
- Check the ceiling box: Sometimes, the electrical box holding the fan may not be sturdy enough to support the fan's weight. This is a job best left to professionals if you're unsure.
- Inspect the mounting hardware: Ensure that the hardware and ceiling attachment are designed for a ceiling fan (a regular light fixture box may not be sufficient).
When to Call a Professional
In some cases, despite your best efforts, the fan may continue to wobble. Here are some signs that indicate you may need to call a licensed electrician:
- The electrical box or ceiling mount is not sturdy or appears to be moving when the fan is on.
- The wobble persists even after tightening, balancing, and ensuring all blades are level.
- You are uncomfortable handling electrical fixtures or lack experience with ceiling fan installations.
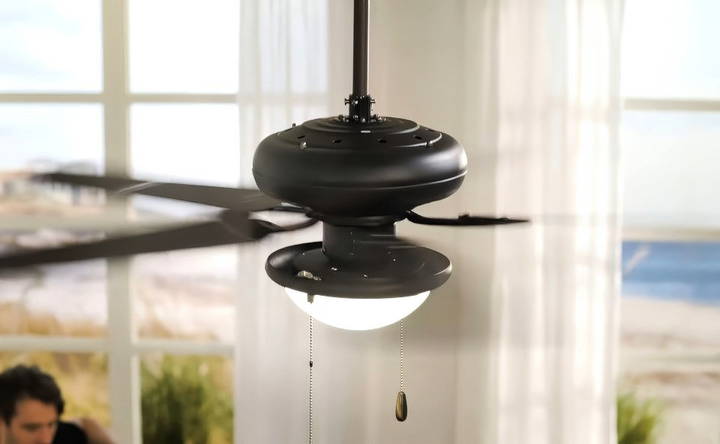
An electrician can ensure that the mounting is done correctly, and they'll have the necessary tools to secure the ceiling fan for safe and optimal operation.
Final Tips for Preventing Future Wobbling
Once your fan is balanced and working smoothly, there are some simple practices to prevent future wobbling:
- Regularly check screws and connections: Every few months, check that the screws on the blades, downrod, and mounting bracket are tight.
- Keep the fan blades clean: Dust accumulation can lead to imbalance, so cleaning the blades regularly will help maintain stability.
- Use the correct speed settings: Avoid running the fan on the highest setting if lower speeds suffice, as high speeds can cause screws to loosen over time.
Balancing a ceiling fan might seem like a small task, but it has significant effects on comfort, safety, and energy efficiency. Following these steps can help you maintain a stable and efficient fan for years to come.
Conclusion:
Balancing a ceiling fan can be a simple DIY task with the right tools and patience. By following this guide, you can ensure a smooth, wobble-free operation that improves your room's airflow and comfort.
FAQs About How to Balance a Ceiling Fan
Discover essential FAQs on how to balance a ceiling fan for optimal performance and reduced noise in our detailed guide.
If one blade sits higher than the others, first check the attachment screws on the blade holder and adjust them as needed. Small height differences are generally acceptable, but larger discrepancies may indicate issues with the installation or an uneven junction box. Make sure the fan is attached to a level, sturdy ceiling box.
Yes, uneven blade angles can contribute to wobbling. Inspect each blade to ensure it’s positioned at a similar angle. Misaligned blades may need adjustments at their attachment points to achieve a consistent angle across all blades.
The fan’s rotation direction doesn’t significantly impact balancing when using a clip and weights. The clip’s purpose is to locate the ideal position for the balancing weight. You can proceed with either rotation direction as long as it’s consistent during testing.
Yes! Some users have successfully used a medium binder clip as a temporary balancing clip and adhesive weights like those for car wheels. Attach the clip to each blade to locate the unbalanced one, then secure a weight with double-sided tape.
If the ticking sound persists, it might not be due to imbalance but rather loose parts or wear. Re-check all screws, particularly around the motor housing, and consider lubricating any moving parts if applicable. Persistent sounds may need professional inspection.


