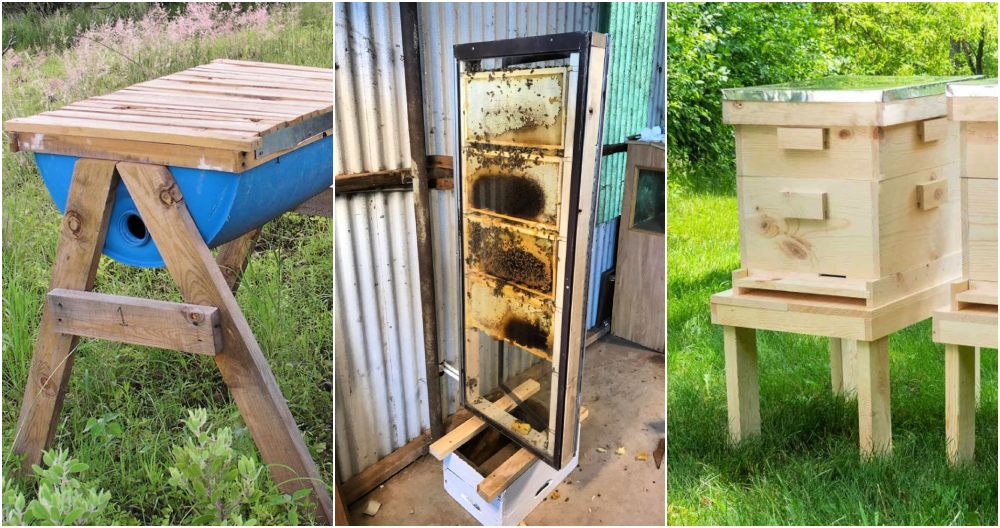
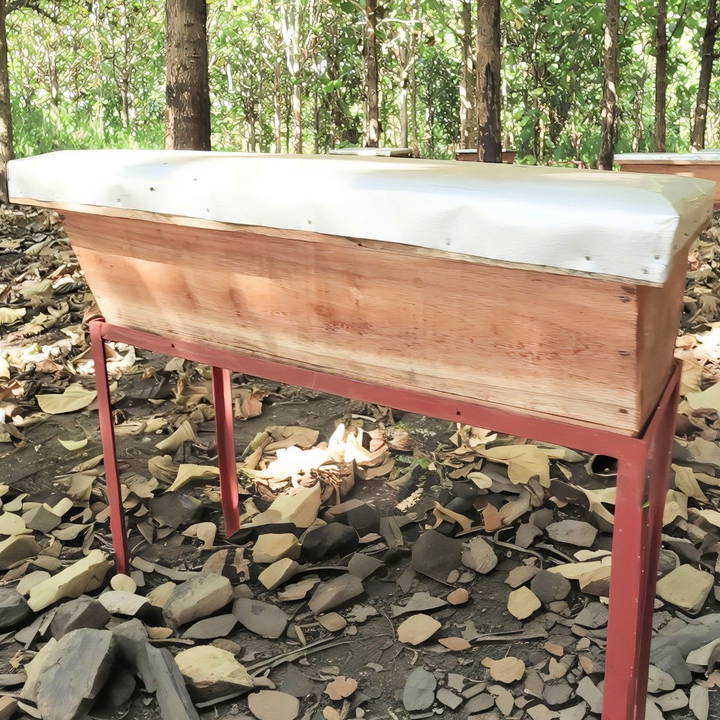
Learn how to build your own DIY beehive with this easy guide. Not only do you get to provide a safe home for bees, but you also encourage pollination and may even harvest your honey. Here's a detailed guide on building a simple, effective beehive, inspired by the Kenya Top Bar Hive design. This design is practical for beginners, straightforward to construct, and easy to maintain.
Materials You'll Need
Before you begin, gather the following materials:
- Timber: Use any kind of sturdy, untreated timber. The timber doesn't need to be overly thick, but it should be wide enough to build a stable hive.
- Measuring Tools: A tape measure and square ruler.
- Saw: For cutting the timber to size. A power saw is ideal, but a hand saw will work if that's what you have.
- Smoothing Tool: A planer or sandpaper to smooth out the inner surfaces.
- Nails and Hammer: To assemble the pieces.
- Chisel: To carve the bee entrance.
- Plywood: For the hive's top cover.
- Metal Sheet: A thin sheet to cover the plywood, providing extra protection.
- Mesh Screen: A fine mesh to separate the queen chamber from the honey chamber.
- Pins or Staples: To secure the mesh.
Step by Step Instructions
Learn how to build a beehive from scratch with our step-by-step guide. Perfect for DIY enthusiasts looking to immerse in beekeeping basics.
Step 1: Cut the Timber to Size
- Measure and Mark: Decide on the dimensions for your hive. A common length for the Kenya Top Bar Hive is 80 cm. Use a measuring tape and square to mark precise 90-degree cuts on your timber.
- Cut the Timber: Use a saw to cut the timber to the desired length. You'll need two long side pieces and two end pieces.
- Trim Any Imperfections: If any end of your timber is uneven, cut it to ensure straight edges. Consistent angles help the hive sit securely when assembled.
Step 2: Smooth the Timber
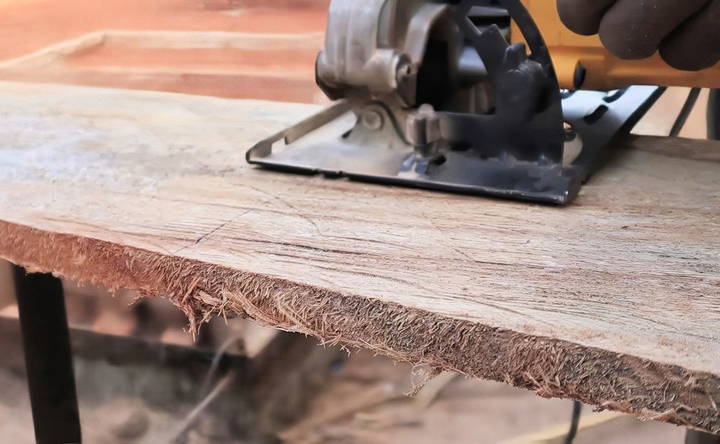
- Smooth the Inner Surface: Bees are more likely to settle in a smooth environment. Use a planer or sandpaper to smooth out the interior surfaces of your timber pieces. You don't need to go overboard—just remove any rough edges that could deter the bees from settling.
- Leave the Outside Rougher: Focus on the inside. The outer surfaces don't require as much attention, but you can smooth them slightly if desired.
Step 3: Assemble the Hive Frame
- Prepare the Angled Ends: The hive should narrow slightly from top to bottom. This design allows bees to build combs more efficiently. Cut the two end panels to build a taper, with the top width measuring around 13.5 inches and the bottom width around 8 inches.
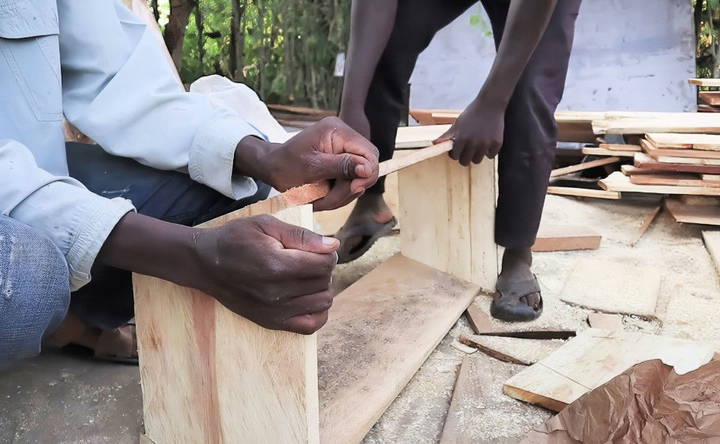
- Attach Side and End Panels: Nail the side panels to the end pieces to form a rectangular frame. Ensure the angles are square and the structure is stable.
Step 4: Cut the Bee Entrance
- Choose an Entrance Design: Bees need an entrance to access the hive. You can either drill small holes in one of the side panels or carve a semi-circle entrance at the hive's base.
- Cut the Entrance: Use a chisel or saw to build the entrance. The opening should be large enough for bees but small enough to prevent other animals from entering.
Step 5: Install the Bottom Panel
- Measure and Cut: Measure the bottom dimensions of your hive and cut a timber piece accordingly.
- Fit and Secure: Position the bottom panel carefully to avoid gaps through which bees might escape. Adjust the fit if necessary before nailing it securely in place.
Step 6: Attach the Top Bars
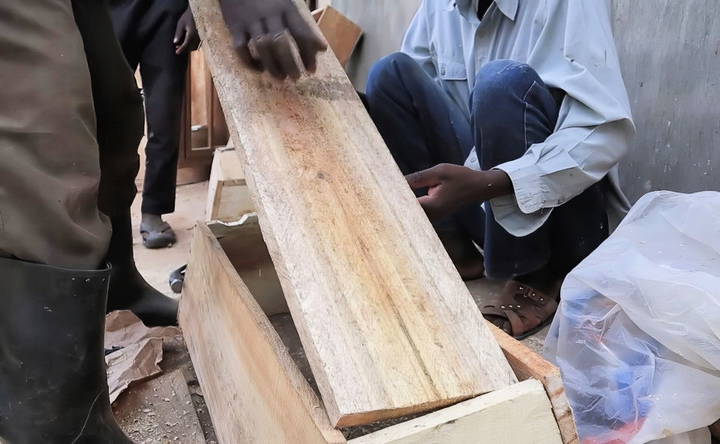
- Prepare the Top Bars: The Kenya Top Bar Hive gets its name from the top bars on which bees build their combs. These should be thin, long strips of wood that fit snugly across the hive's width.
- Groove the Bars: Each top bar should have a groove down the middle where bees can start building their combs. Use a router or any tool that can build a shallow groove.
- Cut and Position: Measure the width of the hive, then cut the top bars to fit. You'll need enough bars to cover the entire length of the hive.
- Install the Top Bars: Fit each bar onto the top of the hive, ensuring they sit tightly without gaps.
Step 7: Construct the Top Cover
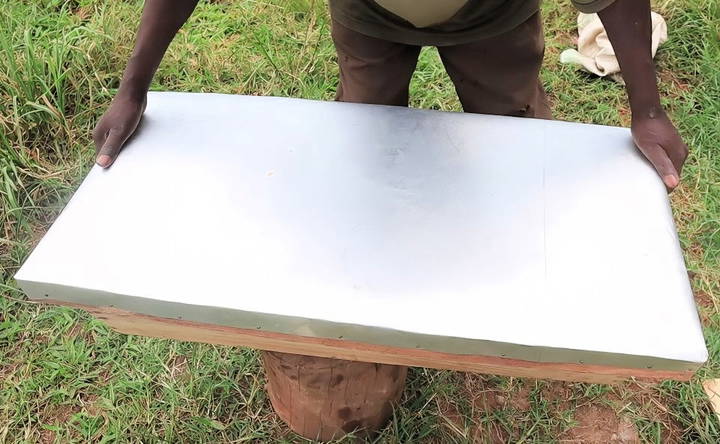
- Build a Frame: Construct a rectangular frame that fits snugly over the top of the hive.
- Add Plywood: Cut a piece of plywood to cover the frame, attaching it with nails. The cover protects the hive from rain and excessive sunlight.
- Attach a Metal Sheet: For additional protection, secure a thin metal sheet over the plywood. This prevents weather damage, especially if the hive will be outdoors.
Step 8: Divide the Hive Into Chambers
- Install the Queen Excluder: Separate the hive into two sections: the queen's chamber and the honey chamber. The queen excluder keeps the queen in one area, allowing worker bees to make honey in the other section.
- Position the Mesh: Attach small wooden pieces on the sides and bottom of the hive to support the mesh.
- Secure the Mesh: Staple or pin the mesh screen over the wooden supports. The screen should prevent the queen from moving to the honey chamber while allowing worker bees to pass freely. Queens are larger than worker bees, so a fine mesh is essential.
Step 9: Inspect and Finalize
- Check for Gaps: Ensure all parts are securely attached and that there are no gaps that could let bees escape.
- Bend Any Nails: If nails extend through the wood, bend them to prevent injuries during handling.
Step 10: Positioning the Beehive
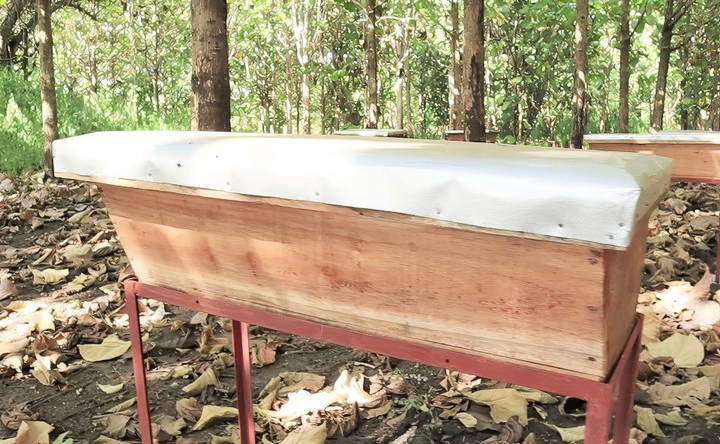
- Choose a Location: Place the hive in a shaded area, preferably elevated, and near flowers or water sources if possible.
- Attract Bees to the Hive: Apply a bee attractant near the entrance. Certain herbs or natural attractants can help lure local bees to your hive.
Maintenance Tips
- Regular Inspection: Inspect the hive periodically to ensure it remains in good condition and that no cracks or gaps have developed.
- Replace Damaged Parts: Over time, the timber may wear, or the mesh may tear. Keep extra materials on hand for quick repairs.
- Harvest Honey Carefully: When collecting honey, only take it from the honey chamber, leaving enough for the bees in the queen chamber.
Common Challenges and Solutions
- Bees Not Moving In: If bees aren't taking to the hive, try changing its location or reapplying attractant.
- Pests: Check for ants, wasps, or other pests that might invade the hive. Regular inspections can help manage this.
- Weather Damage: Protect the hive from excessive rain or sun. The metal sheet should help, but consider repositioning the hive if weather conditions are severe.
Conclusion:
Building a beehive can be a fulfilling project, promoting environmental health by encouraging local pollinators. By following these steps, you'll provide bees with a safe home while potentially enjoying fresh honey from your backyard.
FAQs About Building and Maintaining a Beehive
Discover essential tips on building and maintaining a beehive with these FAQs, designed to boost your beekeeping knowledge and success.
The queen excluder mesh should have holes between 3-4 mm. This size is small enough to prevent the queen from passing into the honey chamber but allows worker bees to move freely.
To prevent splitting, try hitting the nail tip lightly on a hard surface to dull it slightly before driving it into the wood. This technique reduces the risk of splitting.
Yes, the hive can be rectangular, though the trapezoidal shape is more common for Kenya Top Bar Hives as it naturally supports comb-building. Both shapes can work if the bees have space to move comfortably.
Using a natural attractant like lemongrass oil or leaves from specific plants, such as the Chiswi leaf, at the hive entrance can help draw in bees. Hang the hive in a location with nearby vegetation to further encourage bees to settle.
The queen's chamber size depends on hive dimensions, but typically about one-third of the hive’s total length is sufficient. This allows space for egg-laying while leaving ample room for honey production.
For untreated wood, you can apply a natural treatment like linseed oil. Avoid synthetic finishes as they may repel bees. Let any treatment fully dry before introducing bees to avoid toxic odors.
Yes, some beekeepers use PVC board to prevent rotting. This material is durable and resistant to moisture, making it a good choice for hives in damp environments.
In this design, honey is harvested from the honey chamber only. Carefully remove the top bars with comb and extract honey by crushing and straining. Avoid disturbing the queen's chamber during harvest.
It's possible but challenging. You'd need separate chambers for each queen, and managing the colonies would be complex. It's generally recommended to keep one colony per hive to simplify management.
If the queen is seen in the honey chamber, the mesh size might be too large. Commercially available excluders are often more reliable as they ensure the correct sizing for this purpose.


