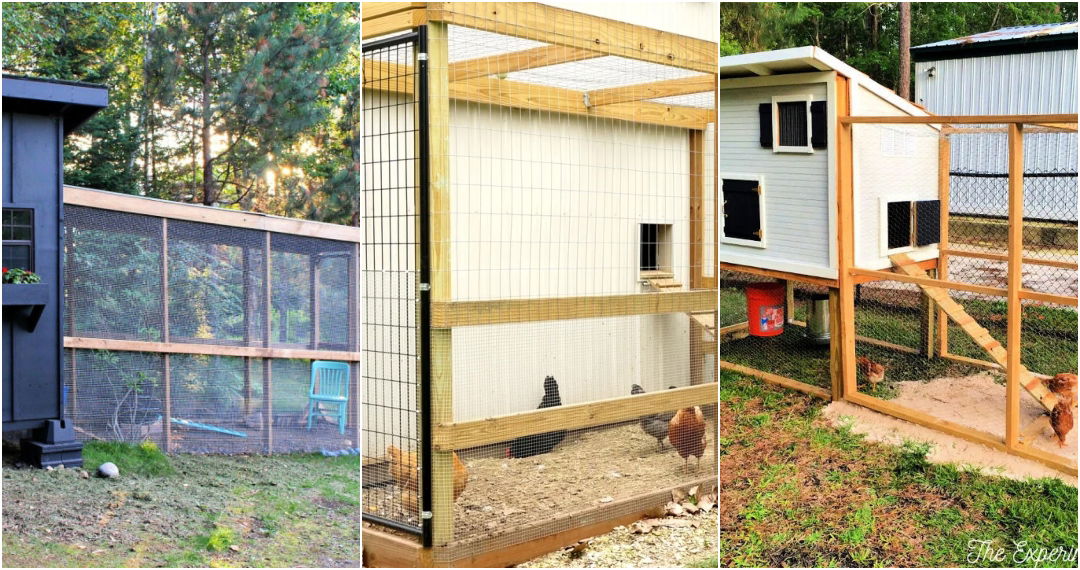
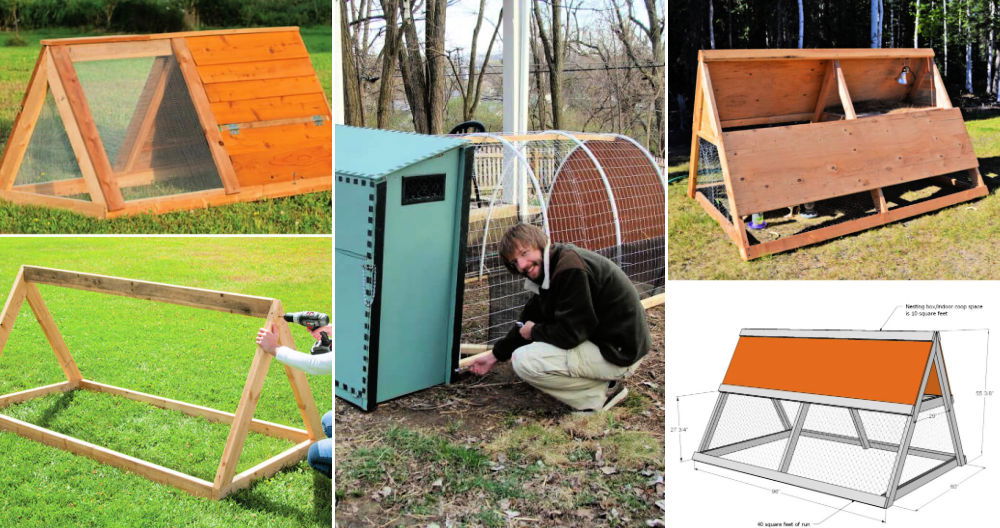
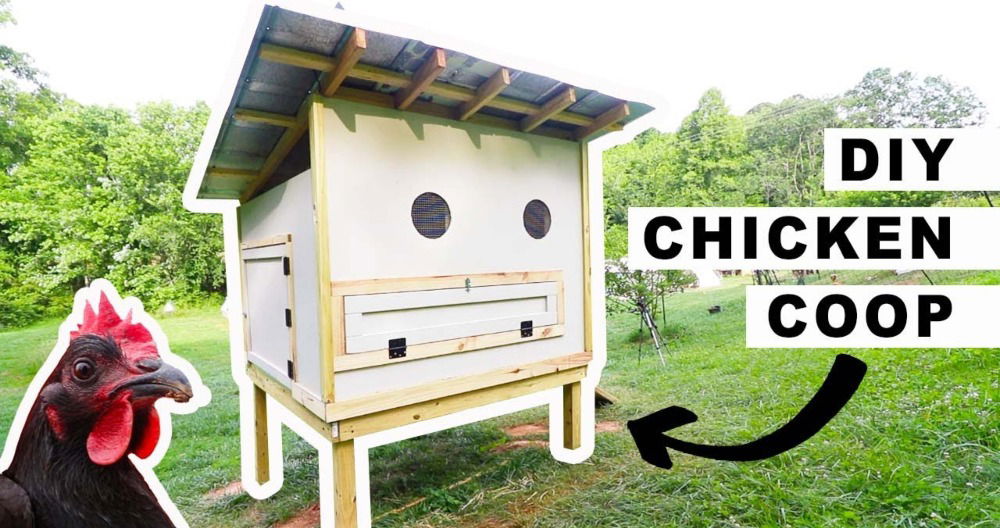
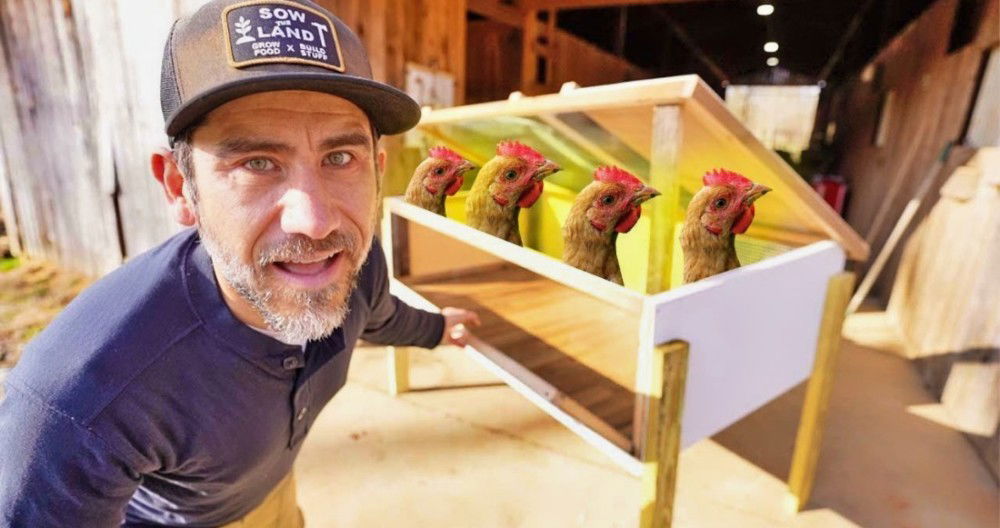
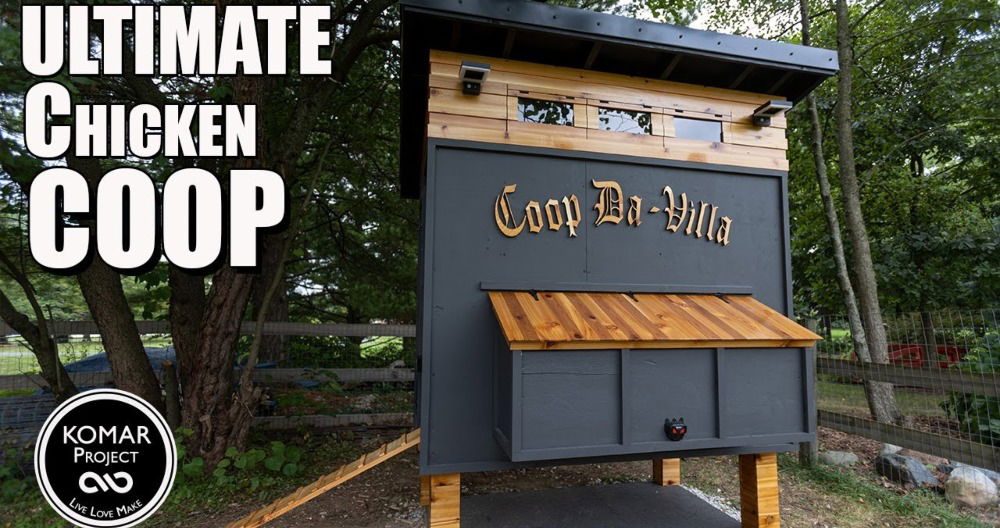
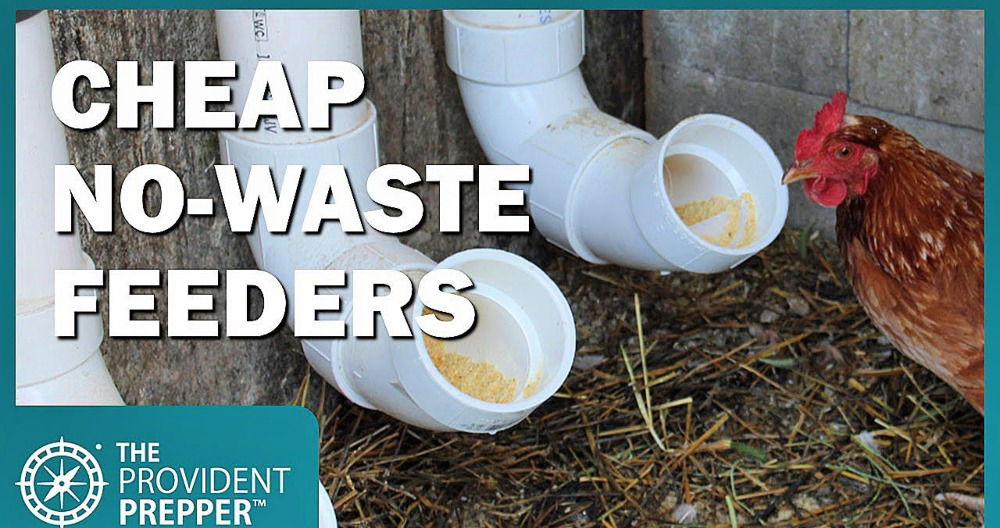
Building a DIY chicken run can be a rewarding project that provides your chickens with a safe and comfortable environment. To start, you'll need some basic materials like chicken wire, wooden posts, nails, and a hammer. Begin by measuring the area where you want the chicken run and marking the corners. Dig holes for the posts and secure them in place with concrete, ensuring they are sturdy and well-spaced.
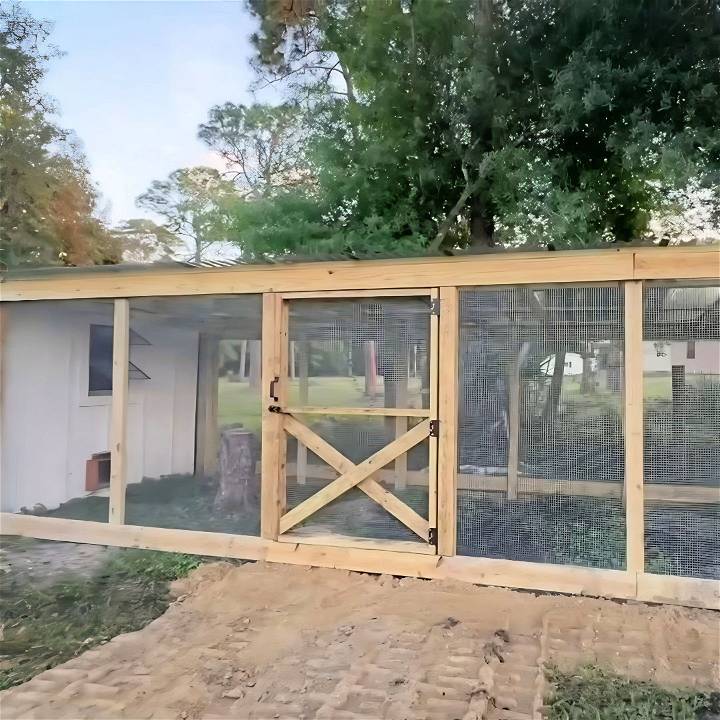
Next, attach the chicken wire to the wooden posts using nails or screws. Make sure the wire is tight to prevent predators from getting in. Add a door to the chicken run for easy access and ensure it has secure latching. To keep the chickens safe from overhead threats, consider adding a roof made from mesh or netting.
For detailed steps and additional tips, continue exploring the section on how to build a chicken run.
Why I Decided to Build a Chicken Run
Living on more expansive land offered my chickens the freedom to roam, but it also exposed them to more predators. Despite my desire for them to enjoy the vast outdoors freely, the safety of my future chickens became my top priority. Hence, the decision to build a secure chicken run next to my coop became inevitable.
Gathering the Supplies
Embarking on this project required a substantial amount of materials. I headed to Home Depot to gather everything needed:
- 4x4 Posts and 2x6 Lumber: These provided the structural framework for the run.
- Concrete: Essential for securing the posts into the ground.
- Hardware Cloth: Chosen over the chicken wire for its durability and smaller openings, offering better protection against predators.
Each material was selected with a specific purpose in mind, emphasizing the need for a strong, predator-proof structure.
Step by Step Instructions
Learn how to build a DIY chicken run with our step-by-step guide. From preparing the ground to adding the door, follow our easy instructions for a perfect chicken run.
Step 1: Preparing the Ground
First off, I needed to clear the designated area. This involved removing obstacles, including cutting down a small tree that stood in the proposed location.
Step 2: Setting the Posts
Using an auger, I dug holes for the 4x4 posts, which formed the perimeter of the run. Each post was made of concrete to ensure stability. This step required some elbow grease, but seeing the posts upright offered a tangible sense of progress.
Step 3: Framing the Structure
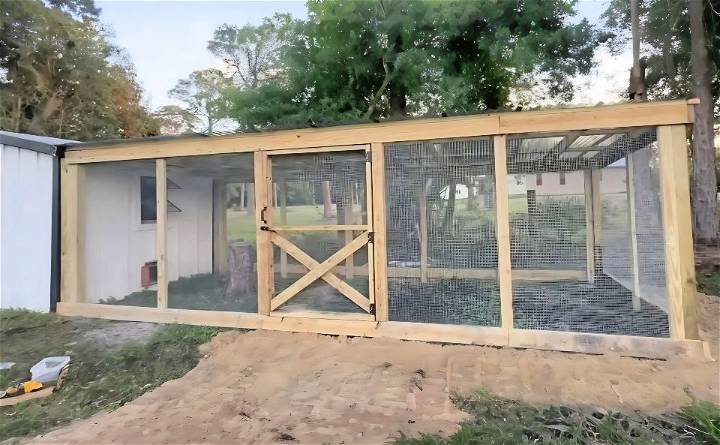
I connected the posts with 2x6 lumber to frame the top and sides of the run. This provided a sturdy base to attach the hardware cloth and eventually, the roofing materials.
Step 4: Installing the Hardware Cloth
I opted for hardware cloth due to its durability and smaller mesh size. Cutting this material to size was made easier with a grinder, a tip that saved me an incredible amount of time. Using screws and washers, I secured the cloth around the entirety of the run, ensuring no gaps were left for predators to exploit.
Step 5: Roofing
Selecting the right roofing material was crucial. I initially considered clear PVC panels for sunlight access but eventually chose a tinted, more durable option that still allowed light through. This provided weather protection without sacrificing the open-air feel.
Step 6: Adding the Door
Building a robust door was the final structural step. The door not only needed to be secure but also functional, blending seamlessly with the rest of the run. This involved careful measurements and sturdy materials to prevent sagging or warping.
Filling and Finishing Touches
After the structure was complete, I filled the perimeter with dirt to cover the buried hardware cloth, further deterring digging predators. The interior of the run was also filled to build a level, comfortable ground for the chickens.
Challenges and Solutions
One challenge I faced was underestimating the amount of hardware cloth needed. Ensuring full coverage requires precise measurements and, occasionally, reordering materials. Another was adapting the roof design to accommodate unexpected weather conditions, requiring quick thinking and flexibility.
Key Takeaways and Tips
- Plan Ahead: Detailed planning, from materials to measurements, can save time and resources.
- Secure Materials: Choosing durable materials, especially for fencing and roofing, is paramount.
- Check Local Predators: Understanding local wildlife helps in designing a run that effectively keeps them out.
- Budget Wisely: Building a coop run can be costly, so it’s wise to look for the best deals and, sometimes, invest in higher-quality materials for long-term durability.
Customization Ideas for Your Chicken Run
Building a chicken run that’s both functional and unique can be a rewarding project. Here are some customization ideas to help you design a space that’s perfect for your feathered friends and adds a personal touch to your backyard.
Add a Pop of Color
Paint the chicken run’s frame with vibrant, non-toxic paint to brighten up your garden. Choose colors that complement your outdoor space or go bold with a fun pattern or mural.
Interactive Elements
Incorporate swings or ladders for your chickens to play on. This not only provides enrichment for the chickens but also builds an engaging spectacle for you to enjoy.
Plant Integration
Use the sides of the chicken run to grow climbing plants or flowers. This not only beautifies the space but also provides shade and snacks for your chickens if you choose edible varieties.
Personalized Signage
Craft a handmade sign with your chickens’ names or a witty farm-related pun. It’s a charming way to welcome visitors to your chicken area.
Seasonal Decorations
Embrace the seasons by adding decorations like wreaths, lights, or garlands during holidays. Just ensure they’re placed out of reach of the chickens to prevent any accidental ingestion.
Upcycled Materials
Get creative with recycled materials. Old windows can become stylish doors, and reclaimed wood can add rustic charm to the chicken run’s structure.
Roof Garden
Consider a green roof with succulents or herbs. It’s not only visually appealing but also environmentally friendly, helping to insulate the chicken run and provide fresh herbs for your kitchen.
Observation Bench
Build a bench or seating area nearby so you can relax and watch your chickens. It’s a great way to unwind and connect with nature.
Ensure any additions to your chicken run are safe and functional. Avoid sharp edges, small parts, or toxic materials. Have fun making a unique and delightful space in your garden!
Common Mistakes to Avoid When Building a Chicken Run
When you’re building a chicken run, it’s easy to get caught up in the excitement and overlook some crucial aspects. To help you build a safe and comfortable home for your chickens, here are some common mistakes to avoid:
Overlooking Predator Protection
One of the most critical errors is failing to secure the chicken run against predators. Ensure all sides, including the top and bottom, are covered with strong wire mesh. Don’t forget to secure the doors with robust latches.
Ignoring the Importance of Ventilation
Chickens need fresh air to stay healthy. Make sure your chicken run has adequate ventilation to prevent respiratory issues. However, avoid placing vents where they can cause drafts directly on the chickens.
Not Planning for Easy Cleaning
A chicken run should be easy to clean to maintain hygiene. Design the run so you can access all areas easily, and consider materials that are simple to wash or replace.
Forgetting About the Weather
Consider your local climate. In hot areas, provide shade and water to prevent overheating. In cold regions, ensure the run is sheltered and can keep the chickens warm.
Using Inappropriate Materials
Some materials can be harmful to chickens. Avoid using treated wood or metals that can rust, as these can be toxic. Always choose safe, durable materials for the structure.
Neglecting Space Requirements
Chickens need space to roam, forage, and express natural behaviors. Don’t make the run too small. As a rule of thumb, provide at least 10 square feet per chicken.
Lack of Maintenance Plan
Regular maintenance is vital. Plan for periodic checks and repairs to the structure to ensure it remains secure and functional over time.
Avoid these mistakes to make a safe chicken run, hassle-free for you, and pleasant for your chickens. A good chicken run means happy chickens and keepers.
Maintenance Tips for Your Chicken Run
Maintaining your chicken run is essential for the health and happiness of your chickens. Here are some straightforward tips to keep your chicken run in top condition:
Regular Cleaning Schedule
Set a routine for cleaning the chicken run. Remove droppings, refresh the bedding, and check for any leftover food that could attract pests.
Pest Control
Keep an eye out for signs of pests like mites or rodents. Use natural deterrents or consult with a vet for safe pest control options.
Water and Food Stations
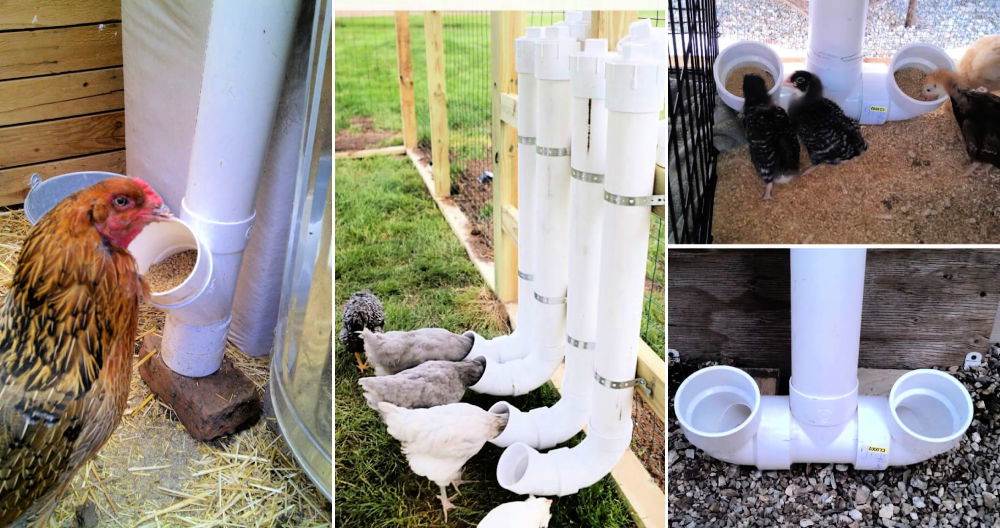
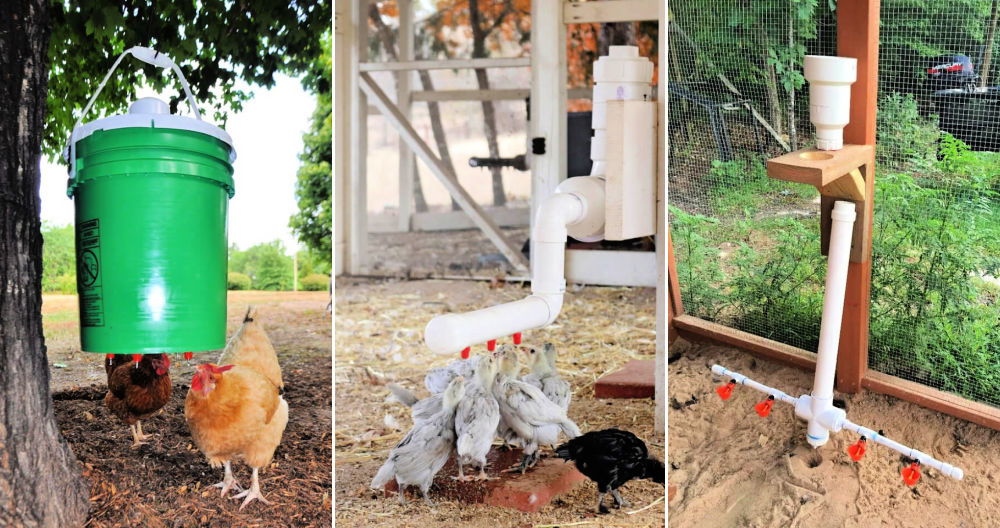
Ensure waterers and feeders are clean and free from algae or mold. Clean them regularly with a vinegar solution to maintain hygiene.
Inspect and Repair
Regularly inspect the run for any damage or wear. Fix any holes in the fencing or structural issues to keep predators out and chickens in.
Seasonal Adjustments
Adjust the run for different weather conditions. Provide shade in summer and windbreaks in winter to protect your chickens from the elements.
Dust Bath Area
Chickens love to dust bathe, so provide a designated area filled with sand or fine dirt. It helps them stay clean and pest-free.
Foot Traffic Management
Limit the number of visitors to the chicken run to reduce the risk of disease transmission. Always clean your boots before entering.
By following these tips, you’ll ensure a clean, safe, and enjoyable environment for your chickens, which will contribute to their overall well-being and productivity.
Safety Features for Your Chicken Run
Ensuring the safety of your chickens is paramount when designing a chicken run. Here are some essential safety features to consider that will help protect your flock from common dangers:
Strong Fencing
Use sturdy materials like hardware cloth instead of chicken wire to prevent predators from breaking in or reaching through the gaps. The fencing should be high enough to deter flying predators and buried deep to stop diggers.
Secure Locking Mechanisms
Install locks on all doors and entry points. Predators can be clever, so use locks that are complex enough to thwart their attempts to open them.
Overhead Protection
Cover the top of the run with wire mesh or solid roofing to protect against birds of prey. This also provides shelter from rain and direct sunlight.
Sheltered Areas
Build shaded spots and sheltered areas where chickens can hide from predators and harsh weather. This can be achieved with roofing, tall plants, or structures within the run.
Regular Inspections
Check the integrity of your chicken run regularly. Look for signs of attempted entry, wear and tear, or damage, and make repairs promptly to maintain a secure environment.
Predator Deterrents
Consider adding deterrents like motion-activated lights or noise-makers to scare away potential predators.
Weather Resilience
Make sure your chicken run can withstand local weather conditions. In areas with heavy snow or rain, ensure the roof can support the weight without collapsing.
By incorporating these safety features, you can build a secure environment for your chickens, giving you peace of mind and keeping your chickens healthy and happy.
FAQs About How to Build a Chicken Run
Discover answers to faqs about how to build a chicken run. get tips and guidance to build a secure, effective space for your chickens.
The size of your chicken run should be based on the number of chickens you have. The general rule is to allow a minimum of 10 square feet of outdoor run space per chicken. For example, if you have 10 chickens, aim for a run that’s at least 100 square feet.
To predator-proof your chicken run, ensure the mesh wiring is sandwiched between the wood on the sides and the bottom to prevent predators from digging through. Sheet metal is used for the roof, and a drip edge is used to cover the edges. Additionally, consider spreading rocks around the outside of the run to deter predators from digging under the fence.
Your chicken run should be attached to your coop, with a door that allows chickens to come and go. In warmer climates, build your pen under some trees for shade. In colder climates, position your run in full sun to allow chickens to warm up during the day.
Yes, adding a roof to your chicken run is a great idea. A roof provides protection from predators such as hawks and eagles, and it also keeps your chickens dry during rain. For the roofing, you can use metal roofing panels or heavy-duty tarps. The benefits include enhanced security, shelter from bad weather, and shade during hot days.
Regular maintenance for a chicken run includes checking for holes or weak spots in the fencing, ensuring the gate and locks are secure, and replacing any worn-out or damaged materials. It’s also important to clean the run regularly to prevent disease, refresh the bedding or ground cover, and check for signs of digging around the perimeter that could indicate predator activity.
Conclusion:
In conclusion, learning how to build a DIY chicken run can be truly rewarding. With the right materials and guidance, you can ensure your chickens have a safe and healthy environment. Building a DIY chicken run not only saves costs but also lets you design a unique space tailored to your needs. So start planning your project and enjoy the benefits of a custom-built chicken run for your feathered friends.


