Today, I want to share a special project that I recently took on, which turned out to be a rewarding blend of creativity, craftsmanship, and a dash of old-school charm. If you've ever found a set of beautiful salvage doors and wondered how to incorporate them into your home, this guide is for you. We'll walk through the step-by-step process of building a DIY door jamb while respecting the storied history of your reclaimed gems.
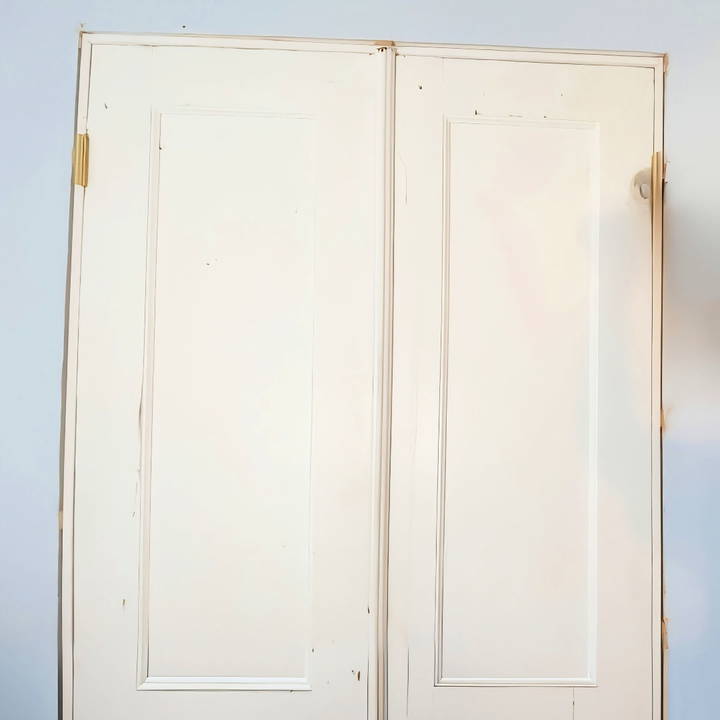
Introduction to Salvage Doors
There's something uniquely appealing about using salvage doors. Much like treasure hunting, each piece carries its own history and character. The doors I worked on were over 100 years old, and immediately, they transported me to a past era filled with elegance and intricate designs that you rarely find today.
Sure, you can pick a new prefabricated door at a home center, but it comes nowhere close to the character and story a salvage door can add to your home. Let's jump into how I gave these vintage doors a new lease on life.
Tools and Materials You'll Need
Embarking on this journey requires a few essential tools and materials. Here's why each is needed:
- Measuring Tape: Precision is key when custom-fitting old doors into a new frame.
- Screws and Screwdriver: For removing old hardware and securing the new one.
- Table Saw: Needed for cutting wood to size for your custom jamb and shim.
- Drill and Vix Bit: For precise pre-drilling to avoid splitting wood.
- Utility Knife: Useful for marking your jamb accurately.
- Router: Essential for making mortises for hinges.
- Chisel: Helpful in fine-tuning the mortises.
- Sandpaper: To smooth the edges after modifications.
Step by Step Instructions
Learn how to build a door jamb with step-by-step instructions. Prepare hinges, craft and install the jamb, and make final adjustments for a perfect fit.
An Overview: Building Your Custom Door Jamb
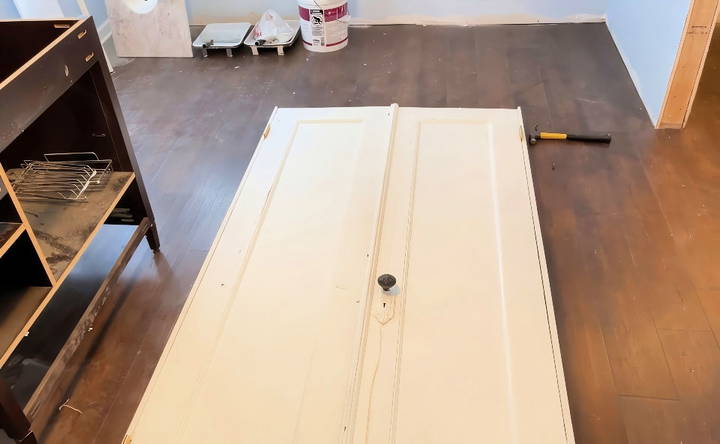
The adventure kicked off by examining the condition and dimensions of the doors. Each door was 83 inches tall, 21 inches wide, and notably, 1 3/8 inch thick. This thickness matched modern interior doors, which was a relief, but notably, they were taller and had unique historical features like mortises and astragals.
Step 1: Preparing the Doors and Hinges
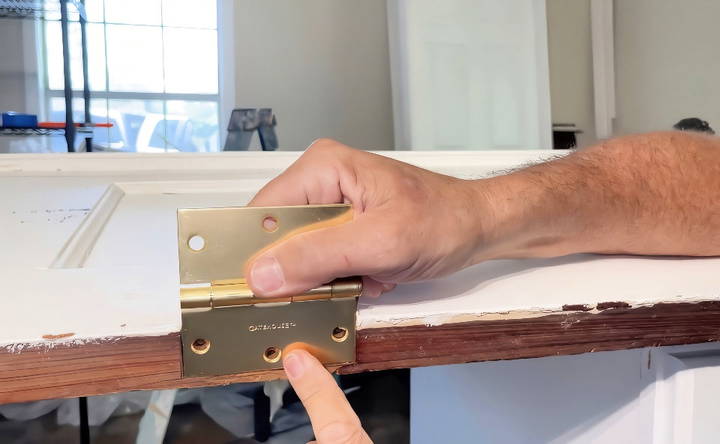
First up was removing the old hinges from the door. This step was crucial since we intended to replace them with new ones that matched our jamb specifications. Although the original hinges were ornate, some parts were missing. Fortunately, we kept the original screws as they perfectly fit the existing holes—a small but effective way to preserve history.
- Pro Tip: Shim the hinges if they sit too deep. This adjustment prevents the door from fitting too tightly in the jamb, leaving necessary space for movement.
Step 2: Crafting the Custom Jamb
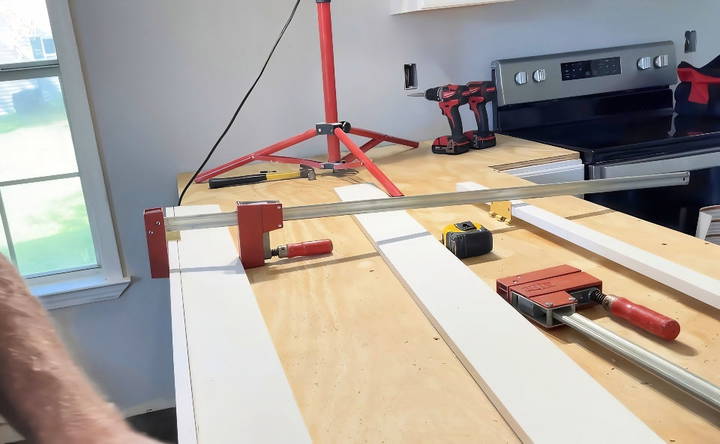
The custom jamb is the framework that holds the door in place. Given the old doors' unique sizes, building a jamb from scratch was the way forward.
- Build a Mini Template: This jig acts as our guide to match the door's dimensions. We used a section of wood the same length as our side jamb.
- Transferring Hinge Locations: With the mini-jamb in place, hinge locations were duplicated using precision cuts and marks.
- Checking Floor Level: Interestingly, the floor itself may not always be level. We used a level and tape measure to ensure the door frame accommodated any floor slope.
- Cutting and Assembling the Jamb: One jamb length was increased to accommodate floor irregularities. These custom lengths ensured a snug, level fit.
- Pro Tip: A rabbet joint enhances strength at the jamb's top, providing durability and a cleaner aesthetic.
Step 3: Installing the Jamb and Adjusting the Fit
With the custom jambs ready, it came down to routing for hinge placements.
- Routing Mortises: The hinge leaf determines how deep each routing must be. Our template allowed us to route with precision, ensuring the door and jamb sat flush when secured together.
- Fine-tuning with a Chisel: After routing, some manual tweaking with a chisel may still be needed to perfect the fit.
- Final Assembly: Align the jambs within the door frame, ensuring even spacing all around—referred to as the reveal—then drill and secure them in place.
Final Touches and Hanging the Doors
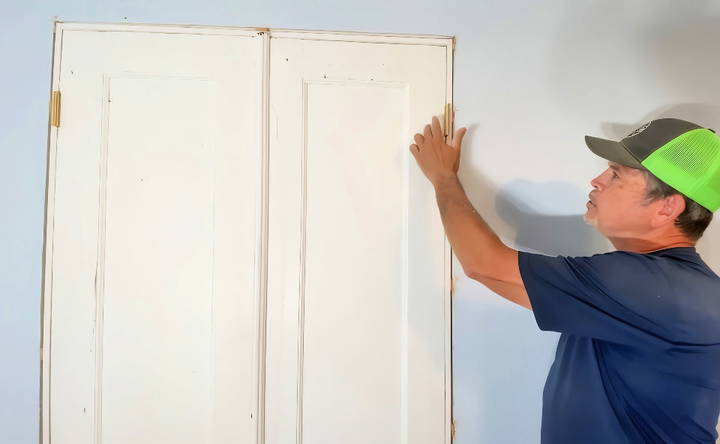
After securing the jambs, it was a thrilling moment to finally hang the doors and witness them in all their reclaimed splendor. Although, some more tweaking may be necessary to ensure everything sits perfectly, like squaring up the jambs with shims or adjusting the hardware so they close smoothly.
Step 4: Installing Door Stops and Fine-tuning
Installing the door stop is critical. It needs to be precise to build a definitive closure:
- Cutting and Placing Door Stops: These ensure doors don't swing past their intended closing point.
- Revisiting the Lock System: Given that old doors might require modern locksets for security, fine-tuning their placement ensures both function and aesthetics correctly blend.
- Pro Tip: Regularly check the reveal and alignment at each step to prevent issues during final assembly.
Customization Options
Customizing your door jamb can add a personal touch and enhance the overall look of your door. Here are some options to consider:
Choice of Wood
Different types of wood can give your door jamb a unique appearance. Here are some popular options:
- Pine: Affordable and easy to work with, but may dent easily.
- Oak: Durable and has a beautiful grain, but can be more expensive.
- Maple: Hard and smooth, great for a sleek look.
Finishes
Applying a finish can protect the wood and enhance its natural beauty. Consider these finishes:
- Stain: Highlights the wood grain and comes in various shades.
- Paint: Offers a wide range of colors and can match your interior decor.
- Varnish: Provides a glossy finish and adds a layer of protection.
Decorative Elements
Adding decorative elements can make your door jamb stand out. Here are some ideas:
- Molding: Install decorative molding around the door jamb for a classic look.
- Carvings: Add intricate carvings for a more artistic touch.
- Inlays: Use contrasting wood or materials to build inlays for a unique design.
Hardware
The hardware you choose can also customize the look of your door jamb. Consider these options:
- Hinges: Available in various finishes like brass, chrome, or black.
- Handles and Knobs: Choose styles that complement your door and interior design.
- Strike Plates: Match the finish of your hinges and handles for a cohesive look.
Size and Shape
You can customize the size and shape of your door jamb to fit your specific needs:
- Width: Adjust the width to accommodate thicker walls or unique door sizes.
- Height: Customize the height for taller doors or to build a grand entrance.
- Shape: Consider rounded or arched door jambs for a distinctive look.
Additional Features
Incorporate additional features to enhance functionality and aesthetics:
- Weatherstripping: Add weatherstripping to improve insulation and reduce drafts.
- Thresholds: Install thresholds for a smooth transition between rooms.
- Lighting: Integrate LED strips or small lights for a modern touch.
By exploring these customization options, you can build a door jamb that not only fits your needs but also adds a unique and personal touch to your home.
Troubleshooting Common Issues
Building a door jamb can sometimes present challenges. Here are some common issues you might encounter and how to solve them:
Misaligned Hinges
- Problem: The door doesn't close properly because the hinges are not aligned.
- Solution: Ensure the hinges are level and aligned with each other. Loosen the screws slightly, adjust the hinge position, and then tighten the screws again. If the door still doesn't align, use thin shims behind the hinges to adjust their position.
Gaps Around the Door
- Problem: There are gaps between the door and the jamb, causing drafts.
- Solution: Ensure the door and jamb are the correct size. Install weatherstripping around the door to seal gaps. If the gap is large, you may need to adjust the jamb by adding or removing material.
Warped Wood
- Problem: The wood used for the jamb is warped, causing misalignment.
- Solution: Choose straight, high-quality wood to avoid warping. If the wood is slightly warped, use clamps to straighten it during installation. If the warping is severe, replace the affected pieces.
Loose Screws
- Problem: Screws in the hinges or jamb become loose over time.
- Solution: Regularly check and tighten all screws. Replace short screws with longer ones for a more secure hold. If the screw holes are stripped, fill them with wood filler or use a larger screw.
Difficulty Closing the Door
- Problem: The door sticks or doesn't close smoothly.
- Solution: Ensure there are no obstructions in the door path. Sand the edges of the door or jamb where they are sticking. Slightly adjust the hinges to improve the door's movement.
Cracks in the Jamb
- Problem: Cracks appear in the door jamb over time.
- Solution: Use wood filler to fill small cracks. For larger cracks, reinforce the area with screws or brackets. If the cracks are extensive, consider replacing the damaged sections of the jamb.
Paint or Finish Issues
- Problem: The paint or finish on the door jamb is peeling or uneven.
- Solution: Properly sand and clean the surface before applying paint or finish. Apply a primer before painting to ensure better adhesion. Use even, thin coats of paint or finish to avoid drips and uneven coverage.
By addressing these common issues, you can ensure your door jamb is well-built and functions smoothly. Regular maintenance and careful installation can prevent many of these problems from occurring.
FAQs About How to Build a Door Jamb
Discover essential faqs about how to build a door jamb. Find step-by-step guidance to ensure your installation is accurate and efficient.
First, measure the rough opening where the door will go. The rough opening should be about 2 inches wider and 2.5 inches taller than the door itself. This extra space allows for the jamb and shims. For example, if your door is 80 inches tall and 36 inches wide, the rough opening should be 82.5 inches tall and 38 inches wide.
Position the jamb: Place the assembled jamb in the rough opening.
Level and plumb: Use shims to adjust the jamb until it is level and plumb. Check with a level tool.
Secure the jamb: Nail or screw the jamb into the framing of the wall. Make sure it is firmly in place.
Add door stops: Nail door stops to the jamb to prevent the door from swinging through the frame.
Sand and paint: Sand any rough edges and paint or stain the jamb to match your door and trim.
Install the door: Hang the door on the hinges and check for smooth operation. Adjust as necessary.
Measure and cut: Measure the distance from the floor to the top of the jamb on both sides. Cut two pieces of casing to this length. Then, measure the width of the head jamb and cut a piece of casing to fit.
Attach the casing: Start with the top piece. Position it so that it overhangs the jamb by about 1/4 inch. Nail it in place. Next, attach the side pieces, ensuring they are flush with the top piece and overhang the jamb by 1/4 inch.
Fill and finish: Fill any nail holes with wood filler. Sand smooth and paint or stain to match the rest of the door trim.
Door doesn't close properly: Check if the jamb is level and plumb. Adjust the shims if necessary. Ensure the hinges are properly aligned and tightened.
Gaps around the door: Use additional shims to close any gaps between the jamb and the rough opening. Ensure the door is centered in the jamb.
Squeaky door: Lubricate the hinges with a silicone spray or a few drops of oil. Tighten any loose screws on the hinges.
Conclusion: A Touch of History in Modern Homes
Standing back and watching how these doors came together as part of a modern home was profoundly satisfying. Not only did this project respect the craftsmanship of yesteryears, but it also allowed for modern comforts and reliability.
The custom door jamb creation process may seem complex, but it's incredibly rewarding, adding unique value few modern installations can offer. So, if you have access to old, exceptionally crafted doors, don't hesitate—a piece of history might just be waiting to be part of your home.
By following this guide, you too can successfully incorporate beautiful salvage doors into your living space and enjoy the blend of history and modern design. I'd love to see what projects you undertake using these techniques. Feel free to reach out with your own stories!


