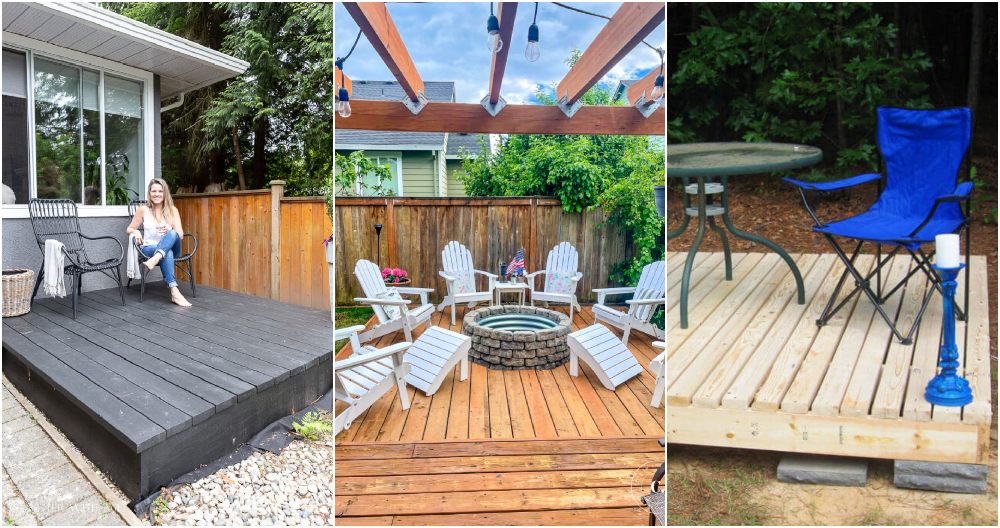
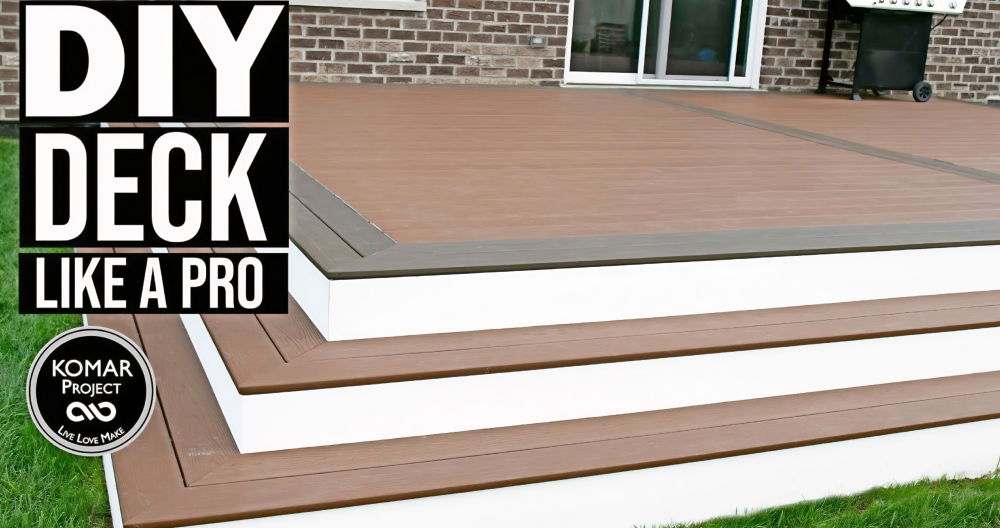
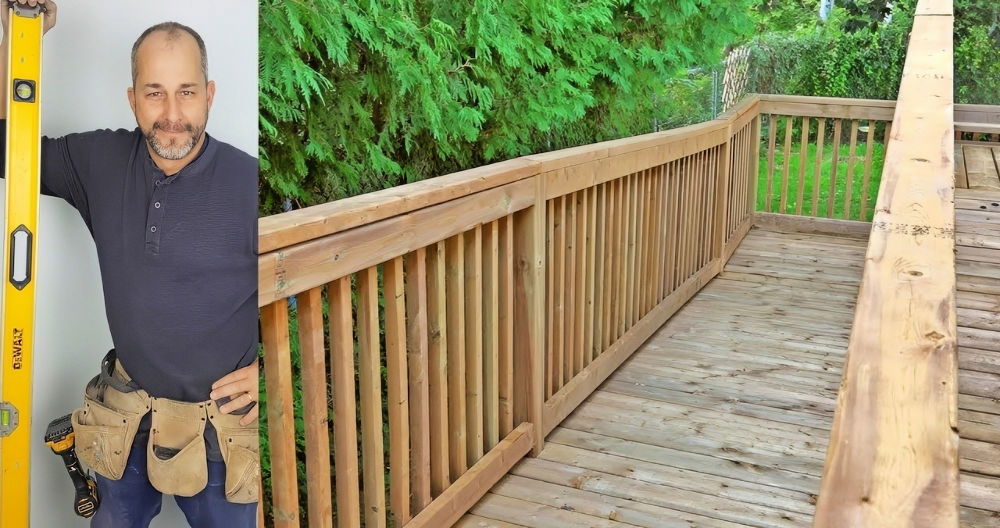
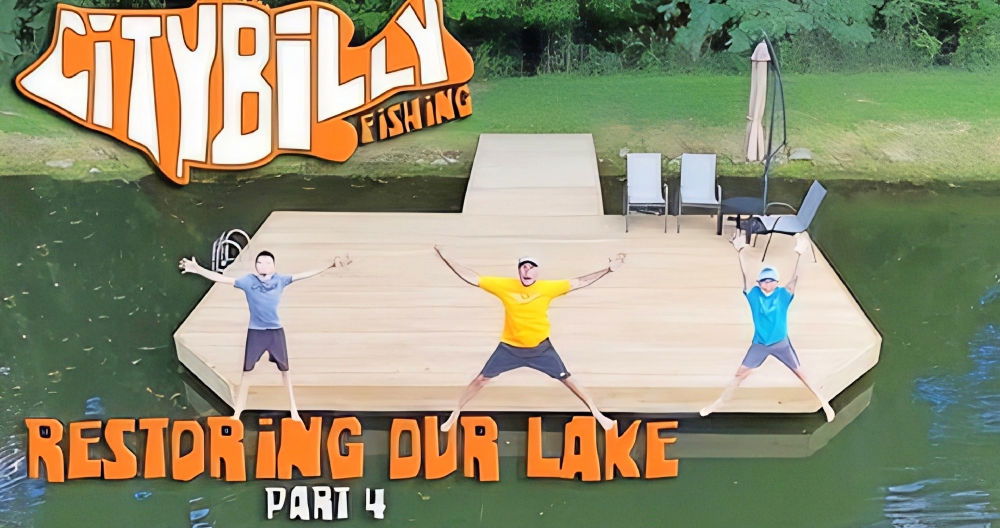
Building my DIY floating deck was one of the most fulfilling projects I've taken on. I started with some basic tools and a straightforward plan. This ground-level deck gave my backyard a new charm and became a cozy space for outdoor gatherings. The steps were simple yet effective, and seeing the final result made me proud. I'm excited to help you start this rewarding project.
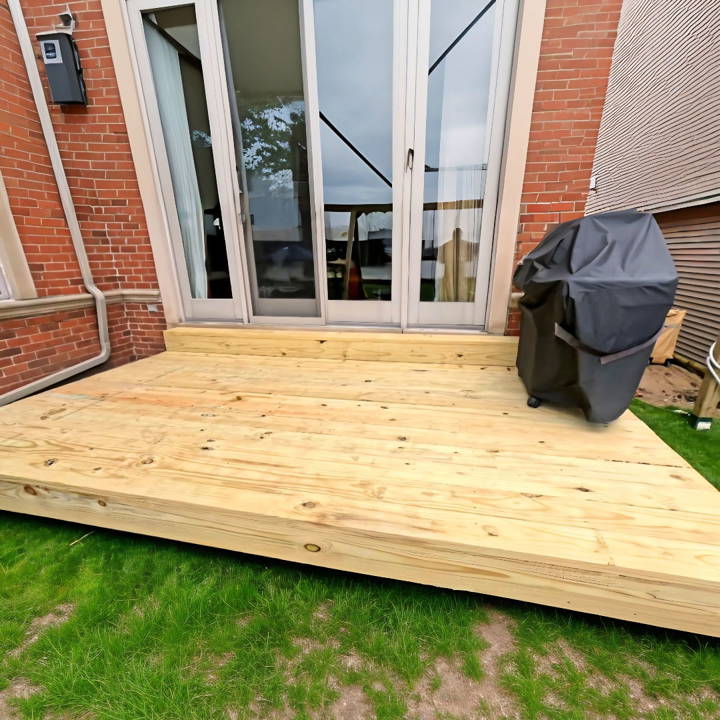
I'm providing you with clear steps on how to build a DIY floating deck. From selecting the right materials to assembling the structure, you'll find everything you need here. Trust me; you don't need to be an expert.
With a little effort and these instructions, you can enjoy a relaxing space in your yard too. Let's get started!
Materials and Tools Needed
First off, let's talk about the materials and tools you'll need. The choice of materials was crucial for longevity and compliance with my "no cut, no dig" rule.
- Pressure-treated lumber: Essential for outdoor projects as it withstands the elements. I opted for this for all my deck pieces.
- Deck blocks: A game-changer for avoiding digging. They provide a stable base without needing to disturb the soil.
- Screws specifically for pressure-treated wood: To ensure the decking boards remain secure over time.
- Weed barrier fabric: To prevent weed growth under the deck.
- Tools: A drill (or two to speed up the process), a tape measure, a simple saw (only if minor adjustments are needed), and a level.
Why These Materials?
- Pressure-treated lumber is resistant to rot, making it ideal for outdoor use.
- Deck blocks remove the need for concrete and digging, streamlining the process.
- Weed barrier fabric is a must to keep the area under the deck low maintenance.
Step by Step Instructions
Learn how to build a DIY floating deck with our step-by-step instructions. From planning to laying deck boards, build your perfect outdoor space.
Step 1: Planning and Preparation
I evaluated my backyard and decided on a 14-foot by 8-foot deck. Drawing a plan helped me visualize the project and calculate the materials. Remember to account for the space between decking boards for water drainage and expansion.
Step 2: Laying the Foundation
- Placing the deck blocks: I spaced the blocks according to my plan, ensuring they were level. This step is crucial for the stability of the deck.
- Adjusting blocks: It's likely you'll need to reposition them slightly to ensure everything is perfectly aligned.
Step 3: Assembling the Frame
- Building a rectangle with your outer boards: This forms the perimeter of your deck.
- Marking joist placement: Every 16 inches, to ensure even support across the deck.
- Assembling off-ground: To make sure the frame was square, I assembled it adjacent to its final position.
Step 4: Positioning the Frame
Once the frame was complete, I moved it onto the deck blocks. This required some muscle but ensured that the frame was elevated from the ground.
Step 5: Laying the Deck Boards
- Placement: Starting from one edge, I laid the decking boards across the joists, leaving a small gap between each for drainage.
- Securing: Each board was secured with screws into the joists. An important tip is to have the 'frowny' side of the boards facing down to prevent water collection.
Mistakes to Avoid
- Not planning for the weed barrier first: I had to partially disassemble the frame to place my weed barrier. Do this before laying down your deck blocks.
- Forgetting internal support: Initially, I neglected to place a few deck blocks for additional support in the center. This was a misstep, easily corrected but best avoided.
Customization Ideas for Your Floating Deck
Building a floating deck is not just about functionality; it's also an opportunity to add a personal touch and enhance the aesthetics of your outdoor space. Here are some customization ideas that can make your deck unique and inviting:
Planters and Greenery:
- Built-in Planters: Consider incorporating built-in planters into the deck design. They can be filled with flowers, herbs, or small shrubs, adding life and color to your deck.
- Vertical Gardens: If space is limited, vertical gardens are a great way to include greenery. They can also act as a natural privacy screen.
Seating Options:
- Bench Seating: Adding bench seating around the perimeter of your deck not only provides ample seating but also maximizes space.
- Swing Seats: For a playful touch, install a swing seat or hammock. It's perfect for relaxing and enjoying the outdoors.
Lighting:
- Solar Lights: Solar-powered lights are eco-friendly and can be used to illuminate the deck at night without increasing your electricity bill.
- String Lights: Hang string lights above your deck to build a cozy and warm atmosphere, ideal for evening gatherings.
Decking Patterns and Colors:
- Herringbone Pattern: Lay the decking boards in a herringbone pattern for a visually striking effect.
- Staining: Choose a stain color that complements your home's exterior and the natural surroundings.
Privacy Features:
- Privacy Screens: Install lattice or horizontal slats as a privacy screen to build a more secluded area.
- Outdoor Curtains: Hang outdoor curtains that can be drawn for privacy or opened to enjoy the view.
Entertainment Features:
- Outdoor Kitchen/Bar: If you love entertaining, consider adding an outdoor kitchen or bar area to your deck.
- Fire Pit: A fire pit can be a focal point and a source of warmth on cooler evenings.
Integration with Landscaping:
- Stepping Stones: Build a path of stepping stones leading to your deck, blending it seamlessly with the garden.
- Water Features: Incorporate a small fountain or pond near the deck for a tranquil ambiance.
Safety and Accessibility:
- Handrails: If your deck is raised, ensure you have sturdy handrails for safety.
- Ramps: Include a ramp for easy access, making your deck more inclusive for everyone.
Plan well, use quality materials, and mind details. These ideas are practical and let you showcase your style, making your deck a beloved part of your home.
Troubleshooting Common Issues
When building a floating deck, you might encounter a few hiccups along the way. Here's a guide to help you troubleshoot some of the most common issues:
Uneven Decking Boards:
- Cause: This often happens due to an uneven foundation or warping of the wood.
- Solution: Check the foundation for levelness and make adjustments. If the wood is warped, replace the affected boards.
Loose Railings or Posts:
- Cause: Railings or posts can become loose over time due to weather conditions or the natural settling of the deck.
- Solution: Tighten any loose bolts and screws. If necessary, add additional support or replace parts that are beyond repair.
Squeaky Boards:
- Cause: Squeaks are usually caused by boards rubbing against each other or the joists.
- Solution: Insert shims or use deck screws to secure the boards firmly to the joists.
Rotting Wood:
- Cause: Wood rot is a result of moisture damage, often due to a lack of proper sealing or drainage.
- Solution: Replace the rotted wood immediately to prevent further damage. Ensure that your deck has adequate drainage, and apply a water-resistant sealant.
Popped Nails:
- Cause: Nails may pop up from the deck's surface, usually because of temperature changes causing the wood to expand and contract.
- Solution: Remove the popped nails and replace them with deck screws, which are less likely to come loose.
Staining and Discoloration:
- Cause: Stains can occur from leaves, dirt, or water, while discoloration may be due to sun exposure.
- Solution: Clean the deck regularly and apply a stain or sealant that offers UV protection.
Cracks in the Deck:
- Cause: Cracks can develop over time due to weathering or stress on the boards.
- Solution: Fill small cracks with wood filler. For larger cracks, it's best to replace the entire board.
Mold and Mildew:
- Cause: These grow in damp, shaded areas, especially if the deck is not cleaned regularly.
- Solution: Use a mold and mildew cleaner designed for decks. Improve airflow and sunlight exposure to the affected areas.
Address issues quickly to keep your floating deck safe and beautiful. Regular maintenance prevents problems.
Safety and Regulations
Building a floating deck is an exciting project, but it's important to prioritize safety and adhere to regulations. Here's a comprehensive guide to ensure your deck is not only beautiful but also safe and compliant:
Understanding Local Building Codes:
- Research: Before starting your project, research local building codes and zoning regulations. These rules can affect the size, height, and location of your deck.
- Permits: Most areas require a building permit for deck construction. Apply for one to ensure your project is legal and inspected for safety.
Designing for Safety:
- Railings: If your deck is above a certain height, railings are usually required. Make sure they are at least 36 inches high and spaced no more than 4 inches apart to prevent falls.
- Stairs: Design stairs to be wide and even, with handrails for added safety.
Choosing the Right Materials:
- Quality Lumber: Use pressure-treated lumber or naturally resistant woods to prevent decay and insect damage.
- Non-Slip Surfaces: Consider textured materials or anti-slip coatings, especially in areas that may get wet.
Safe Construction Practices:
- Follow Plans: Stick to your design plans and building codes during construction to avoid any structural issues.
- Proper Fasteners: Use the correct screws, bolts, and connectors for wood or composite materials to ensure a secure build.
Regular Inspections:
- Annual Check: Perform an annual inspection of your deck to look for signs of wear, such as loose boards, rusty fasteners, or rot.
- Professional Assessment: If you're unsure about the condition of your deck, hire a professional to assess its safety.
Educating Yourself and Others:
- Construction Knowledge: Learn about deck construction techniques and safety measures before starting your project.
- Safety Briefing: If friends or family are helping, brief them on safety protocols and proper use of tools.
Emergency Preparedness:
- First Aid Kit: Keep a first aid kit nearby in case of accidents during construction.
- Fire Safety: If you plan to have a grill or fire pit on your deck, keep a fire extinguisher accessible and establish a clear evacuation path.
Adhering to these guidelines ensures your floating deck is beautiful, safe, and enjoyable. Focusing on safety and regulations prevents future hazards and legal problems.
FAQs About DIY Floating Deck
Get answers to common FAQs about DIY floating decks, from construction tips to materials needed. Learn how to build your own floating deck easily!
A DIY floating deck is a stand-alone deck that isn’t attached to any structure, like a house. It’s called ‘floating’ because it’s built above the ground on blocks or piers and doesn’t require deep foundations or attaching to existing buildings.
It depends on where you live and the size of the deck. Generally, you may not need a permit if the deck is less than 30 inches high and not attached to a house. However, always check with your local building department to be sure.
Maintenance involves:
Regularly cleaning the deck surface to remove dirt and debris
Inspecting for any loose boards or protruding nails/screws
Applying a water-repellent finish every few years if using wood decking
Checking the foundation for any shifts or settling
Yes, you can build a floating deck over uneven ground. The key is to level the deck blocks or piers during the foundation stage. You may need to dig some areas out or add gravel or sand to others to ensure a level base for your deck.
Floating decks offer several advantages:
Flexibility in placement: You can build a floating deck almost anywhere in your yard without being constrained by your house's structure.
Easier construction: Without the need for deep footings or attaching to a house, the construction process is generally simpler and faster.
Cost-effective: They often require fewer materials and less labor, which can make them more affordable than traditional decks.
No damage to your home: Since it's not attached, there's no risk of the deck causing damage to your home's exterior or foundation.
Conclusion
Don't wait to transform your outdoor space. This guide will walk you through how to build a floating deck easily. Dive into making your own floating ground-level deck with confidence. Happy building!


