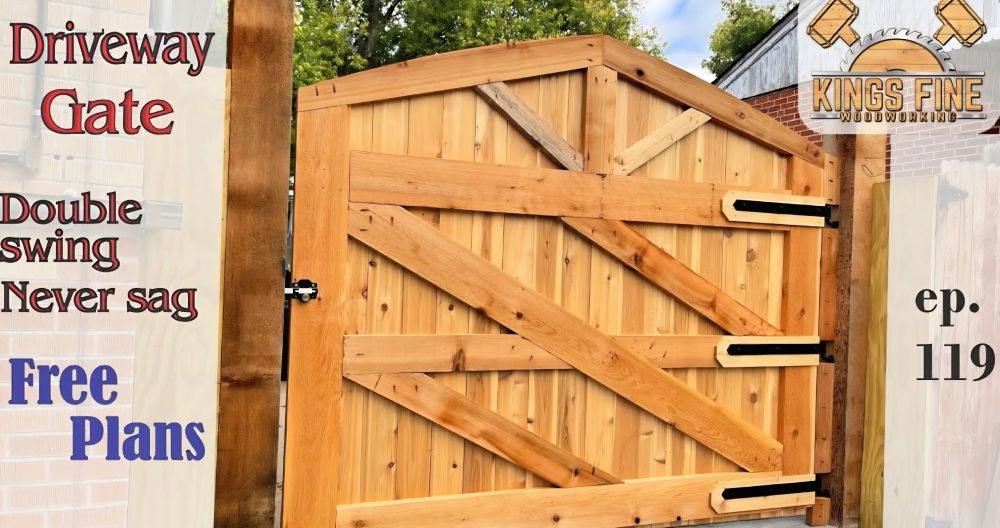
Starting your own DIY garden gate project can be very rewarding. When I decided to build my own wooden garden gate, it seemed like a fun challenge. I gathered all my tools and materials, took measurements, and planned the design. If you're wondering where to start, I'm here to help guide you through the process.
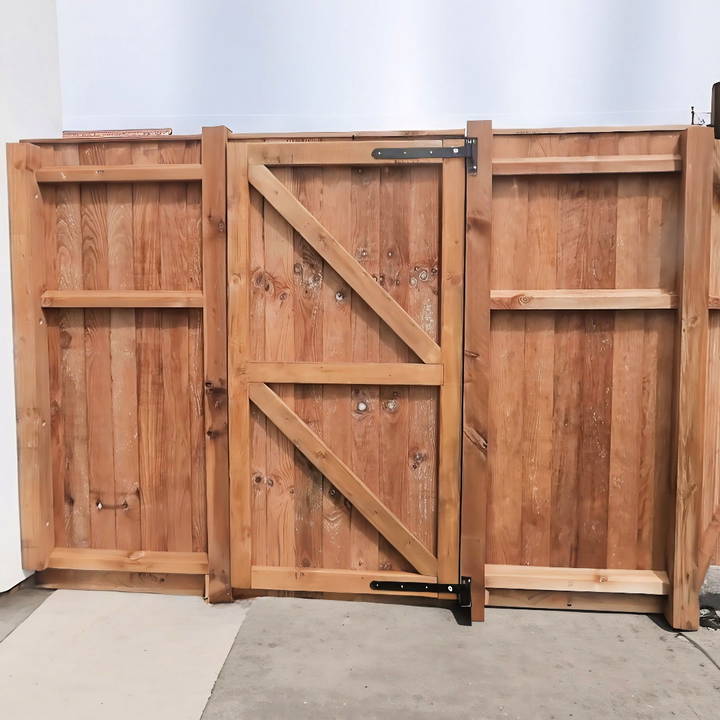
After learning basic steps and practicing, I felt more confident. Building a garden gate doesn't have to be hard. With patience and the right steps, you can build a sturdy and attractive gate. Follow along – I'll show you how these steps will help you build something you can be proud of.
Materials You Need
- Treated CLS 4x2 timber for the frame: Its treated nature ensures longevity against the elements.
- Feather edge treated timber for cladding: Matches the existing fence and provides a cohesive look.
- External grade wood glue and screws for assembly: Ensures a strong, lasting build.
- Oak stain (optional): To match the gate with the surrounding fence.
- Tools: Circular saw, chisel, clamps, square, and mitre saw - each plays a crucial role in the crafting process.
Understanding why each material is picked is crucial; the choice of treated timber, for example, is not arbitrary. It promises a gate that withstands weather, whereas the specific tools ensure precision in assembly.
Step by Step Instructions
Learn how to make a garden gate with our step-by-step instructions, from building the frame to hanging the gate. Perfect for DIY enthusiasts.
Building the Frame
After measuring the gap between the fence posts, I factored in clearances — 5mm on the hinge side and 10mm on the lock side, allowing the gate to swing freely without hindrance. The aim was to build a frame slightly smaller than the desired finished gate size, leaving room for cladding.
Cutting Timber to Size
Using half lap joints significantly simplified the process. This method meant I could cut my timber pieces to the exact dimensions of the frame I had in mind, without worrying about complicated measurements or adjustments.
Crafting Half La p Joints
Half lap joints require removing half the thickness of each joining piece so they fit together snugly. Without a table saw, I used my circular saw, setting the cutting depth to half the timber's thickness, and made multiple cuts before chiseling out the excess. This method, though somewhat rudimentary, was surprisingly effective and satisfying.
Adding Support and Strength with Cross-Bracing
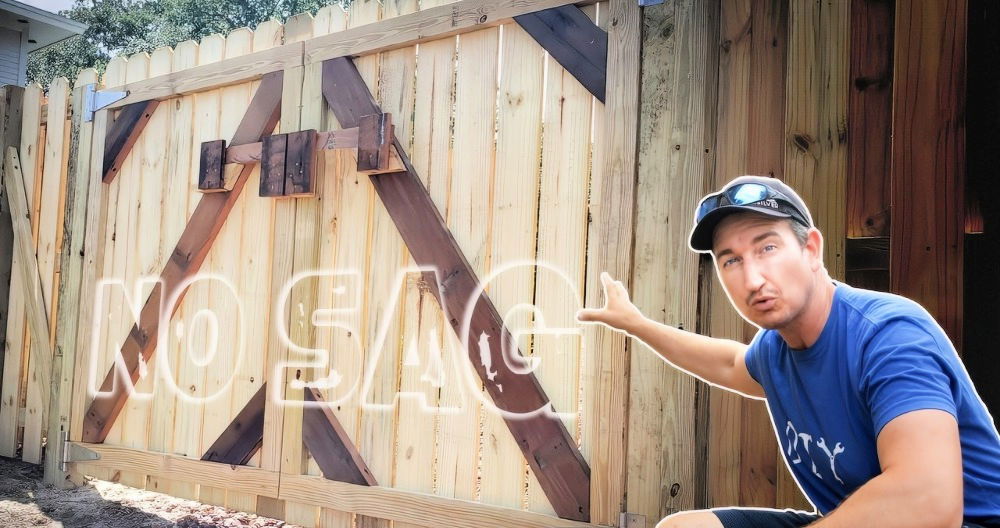
The inclusion of a center brace and diagonal cross-bracing was pivotal. Not only did it provide additional support, but it also ensured the gate would resist sagging over time. The bracing direction is critical; from the bottom of the hinge side to the top of the lock side promotes compression under the gate's own weight, enhancing its structural integrity.
Cladding and Final Touches
With the frame and supports in place, cladding became an exercise in aesthetics and protection. The feather edge boards were cut to length, allowing for slight overhang top and bottom and a crucial gap at the bottom for clearance. Staining the frame beforehand helped match its appearance to the fence, giving a seamless finish.
Hanging the Gate
Aligning and fixing the gate to the posts was a high-stakes moment, with precision being key. Shim on the hinge side allowed for desired spacing, while clamps held everything tight as I fixed the hinges. The satisfaction of seeing the gate swing smoothly for the first time was unparalleled.
Customization Ideas for Your Garden Gate
Building a garden gate is not just about functionality; it's also an opportunity to express your personal style and add character to your garden. Here are some customization ideas to make your garden gate stand out:
Choose a Theme
Reflect the essence of your garden by choosing a theme for your gate. Whether it's a rustic, cottage-style gate or a sleek, modern design, ensure it complements the overall look of your garden.
Color It Up
A fresh coat of paint can transform your gate. Opt for colors that blend with the natural surroundings or go bold with a contrasting shade to make a statement.
Add Decorative Elements
Incorporate decorative elements such as metalwork designs, wooden carvings, or even a custom nameplate. These details can turn a simple gate into a piece of art.
Integrate Planters
Attach planters to the gate or use climbing plants to build a living gate. This green touch can make your entrance feel like a natural extension of the garden.
Install Lighting
Add outdoor lights to enhance the gate's visibility at night and to add a warm, welcoming glow. Solar-powered lights are an eco-friendly option.
Use Smart Locks
For added security and convenience, consider installing a smart lock that you can control from your phone.
The key to customization is to reflect your personality while maintaining harmony with your garden's design.
Troubleshooting Common Issues with Garden Gates
When it comes to garden gates, a few common issues might arise. Here's how to troubleshoot them effectively:
Gate Won't Close Properly
If your gate won't close, check the hinges and latch for alignment. Over time, gates can sag or shift. Adjust the hinges or add a turnbuckle for support.
Wood Swelling or Shrinking
Wooden gates can swell in wet weather and shrink in dry conditions. To prevent this, seal the wood with a waterproof coating and leave slight gaps between slats for expansion.
Rust on Metal Components
Rust can be a problem for metal gates or fittings. Regularly inspect for rust spots. If you find any, sand them down and apply a rust-inhibiting primer and paint.
Squeaky Hinges
Squeaky hinges are usually due to lack of lubrication. Apply a silicone-based lubricant to keep them moving smoothly.
Loose or Broken Hardware
Check all screws, bolts, and fasteners periodically. Tighten any that are loose and replace those that are broken or rusted.
Difficulty Opening in Winter
In colder climates, gates might stick or freeze shut. Use de-icing products or sand to prevent ice buildup around the gate area.
By addressing these common issues, you can ensure your garden gate functions well and looks great for years to come.
Maintenance and Upkeep of Your Garden Gate
Keeping your garden gate in top condition is crucial for ensuring it serves its purpose and maintains its appearance. Here's a straightforward guide to maintaining and upkeeping your garden gate:
Regular Cleaning
Dirt and debris can accumulate on your gate, leading to wear and tear. Clean your gate regularly with mild soap and water, and make sure to rinse and dry it thoroughly.
Check for Damage
Inspect your gate for any signs of damage, such as cracks, warping, or loose components. Address these issues promptly to prevent further deterioration.
Apply Protective Coatings
For wooden gates, apply a coat of wood preservative, stain, or paint every couple of years to protect against the elements. For metal gates, use a rust-resistant paint to keep corrosion at bay.
Lubricate Moving Parts
Hinges and locks should be lubricated periodically to ensure smooth operation. Use a suitable lubricant that won't attract dirt or gum up the mechanisms.
Tighten Hardware
Over time, screws and bolts can loosen. Check them periodically and tighten as needed to ensure your gate's stability and security.
Adjust for Seasonal Changes
Wooden gates may expand or contract with temperature changes. Make necessary adjustments to the fit and alignment as the seasons change.
Pest Control
Be on the lookout for signs of pests that can damage wood, such as termites or carpenter ants. Treat any infestations immediately to prevent structural damage.
By following these simple maintenance steps, you can extend the life of your garden gate and keep it looking as good as new.
FAQs About How to Make a Garden Gate
Get answers and tips in our FAQs about how to make a garden gate. Perfect for DIY enthusiasts looking to build a beautiful and functional garden gate.
First, measure the width of the gate opening. Cut the timber to build the vertical sides (stiles) and horizontal pieces (rails). If you're adding a diagonal brace, measure and cut it to fit inside the frame. Use a saw for cutting and clean up any rough edges with sandpaper.
Lay out the cut pieces on a flat surface to form the gate shape. Connect the corners with half-lap joints or screws. For added strength, attach a diagonal brace from the lower hinge side to the upper latch side. Glue and screw the joints for a sturdy frame.
Install the hinges onto the gate frame first, then hold the gate up to the post to mark the hinge positions. Screw the hinges to the post, ensuring the gate swings freely and is level. Attach the latch or lock to align with the corresponding part on the post.
Absolutely! You can personalize your gate by choosing different designs for the top edge, such as an arch or a straight cut. Add decorative elements like metalwork or carved wood. Painting or staining the gate in a color that complements your garden is also a great way to add a personal touch.
To ensure your garden gate lasts through various weather conditions, consider the following:
Use weather-resistant wood such as cedar or pressure-treated pine.
Apply a wood preservative or sealant to protect against moisture and decay.
Choose galvanized or stainless steel hardware to prevent rust.
Ensure proper water drainage around the gate area to avoid water pooling.
Conclusion:
Building a DIY garden gate by yourself is a great way to save money and add charm to your garden. By following these simple steps and tips, you can confidently build your own wooden garden gate. Start today and see how satisfying it can be to complete your DIY project. I'm helping with this guide to ensure your success.


