Learn how to build a house in 2024 with essential tips, costs, and step-by-step guidance for a successful home construction project. In this first half of the guide, we'll explore the foundational steps, including site preparation, slab construction, and framing. These are critical phases where missteps can lead to significant delays or added costs. The following guide outlines each step in clear, accessible language, helping you understand the practicalities involved.
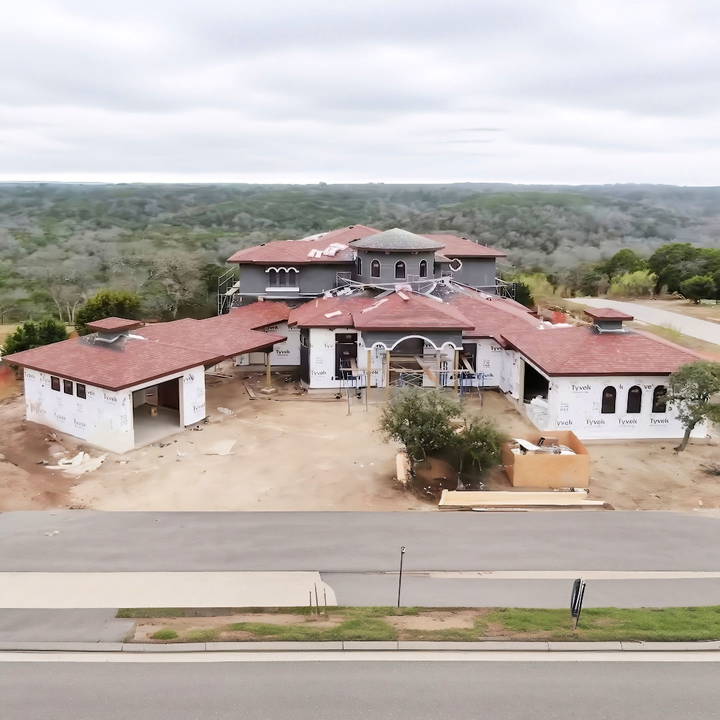
Why Order Matters in Home Construction
Before diving into the specifics, it's essential to understand that home construction follows a logical sequence. Skipping steps or performing tasks out of order can result in structural problems, delayed schedules, and costly fixes. For example, wiring needs to happen before drywall goes up, and foundation work must precede framing. Understanding this order is critical, whether you're a DIY enthusiast, a future homeowner, or a general contractor.
Step by Step Instructions
Learn how to build a house with step-by-step instructions, from site preparation to final touches, in this comprehensive guide.
Step 1 – Site Preparation
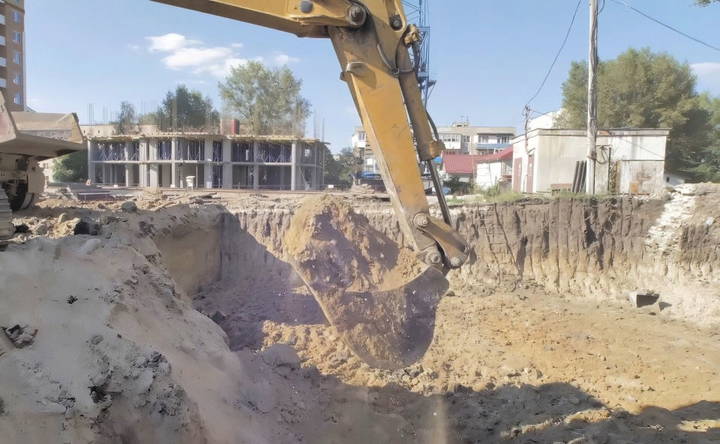
Site preparation is the initial stage of the construction process. It sets the foundation, quite literally, for everything that follows.
What is Site Prep?
Site prep involves clearing the land where the house will sit. The goal is to build a level surface for the foundation. This often means removing trees, rocks, and debris, followed by grading the land to ensure proper drainage.
During this phase, you'll also plan for MEPs (Mechanical, Electrical, and Plumbing) installations. This includes laying out trenches for underground utility connections. These utilities are essential to power the home and supply it with water and gas. The installation of conduits, pipes, and cables is crucial at this stage because once the foundation is poured, it becomes much harder—and more expensive—to install them.
For instance, if you are planning to have kitchen islands or floor plugs, the pipes and conduits for those need to be embedded before pouring the slab. Failing to do so would require breaking up the slab later, which is not only time-consuming but can also compromise the integrity of the structure.
Step 2 – Laying the Foundation (The Slab)
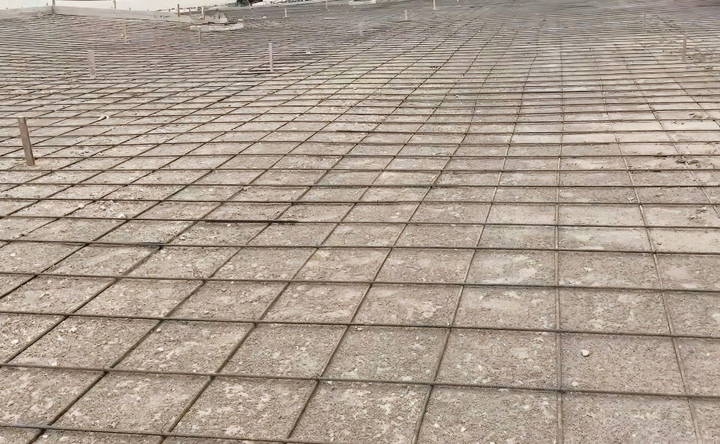
Once the site is prepped and all underground utilities are laid, the next major task is pouring the slab, which forms the foundation of your home. The slab serves as the support for the entire structure, so any errors here can have long-lasting consequences.
Why is the Foundation Important?
The foundation ensures your home is structurally sound and can support the load of walls, roofing, and floors. Typically, the foundation is made of reinforced concrete, which is strengthened with rebar (steel bars). The rebar is laid out in a grid pattern to provide added stability and prevent cracking over time.
- Grounding the Slab: In this phase, grounding is essential to ensure that the house can discharge electrical current safely into the earth. Electrical contractors will install a grounding electrode by connecting a conductor to the rebar embedded in the slab. This effectively turns the entire foundation into a grounding system, reducing the risk of electrical hazards later on.
- Temporary Utilities: During this stage, temporary utilities, including power and water, may be needed on-site to facilitate the construction process. Electricians typically set up a temporary pole, known as a T-pole, which provides a basic electrical setup with outlets and breakers. This is essential for running power tools and equipment on the site.
Step 3 – Framing the Structure
After the slab has cured—typically a process that takes a few weeks—the next major phase is framing. This is where the house starts to take shape, with walls, floors, and roofs built according to your design specifications.
What Happens During Framing?
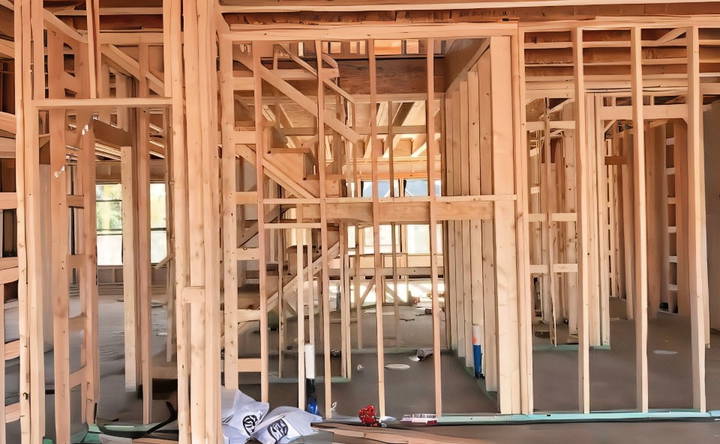
Framing involves constructing the skeleton of the house. Builders erect vertical supports (studs), horizontal supports (joists), and trusses for the roof. Exterior walls are framed first, followed by interior walls. This process can take anywhere from a few weeks to several months, depending on the size of the house and any unforeseen complications.
Framing includes the installation of the following:
- Exterior walls: These walls support the roof and build the outline of your home.
- Interior walls: These define rooms and spaces within the home.
- Roof trusses: These are pre-engineered wood frames used to construct the roof.
Factors That Can Delay Framing
Various factors can delay the framing process. For example, if your project is close to a tree that hosts protected wildlife, like certain birds or insects, the construction can be paused until wildlife experts clear the site. In some cases, environmental regulations may also come into play.
Inspection After Framing
After the framing is complete, the structure undergoes an inspection. The framing inspection ensures that the walls are square and level and that the structure meets local building codes. At this point, some regions require you to complete MEP rough-ins (Mechanical, Electrical, and Plumbing installations) before the framing can pass inspection.
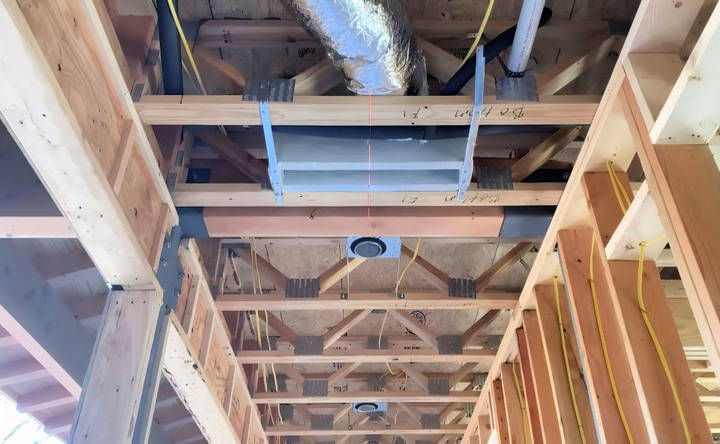
Step 4 – Rough-In Phase: Mechanical, Electrical, and Plumbing (MEP)
Once the framing is inspected and passed, it's time for the rough-in phase. This is when the plumbing, electrical, and mechanical systems are installed. These systems need to be in place before any drywall or insulation is added to the walls.
- Electrical Rough-In: The electrical rough-in involves running wiring through walls, ceilings, and floors. Electricians set up circuits for outlets, light fixtures, and switches. This is a critical stage where electricians need to consider the layout of HVAC ducts and plumbing pipes to avoid damaging wires during installation.
- Plumbing Rough-In: The plumbers will install pipes for water, gas, and sewage. This includes setting up the main lines for bathrooms, kitchens, and any other areas where water is required. It's important to coordinate with other trades to ensure that plumbing doesn't interfere with electrical work or framing.
- HVAC Rough-In: Finally, the HVAC team installs ductwork and other components needed for heating, cooling, and ventilation. Much like the electrical and plumbing work, this phase requires precision and close coordination to ensure ducts don't interfere with framing, wiring, or pipes.
Step 5 – The Rough-In Inspection
Once all the MEP systems are in place, the next crucial step is the rough-in inspection. Inspectors will assess whether all the installed systems meet safety codes and regulations. Each system—plumbing, electrical, and HVAC—requires its own inspection.
What Happens During a Rough-In Inspection?
Inspectors check to ensure the wiring is up to code, that plumbing systems are properly installed, and that the ductwork is laid out efficiently and without obstructions. Electrical inspectors, for instance, look for issues like overfilled electrical boxes or wires that are placed too close to the surface, which could lead to a safety hazard if punctured during drywall installation.
If the inspector finds any issues, they will issue a correction notice, requiring contractors to fix the problem before moving on to the next phase. Once the rough-in inspection passes, the project can move forward with the next steps, including insulation and drywall installation.
Step 6 – Insulation and Drywall
With the rough-in inspection complete, the next step is adding insulation and drywall. Insulation helps maintain a consistent indoor temperature by preventing heat transfer, while drywall forms the walls and ceilings of the home.
- Insulation Options: There are different types of insulation materials available, including fiberglass, foam, and cellulose. The type of insulation you choose depends on your budget, climate, and personal preferences. Typically, insulation is installed in walls, attics, and crawl spaces.
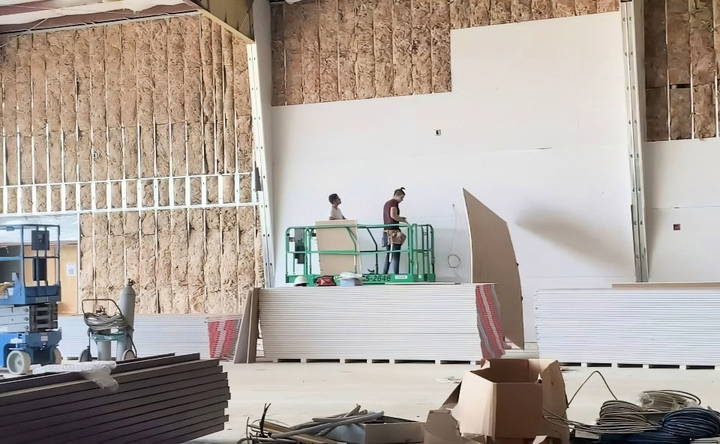
Once the insulation is installed, drywall is added to form the interior walls and ceilings. Contractors secure the drywall panels to the framing, then tape and mud the seams to build a smooth surface.
Step 7 – Drywall Installation and Finishing
After insulation is installed, it's time to put up the drywall, which forms the interior walls and ceilings. This step transforms the look of the house from a construction site into what will eventually become a home.
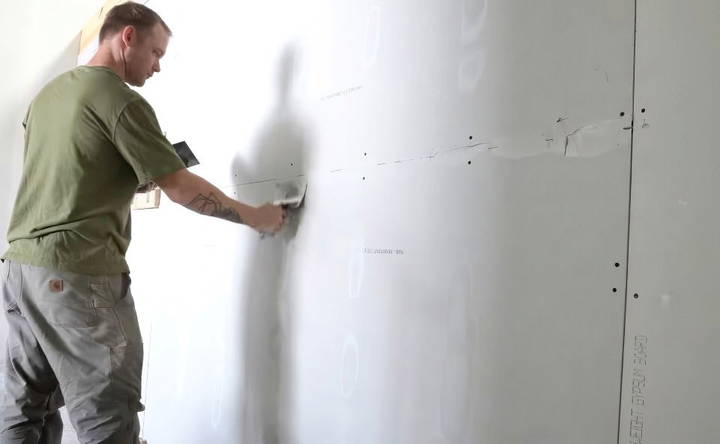
- Drywall Installation: Drywall panels are large sheets of gypsum board that are fastened to the wall framing. Contractors cut them to fit the dimensions of each room and attach them using drywall screws or nails. After the drywall is in place, they tape the seams between panels and apply joint compound (also known as mud) to build a smooth surface.
- Sanding and Texturing: Once the joint compound has dried, the walls are sanded to remove imperfections and ensure an even surface. In many homes, a textured finish is then applied to the drywall to give the walls a more polished appearance. Texturing can range from a smooth, flat finish to more elaborate patterns.
- Drywall Inspection: Before proceeding to the next stage, some jurisdictions may require a drywall inspection. This ensures that the drywall installation is up to code, and that the fire-resistant drywall, if required, has been installed in specific areas such as garages or furnace rooms.
Step 8 – Painting and Interior Finishes
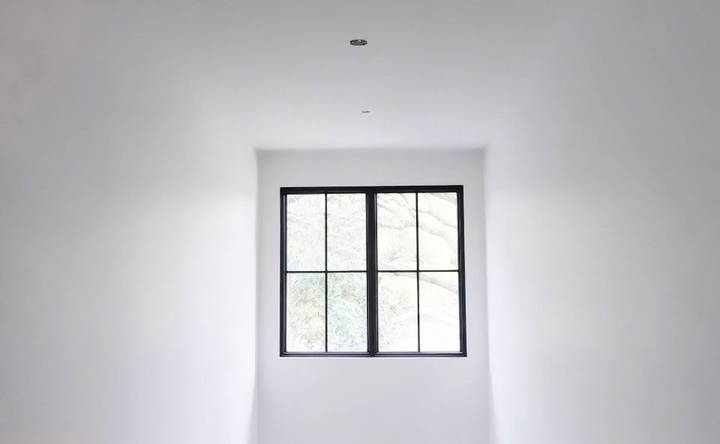
After the drywall has been installed and inspected, the next stage involves applying paint and adding other interior finishes. This is often where homeowners start to see their personal design preferences come to life.
- Painting the Walls: The first step in this phase is priming the walls. Primer seals the drywall and helps the final paint coat adhere properly. Once the primer is dry, contractors apply the final coats of paint. Depending on the room's function, different types of paint finishes may be used. For example, kitchens and bathrooms often require a semi-gloss finish because it's easier to clean and more resistant to moisture.
Some builders prefer to paint before the installation of cabinets and doors, while others wait until after to avoid the need for taping and protecting surfaces. This can vary depending on the contractor's preferences or the homeowner's instructions.
- Installing Cabinets and Doors: Cabinets and doors are typically installed after the walls have been painted. Kitchen cabinets, bathroom vanities, and other built-in storage are mounted securely in place. Door frames and doors are also installed at this time. Proper installation of cabinets and doors is crucial, as they contribute significantly to both the aesthetic appeal and functionality of your home.
Step 9 – Flooring Installation
With the walls and cabinetry in place, the next step is laying the flooring. Different rooms in the house may require different flooring types based on functionality and style preferences.
Types of Flooring
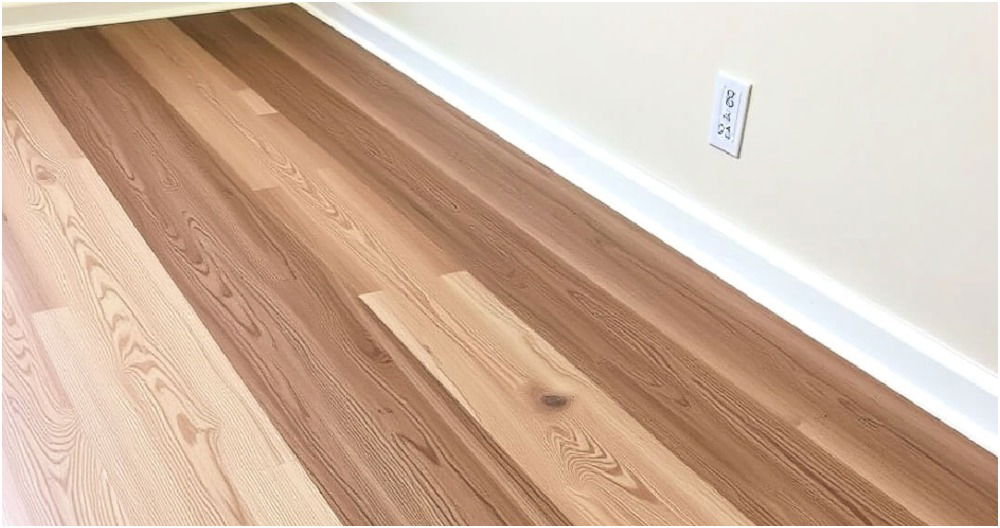
- Hardwood Flooring: Offers durability and elegance, often used in living rooms, bedrooms, and hallways.
- Tile: Ideal for bathrooms and kitchens due to its water resistance.
- Carpet: Typically used in bedrooms and family rooms for comfort.
- Laminate or Vinyl: A budget-friendly option that mimics the look of wood or tile.
Once the flooring is installed, it's important to protect it until the house is fully complete to avoid any damage from ongoing construction activities.
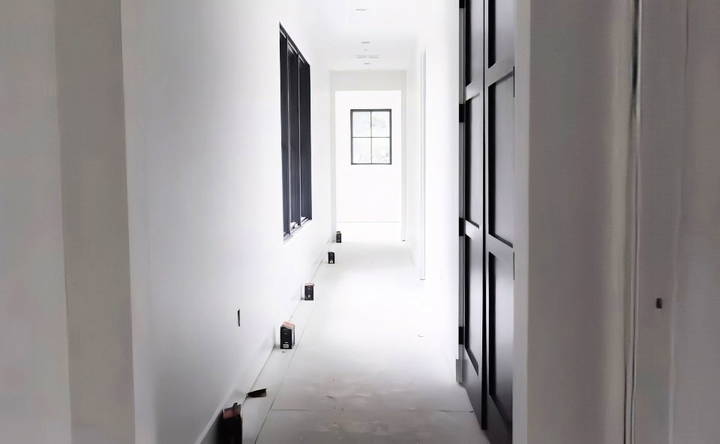
Step 10 – The Trim-Out Phase
The trim-out phase is one of the final stages of construction. It involves installing the smaller, finishing details that bring the home together, including electrical outlets, light fixtures, and plumbing fixtures.
- Electrical Trim-Out: Electricians will return to install all the final electrical components. This includes attaching light switches, electrical outlets, and installing fixtures such as ceiling fans, light fittings, and recessed lighting trims. They'll also finalize the service panel installation, ensuring the home's electrical system is fully functional.
At this stage, your home will have permanent power connected, meaning the temporary power pole can be removed, and your house will run on its own electrical system.
- Plumbing Trim-Out: Once the electrical trim-out is complete, plumbers install the sinks, faucets, toilets, showers, and bathtubs. All water supply lines and drains are connected, and the system is tested for leaks and proper water flow.
- HVAC Trim-Out: The HVAC crew installs air vents, registers, and thermostats, ensuring the heating and cooling system is ready to keep the home comfortable. HVAC systems are tested at this stage to verify they are functioning correctly, providing adequate air circulation and maintaining the desired temperature.
Step 11 – Final Inspections and Certificate of Occupancy
Before a homeowner can move in, the house must undergo a series of final inspections to ensure it meets all building codes and safety regulations. These inspections will include:
- Electrical final inspection: Ensures that all electrical systems are safely installed and operating correctly.
- Plumbing final inspection: Verifies that the plumbing system is functioning without leaks and that the installation meets safety standards.
- HVAC inspection: Confirms the heating and cooling systems are working efficiently.
- General building inspection: Checks for any final issues such as structural defects, improper installations, or code violations.
If the house passes all these inspections, the next step is obtaining a Certificate of Occupancy (CO). This certificate is issued by the local building department and officially states that the house is safe to live in. Without a CO, the home cannot legally be occupied.
Step 12 – Exterior Finishes and Landscaping
While much of the focus is on the interior during the later stages of construction, the exterior also requires attention. Once the house is nearly complete, contractors can turn their focus to finishing the exterior and landscaping.
- Siding and Exterior Paint: The exterior of the house is typically finished with siding or stucco. Afterward, a coat of exterior paint is applied. This adds protection from the elements and gives your home the final look.
- Driveways and Walkways: Concrete driveways and walkways are poured, offering access to the home and defining the outdoor living spaces. This is also the stage where you might add features like patios or decks.
- Landscaping: Landscaping is the final touch that brings everything together. Planting trees, shrubs, and flowers, as well as installing grass or sod, transforms the construction site into a home. In addition, landscaping helps with drainage, soil erosion, and curb appeal.
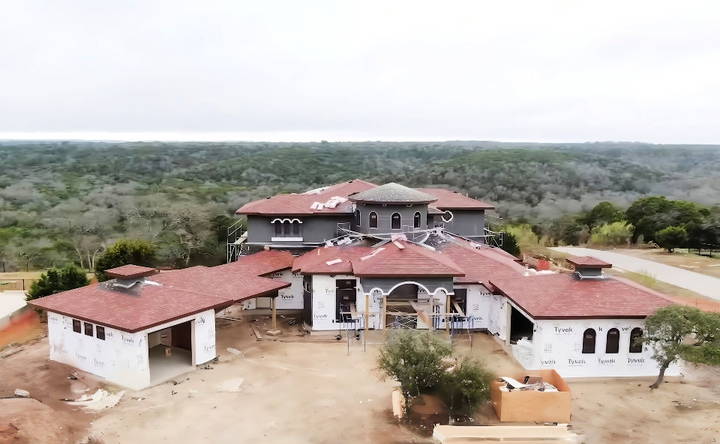
Step 13 – Moving In and Final Touches
With all inspections passed and the Certificate of Occupancy in hand, it's time to move into your new home. While it may feel like the journey is complete, there are always small final touches and adjustments to be made.
- Walkthrough with the Contractor: Before officially taking ownership, it's common to do a final walkthrough with the contractor or builder. During this inspection, you'll have the opportunity to check the house for any minor issues, such as paint touch-ups, flooring scuffs, or missing hardware. It's crucial to document these issues so that the contractor can address them before you settle in.
- Final Cleaning: Once all the construction work is complete, a thorough cleaning is done to remove dust, debris, and construction materials. This final cleaning ensures the house is move-in ready and sparkling clean for the new homeowners.
- Moving In: Now, the only thing left to do is move your belongings into your new home! At this point, the house is complete, and you can begin making it your own with furniture, décor, and personal touches.
Conclusion: The Reward of a Completed Home
Building a house is a detailed process that involves many moving parts. From site preparation to the final inspection, each phase must be carefully planned and executed in the correct sequence to avoid delays, errors, and additional costs. By following this comprehensive guide, you can better understand each step involved in home construction.
The satisfaction of moving into a custom-built home is immense. Knowing that every detail was planned, inspected, and crafted to your exact specifications makes the entire journey worthwhile. Whether you're working with a builder or overseeing the process yourself, this guide provides a roadmap to help you stay informed and organized throughout the building process.
This concludes the second half of the article on "How to Build a House." Together, both parts form a complete guide, detailing the stages of home construction from start to finish.
FAQs About How to Build a House
Discover essential answers to FAQs about how to build a house, covering every step from planning to construction and finishing touches.
Before site preparation, it's crucial to consult with an architect and a civil engineer. The architect will help design the house layout, while the engineer ensures the land is suitable for construction, checks zoning laws, and determines whether the site has proper drainage. It's also wise to obtain all necessary building permits from local authorities.
Yes, but it depends on local laws and your level of experience. In some areas, owner-builders can act as their own general contractor. You'll still need to hire licensed professionals for specialized work like electrical, plumbing, and foundation tasks. Be sure to research local codes to ensure compliance.
Plumbing rough-ins come first since drain lines need precise slopes, followed by HVAC ducts, which require significant space. Electrical rough-ins are done last as wiring can be routed more easily around other installations. Coordination between these trades is essential to avoid conflicts during installation.
Yes, some people choose to live in part of the house (e.g., a finished basement) while continuing construction on the upper floors. However, ensure that all necessary utilities, such as water and temporary electricity, are in place to avoid delays.
Yes, raised floors or pier-and-beam foundations are alternatives to slab construction. Raised foundations provide better insulation, easier access to plumbing, and better moisture control. However, they can be more expensive than slab-on-grade foundations.
Temporary power is established through a T-pole, a pre-constructed electrical setup that includes a meter and outlets. Electricians install this pole early in the project, and it must be inspected by the power company or local authorities before it can be activated for use on-site.
Insulation is installed after the MEP rough-ins (plumbing, electrical, and HVAC) and before drywall is added. It helps regulate the home’s temperature and provides soundproofing between rooms. Insulation must be inspected to ensure it meets local energy efficiency standards before drywall can be installed.
If an inspector finds issues during the rough-in inspection (e.g., improper wiring or plumbing), they will issue a correction notice. The contractor responsible for the failed installation must fix the issue and call for a re-inspection before work can proceed. Delaying this could hold up the entire project.
Coordination is key. Ideally, each trade—plumbers, electricians, HVAC—should work sequentially to avoid disrupting each other's work. If overlapping schedules are necessary, ensure that contractors communicate regularly to avoid damaging each other’s installations or slowing down the process.
Final inspections include checks for electrical, plumbing, HVAC, and overall building safety. After passing these, a Certificate of Occupancy is issued, permitting you to move in. Inspectors will ensure everything is safe, operational, and up to code before signing off.
Yes, in many regions, it's legal to build your own home if you own the land, but you must follow local building codes and obtain the necessary permits. You may need licensed professionals for specific tasks like electrical or plumbing to meet safety and legal standards. Always check local regulations before beginning.


